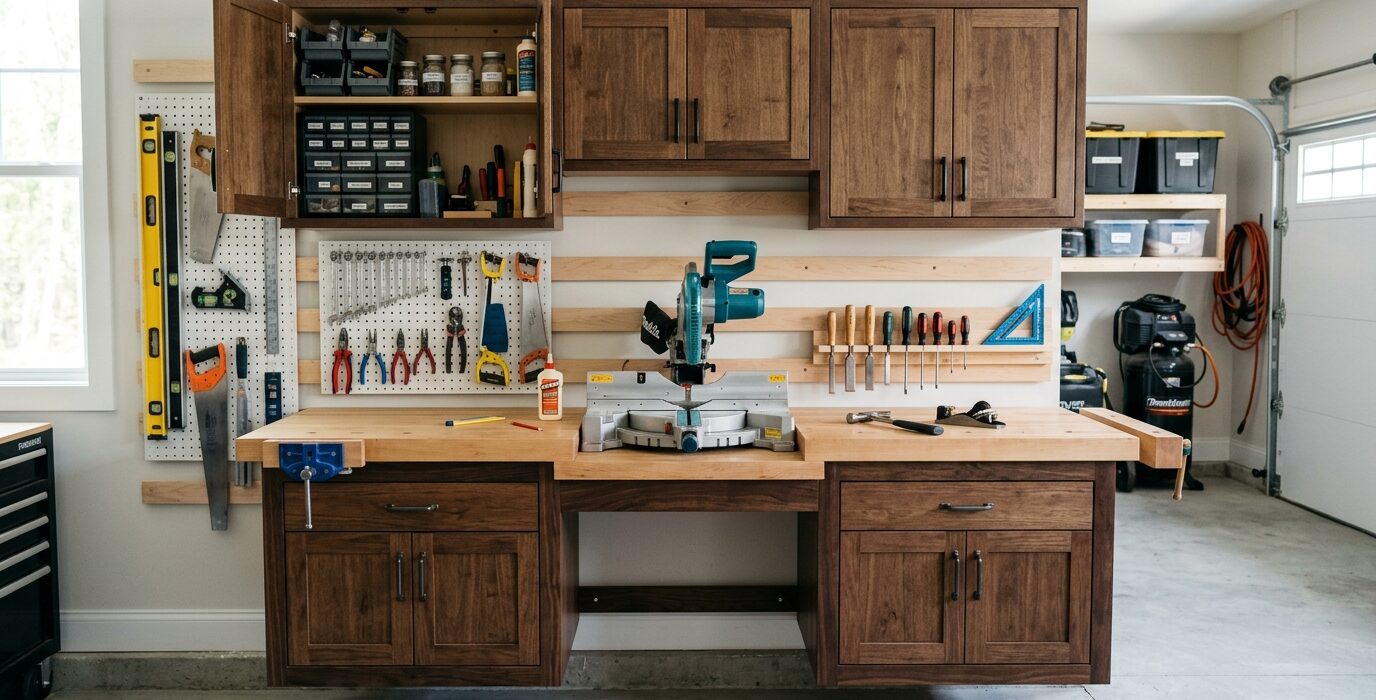
Turn Bench Dead Space into Organized Cabinet Storage
Most workbenches have an open base – open space under the top between the legs, used for nothing or used badly. Built-in cabinet doors on the bench base transform that dead space into locked, organized storage for tools, hardware, and project materials. This build adds two or four cabinet doors to the front of any existing bench base, creating dozens of cubic feet of organized storage.
Materials
- 3/4-inch plywood for the door panels and any interior dividers
- Continuous (piano) hinge or European cup hinges for the doors
- Magnetic catches or ball catches
- Pull hardware
- Wood screws
- Optional: sheet of pegboard for the interior of the door backs
Step 1 – Assess the Bench Base
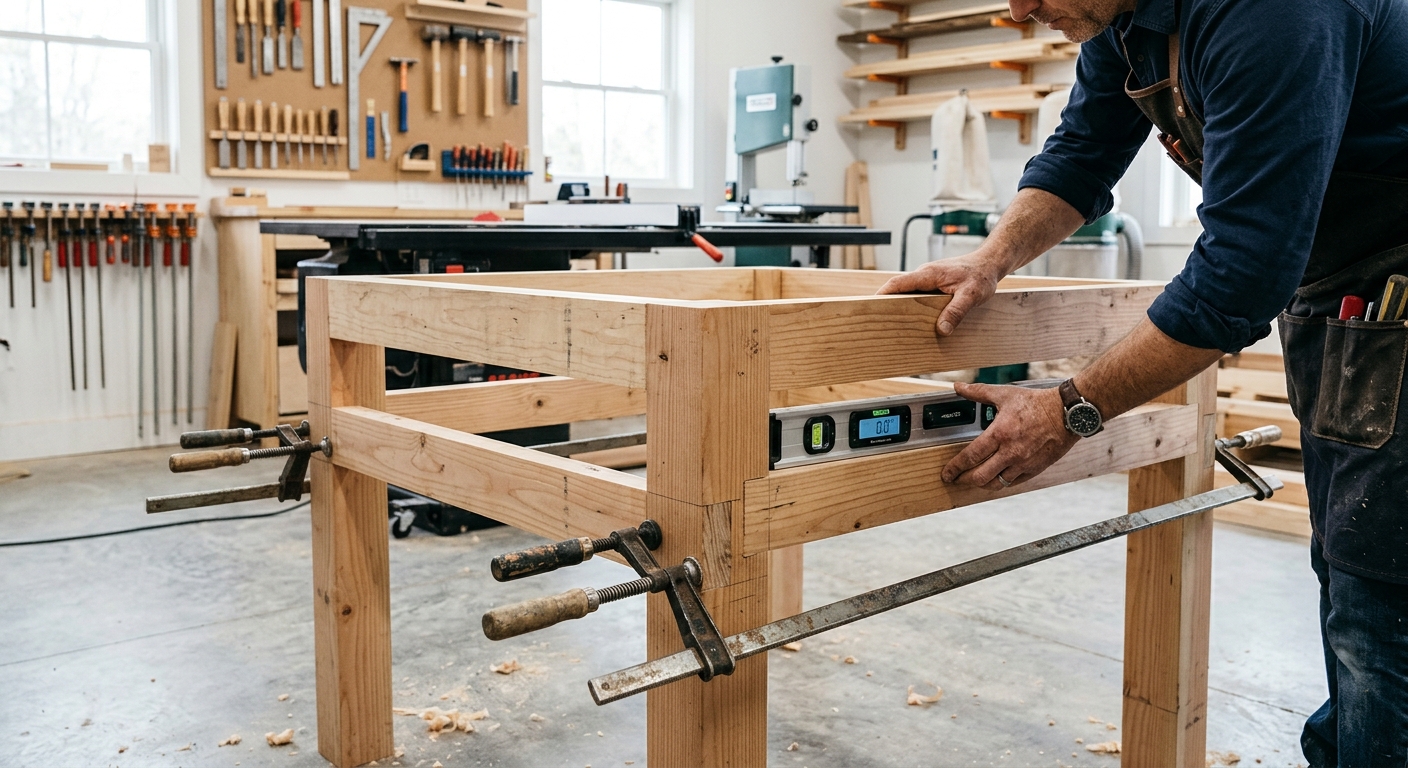
Measure the opening or openings in the front of your bench base. Note any obstructions – legs, stretchers, or cross rails that limit door placement. Sketch the door layout before cutting any wood. Two large doors flanking the center legs are the most common configuration, but four smaller doors may work better if the bench has multiple bays.
Step 2 – Frame the Openings
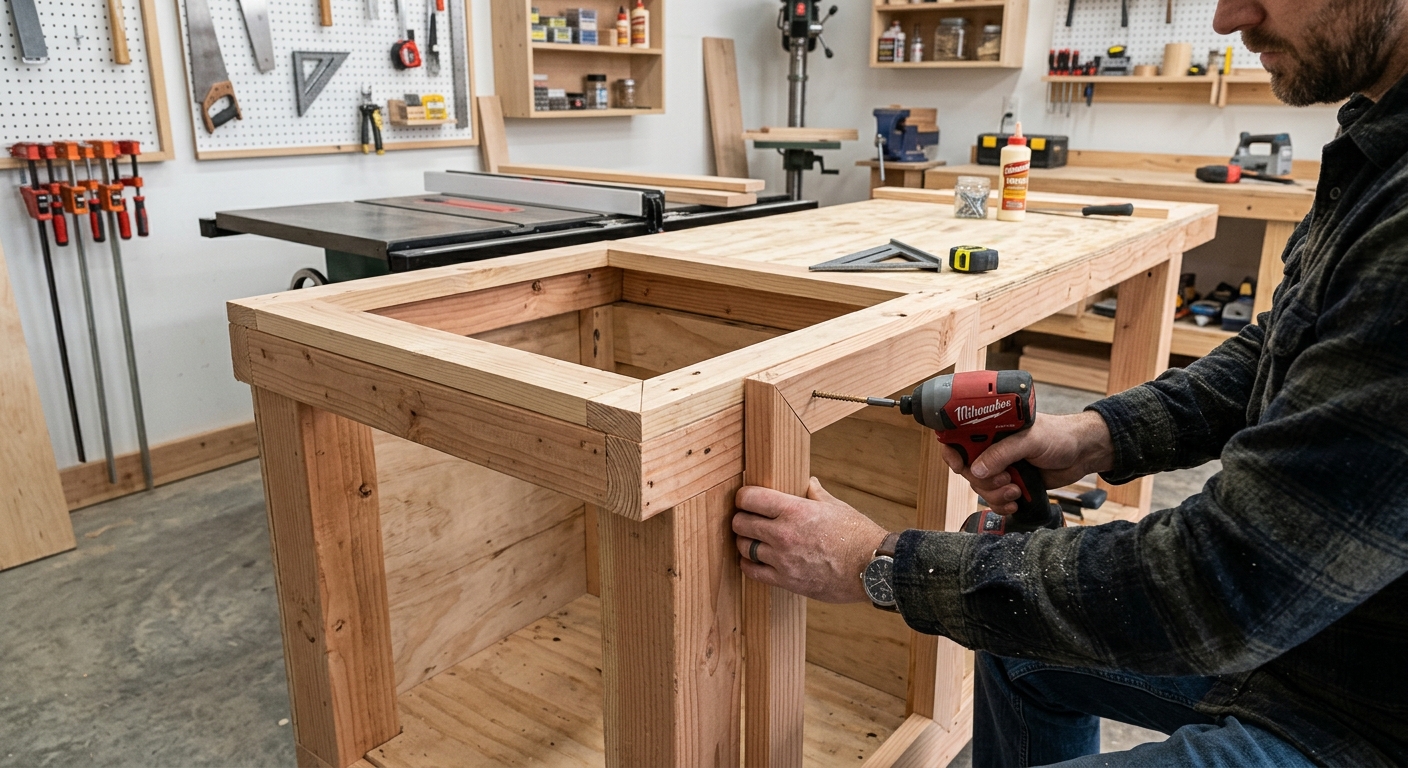
Cabinet doors need a solid frame to hang from and close against. If your bench base already has a full perimeter apron, you may have the framing you need. If not, add 2×4 face frame pieces across the top of the opening and between bays. These pieces become the hinge side and the closing side for the doors.
Step 3 – Build the Door Panels
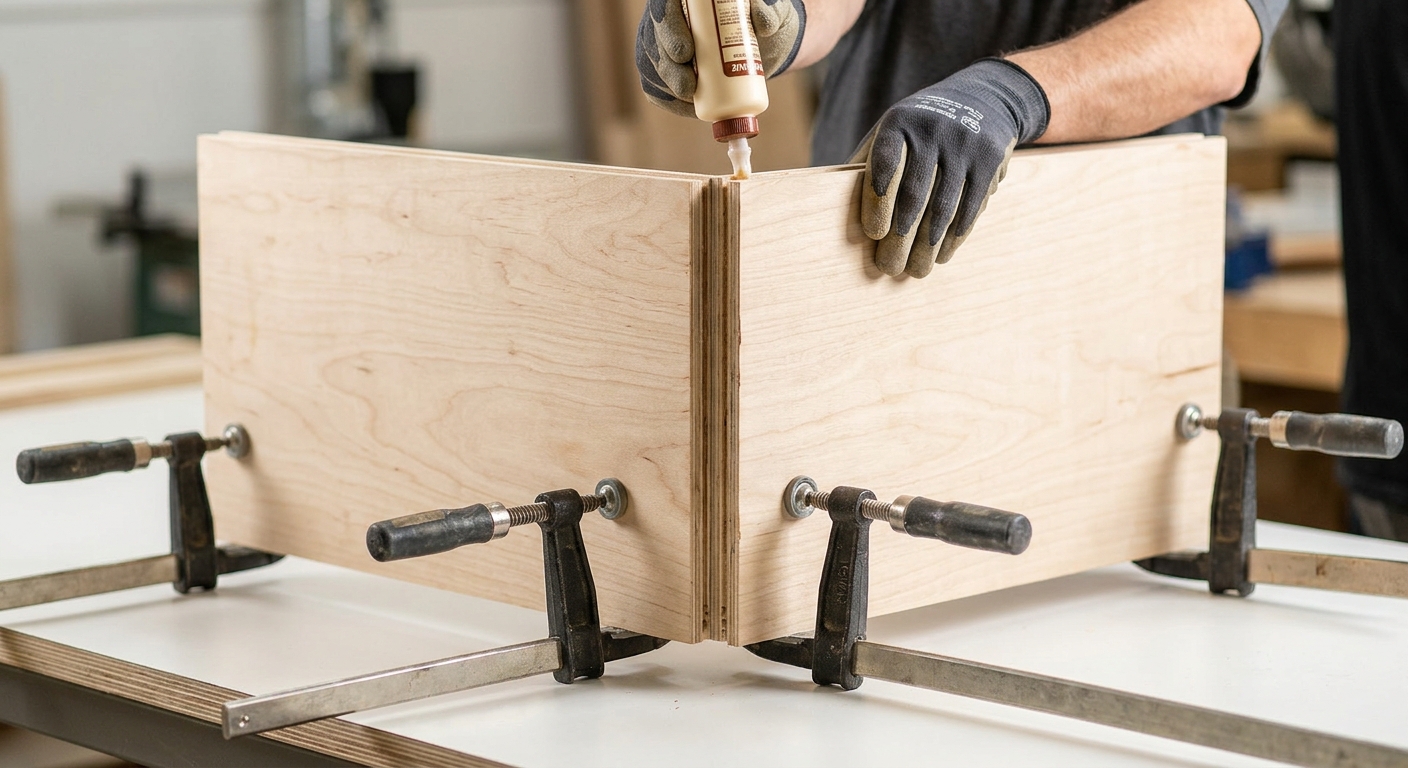
Cut door panels from 3/4-inch plywood to fit the openings with 1/8-inch clearance on all sides. For a cleaner look, apply edge banding or solid wood edge strips to the visible edges. Add pulls – simple wooden blocks work well, or use commercial pulls from the hardware store.
Step 4 – Hang the Doors
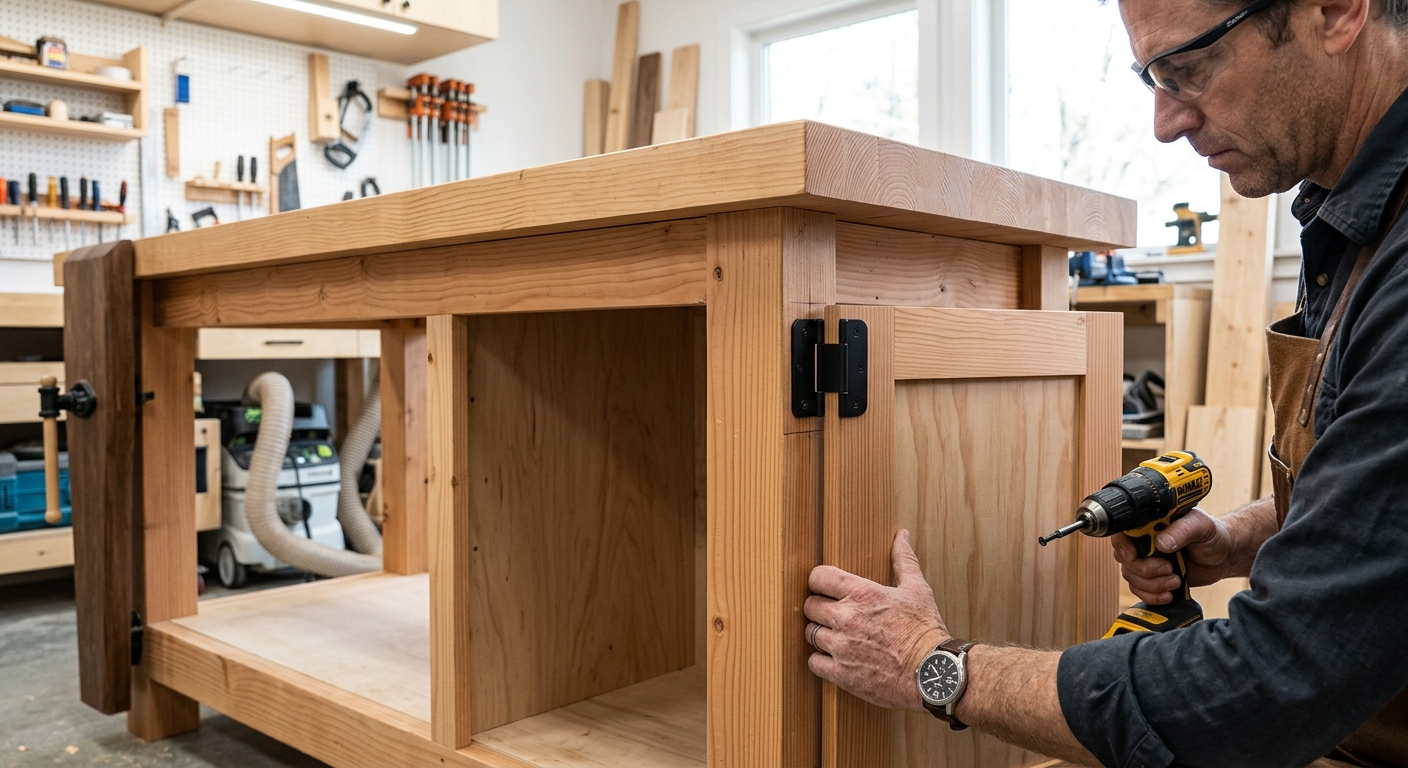
Use a continuous hinge (piano hinge) for the most solid installation – cut to the full height of the door and screw into the face frame and door. Alternatively, use two or three European cup hinges per door for easier adjustment. Hang the doors and check that they open and close smoothly and that the gap is even around the perimeter.
Step 5 – Add Catches and Interior Organization
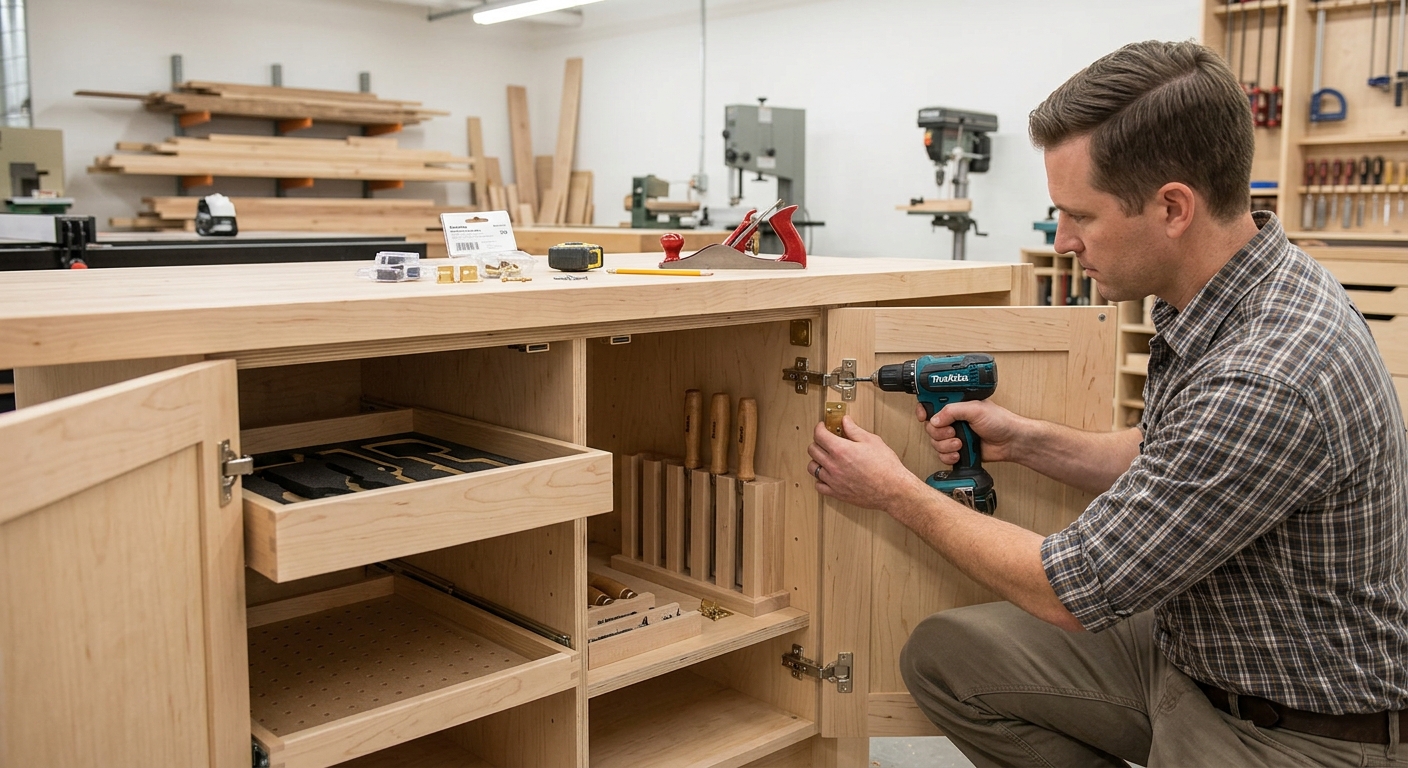
Install magnetic or ball catches at the top and bottom of each door to keep them closed during vibration from tools. On the interior of the cabinet, add shelves sized to what you’re storing. The back of each door is useful too – mount a small piece of pegboard to the door back for frequently accessed tools.
FAQ
Can I add a lock to the cabinet doors? Yes – a standard cabinet lock or hasps and padlock work. Useful if children or visitors have access to the shop.
What should I store in the bench cabinet? Tools you use every day but don’t need visual access to constantly – squares, marking gauges, block planes, measuring tools, and hardware are all good candidates. The cabinet keeps them dust-free and organized without cluttering the bench top.