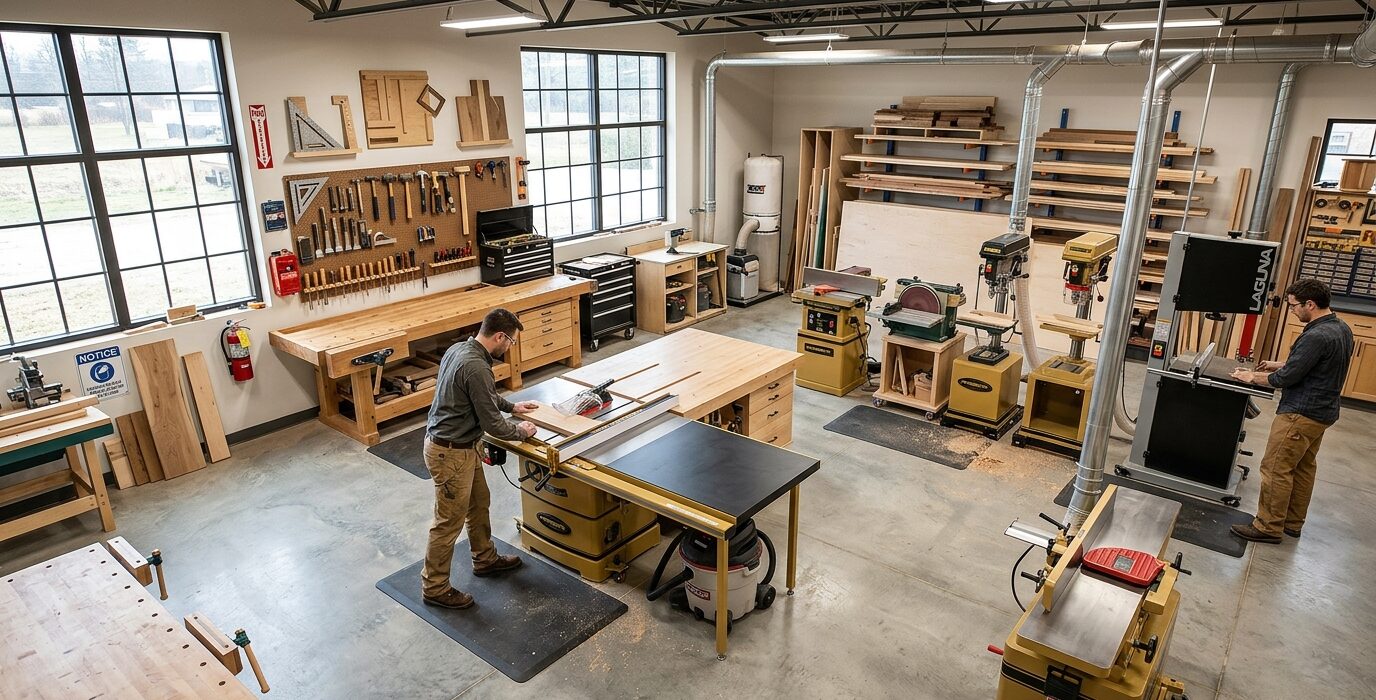
A Flat Bench Top is the Foundation of All Good Work
A workbench top that’s out of flat is a problem you don’t notice until you’re gluing up a cabinet face and one corner keeps springing up, or until your hand plane rocks instead of cutting. Flattening a workbench top with hand planes is the traditional solution – it uses the tools you have, teaches you the hand planing skills you’ll use on projects, and leaves a surface that’s truly flat rather than just visually flat.
What “Flat” Actually Means
A flat surface has no hills or valleys measurable with a straightedge. More specifically: a flat surface has no twist, no cup, and no bow. Twist is the most common problem – when you look across the bench from one end, one corner is higher than the other. A surface with twist is worse for work-holding than one with cup or bow because it creates rocking that no amount of clamping can fix.
What You Need
- Winding sticks (two identical straight sticks, 18-24 inches long)
- No. 5 or No. 5-1/2 jack plane (or a scrub plane for heavy stock removal)
- No. 7 or No. 8 jointer plane (for final flattening)
- Long straightedge (at least 36 inches, ideally 48)
- Chalk or crayon
Step 1: Find the High Spots with Winding Sticks
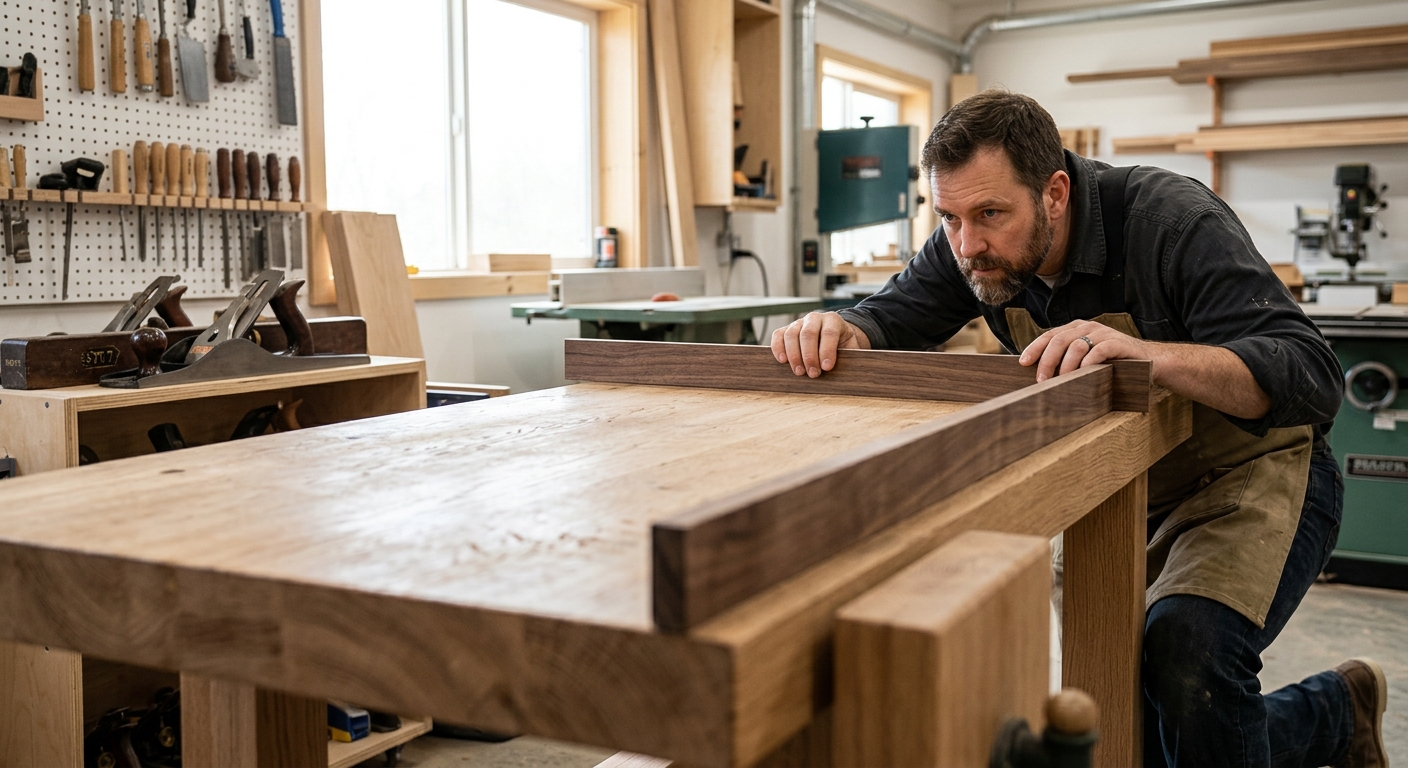
Place a winding stick at each end of the bench, across the width. Sight across the top of the two sticks from one end – looking at the front stick with the back stick in the distance. If the sticks are parallel, the bench is not twisted. If one end of the back stick appears higher, the bench is twisted in that direction. Mark the high corners with chalk.
Step 2: Remove the High Spots with a Jack Plane
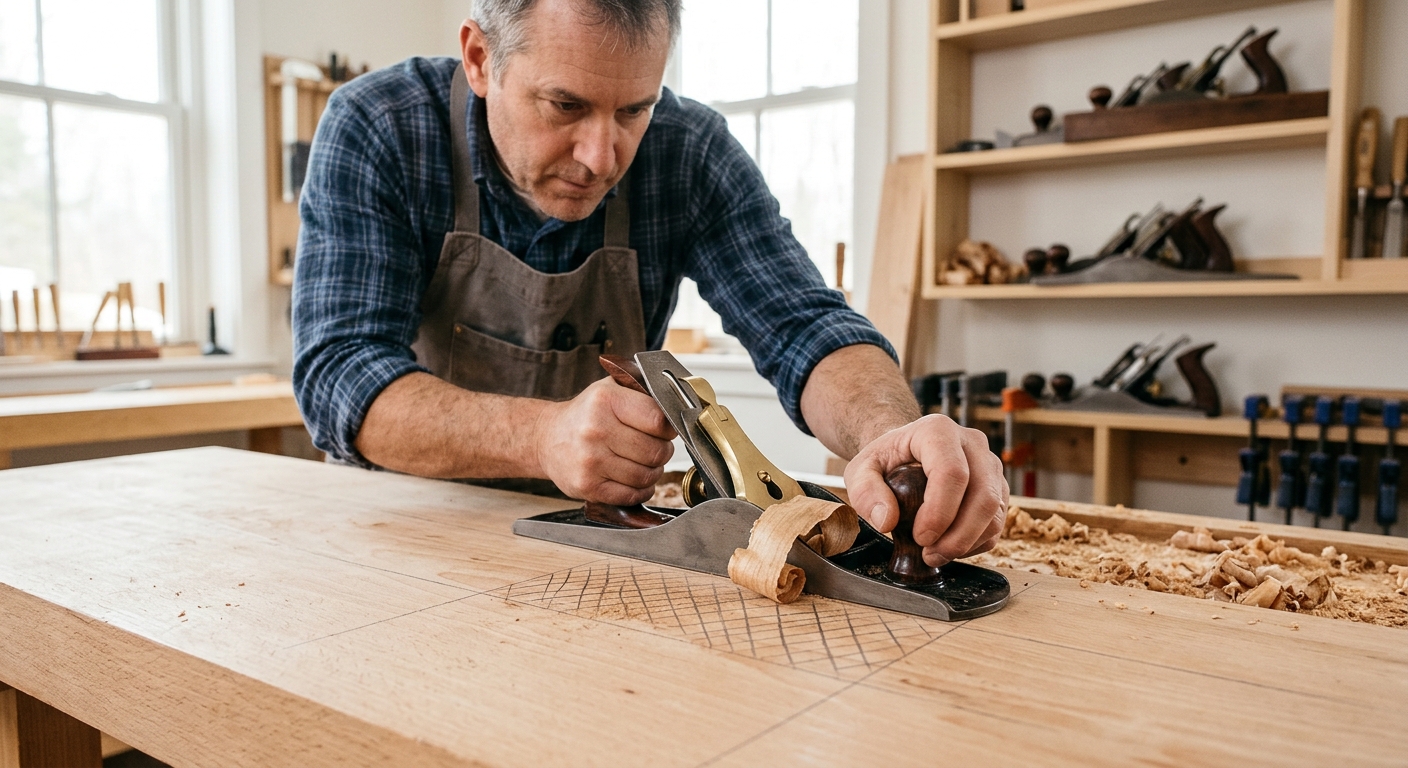
A jack plane set aggressively (large mouth opening, deeply cambered iron) removes stock quickly. Work diagonally across the grain – 45 degrees to the bench length – in the high areas marked by the winding sticks. Take heavy shavings. Check with winding sticks frequently. When the sticks appear parallel from both ends, the twist is gone.
Step 3: Flatten with a Jointer Plane
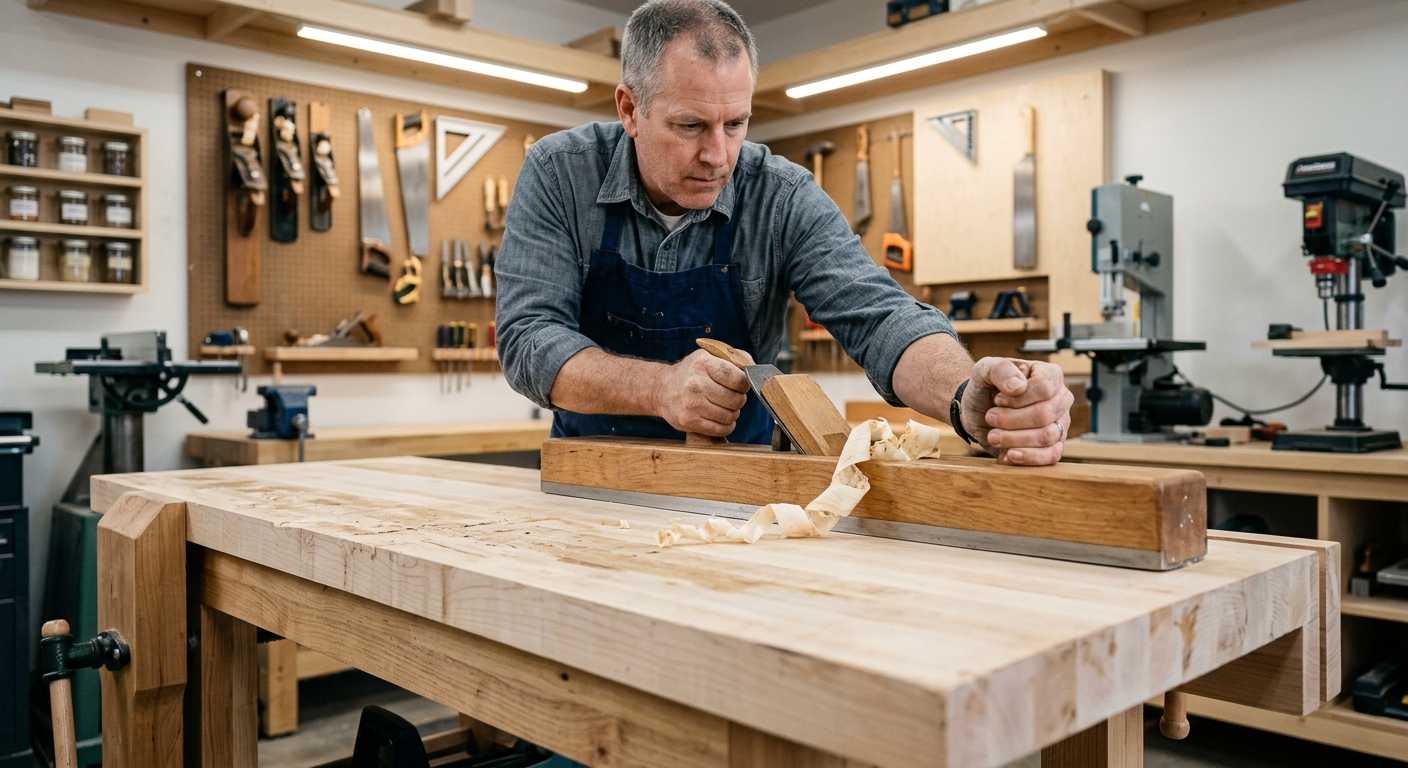
Once the major twist is removed, the surface may still have low and high spots. Check with a long straightedge and mark any remaining high spots with chalk. Work with a jointer plane (No. 7 or 8) along the grain in the high areas. The long sole of the jointer plane bridges low spots and cuts only the high spots – this is the geometry that makes a long plane so effective for flattening.
Step 4: Check in All Directions
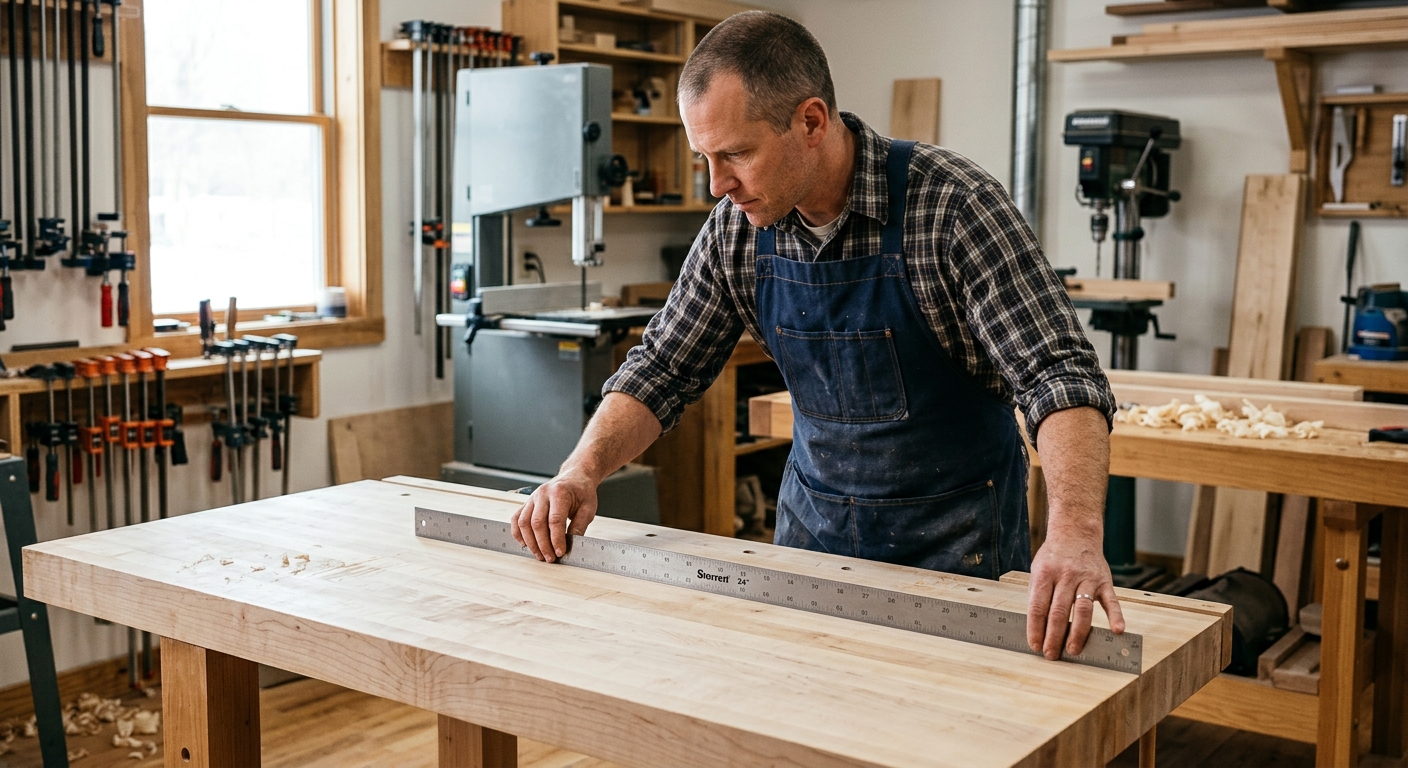
A flat surface tests flat in every direction: along the grain, across the grain, and diagonally in both directions. Move your straightedge to test every possible orientation. Any direction that shows a gap under the straightedge is a high spot – mark it and remove it with the jointer plane.
Step 5: Final Check
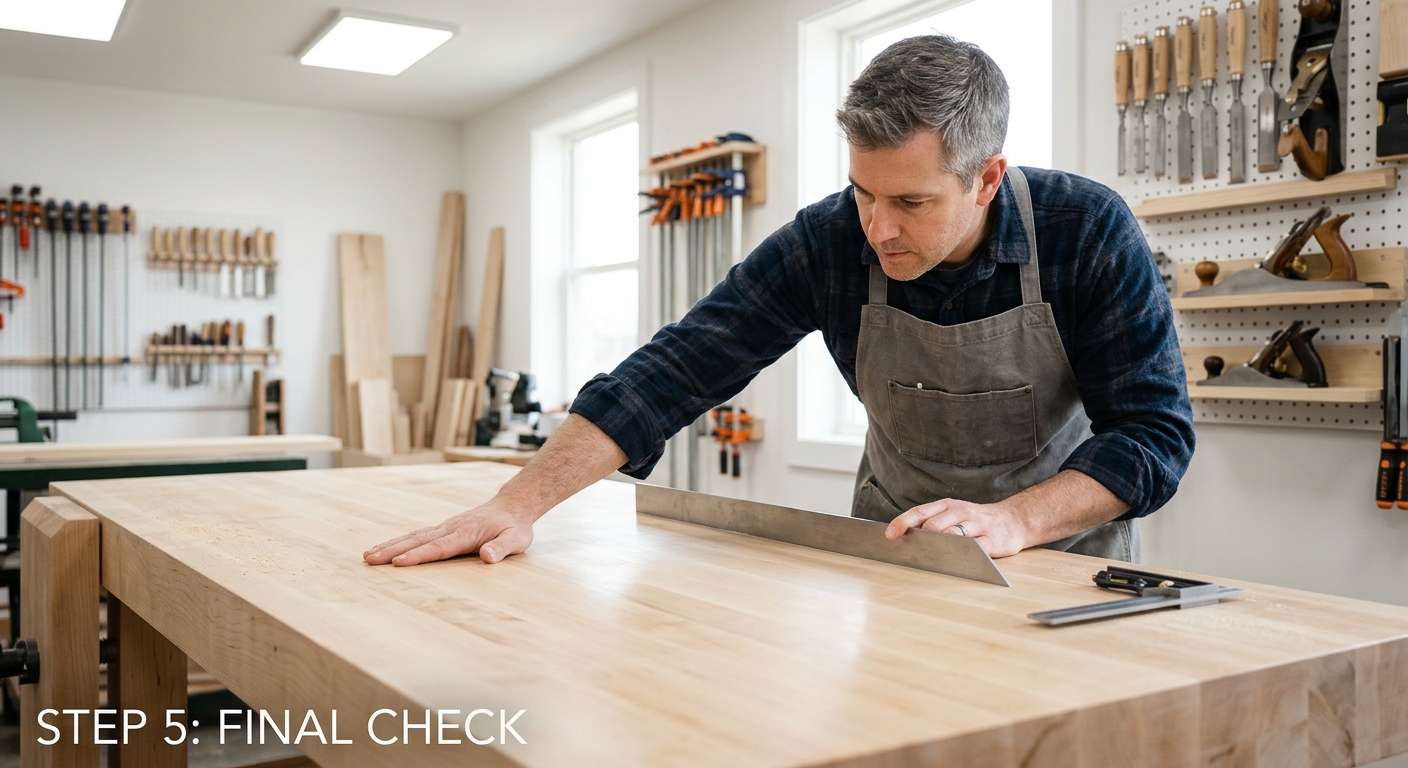
When the straightedge sits flat in all directions, check the winding sticks one final time. The sticks should be parallel within 1/32 inch over the full length of the bench – this is well within working accuracy for a bench top. Finish by smoothing with a No. 4 or 4-1/2 if desired, though a bench top doesn’t need to be perfectly smooth – it needs to be flat.
Pro Tips
- Flatten on a warm day if possible. Wood moves with humidity. Flattening on a very humid day will result in slight inaccuracy when the humidity drops. A stable, controlled environment gives the best results.
- Don’t over-flatten. Once the bench is flat within 1/32 inch across its length, stop. Chasing perfection beyond working accuracy wastes time and removes bench material unnecessarily.
FAQ
Can I use a belt sander instead of hand planes?
A belt sander can flatten a bench top but it’s less controllable than hand planes – it’s easy to create new low spots by dwelling in one area. If you use a belt sander, use a coarse belt (60-80 grit), work diagonally, and check frequently with winding sticks and a straightedge. Hand planes give more control and feedback.