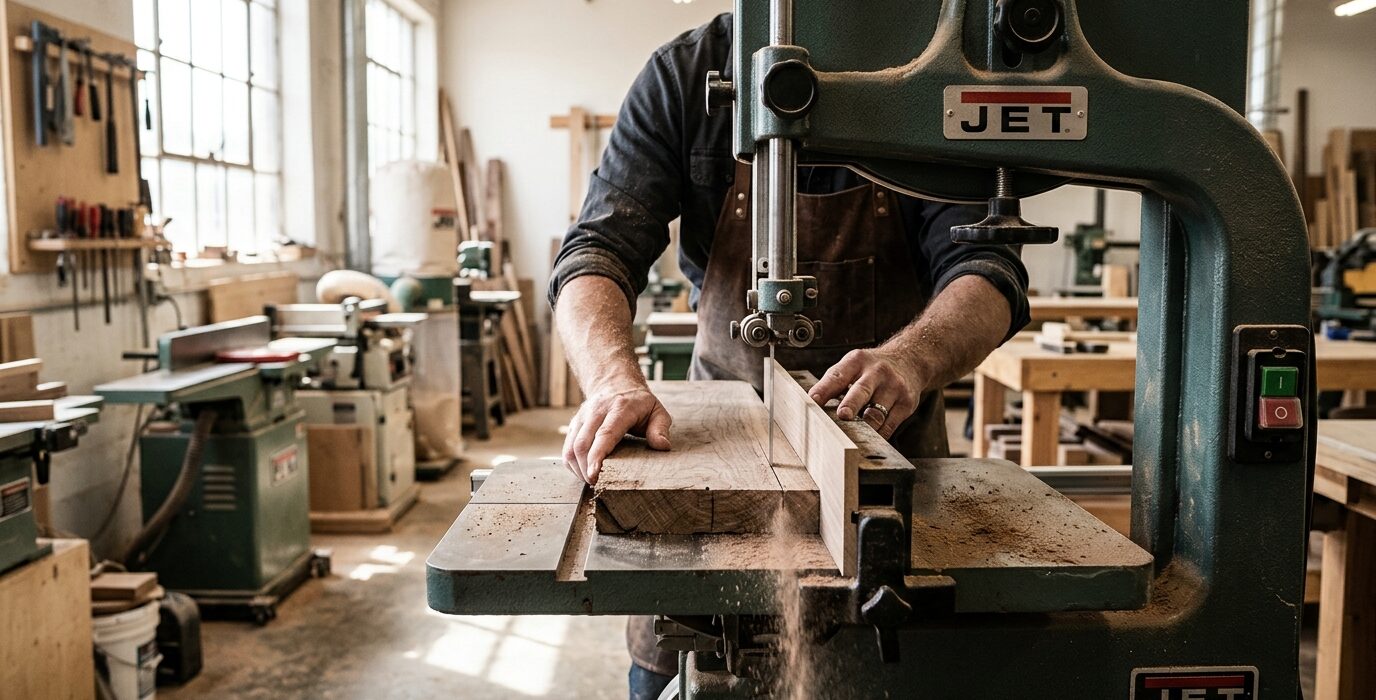
Set Up Your Bandsaw for Resawing Lumber
Resawing – ripping a board along its length to reduce thickness – is one of the most useful operations in a wood shop. Need 3/8-inch thick stock for drawer sides? Resaw it from 4/4 lumber. Need bookmatched panels? Resaw a thick board in half. But resawing puts maximum demands on the bandsaw: maximum blade height, heavy feed pressure, and sustained cutting. Without proper setup, you’ll get bowed cuts, burned blades, and tracking problems. Set up right, the bandsaw handles this beautifully.
The Right Blade for Resawing
The single biggest factor in resaw performance is blade selection. Resawing requires: 3 or 4 TPI (teeth per inch) for hardwoods, 2 or 3 TPI for softwoods. Wider blades (3/4-inch to 1-1/2-inch) resist drift better than narrow blades. The blade should be fresh – never try to resaw with a blade that’s already been used for curve cutting. A Woodslicer or Timber Wolf blade is the standard recommendation for hobby shop resawing.
Step 1: Install and Track the Blade
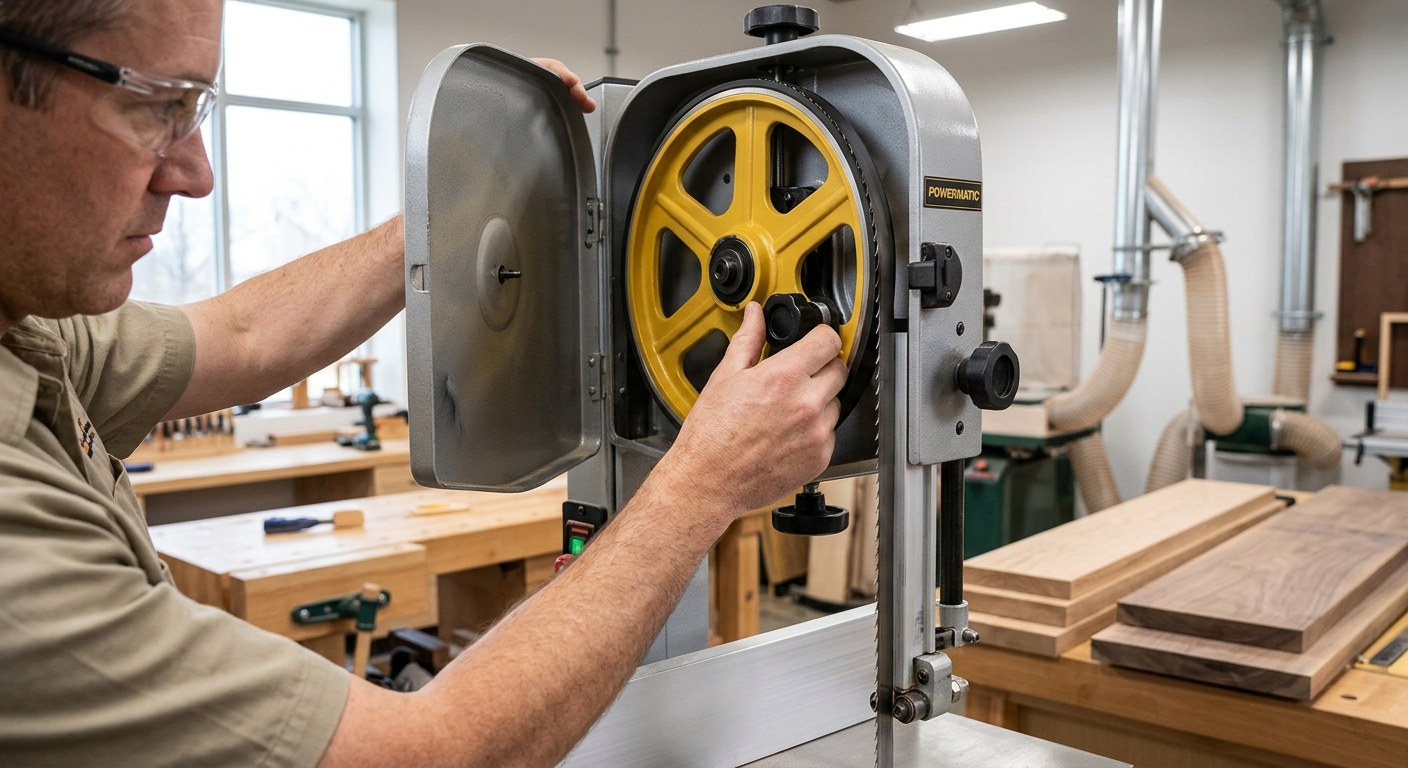
Install the new resaw blade and tension it properly – for a 3/4-inch blade, this typically means significant tension (check your saw’s manual for the correct tension indicator reading). Set blade tracking so the blade runs in the center of the upper wheel. Open the upper guide assembly and power on the saw to check tracking before making any cuts.
Step 2: Set the Guides
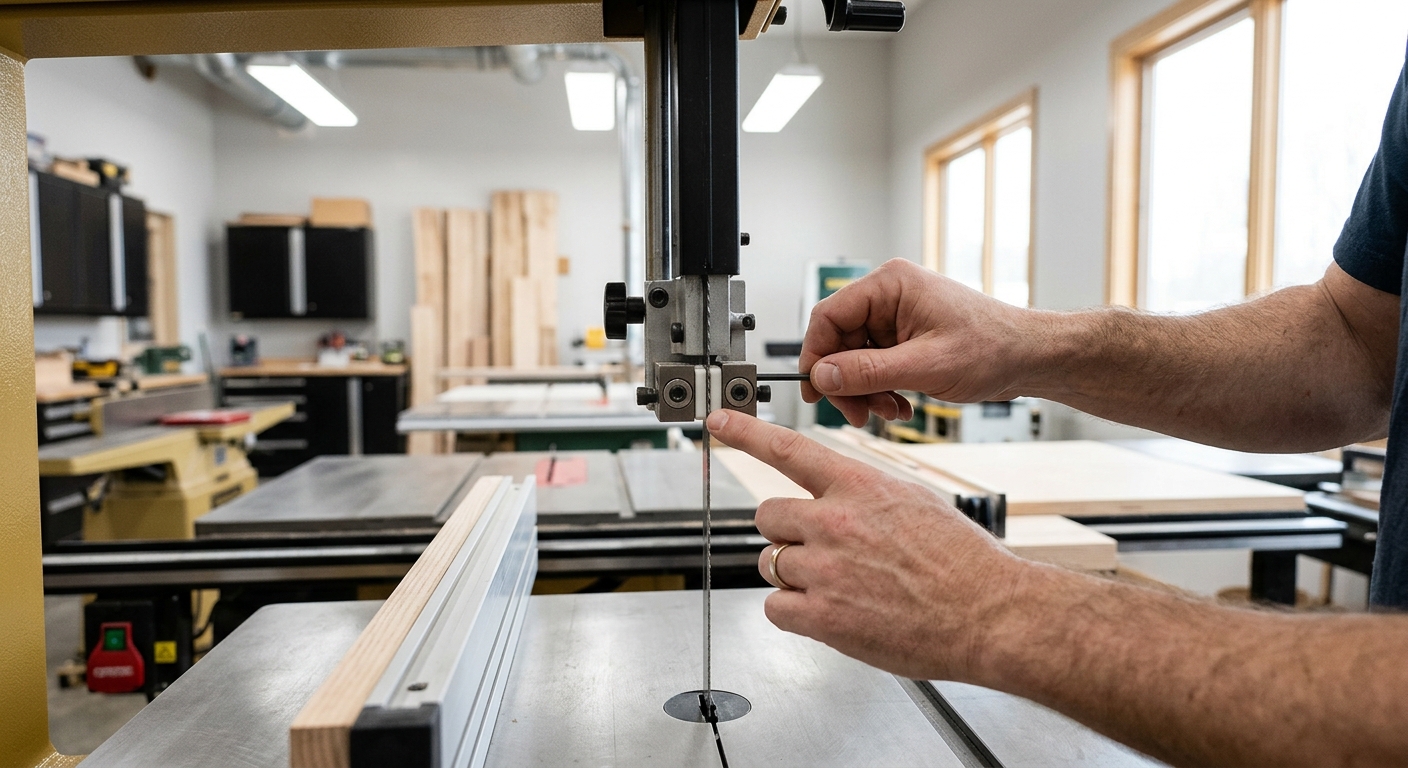
Set the upper and lower guide blocks as close to the blade as possible without touching – about 0.003 inches clearance. The thrust bearings (behind the blade) should be about 0.010 inches behind the blade at rest and contact the blade only when feed pressure is applied. Improper guide adjustment is the most common cause of blade wander during resawing.
Step 3: Check for Blade Drift
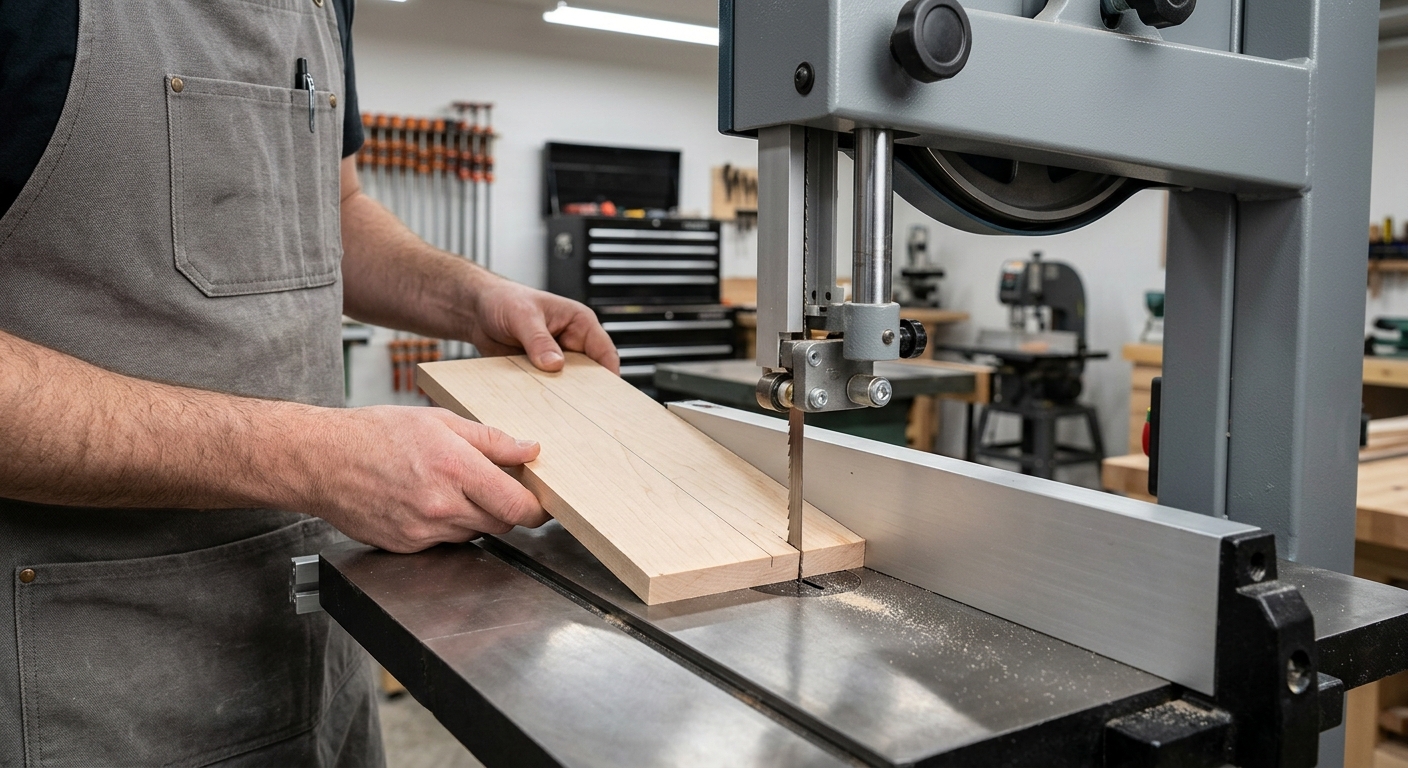
Before setting the fence, check how much the blade drifts from a straight line. Feed a test board into the running blade with the fence removed, guiding freehand until you’re getting a straight cut. The angle the board naturally wants to feed at is your blade’s drift angle. Set the fence at this angle, not parallel to the table edge.
Step 4: Set the Fence
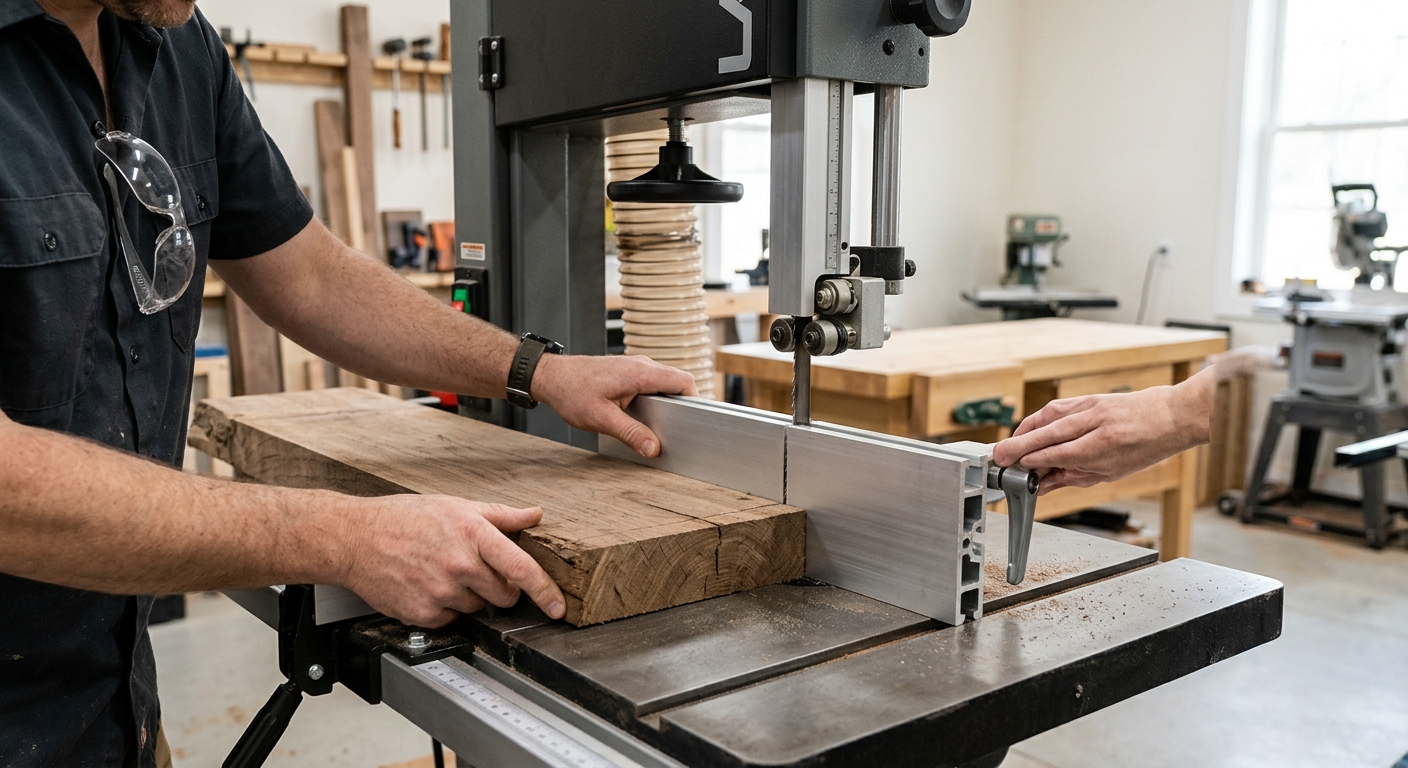
Set the fence at the drift angle you measured, at the distance from the blade equal to the desired stock thickness. Make a test cut in 3/4-inch scrap and check the cut surface for bow or curve. A bowed cut means the blade is deflecting – reduce feed rate, check blade tension, or move the fence slightly.
Step 5: Resaw Technique
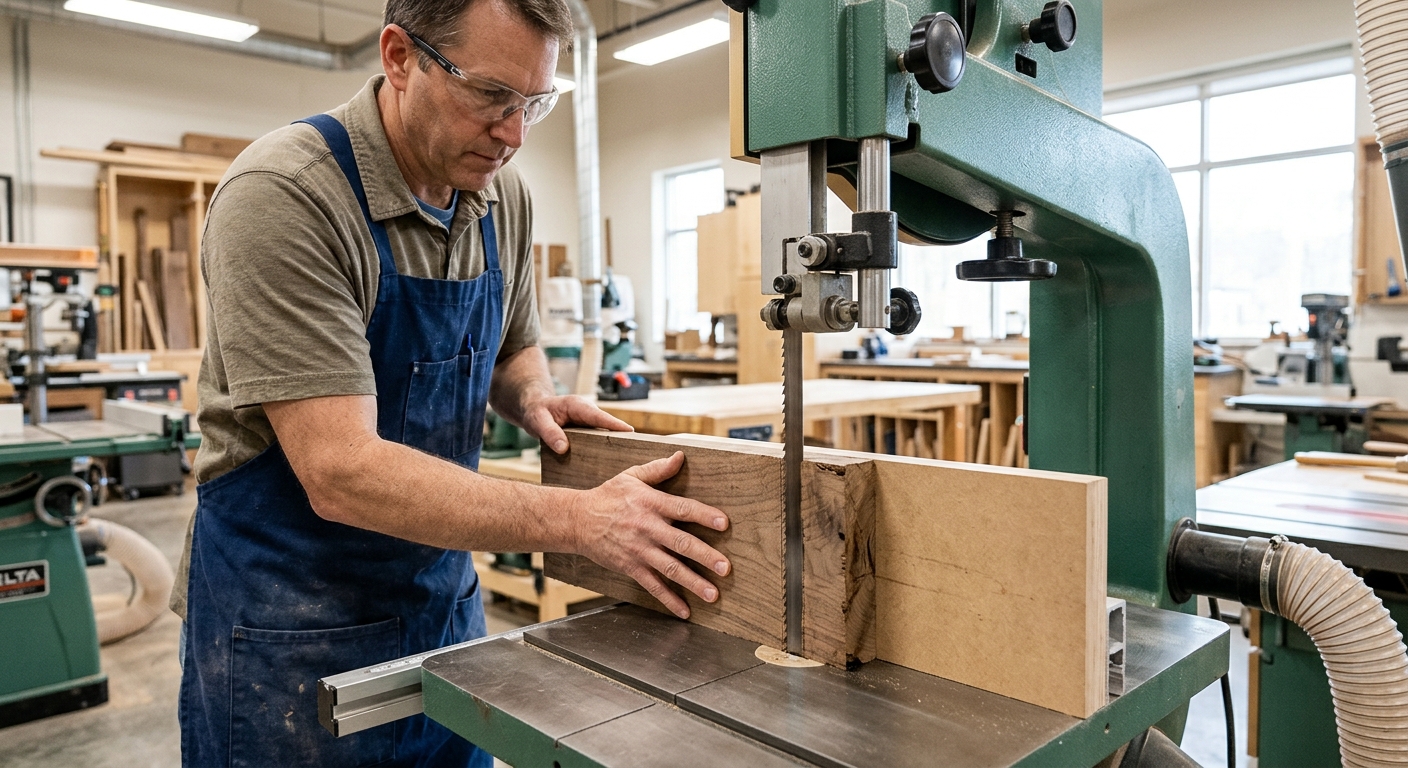
Feed the board steadily with consistent pressure – not too fast (blade deflects) and not too slow (burning and wear). Keep the board pressed firmly against the fence throughout. Use a push stick for the final 4-6 inches. Let the cut wood fall away from the blade without handling it until the cut is complete.
Pro Tips
- Mill the edges first. The board edge that runs against the fence must be straight and square to the face. Joint the bottom edge before resawing – a curved edge tracks against the fence differently as you push, creating a bowed cut even with a good setup.
- Allow for movement. Freshly resawn wood often cups or bows as the internal stresses release. Mill slightly thick, let the wood rest 24-48 hours, then do a final thickness pass.
FAQ
What’s the minimum horsepower for resawing hardwoods?
1 HP is the practical minimum for resawing 6-inch hardwoods. 1.5 HP is more comfortable. At 2 HP, you can resaw nearly any domestic hardwood up to the saw’s resaw height without the motor struggling. For softwoods, 1 HP is adequate for most home shop needs.