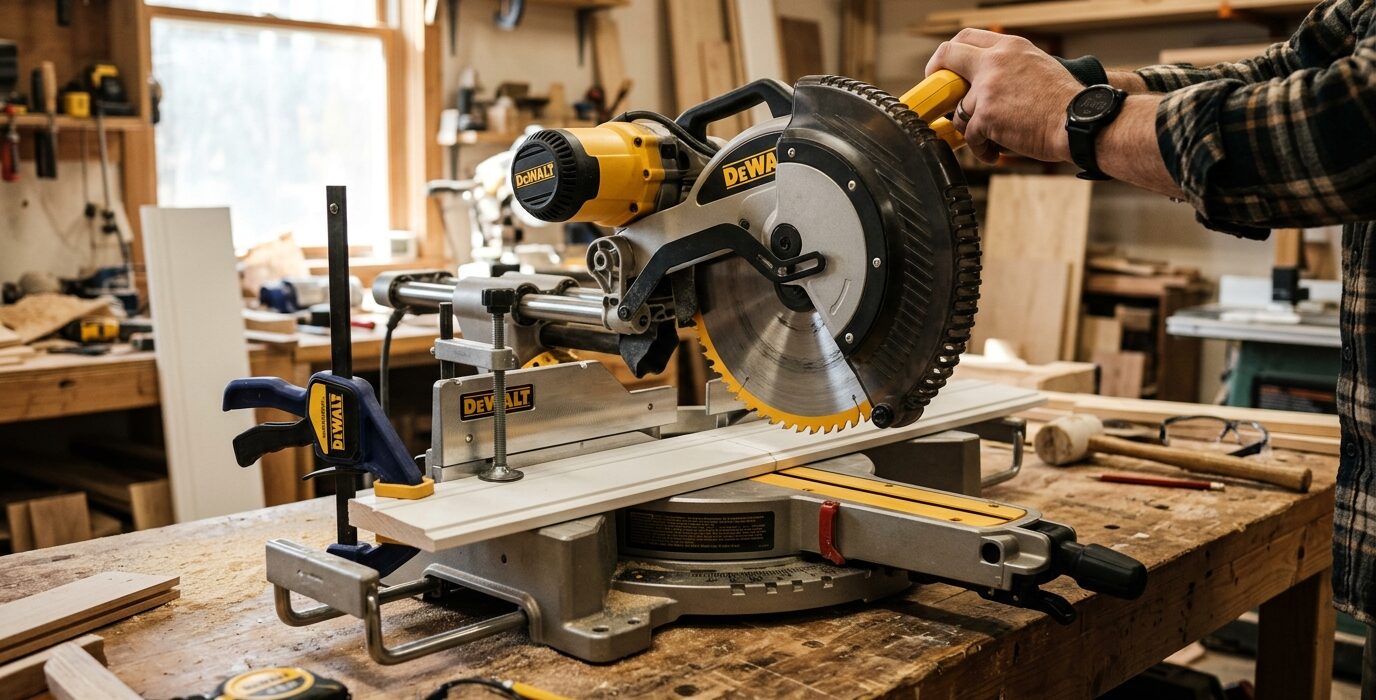
Perfect 45-Degree Cuts Every Time
A miter saw’s factory 45-degree stop is rarely accurate right out of the box – and if it was accurate, it may have drifted with use, transport, or temperature cycling. An inaccurate miter means frames that don’t close, mitered door panels with visible gaps, and picture frames that rhombus instead of rectangle. Calibrating the 45-degree stops takes 20 minutes and should be done any time your mitered cuts don’t close perfectly.
Understanding the Geometry
When two 45-degree cuts meet, they form a 90-degree corner – if and only if both cuts are exactly 45 degrees. A cut at 44.9 degrees and 45.1 degrees will produce a 90-degree corner between those two pieces, but the pair won’t match with another pair cut identically. The way to verify 45-degree accuracy is to cut four identical pieces and assemble them into a square – if the square is truly square and the joints close without gaps, the saw is accurate.
What You Need
- Scrap wood, 2 inches wide and at least 12 inches long (several pieces)
- Reliable 90-degree square (machinist’s square or known-accurate combination square)
- Blue tape
- Saw adjustment tools per your saw’s manual
Step 1: Make Four Test Cuts
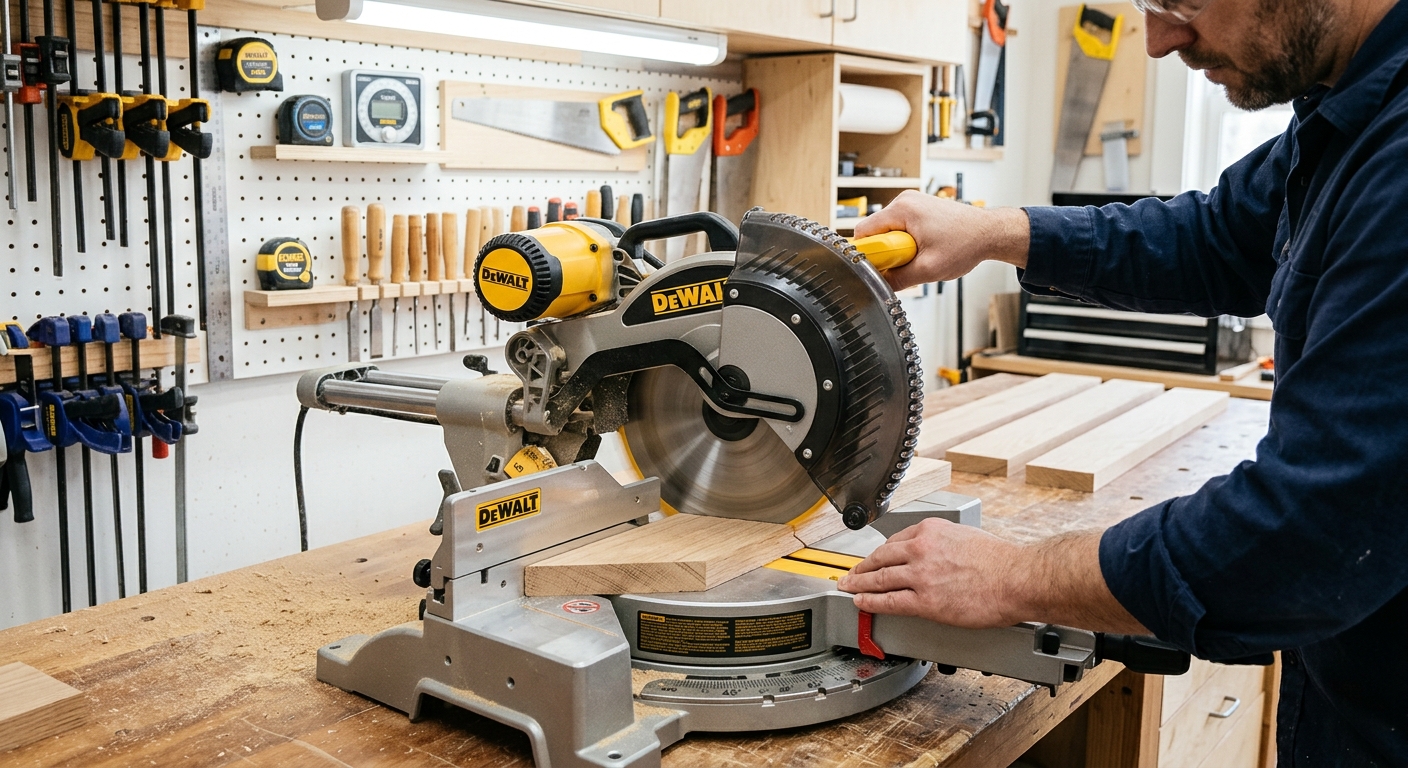
Cut four pieces of identical scrap to identical lengths with 45-degree miters at each end. Don’t move the saw between cuts – keep the saw locked at 45 degrees throughout. The four pieces should be identical in length from tip to tip of the miter cut.
Step 2: Assemble the Test Frame
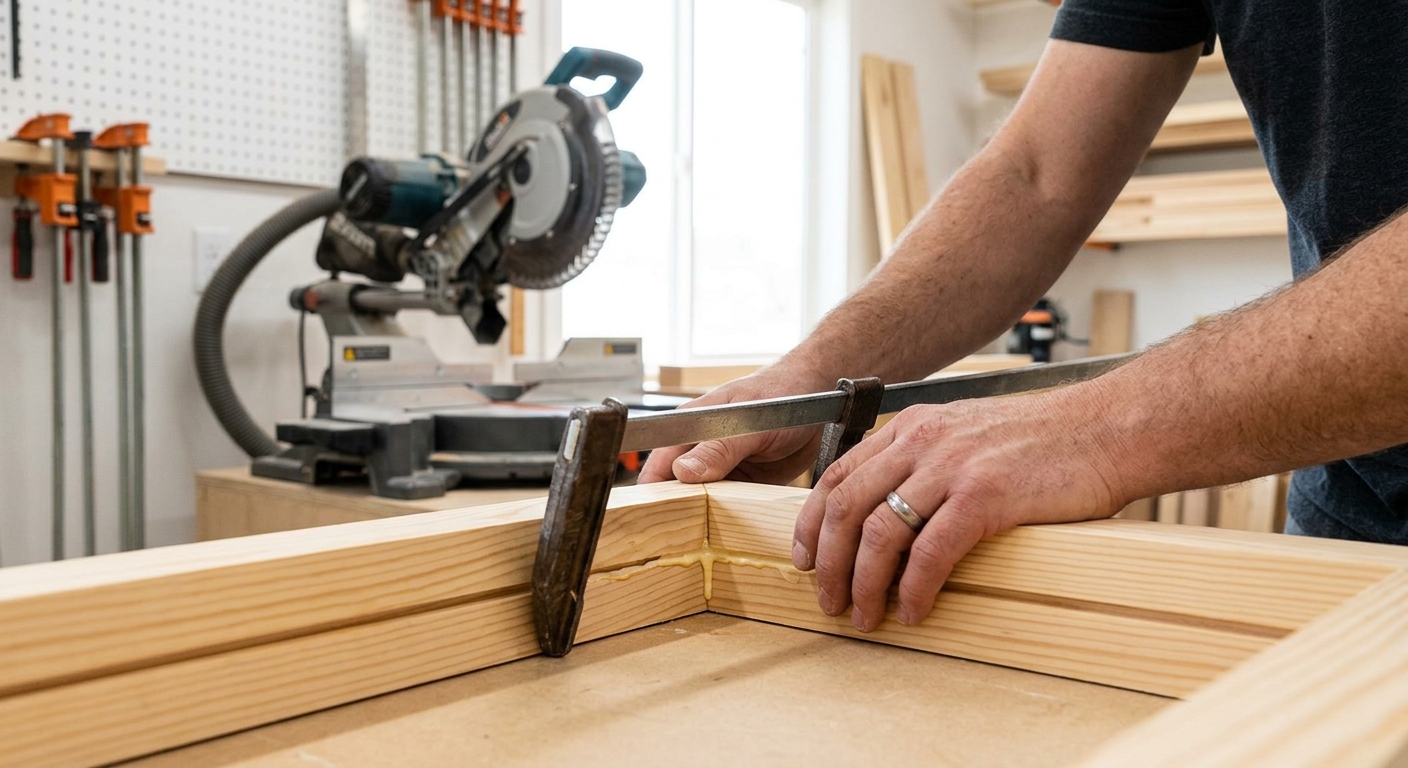
Lay the four pieces in a square frame on a flat surface. Hold them together with tape at the corners. The joints should close without gaps and the inner corner of each should be 90 degrees. Check for square by measuring diagonals – equal diagonals mean the frame is square. Check whether the frame lies flat on the surface – if it rocks, one piece is slightly different in length.
Step 3: Identify and Correct the Error
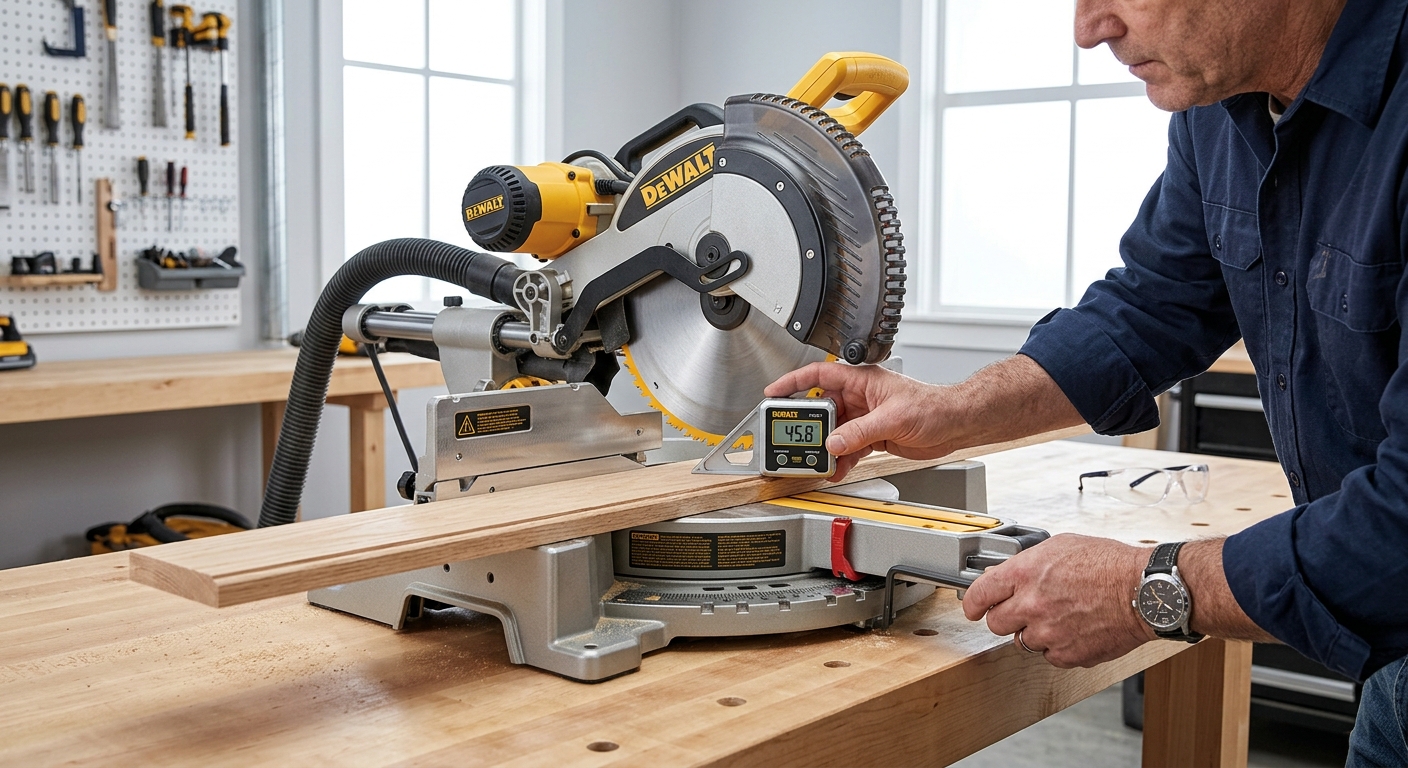
If the joints gap on the inside of the corner, your miter is over 45 degrees. If they gap on the outside, it’s under 45 degrees. Adjust the 45-degree stop accordingly – most saws have a hex bolt that contacts an adjustable stop plate. Loosen the locking nut, adjust the stop, retighten, and make a new test cut. Repeat until the frame test passes.
Step 4: Calibrate Both Directions
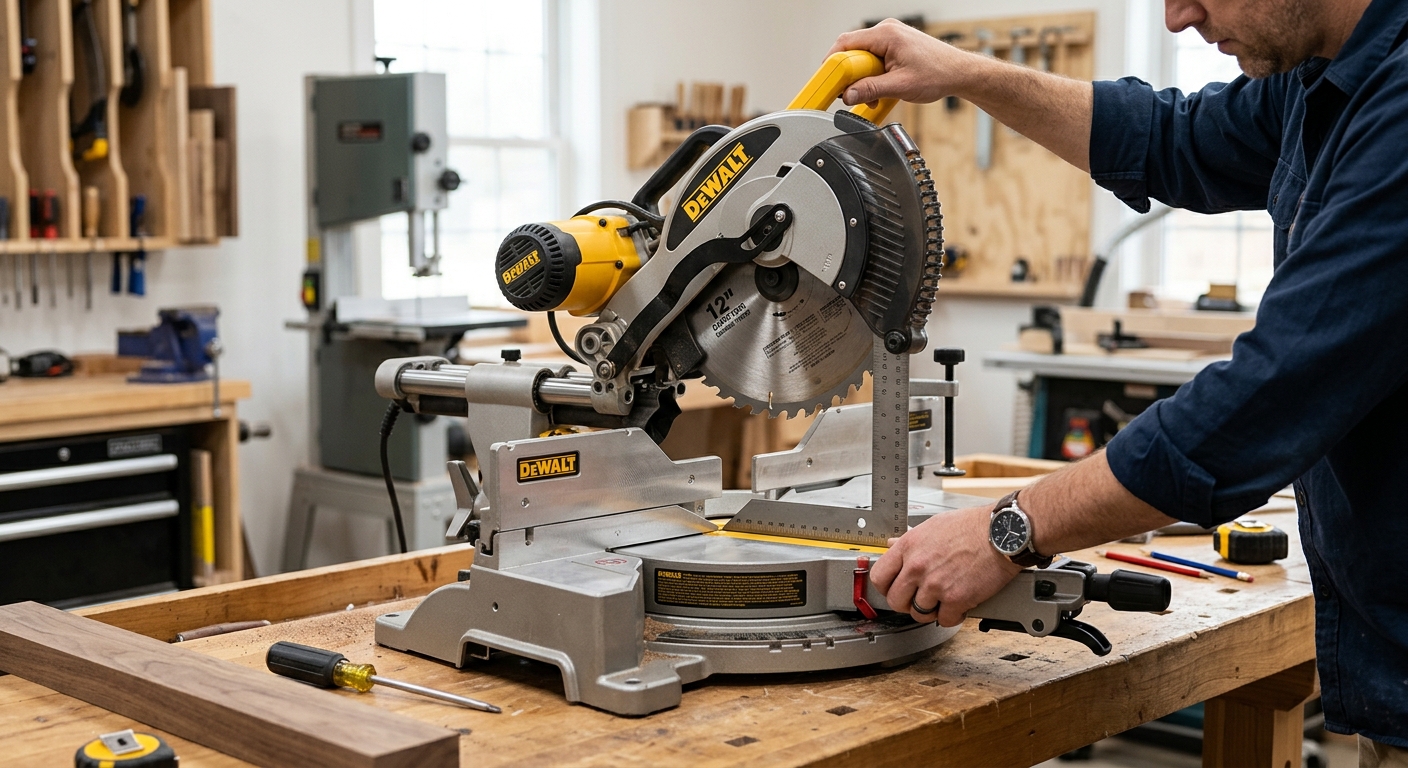
The saw has independent stops for 45 degrees left and 45 degrees right. Calibrate each separately – they often differ slightly. The left bevel and right bevel stops (for compound miter work) also have independent adjustments.
Step 5: Check the 90-Degree Stop Too
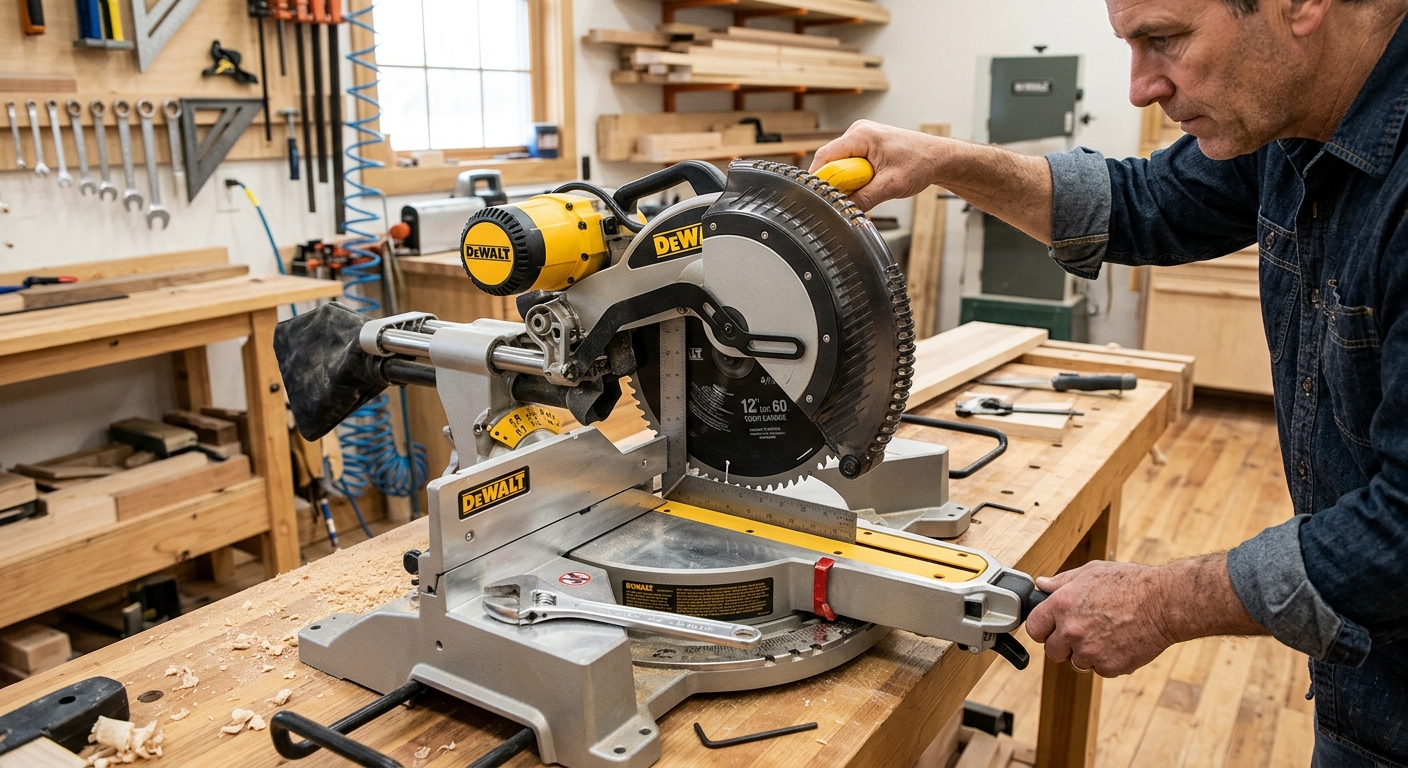
While you’re at it, check the 90-degree stop. Set the saw to 90 degrees and cut a board. Check the cut face against a reliable square in multiple positions across the cut width. Adjust the 90-degree stop the same way as the 45-degree stop.
Pro Tips
- Cut test pieces long. A 12-inch test piece magnifies any error in the stop. A 4-inch piece might close fine with a slight error that becomes a gap in a long molding run.
- Recheck after changing blades. A new blade that’s thicker or thinner than the previous one can change the effective cut angle due to the kerf width interaction with the fence. Always retest accuracy after a blade change.
FAQ
My frame test shows a twist, not just a gap – what does that mean?
Twist in the assembled frame (it rocks on the flat surface) indicates that one piece is slightly shorter or longer than the others, not that the angle is wrong. This usually means one cut was taken with the piece slightly raised off the table – the miter saw table and fence must be flat and the workpiece must be fully supported throughout the cut.