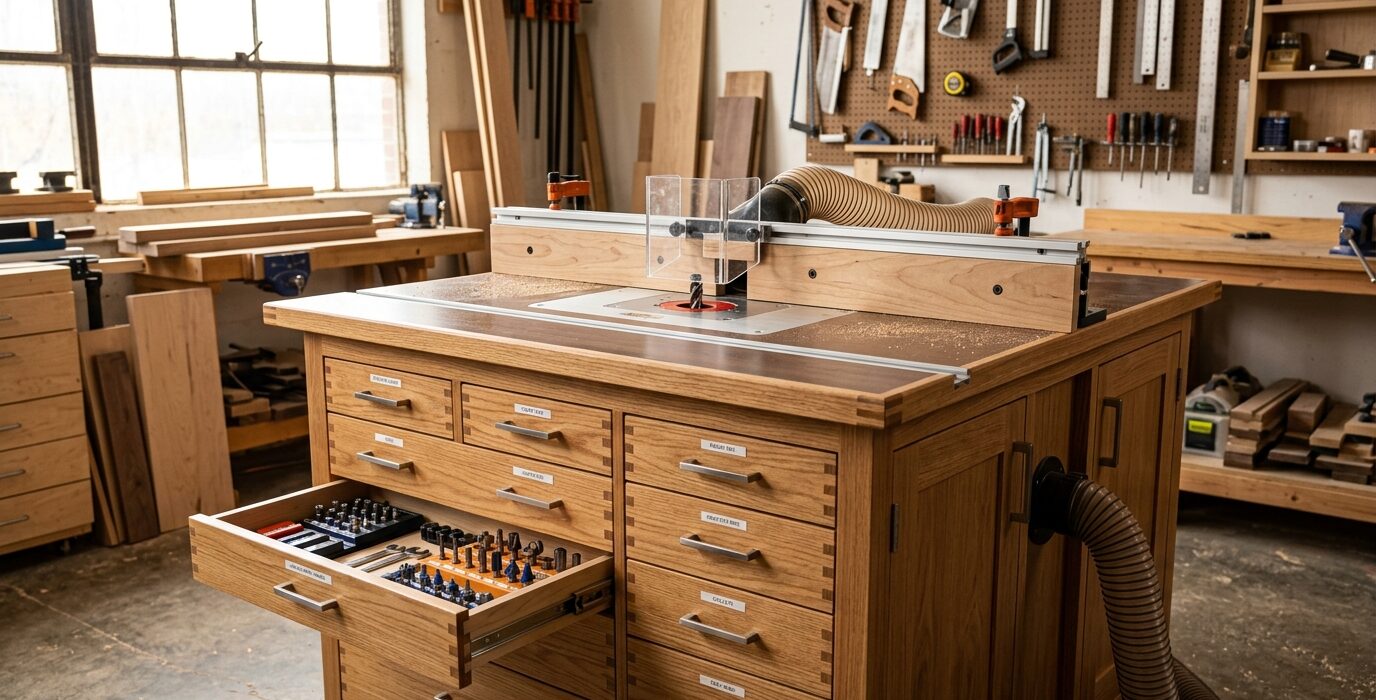
Router Table Setup, Bits, and Safe Operation
A router table turns a handheld router into a stationary machine – one of the most versatile in the shop. But it also changes the safety calculus significantly. Instead of moving the tool over a stationary workpiece, you move the workpiece into a stationary spinning bit. Understanding how this changes feed direction, what bit types are appropriate for table use, and how to set the fence and guards correctly is what separates safe, effective router table use from an accident waiting to happen.
Feed Direction Is Critical
Always feed the workpiece from right to left when facing the router table fence. The bit spins counterclockwise (when viewed from below) – feeding right to left means the bit’s rotation pushes the workpiece into the fence, keeping it under control. Feeding in the wrong direction (left to right) creates climb cutting, where the bit can grab the workpiece and throw it violently.
Step 1: Select the Right Bit
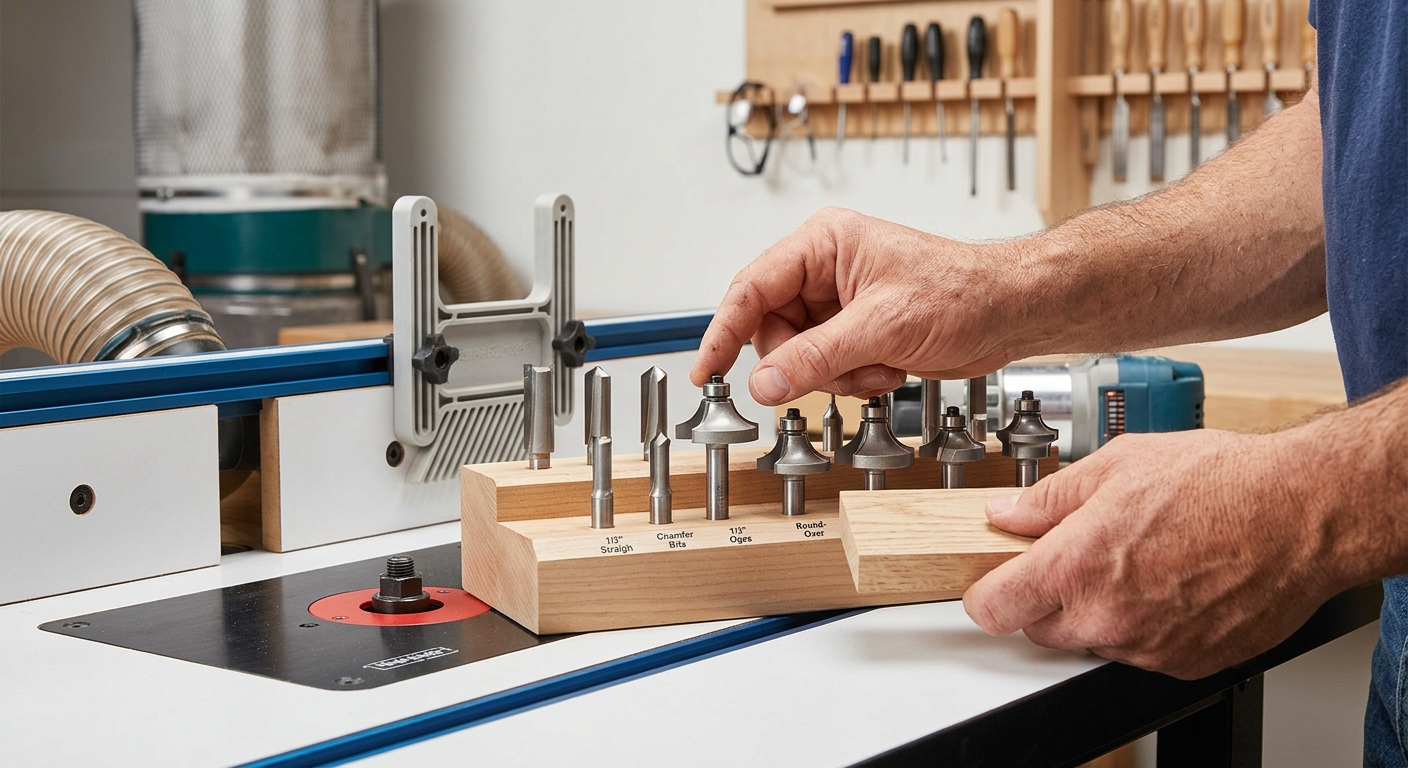
Router table bits differ from handheld bits: they typically have 1/2-inch shanks (always preferred for table use – 1/4-inch shanks flex too much at table speeds), and large-diameter profile bits (raised panel, large roundover, cove) should only be used in a table, never freehand. Use bits with bearing guides for edge profiles and use the fence for non-guided profiles.
Step 2: Set the Bit Height
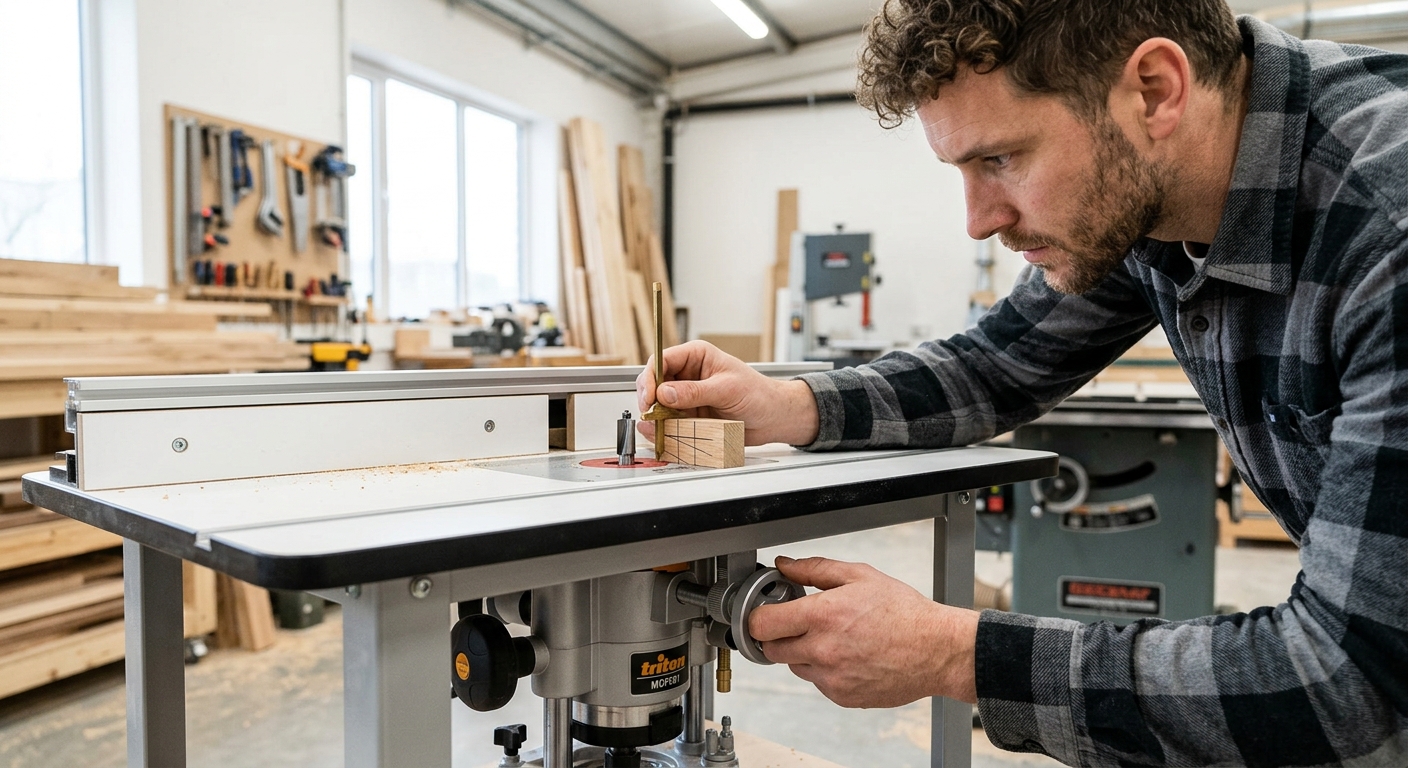
Adjust the bit height with the router unplugged. Set to your desired profile height – for a roundover, typically the center of the bit radius at the workpiece face. For dadoes and grooves, the bit projects exactly the groove depth above the table. Lock the height with the router’s locking mechanism or the lift lock knob before starting the router.
Step 3: Set the Fence
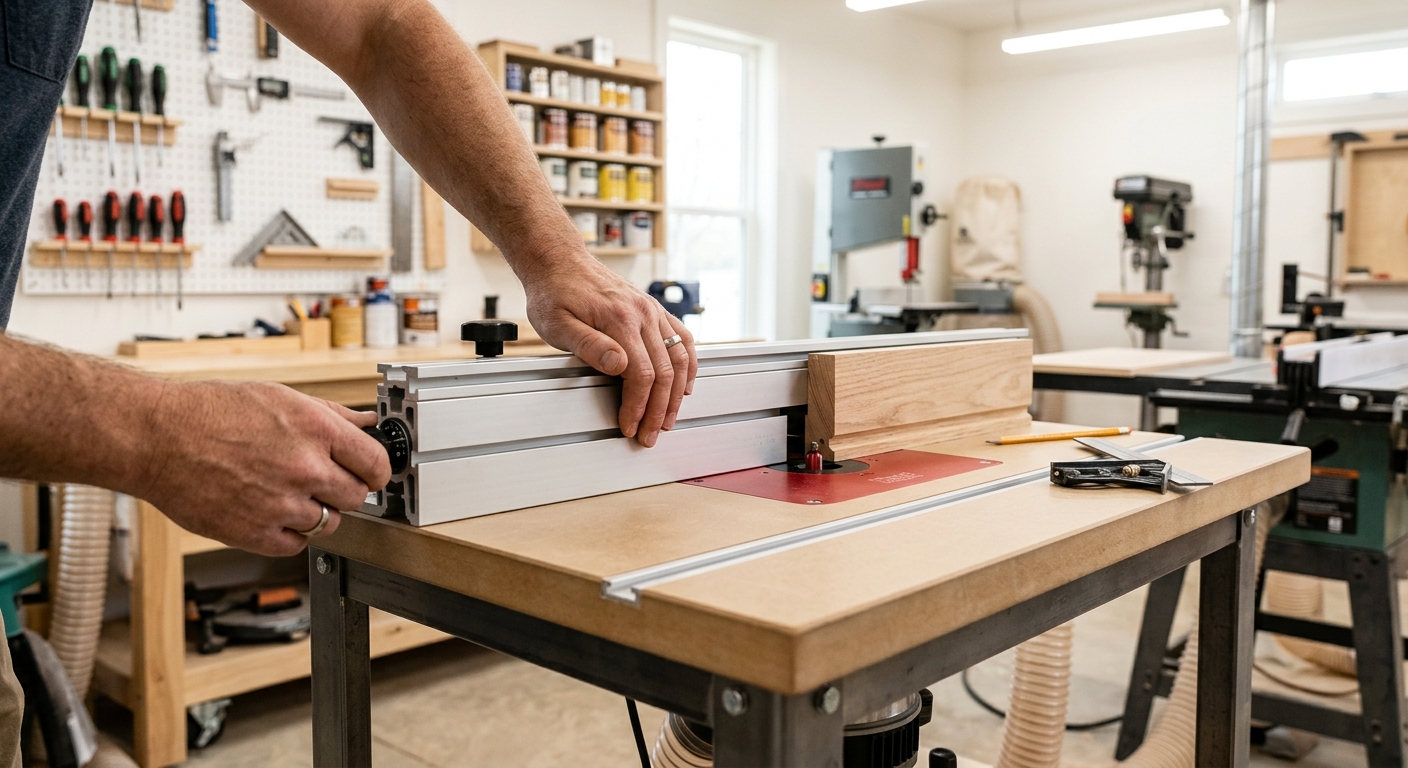
The fence must be positioned so the bearing (for bearing-guided bits) is flush with the fence face, or the fence is at the correct offset for non-guided bits. Use a straight edge to check that both halves of the split fence (if applicable) are coplanar. The fence should be perpendicular to the table surface – check with a square.
Step 4: Set the Guard and Featherboards
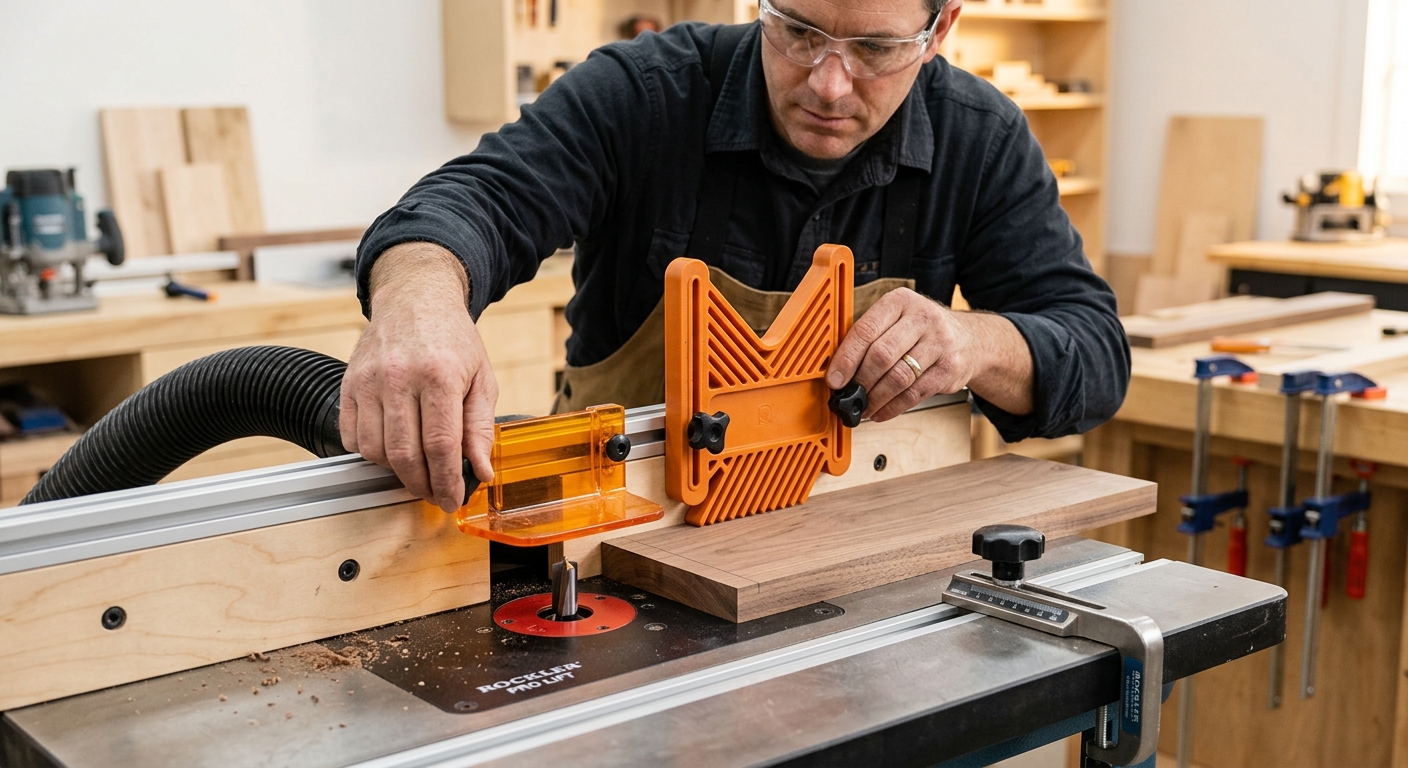
The bit guard should cover as much of the rotating bit as possible while still allowing workpiece passage. Install a featherboard on the fence to hold the workpiece against the table surface – this prevents chatter and ensures consistent cut depth. Install a second featherboard ahead of the bit to keep the workpiece pressed against the fence.
Step 5: Make Test Cuts
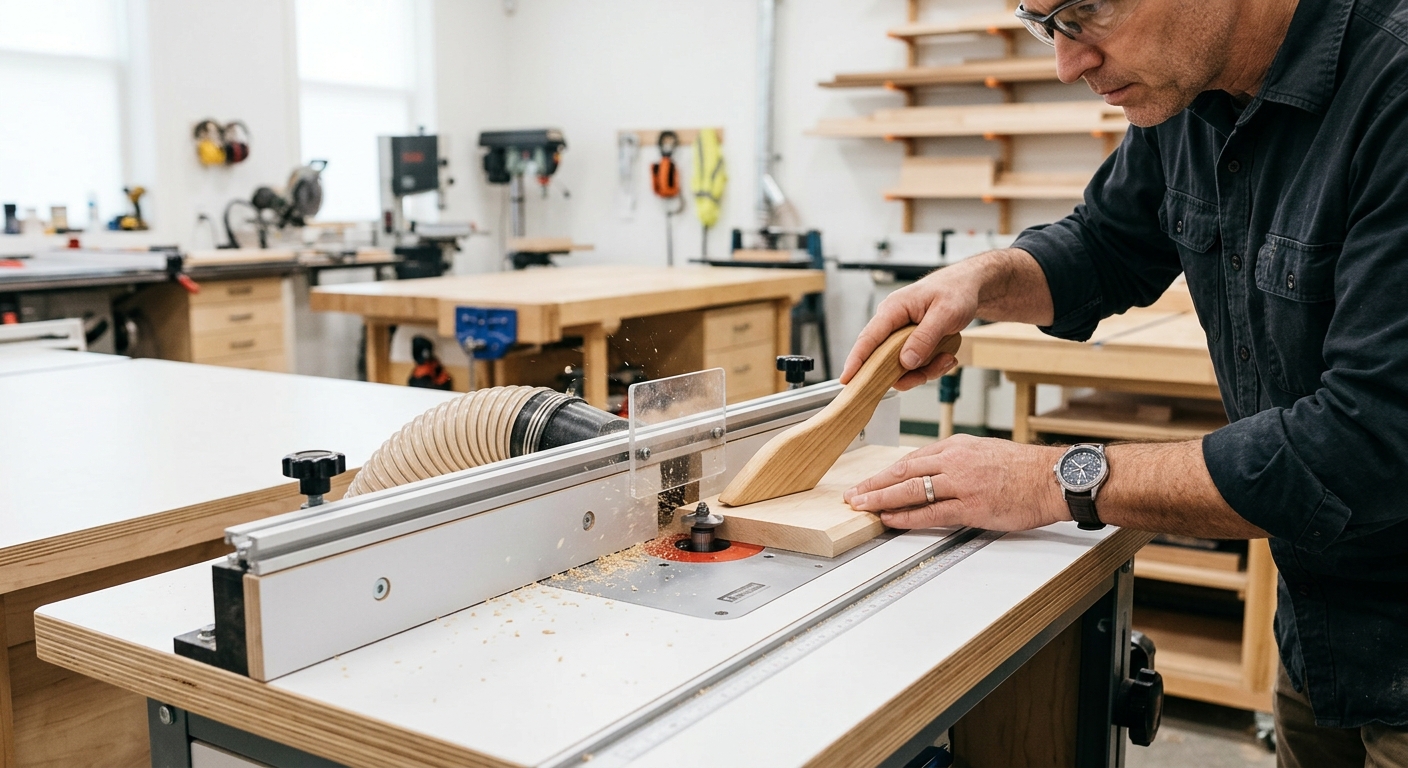
Make the first pass on scrap material at your finished settings. Check the profile and adjust bit height if needed. Test for burning (feed too slow or bit dull), tearout (feed too fast or bit spinning backward), and chatter (featherboard too loose or bit too high for the setup). Adjust until the test cut is clean, then switch to project material.
Router Table Safety Rules
- Never use a router table without the guard in place
- Always use featherboards for production runs
- Never adjust bit height with the router running
- For large-diameter bits, raise the full profile in two or three passes
- Keep hands away from the bit – use push sticks for narrow stock
FAQ
Can I rout end grain on a router table?
Yes, but end grain has very short fiber lengths that can blow out at the exit corner. Rout end grain first, then rout the long grain – any tearout at the end grain exit corner gets removed when you rout the long grain. Use a backing block behind the workpiece at the end grain exit to prevent tearout entirely.