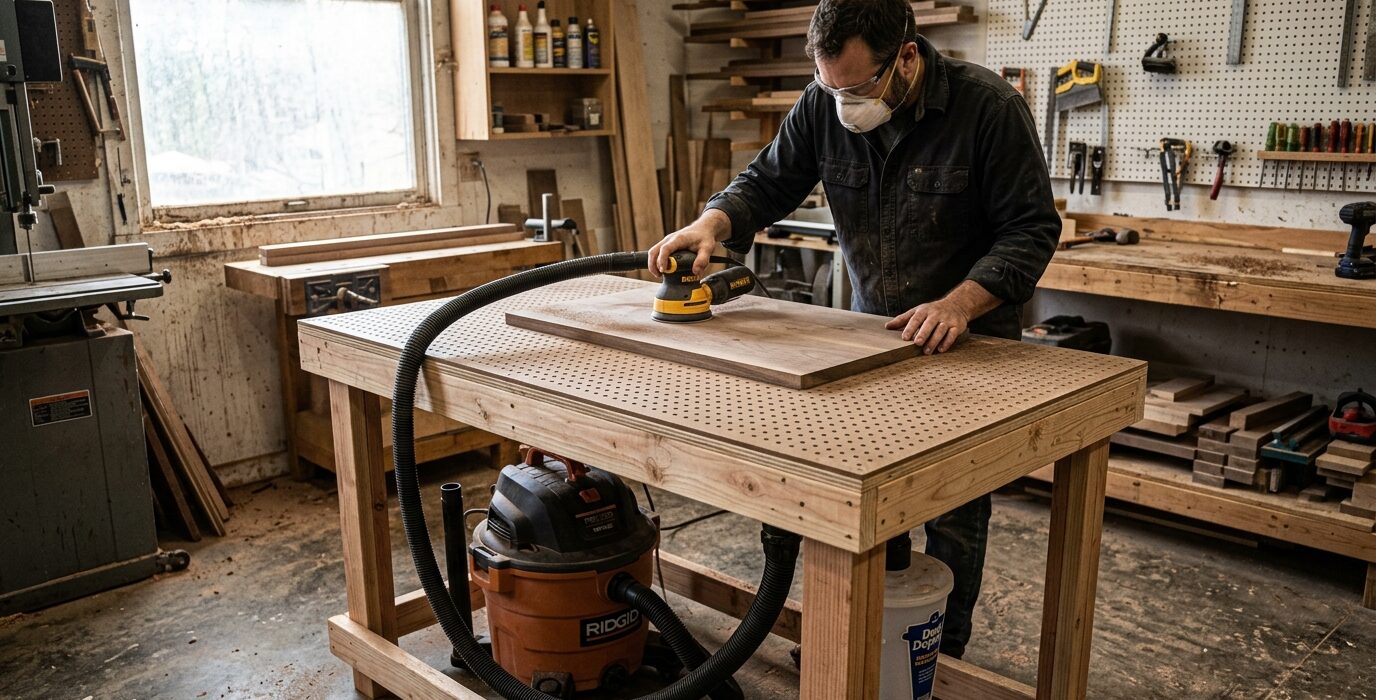
A Downdraft Sanding Table Captures Dust Before It Reaches the Air
Sanding produces the finest and most hazardous dust in any shop – particles small enough to stay airborne for hours and penetrate deep into the lungs. A downdraft sanding table pulls air down through the work surface, capturing sanding dust directly at the source before it ever becomes airborne. This build connects to a standard shop vac or dust collector and eliminates the cloud of dust that surrounds every sanding session.
How a Downdraft Table Works
The table top is a grid of small holes. A dust collector or shop vac connects to a port in the sealed cabinet beneath the top. As the collector runs, it draws air downward through the holes, pulling dust particles down rather than letting them float upward. The efficiency is surprisingly high – most of the sanding dust lands in the collection bag instead of the shop air.
Materials
- 3/4-inch MDF or plywood for the box sides, top, and bottom
- One sheet of 1/2-inch MDF for the perforated top (drill the holes in this)
- 2.5-inch dust collection fitting and blast gate
- Wood screws and silicone sealant for the box joints
- Optional: four casters to make it mobile
Step 1 – Build the Sealed Cabinet Box
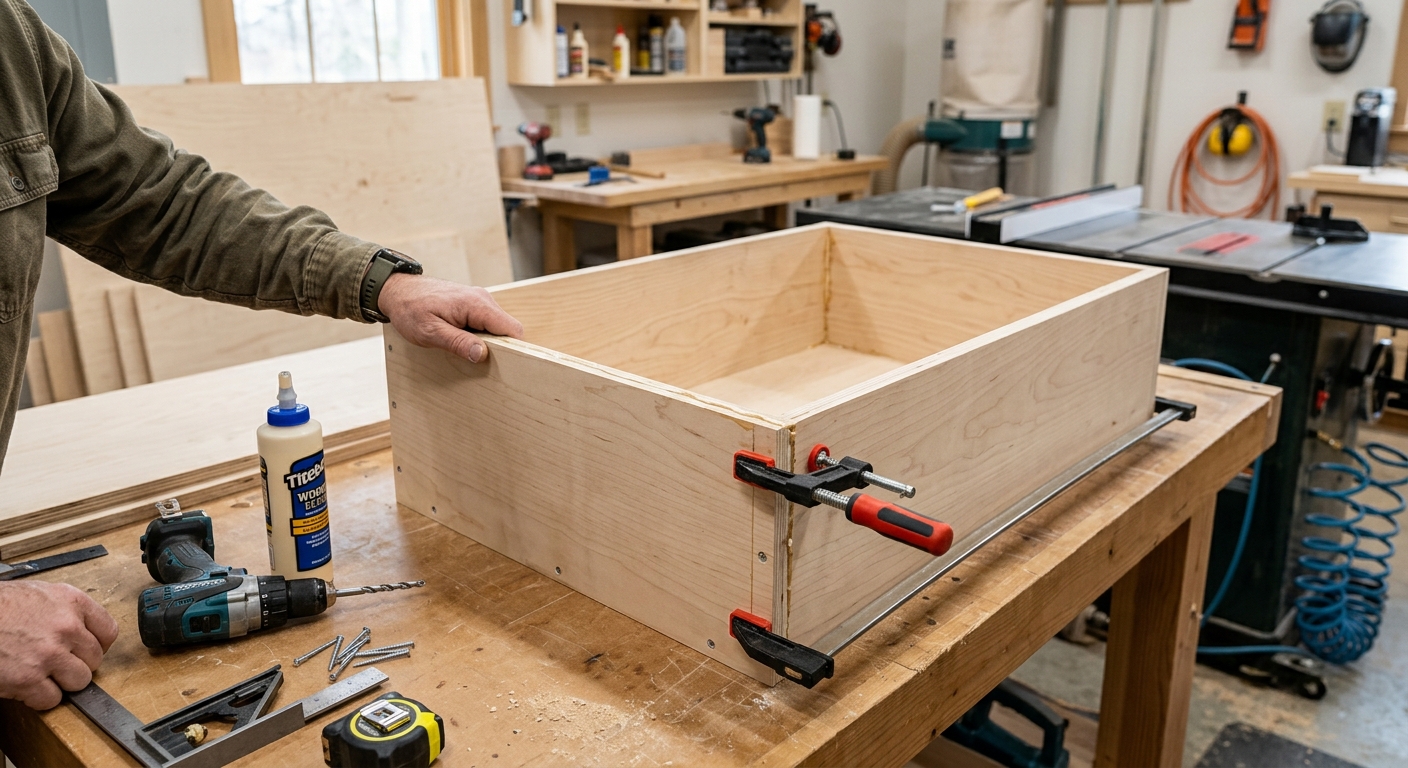
Build a box approximately 18 x 24 x 8 inches – width and depth sized to your largest workpiece, height sized to fit under your bench or stand alone at a comfortable working height. The box must be airtight – caulk all interior joints with silicone sealant. Any air leaks reduce the downdraft pressure significantly. Cut a 2.5-inch hole in one side for the dust collection fitting.
Step 2 – Build and Drill the Top Panel
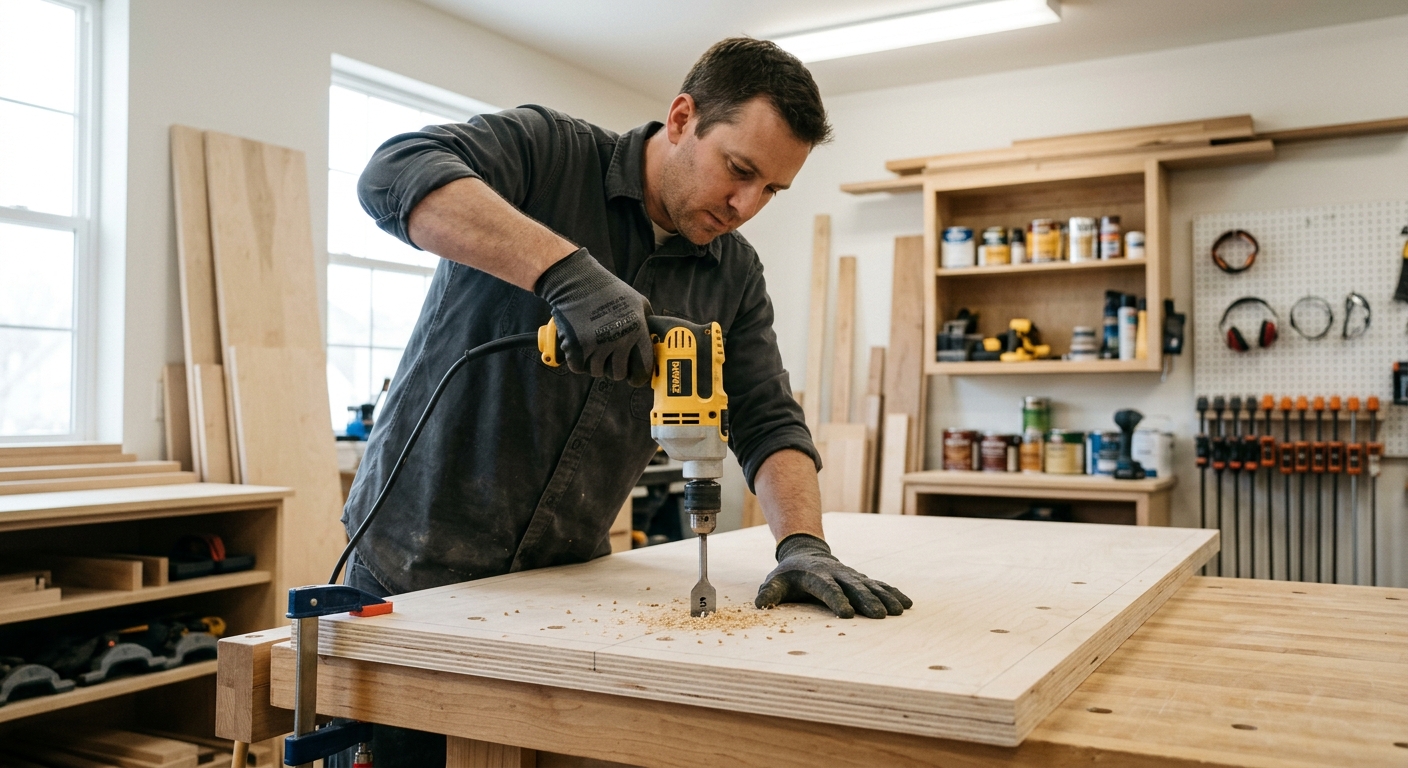
The top panel has a grid of 1/4-inch holes on a 1-inch grid pattern across the full working area. Drill every hole with a sharp brad-point bit. The holes must be clean – ragged holes create turbulence that reduces efficiency. Lay out the hole grid carefully with a ruler and punch before drilling. A drill press makes this go much faster and more accurately than hand drilling.
Step 3 – Attach the Top to the Box
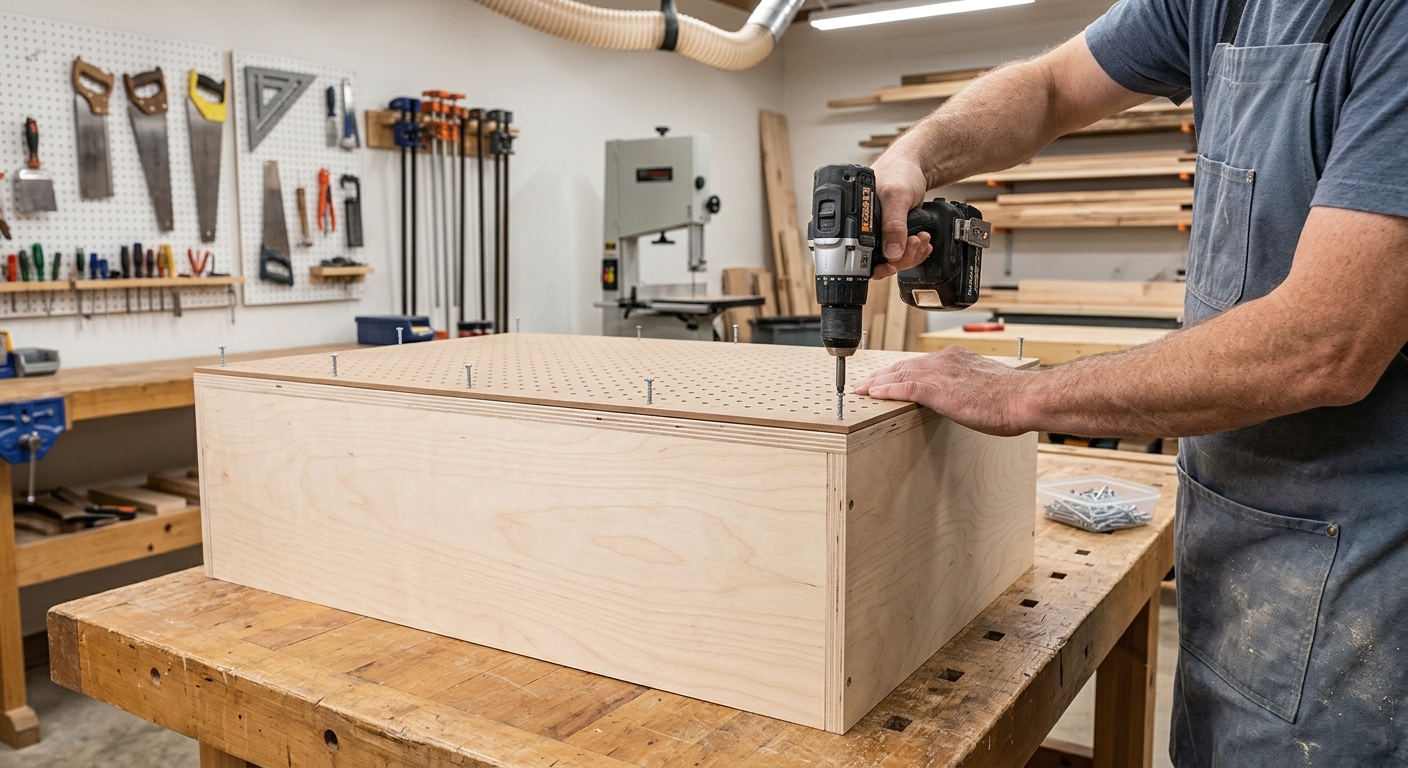
Screw the perforated top to the box with screws around the perimeter. Seal the joint between the top and the box sides with silicone caulk – even small gaps reduce efficiency. Let the caulk cure before connecting to the dust collector.
Step 4 – Install the Dust Collection Port
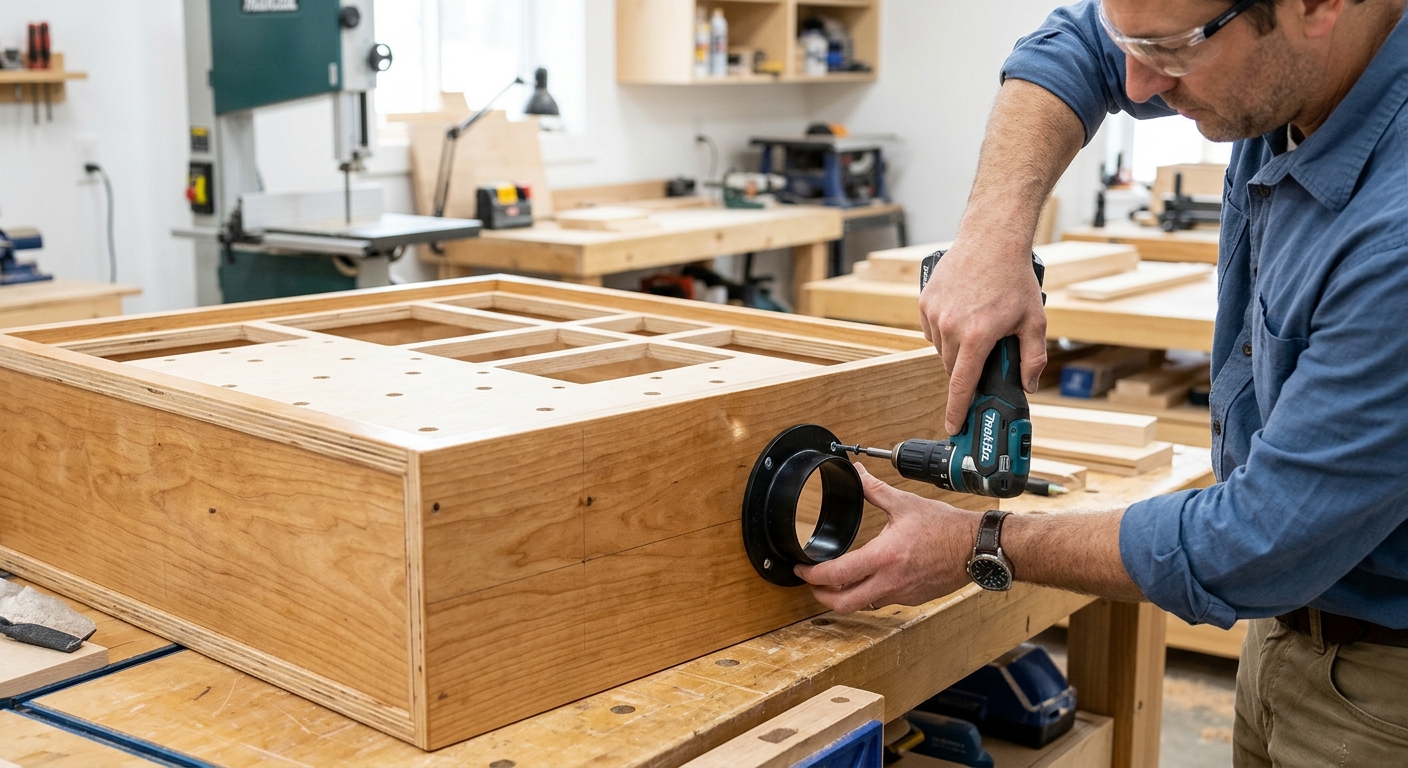
Install a 2.5-inch dust collection fitting in the hole you cut in the side. Add a blast gate so you can control airflow. Connect to your shop vac or dust collector with a 2.5-inch hose. Run the collector and hold your hand over the top surface – you should feel a definite suction through the holes.
Step 5 – Test and Adjust
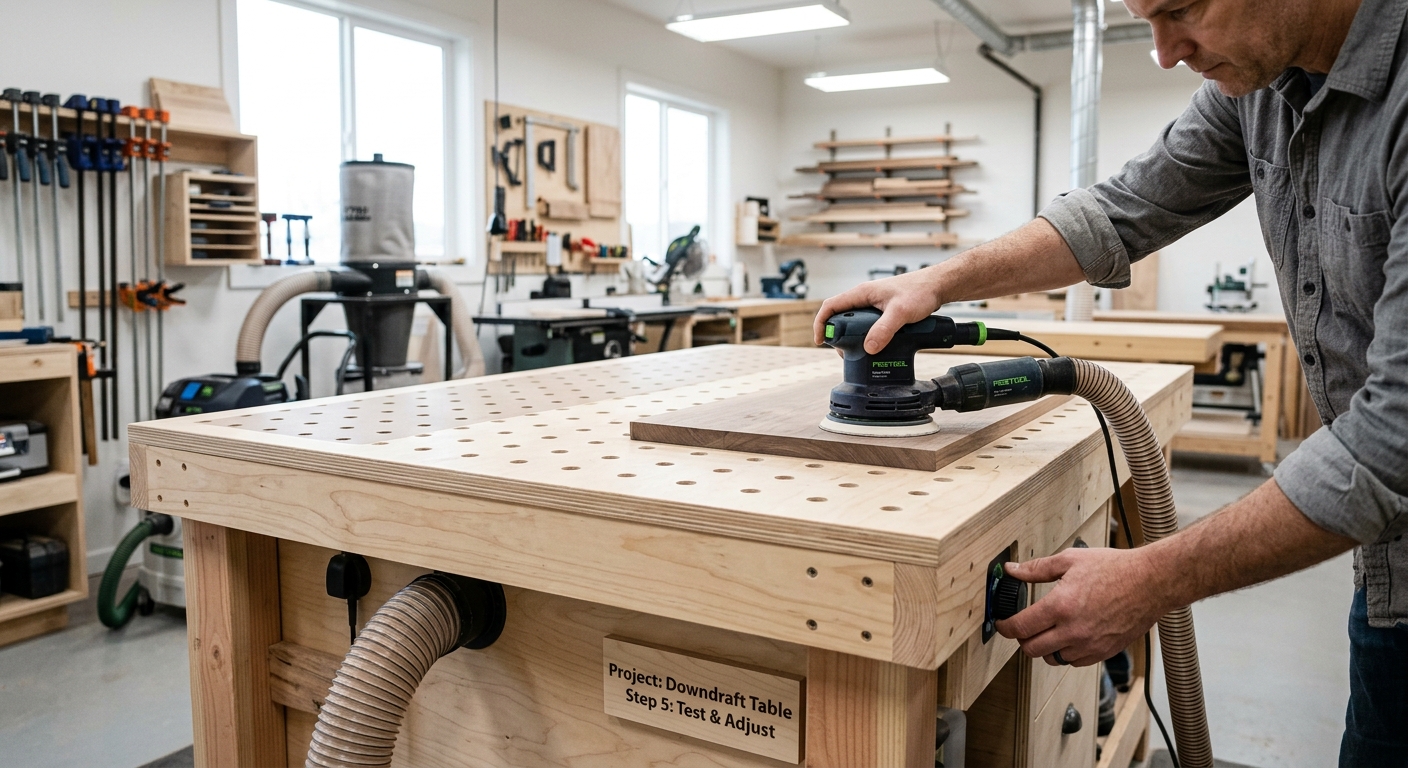
Sand a small piece on the table with the collector running. The dust should be pulled down through the holes rather than floating up. If dust is still going airborne, check for air leaks in the box joints and seal them. A well-built downdraft table with a 1.5 HP dust collector will capture 90 percent or more of sanding dust.
FAQ
Can I use a shop vac instead of a dust collector? Yes – a shop vac with at least 120 CFM flow rate works for smaller tables (up to about 12 x 18 inches). For larger tables, a dust collector with higher CFM is needed to maintain adequate downdraft pressure across the full surface.
What if I’m sanding large panels that don’t fit on the table? Sand the center of the panel on the table, then shift the panel to sand the edges. The table captures most of the dust even if part of the panel hangs over the edge.