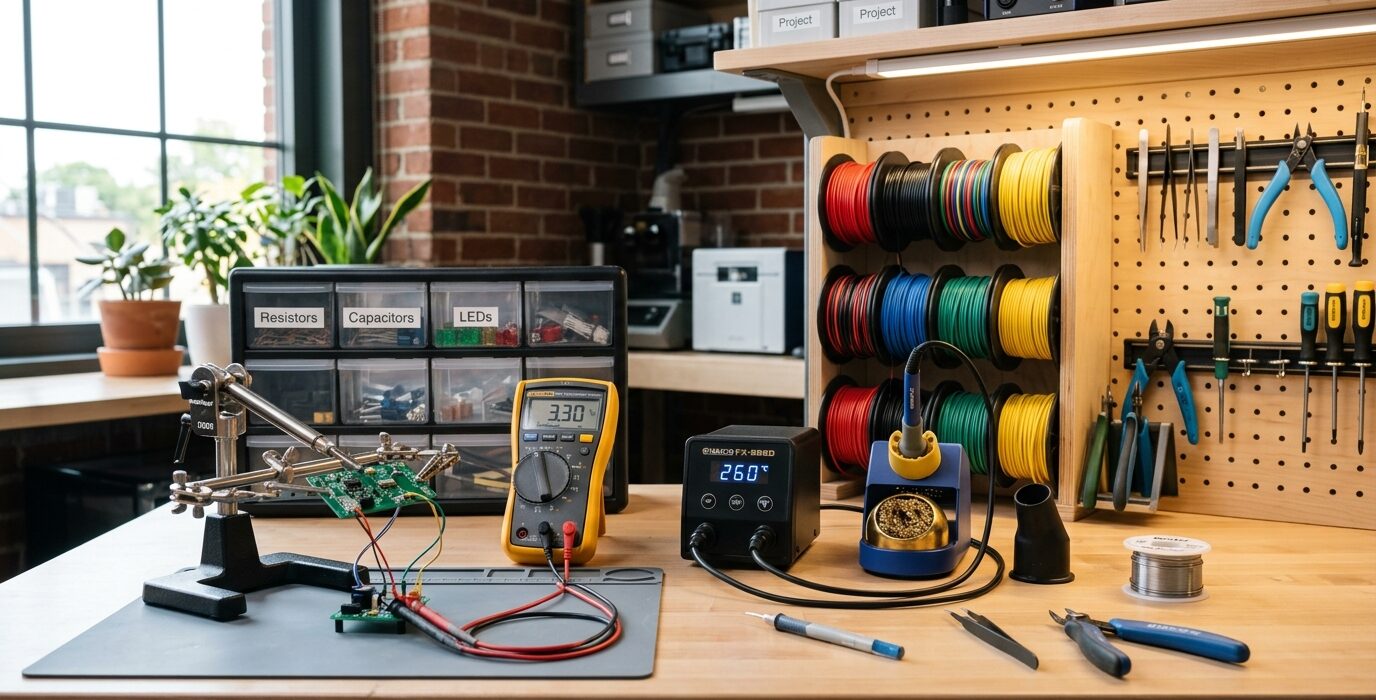
An Electronics Workbench Built for Real Work
An electronics workbench has different requirements than a woodworking bench. You need ESD protection for static-sensitive components, a grounded work surface, bright task lighting positioned to eliminate shadows, organized component storage, and power distribution with multiple independently switched outlets. This build creates a professional-level electronics bench from plywood and standard hardware.
What Makes an Electronics Bench Different
- ESD protection: An antistatic mat connected to ground protects components from electrostatic discharge
- Lighting: Bright, shadow-free task lighting – an LED ring light or multiple adjustable arm lamps
- Power: Multiple switched outlets for oscilloscope, soldering station, bench power supply, and test equipment
- Storage: Small parts bins for components, dedicated holders for tools, and a place for test leads and probes
- Surface height: Slightly higher than a woodworking bench – 36 to 40 inches works well for seated or standing electronics work
Materials
- 3/4-inch plywood for the bench structure
- Antistatic work mat (available from electronics suppliers)
- ESD wrist strap and grounding cable
- One power strip with individually switched outlets (Wiremold or similar)
- LED desk lamp or ring light
- Parts bins and storage rails (AkroMills or similar)
Step 1 – Build the Bench Structure

Build a plywood bench at 38 to 40 inches high – the extra height above standard bench height lets you work at a more comfortable eye level for fine circuit work. Add a solid back panel for mounting the parts storage rails and power strip. Include a lower shelf for heavy equipment like bench power supplies and oscilloscopes.
Step 2 – Install the ESD Work Surface
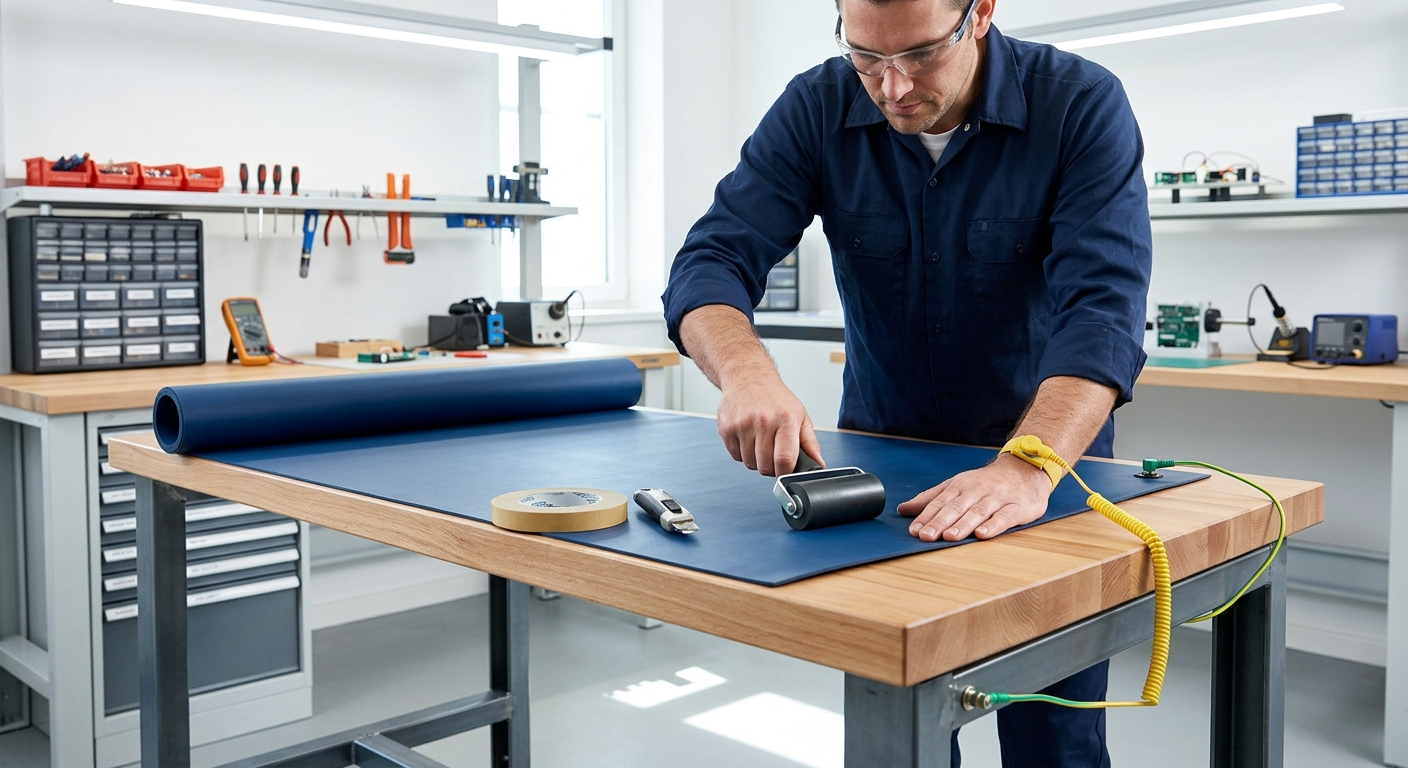
An antistatic mat covers the bench top work area. The mat has a grounding snap that connects to a grounding cable and plug. The plug goes into the ground pin of a properly grounded outlet. This dissipates any static charge built up from moving components, handling boards, or working with foam packaging materials.
Step 3 – Mount the Power Strip
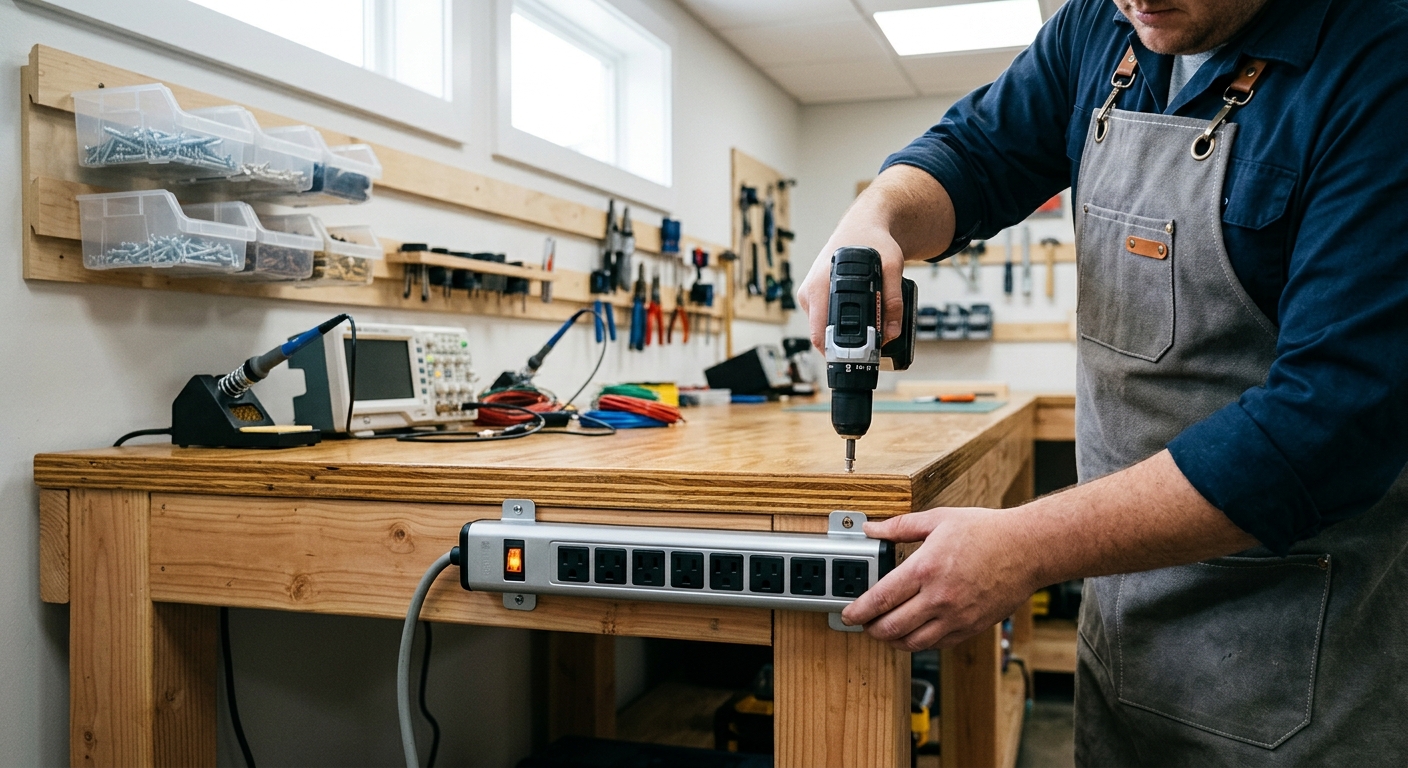
A power strip with individually switched outlets lets you turn on only the equipment you need for a given task. Mount it at the back of the bench at a comfortable reach – not so close that you brush against the switches while working. Choose a strip with a master switch and individual switches for each outlet. Label each outlet for its usual equipment.
Step 4 – Set Up Lighting
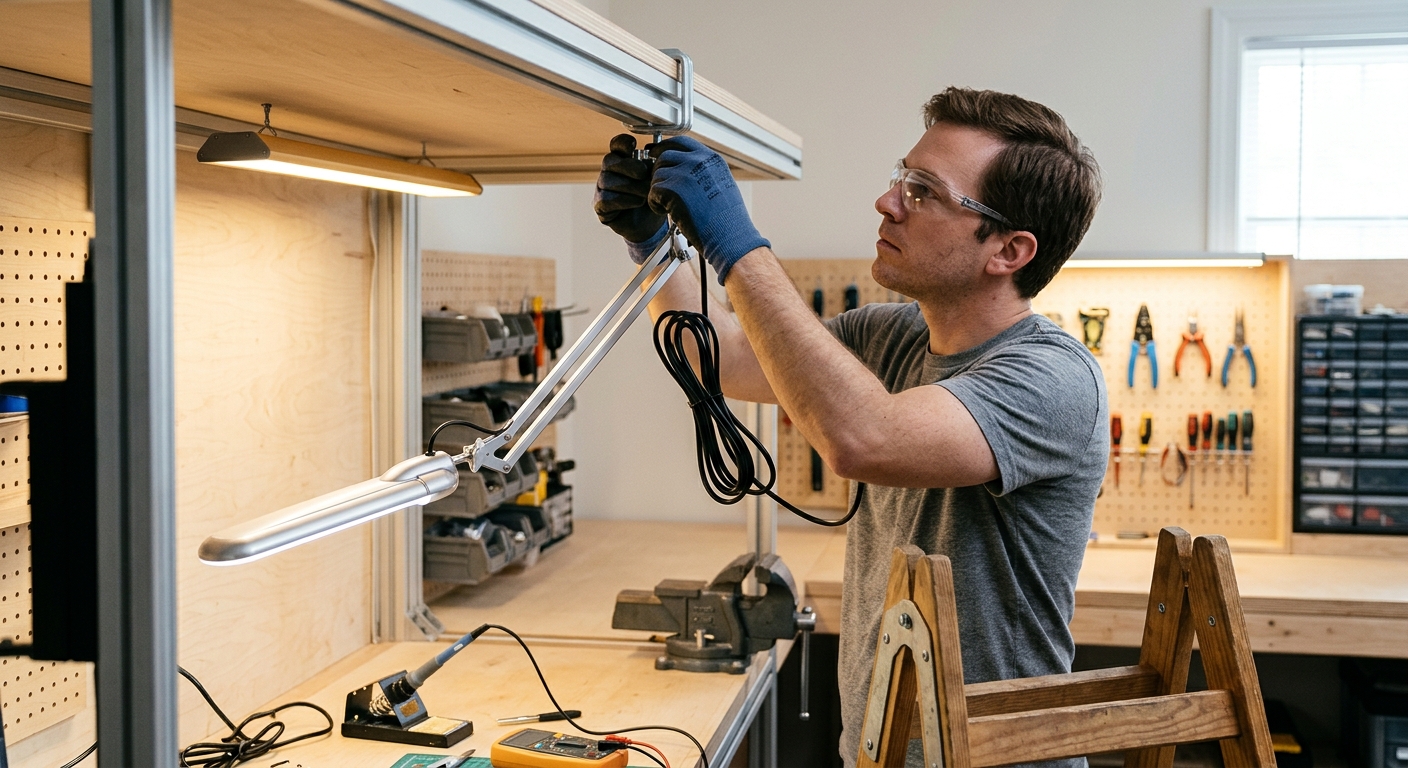
Electronics work requires much more light than general shop work. Install an adjustable LED arm lamp directly over the primary work area. A second lamp from the opposite side eliminates shadows. A magnifying lamp with LED ring light is invaluable for fine SMD work and reading component markings.
Step 5 – Organize Component Storage
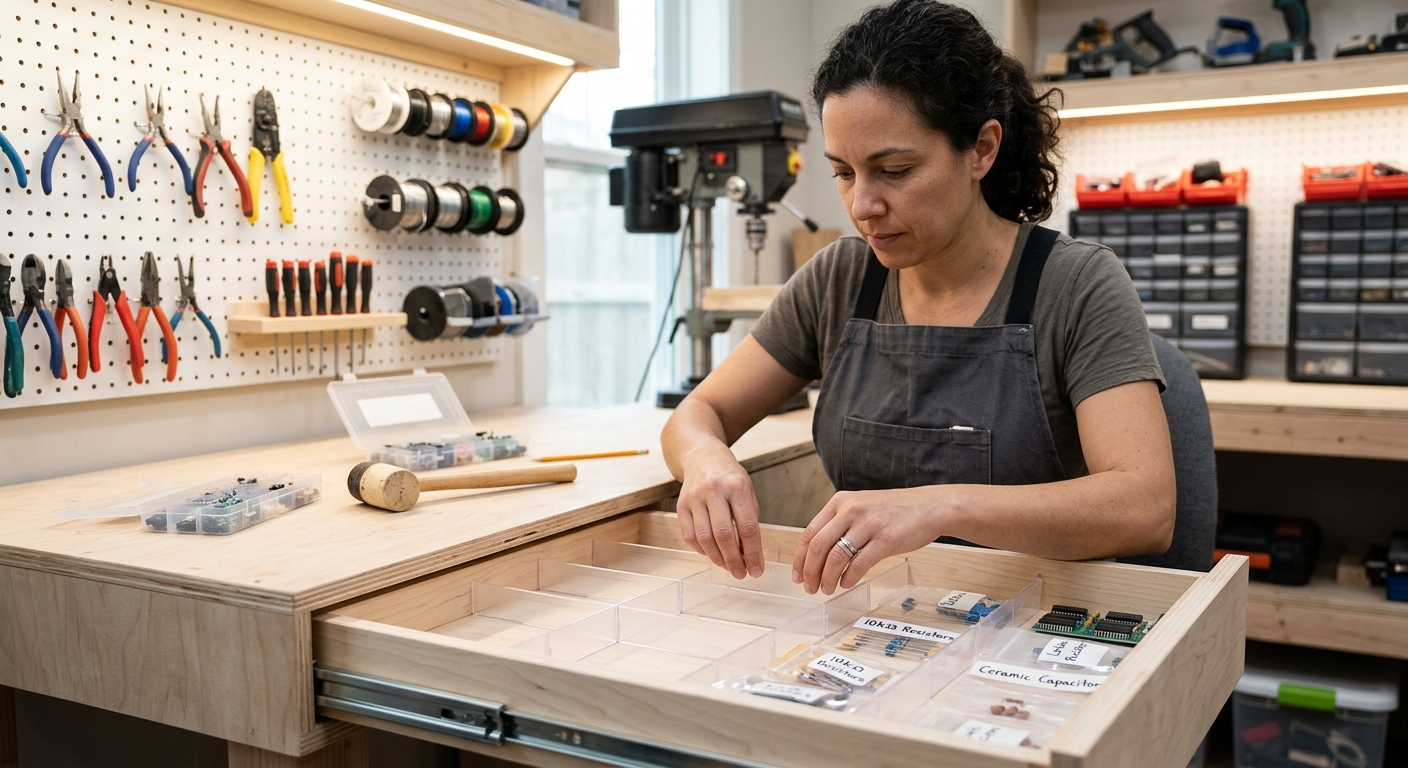
Mount parts bin rails across the back panel and install small plastic bins for resistors, capacitors, connectors, and other common components. Label each bin clearly – you’ll be reaching for these constantly during a project. Store frequently used tools (multimeter, soldering iron, flush cutters, tweezers) in holders directly on the bench or in the top drawer if you build one.
FAQ
Do I really need ESD protection? For working with modern microcontrollers, memory chips, MOSFETs, and other sensitive components, yes. Static discharge can silently damage components in ways that cause mysterious failures later. The ESD mat and wrist strap cost under $30 and protect expensive components.
What height should my electronics bench be? For standing work, 38 to 40 inches. For seated work with a stool, 36 to 40 inches depending on the stool height. If you do both, consider an adjustable-height workbench.