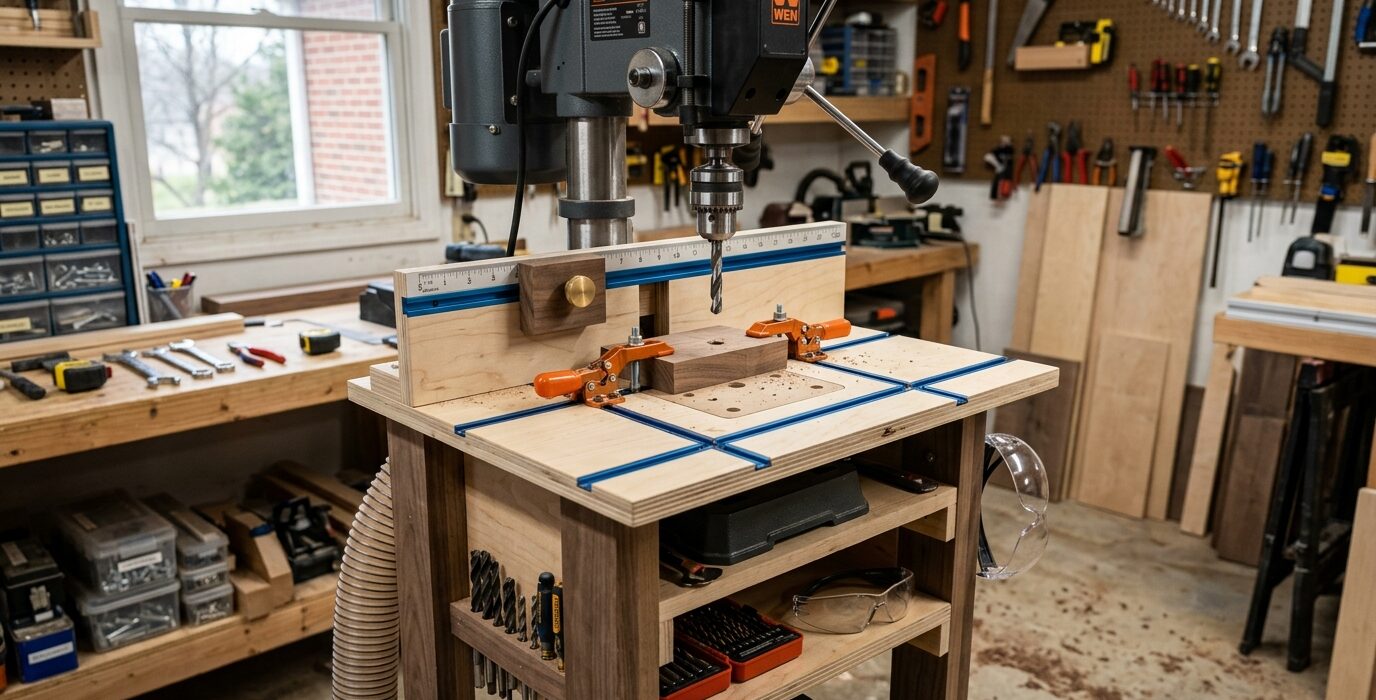
Benchtop Drill Press Table with Fence and Stop
The stock table on most benchtop drill presses is a small, bare piece of cast iron – barely adequate for rough work and nearly useless for precise woodworking. A shop-made auxiliary table adds a full fence with T-track, an adjustable stop block, and a replaceable sacrificial insert. The result is a drill press capable of repeatable, precisely located holes in production quantities – a real precision tool instead of a clumsy guessing machine.
Materials
- 3/4-inch MDF or Baltic birch plywood: 16 x 24 inches for the main table
- 3/4-inch hardwood: 2 x 24 inches for the fence face
- 3/4-inch plywood: 3 x 24 inches for the fence backer
- T-track: 24 inches long
- T-bolts and knobs: 4
- Wood screws
Step 1 – Size and Cut the Main Table
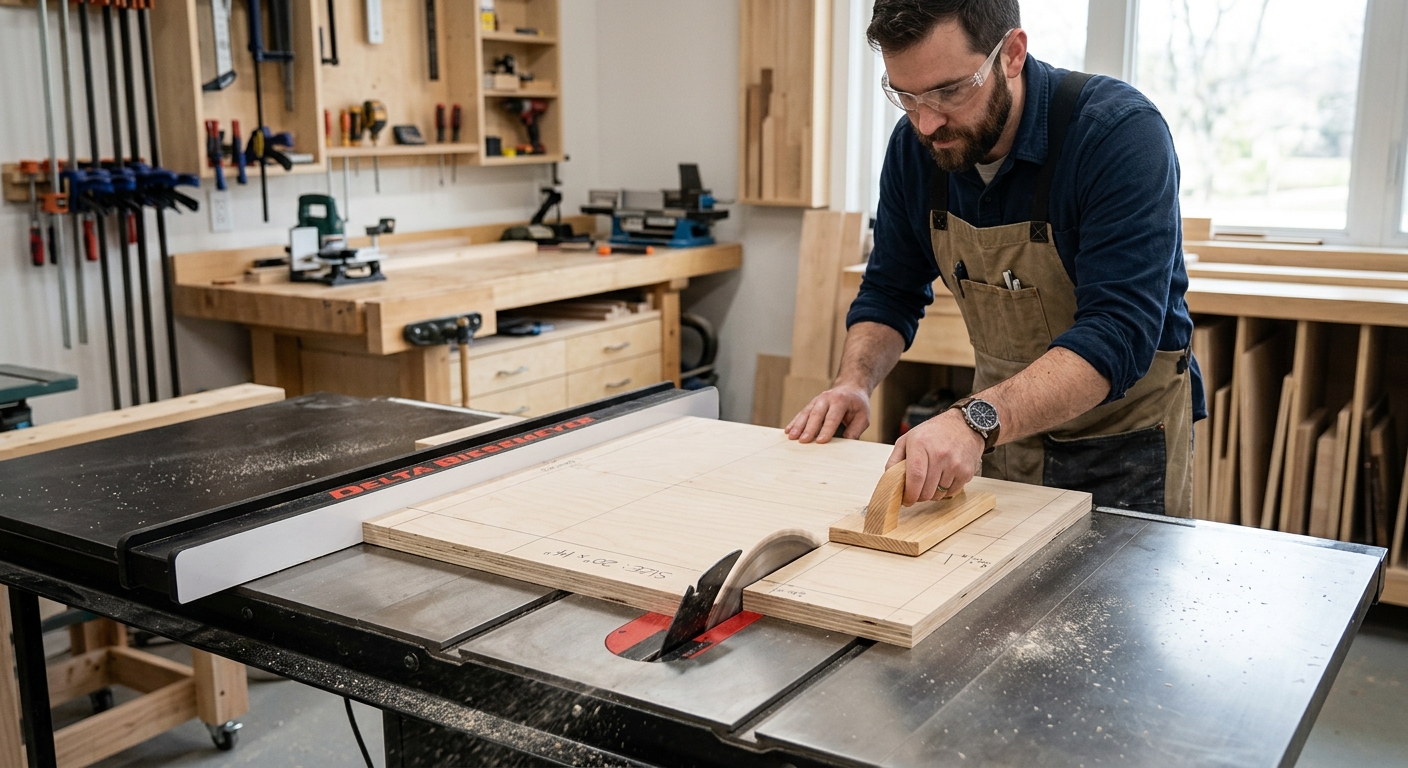
The table should extend 4 to 6 inches beyond the drill press column on each side and 6 to 8 inches in front and behind the centerline. A common size is 16 x 24 inches. Check that the table doesn’t interfere with the column, the quill travel at maximum depth, or the table tilt mechanism if your press has one.
Step 2 – Install T-Track
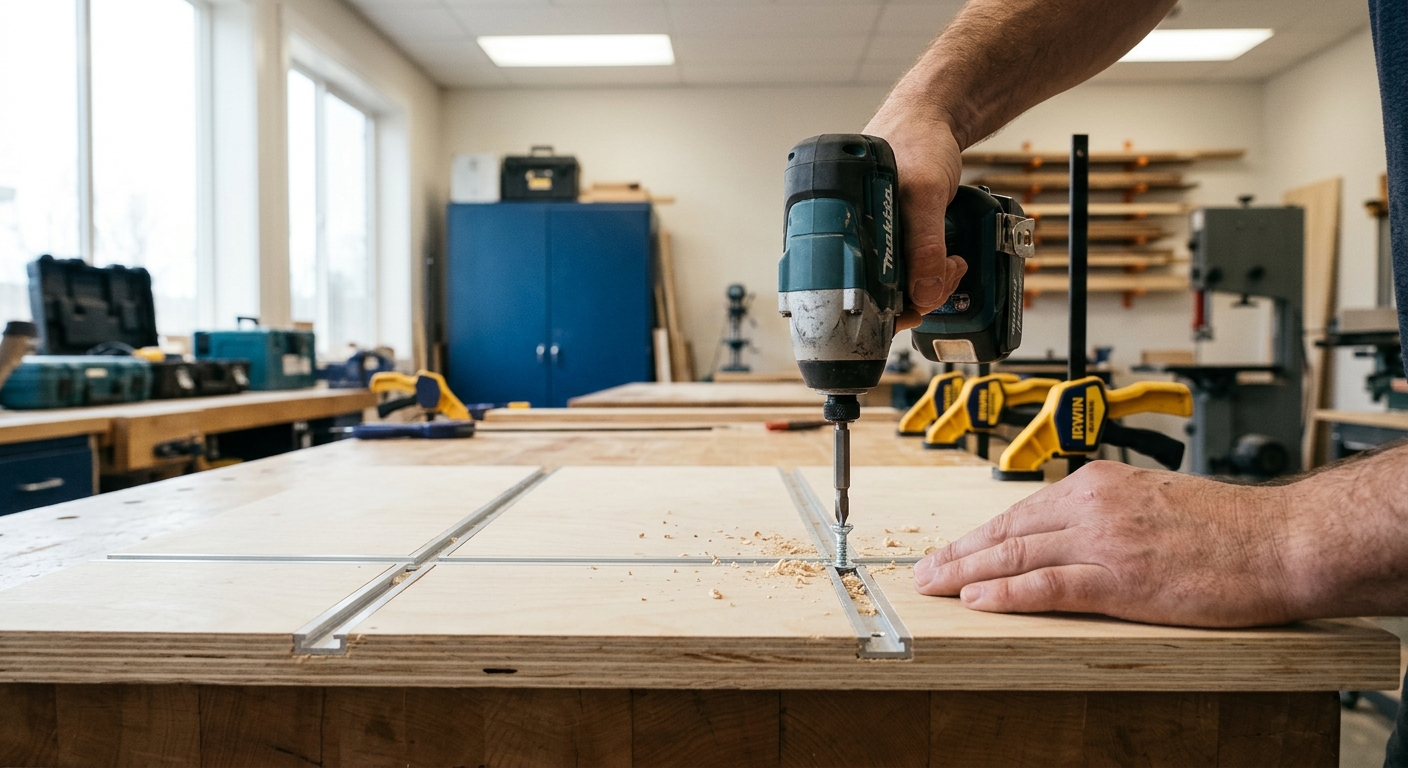
Rout a channel for T-track across the full width of the table, 3 inches from the front edge. This track is for the fence. Install the T-track flush with the surface – any proud T-track will catch workpieces. Rout a second channel 6 inches from the first for a secondary clamping point if desired.
Step 3 – Build the Fence
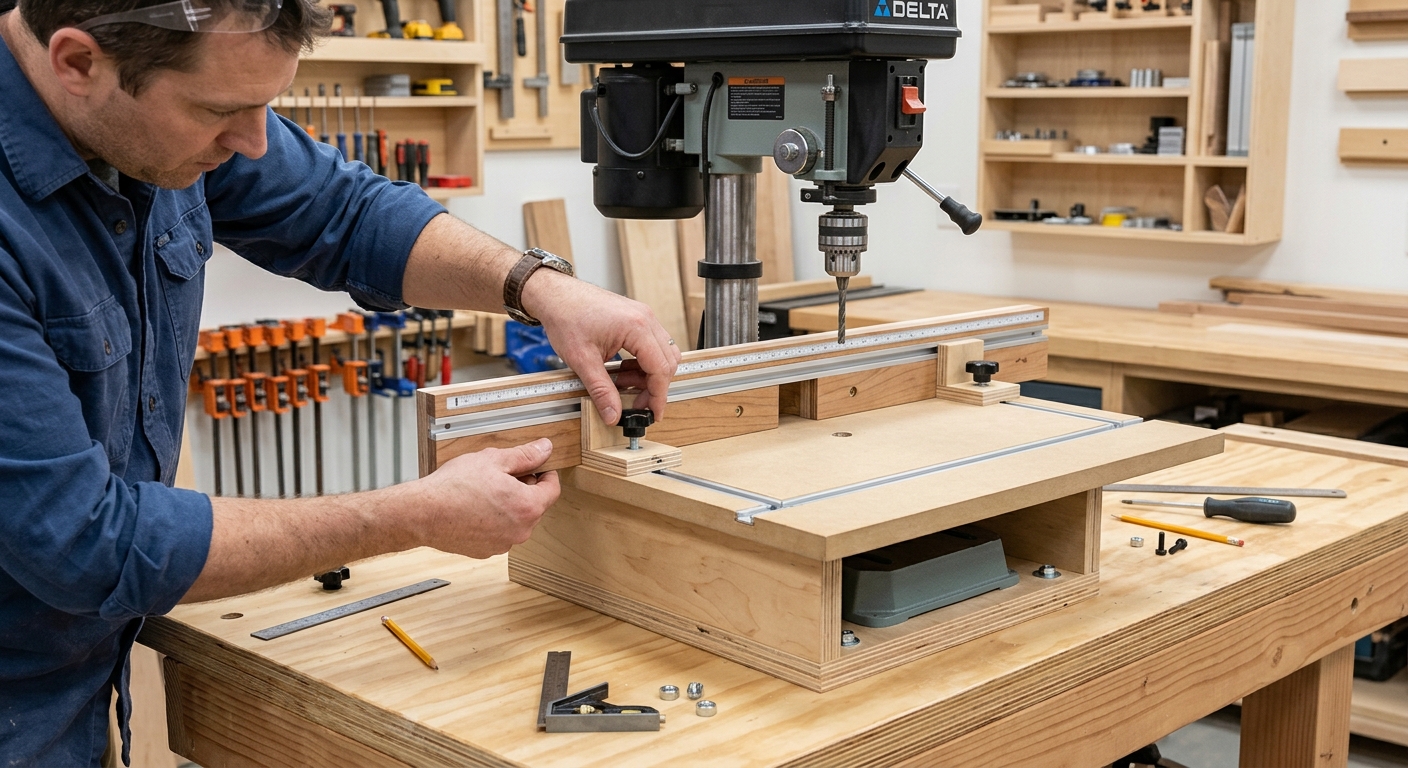
Build an L-shaped fence assembly: a vertical face board and a horizontal base that slides in the T-track. The face must be straight – joint the reference edge on a jointer or select a factory-straight edge. Mount the fence base with T-bolts so it can slide and tilt slightly for adjustments. The fence face should be at least 3 inches tall.
Step 4 – Add the Stop Block
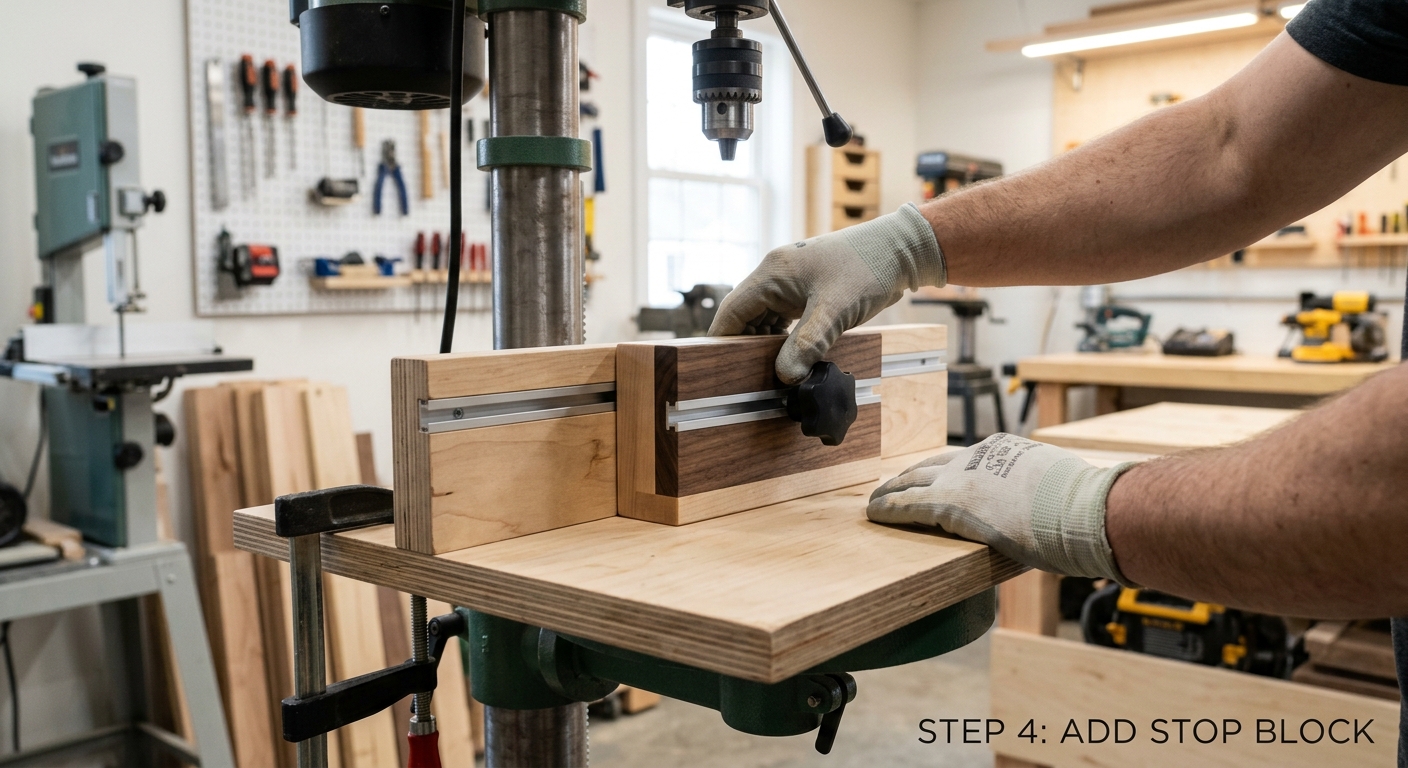
Make a stop block from a small piece of hardwood with a T-bolt through it. The bolt slides along the fence face’s T-track (add a short piece of T-track to the fence face) and locks at any position with a wing knob. Now every hole location in the fence direction is perfectly repeatable.
Step 5 – Make and Install the Sacrificial Insert
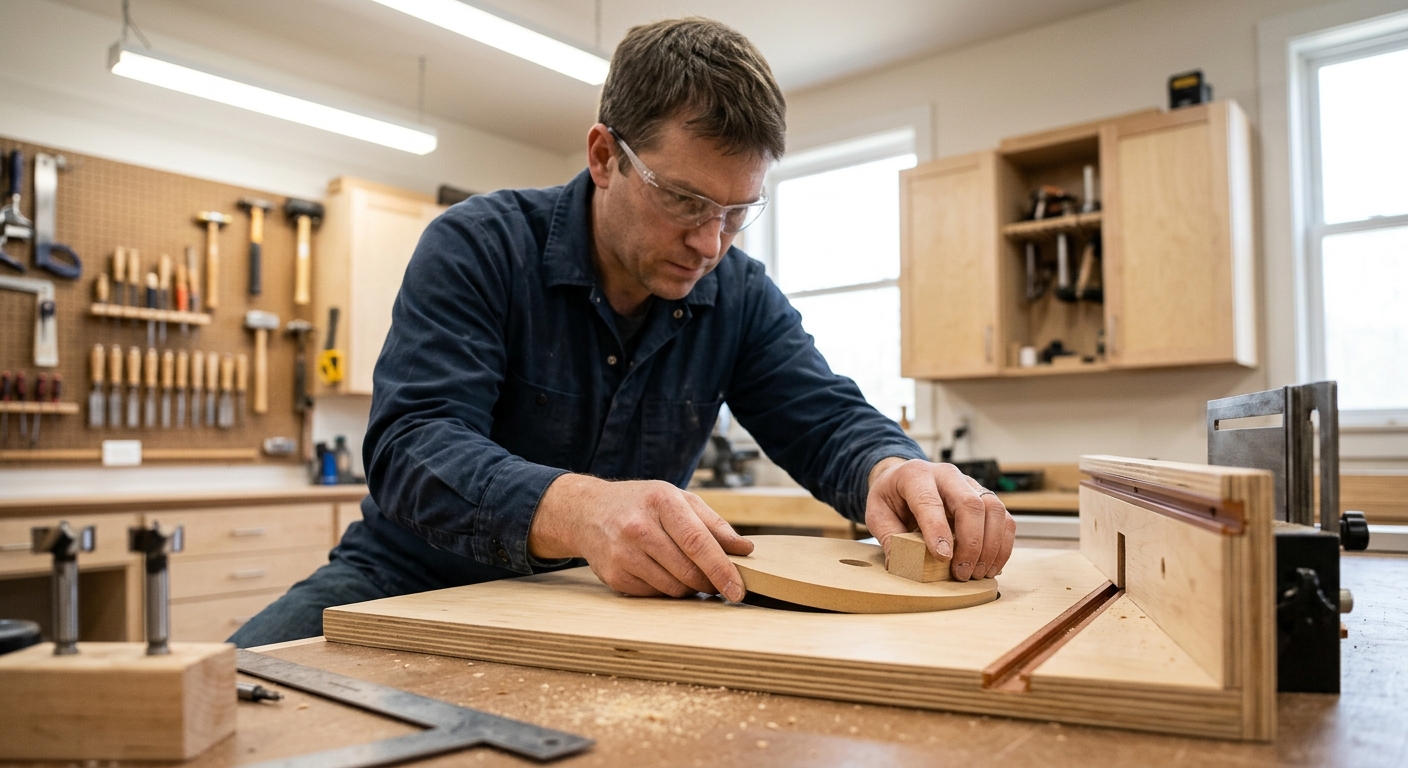
Cut a 4 x 4-inch square of 3/4-inch MDF for the sacrificial insert. Create a shallow mortise in the center of the table top, centered directly below the spindle. The insert drops into this mortise flush with the table surface. When the insert gets chewed up from drill bit blowout, make a new one in five minutes.
Step 6 – Mount to the Drill Press Table
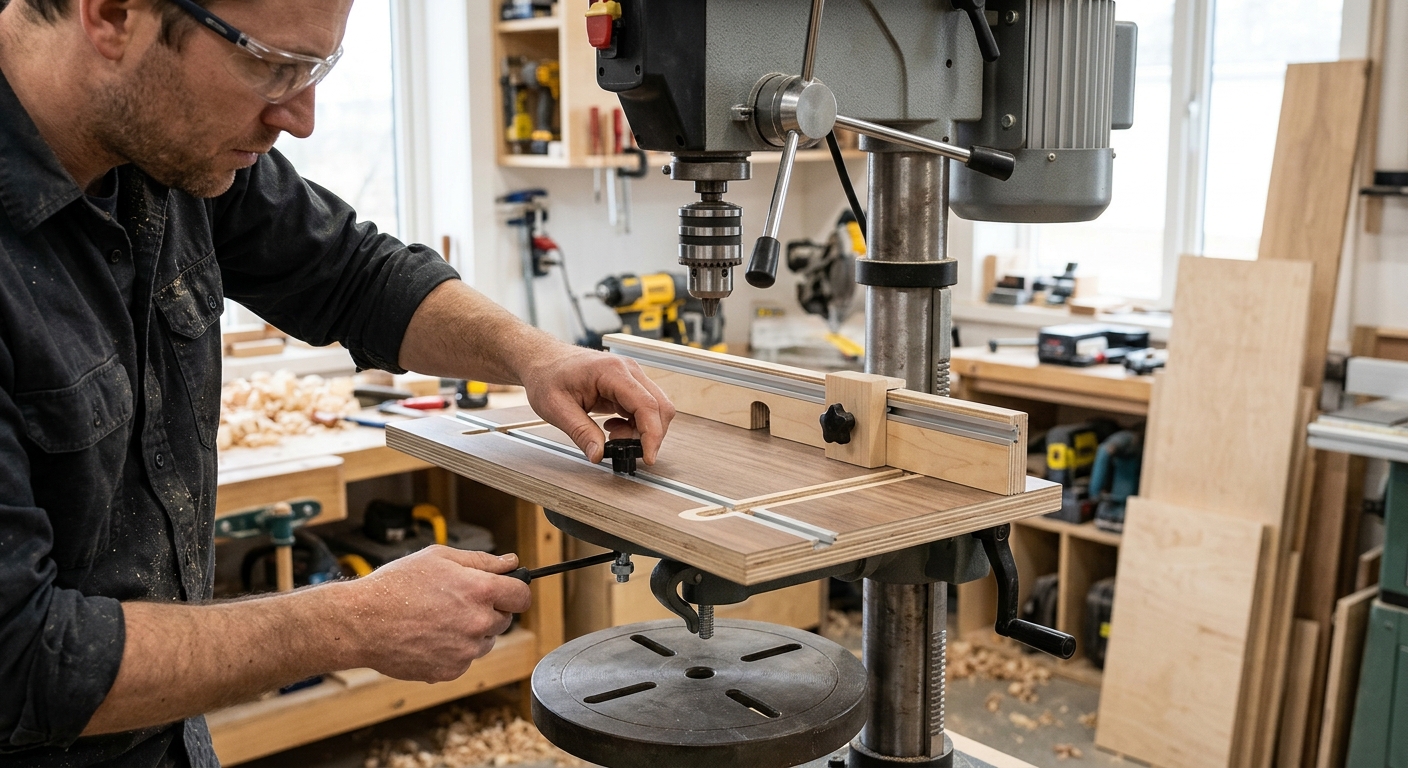
Clamp the auxiliary table to the existing drill press table from below. Some drill presses have threaded holes in the table for bolting directly – use those if available. The auxiliary table must not shift during use – test by pushing hard against the fence before trusting it with precision work.
FAQ
Can I add a dust collection port? Yes – drill a 1.5-inch hole near the bit location and connect to a shop vac with a 1.5-inch hose. Drill press dust collection is not perfect but substantially reduces cleanup.
Do I need both a fence and a stop block? The fence alone controls one axis (in-out from the fence). The stop block controls the second axis (along the fence). Together, they let you drill holes at any precise (X, Y) coordinate on a workpiece – which is the real power of this table.