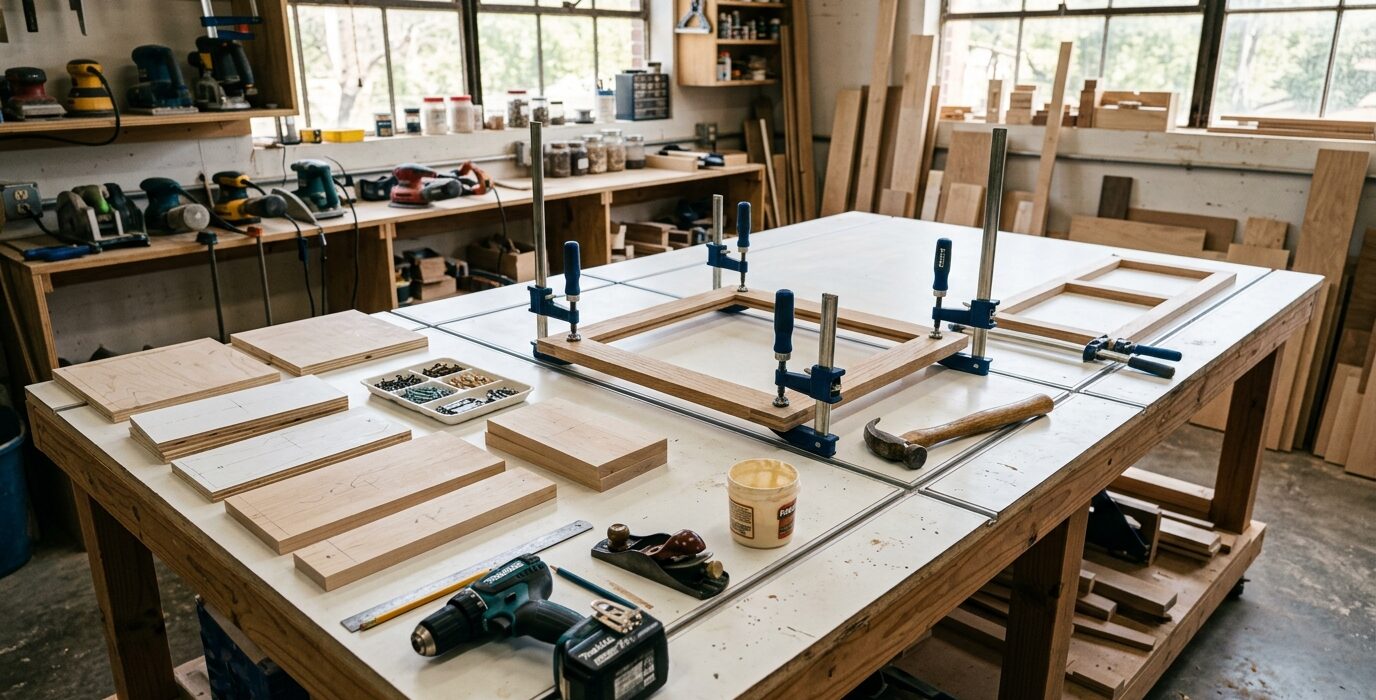
A Gluing and Finishing Table That Keeps Both Operations Clean
Gluing and finishing occupy opposite ends of the cleanliness spectrum: glue-ups are messy and benefit from a surface you can abuse, while finishing requires a dust-free environment and a surface that won’t contaminate your finish. A dedicated gluing and finishing table handles both by using a two-zone approach – a disposable surface for glue and a cleanable zone for finishing, with proper ventilation positioned nearby.
Design Overview
The table has a standard 32 x 48-inch plywood top covered with tempered hardboard (the glue zone). The hardboard surface releases dried glue cleanly after a coat of paste wax. A fold-down finishing panel on one end – covered with clean shop paper or kraft paper – provides a fresh, contamination-free surface for finishing work. The table sits on casters for positioning near the finishing ventilation.
Materials
- 3/4-inch plywood for the top and base
- 2×4 lumber for the base frame
- 1/8-inch tempered hardboard for the glue work surface
- Piano hinge for the fold-down finishing panel
- Four locking casters
- Paste wax for the hardboard surface
Step 1 – Build the Base and Main Top
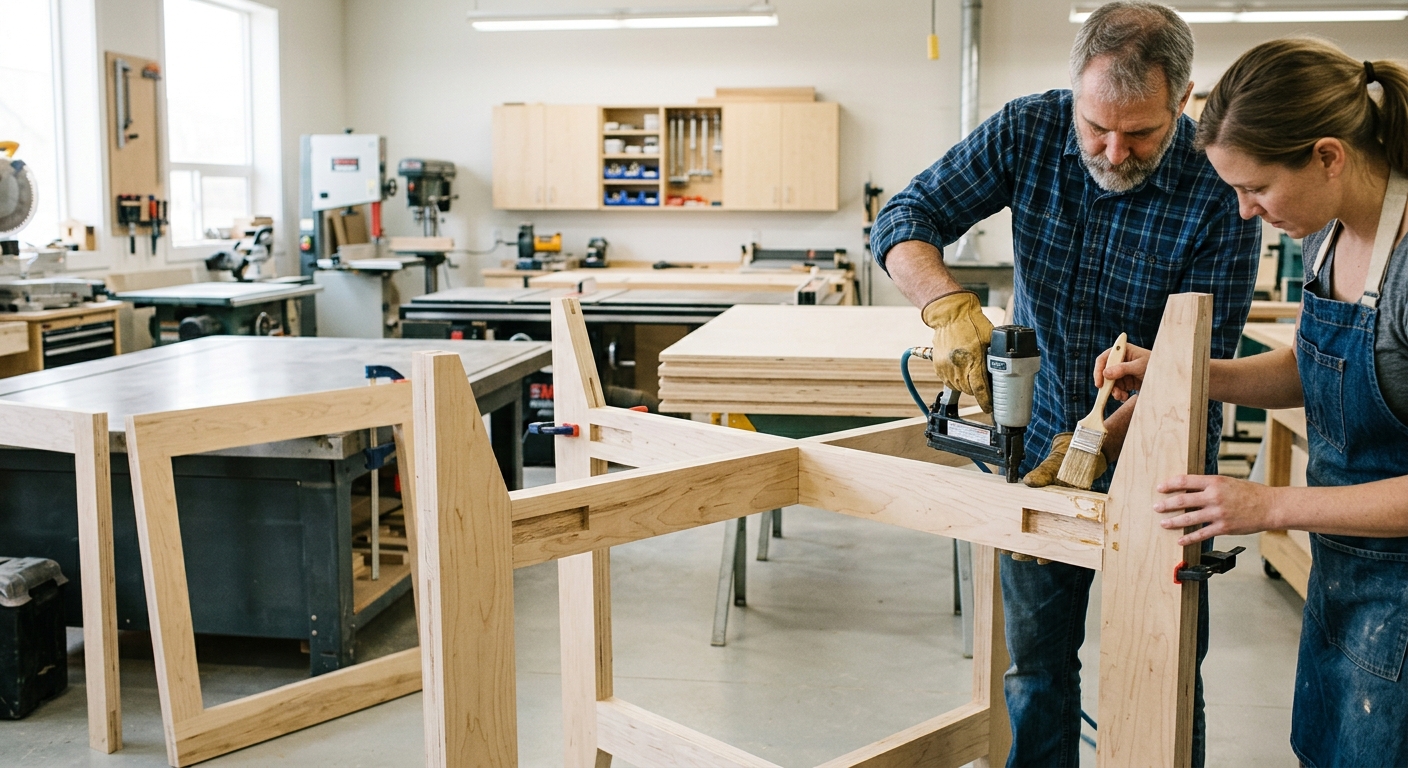
Build a simple 2×4 base at assembly table height (32 to 34 inches). Attach the 3/4-inch plywood top. Glue the tempered hardboard to the top surface with construction adhesive, weight flat, and let cure fully. Coat the hardboard with two to three applications of paste wax – this is the key step that makes dried glue release cleanly.
Step 2 – Build the Fold-Down Finishing Panel
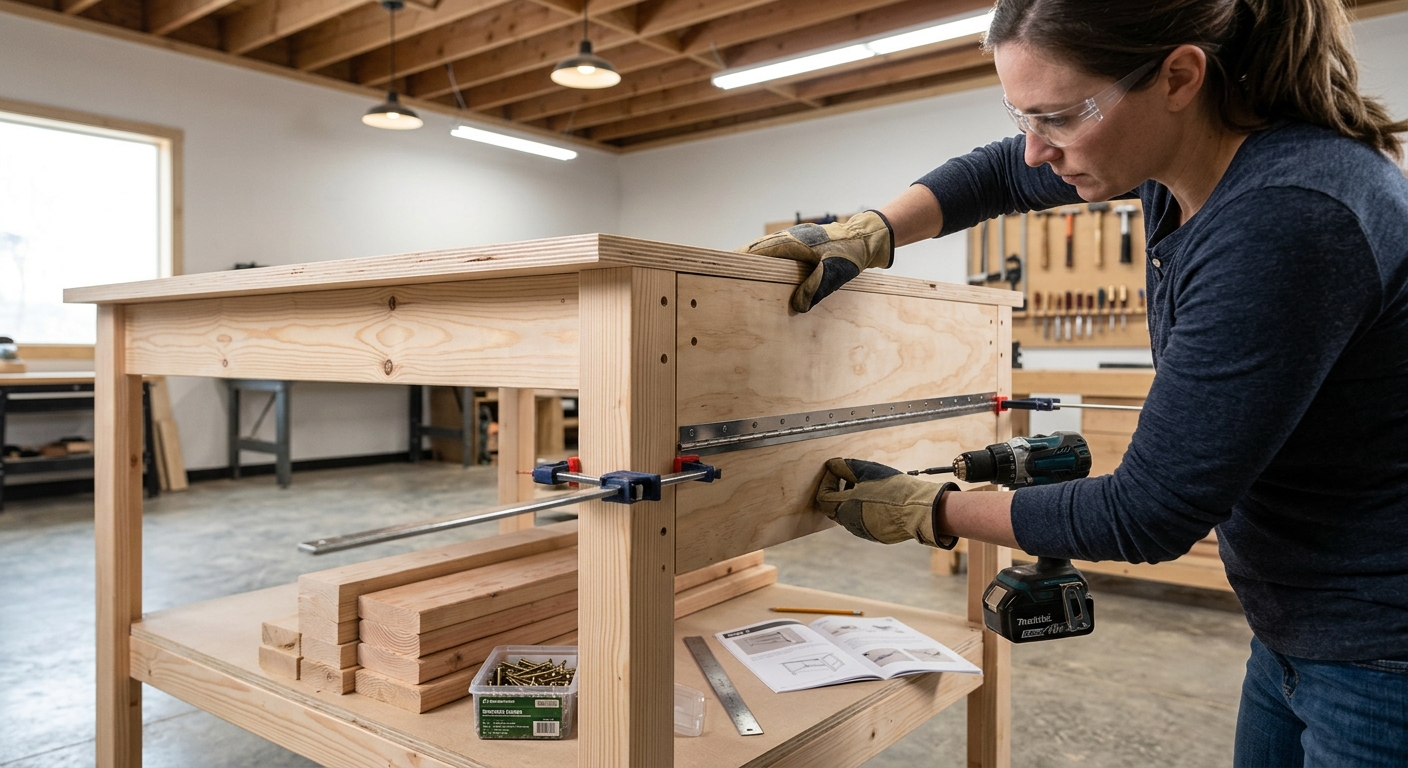
At one end of the table, attach a plywood panel with a piano hinge along the top edge. When folded flat, it extends the table surface. When folded up to 90 degrees, it becomes a back panel for capturing overspray during spray finishing. Add a prop-rod with a notch to hold the panel at 90 degrees.
Step 3 – Add Casters
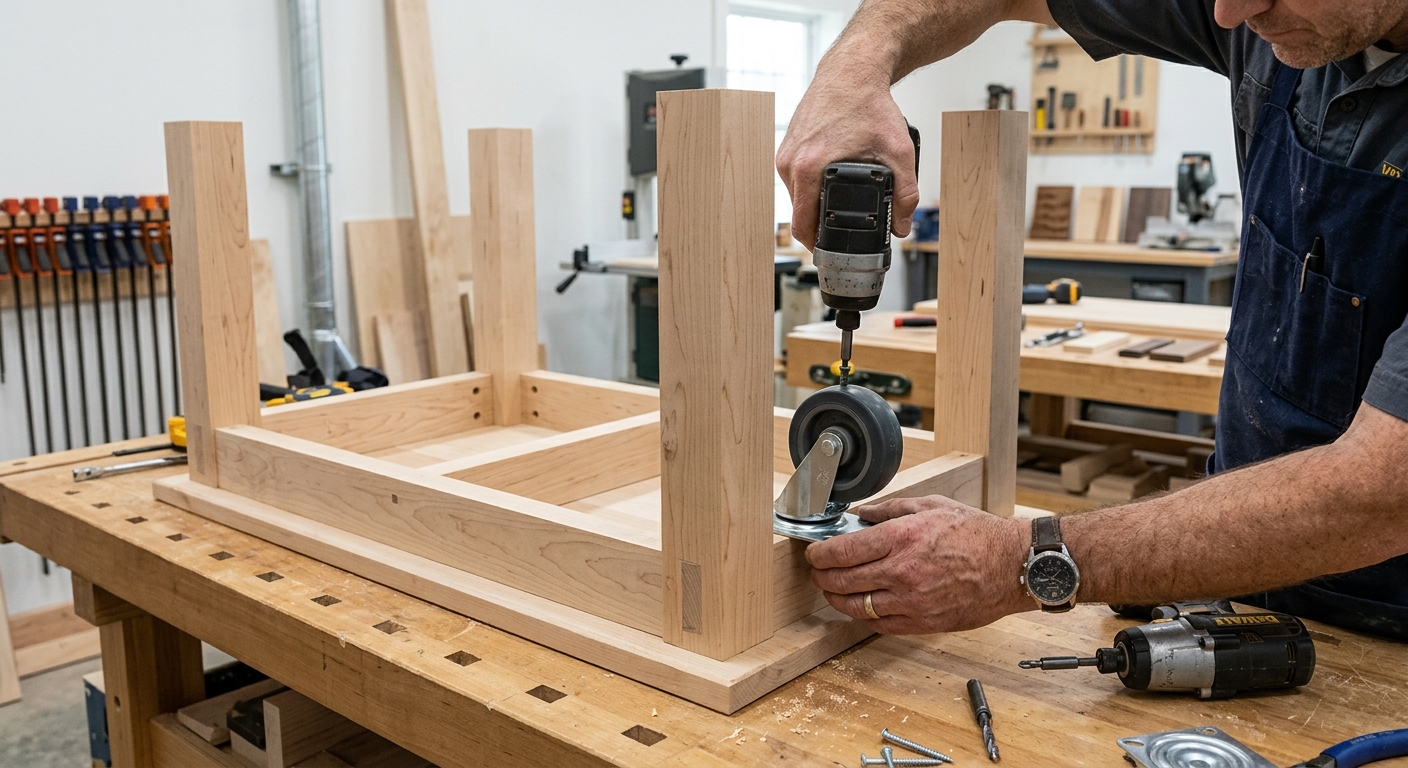
Four locking swivel casters let you roll the table to any position – near the ventilation for finishing, to the open floor for large glue-ups, or against the wall when not in use.
Step 4 – Set Up for Finishing
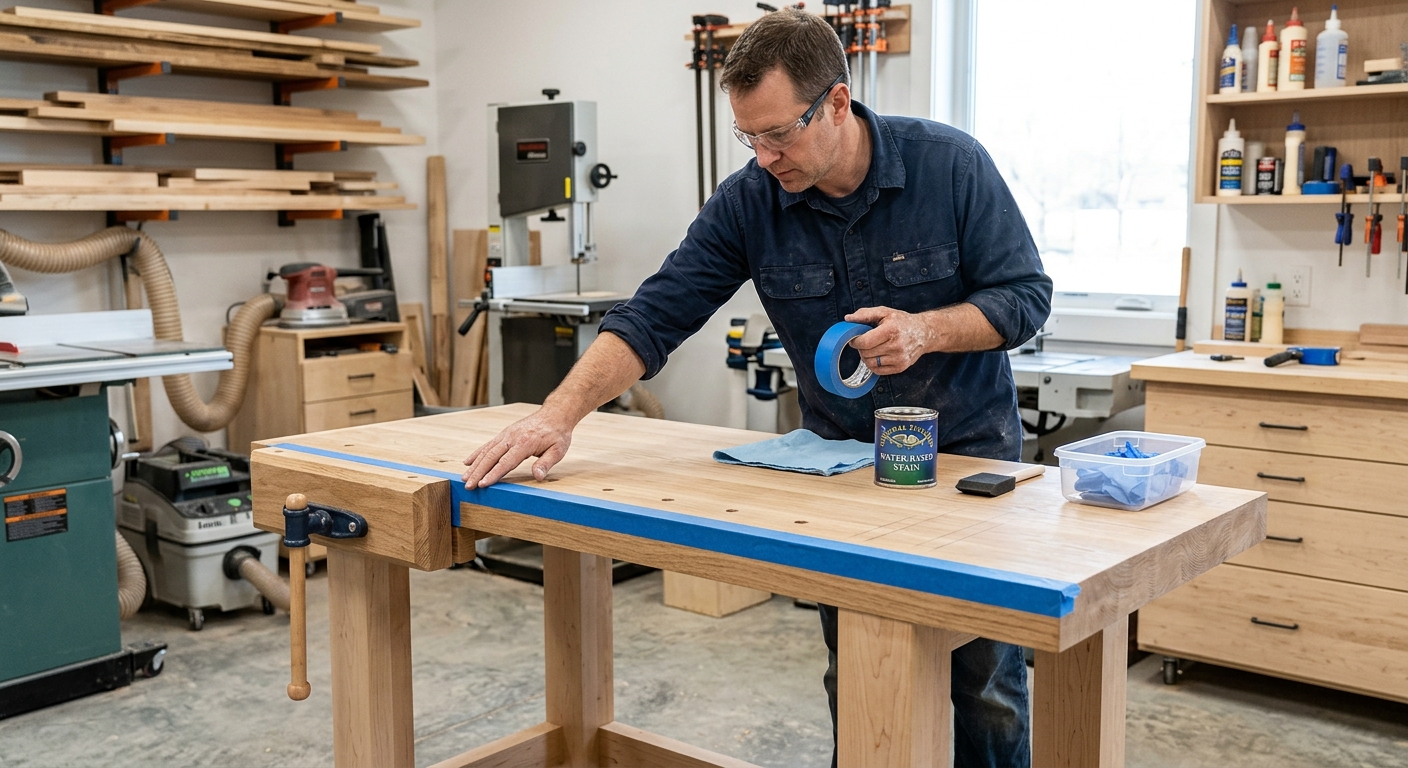
For finishing sessions, cover the hardboard surface with a fresh sheet of kraft paper. The paper prevents drips from reaching the table surface and gives a clean backdrop. Remove the paper when the session is done. The hardboard underneath never directly contacts finishing chemicals, staying cleaner longer.
Glue-Up Tips for This Table
- Apply fresh paste wax before every glue-up for the easiest cleanup
- Keep clamps stored on hooks mounted to the table legs for immediate access
- A squaring corner clamped to one table corner turns this into a precision case assembly station
FAQ
Can I use the same table for spray finishing? With the fold-down back panel up and good ventilation, yes. Position the table so overspray goes toward the exhaust vent. Lay fresh kraft paper over the table surface before each finishing session.
How often do I need to replace the hardboard surface? With regular waxing, a hardboard surface can last several years before needing replacement. When glue starts bonding to the surface instead of releasing cleanly, it’s time for new hardboard.