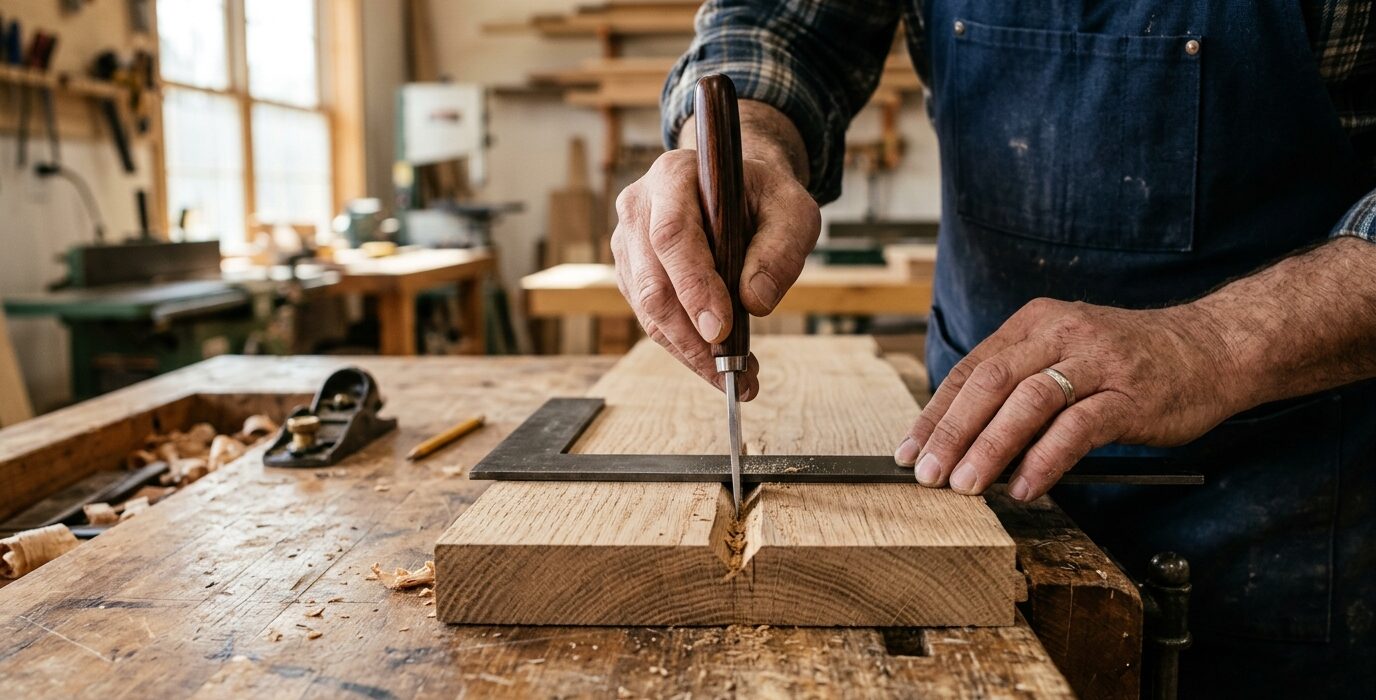
Why a Marking Knife Beats a Pencil for Joinery
Every woodworking beginner uses a pencil for layout. Most experienced woodworkers use a marking knife for joinery and keep the pencil only for rough layout and notes. Understanding the difference – and when each is appropriate – is a small insight that improves the accuracy of every joint you cut.
The Problem with Pencils
A pencil line has width – typically 0.020 to 0.030 inches, depending on the pencil sharpness. When you cut “to the line,” you make a judgment call about which side of the 0.025-inch wide line to cut on. In practice, this variation can put you 0.010-0.015 inch off on each side of a joint – that’s 0.020-0.030 inch total error in a mortise, enough to make a tenon noticeably loose.
A knife line severs the wood fibers to produce a hairline mark. The chisel or saw registers against the knife wall directly – there’s no interpretation needed. The knife line also creates a slight wall that the chisel naturally wants to drop into, producing self-registering cuts that are more accurate and more repeatable than pencil-to-line cutting.
Step 1: Choose a Marking Knife
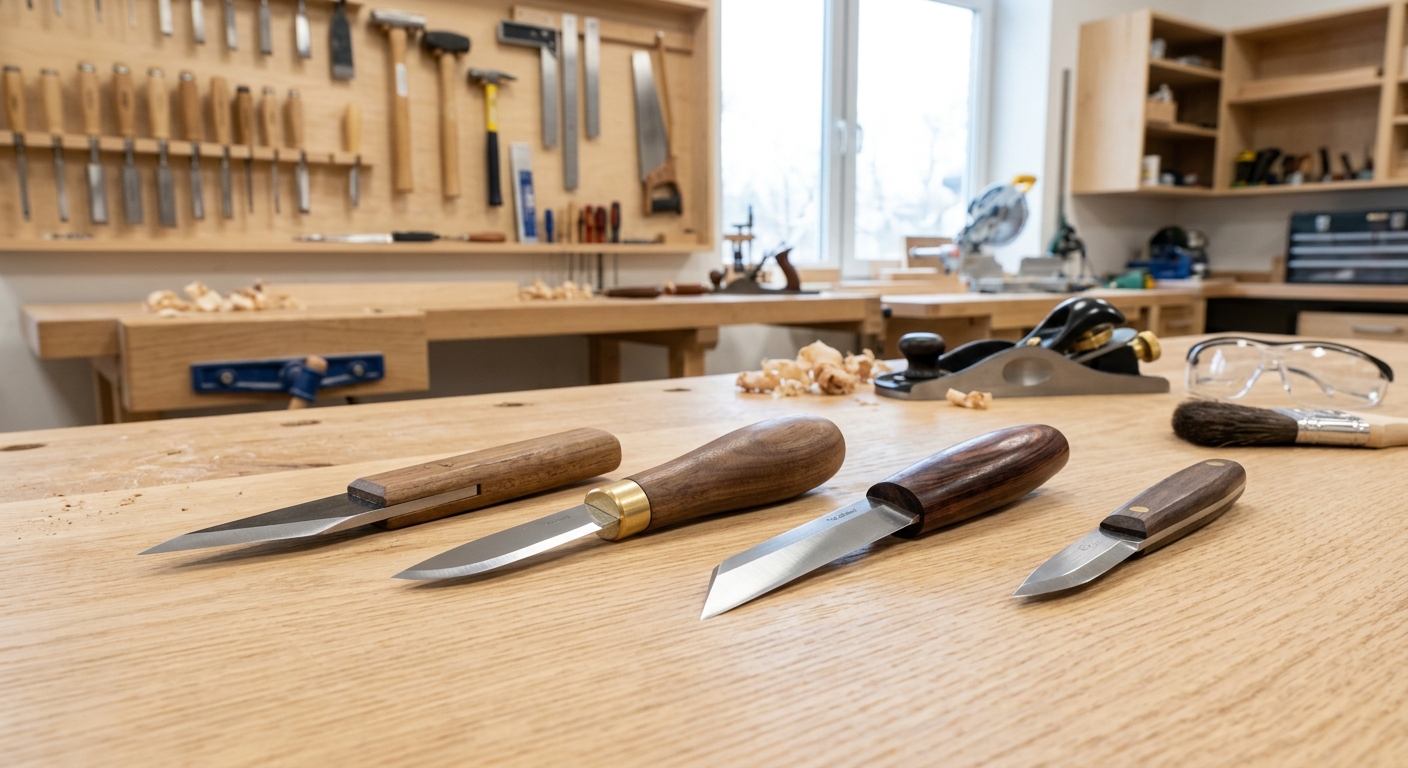
A marking knife for woodworking has a single bevel edge (not symmetrical like a kitchen knife) – this lets the flat face reference against a straightedge or square while the bevel side does the cutting. Common choices: a shop-made knife from a old hacksaw blade, a Stanley 602 or similar shop knife, or dedicated marking knives from Blue Spruce, Veritas, or Crown. Avoid utility knife blades – they’re too thick to get into the corner of a joint.
Step 2: Score the Line
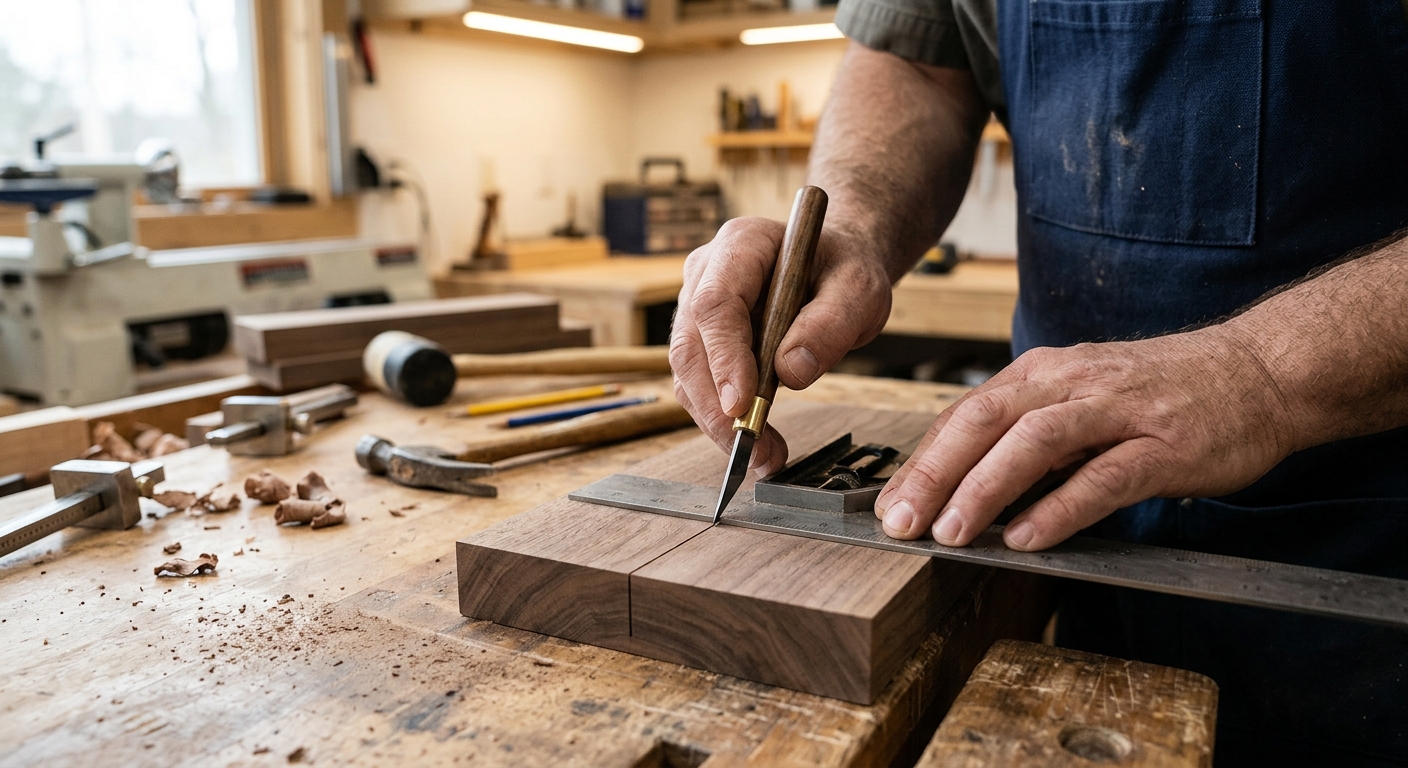
Hold the square or straightedge firmly against the work. Press the flat face of the knife against the square and draw the knife toward you in a controlled stroke. Don’t rush – the goal is a clean, vertical cut into the fibers, not a fast scratch on the surface. First pass establishes the line; a second pass deepens it. Deeper lines give better chisel registration.
Step 3: Work to the Knife Wall, Not Away from It
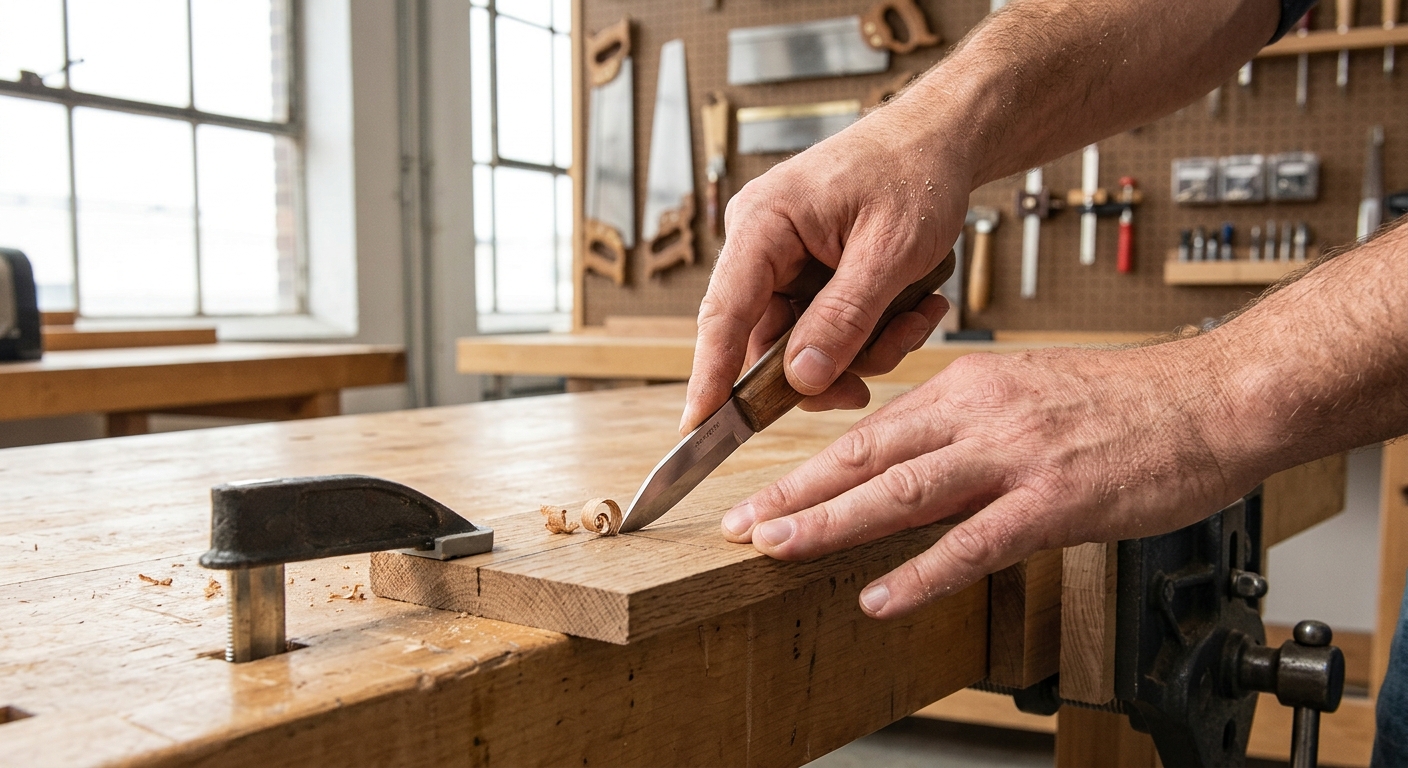
When chopping a mortise or sawing a tenon shoulder, position the cut to the waste side of the knife line and sneak up to the line – don’t try to hit it exactly on the first pass. For the final pass, register the chisel flat in the knife wall and take a light, controlled cut that removes the last thin shaving of material. The knife wall is your registration surface, not your cutting target.
Step 4: Use Pencil for What It’s Good At
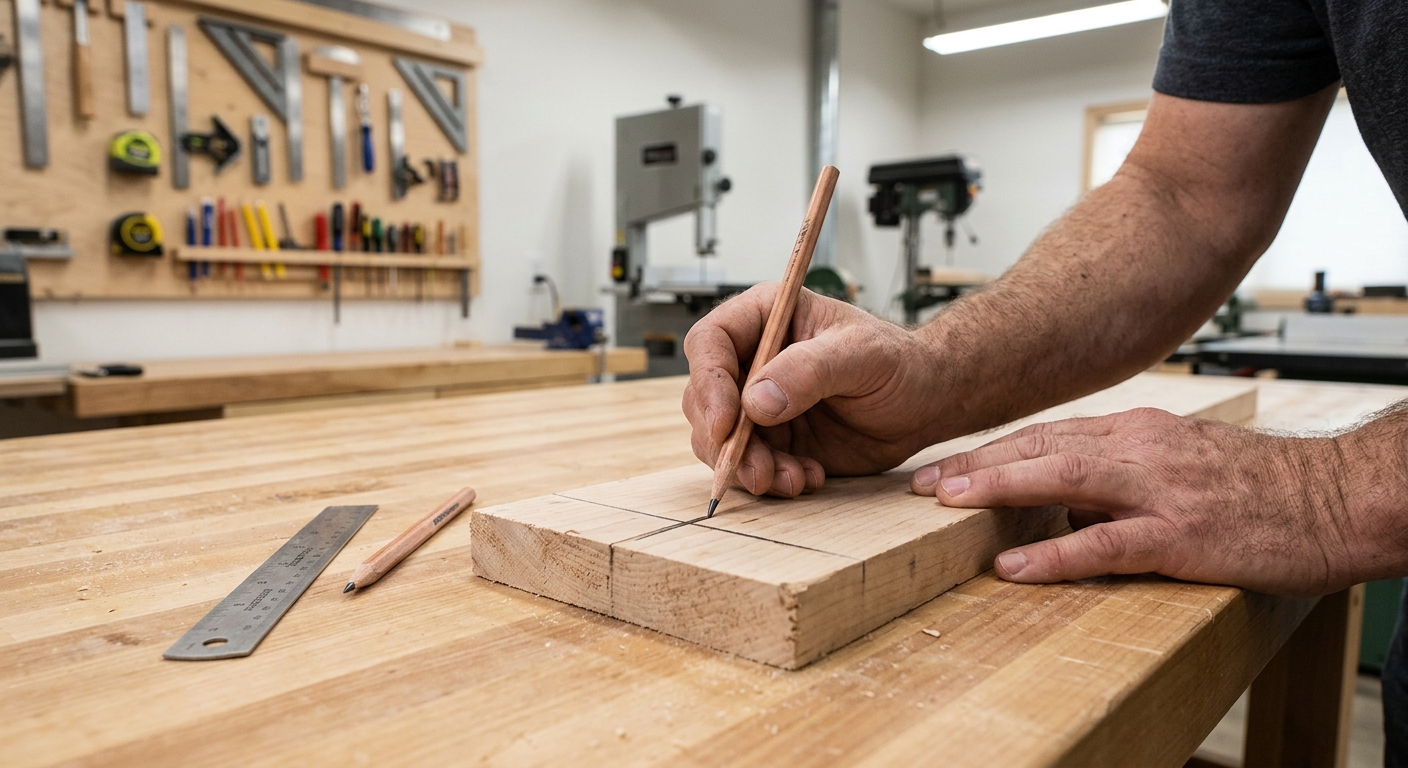
Keep the pencil for rough layout (marking waste areas, approximate positions), marking pieces for identification (face mark, grain direction), notes on the workpiece, and any line that won’t be cut – just referenced. The knife is for any line that a cutting tool will follow.
Pro Tips
- Keep the knife sharp. A dull marking knife crushes wood fibers instead of severing them, producing a wide, ragged line instead of a crisp one. Sharpen the marking knife on the same stones as your chisels.
- Mark from the same face always. Always reference from the same face (the face that goes against the machine fence or the reference face). If you switch reference faces, small differences in thickness create accumulated errors.
FAQ
Can I use a mechanical pencil instead of a knife?
A 0.3mm mechanical pencil is a good compromise – the line is narrower than a regular pencil and gives better consistency. It’s still wider than a knife line, but for operations like marking parallel lines for paint or finish, or rough stock layout, a mechanical pencil is adequate and much faster than a knife.