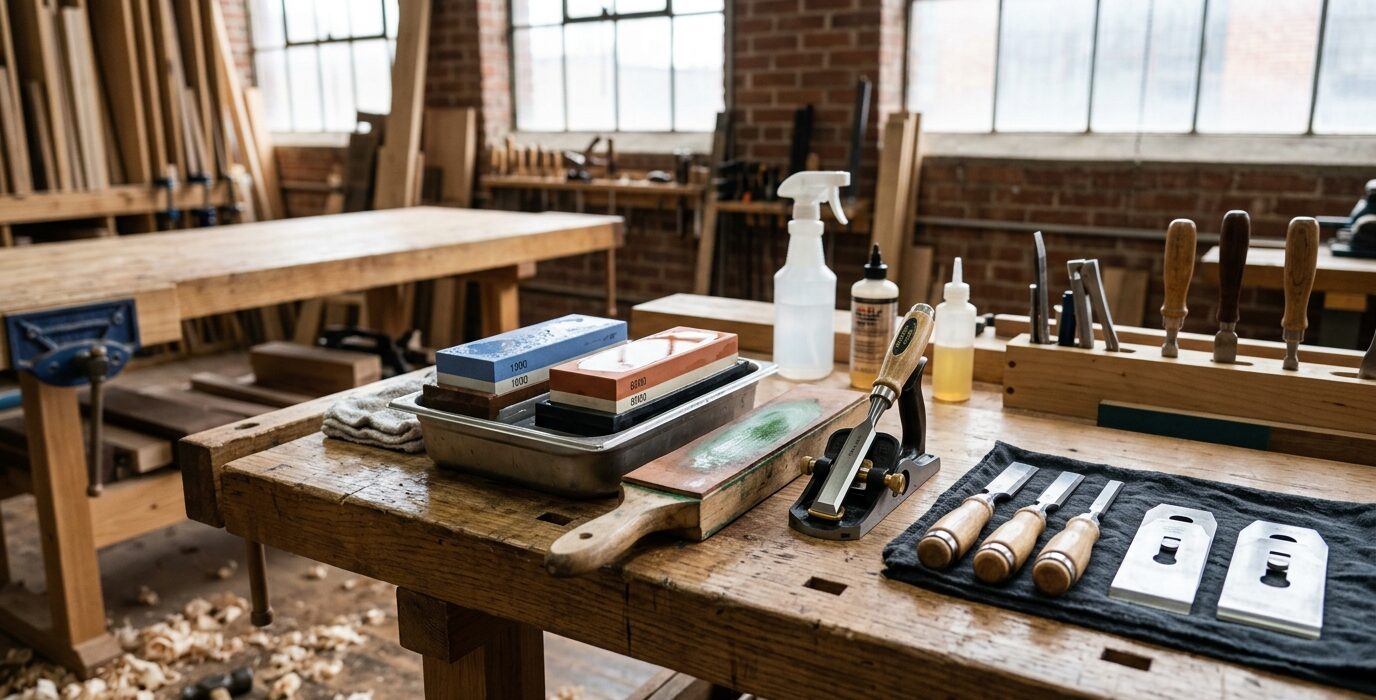
A Dedicated Station for Every Sharpening Tool You Own
Sharpening is the most neglected maintenance practice in most home shops – not because woodworkers don’t know they should do it, but because the setup is inconvenient. A dedicated sharpening station with every tool and abrasive in one place removes all friction from the sharpening process. When sharpening is fast and easy to set up, you do it at the right time instead of pushing through dull tools.
What Goes on a Sharpening Station
- Primary sharpening media: stones (water, oil, or diamond), sandpaper on glass, or a grinder wheel
- Honing guide for consistent bevel angles
- Leather strop with compound for final polishing
- Water, oil, or lubricant in a dispenser
- Marker for blacking the bevel (essential for checking progress)
- Wooden block for testing sharpness
- Rag or paper towels
Materials
- 3/4-inch plywood for the station top and base
- 2×4 lumber for the base frame
- Leather for the strop (from craft store)
- Holders for stones – build small wooden frames with rubber feet
- Optional: drawer for storing small items like compound and markers
Step 1 – Choose Your Sharpening Method
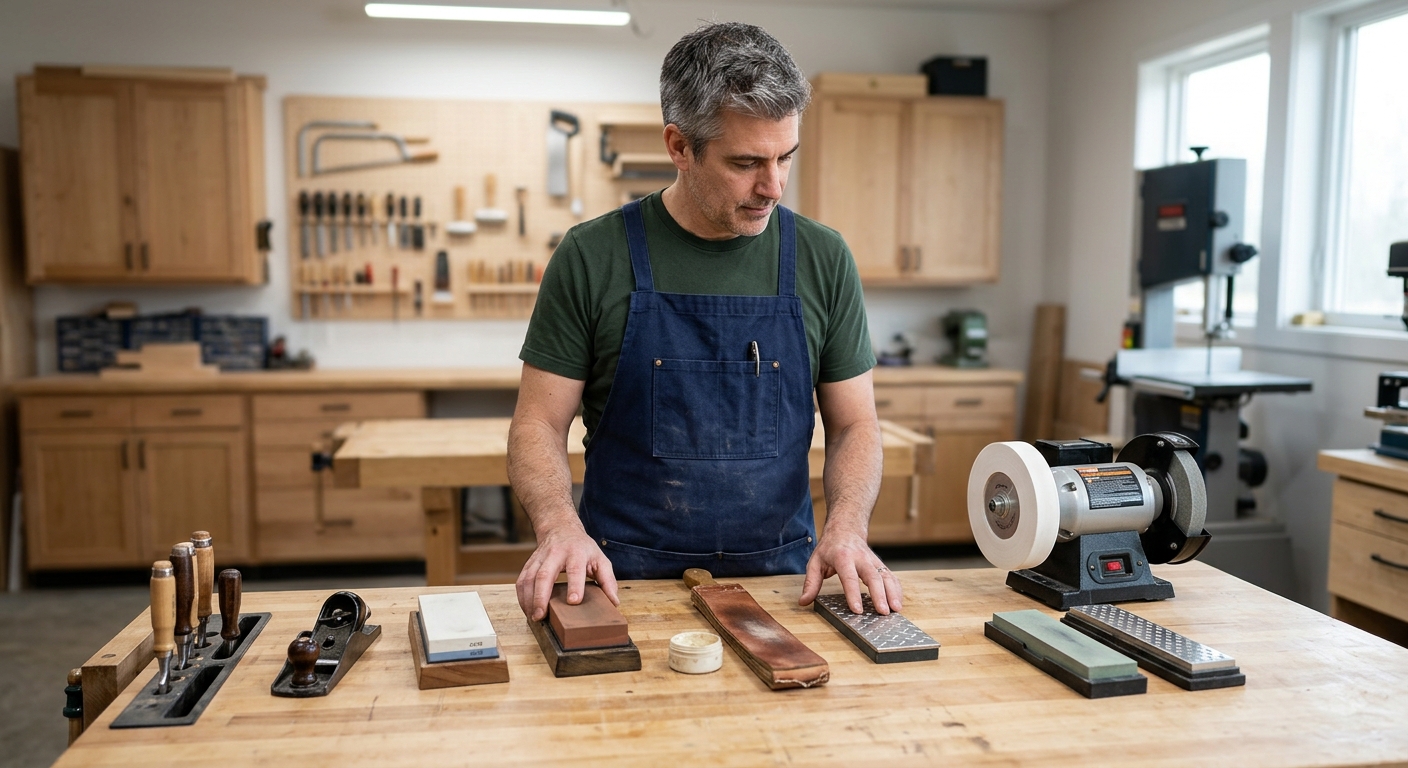
Commit to one primary sharpening method before building the station around it. The four main approaches are: waterstone progression, diamond stone progression, sandpaper on flat glass or granite (the scary sharp method), and grinder followed by hand finishing. Each requires a different station layout and different plumbing (waterstones need water access, oil stones need oil, sandpaper needs frequent replacement).
Step 2 – Build the Station Base
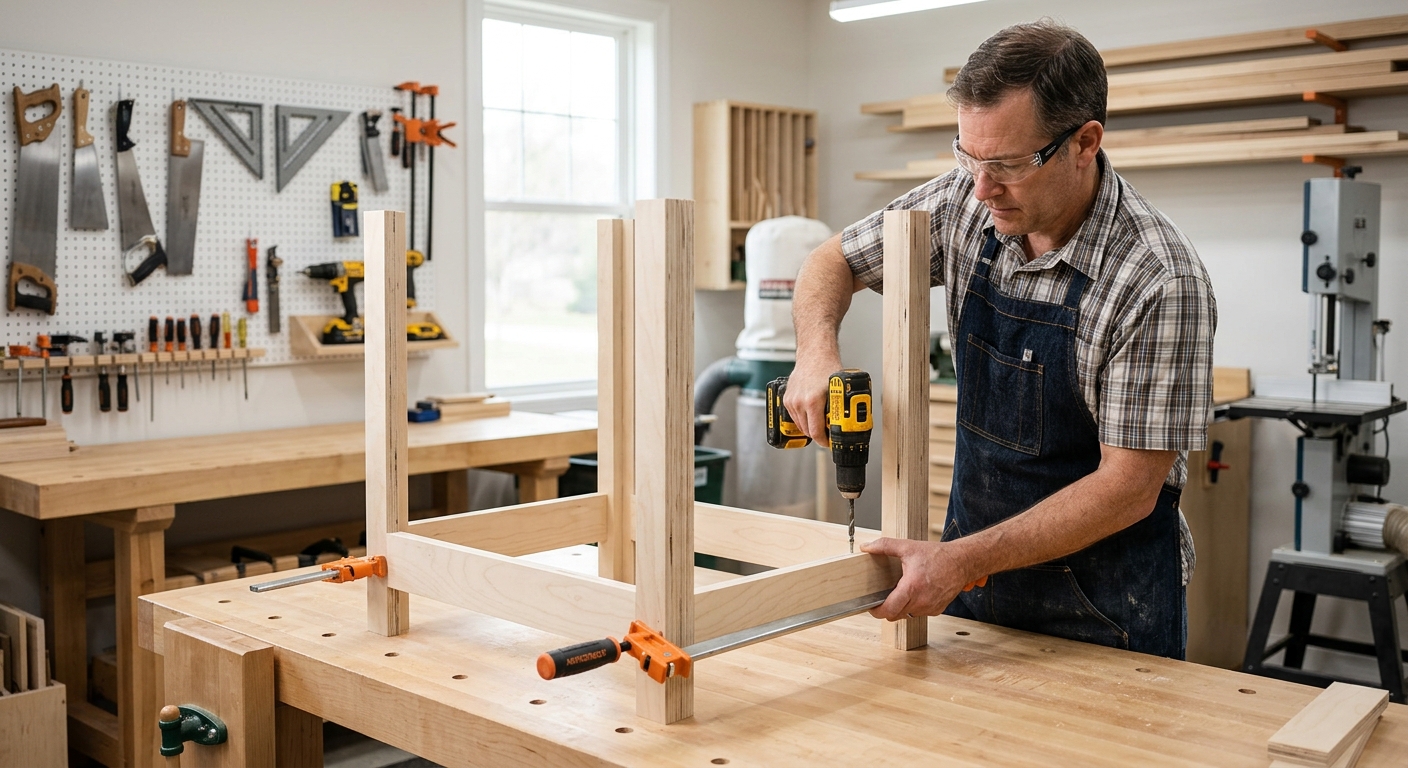
Build a 2×4 base at slightly higher than workbench height – 36 to 38 inches is common for sharpening, letting you apply downward pressure more efficiently. Add a lower shelf for bulk supplies. Mount the station against the wall for the most compact footprint.
Step 3 – Build Stone Holders
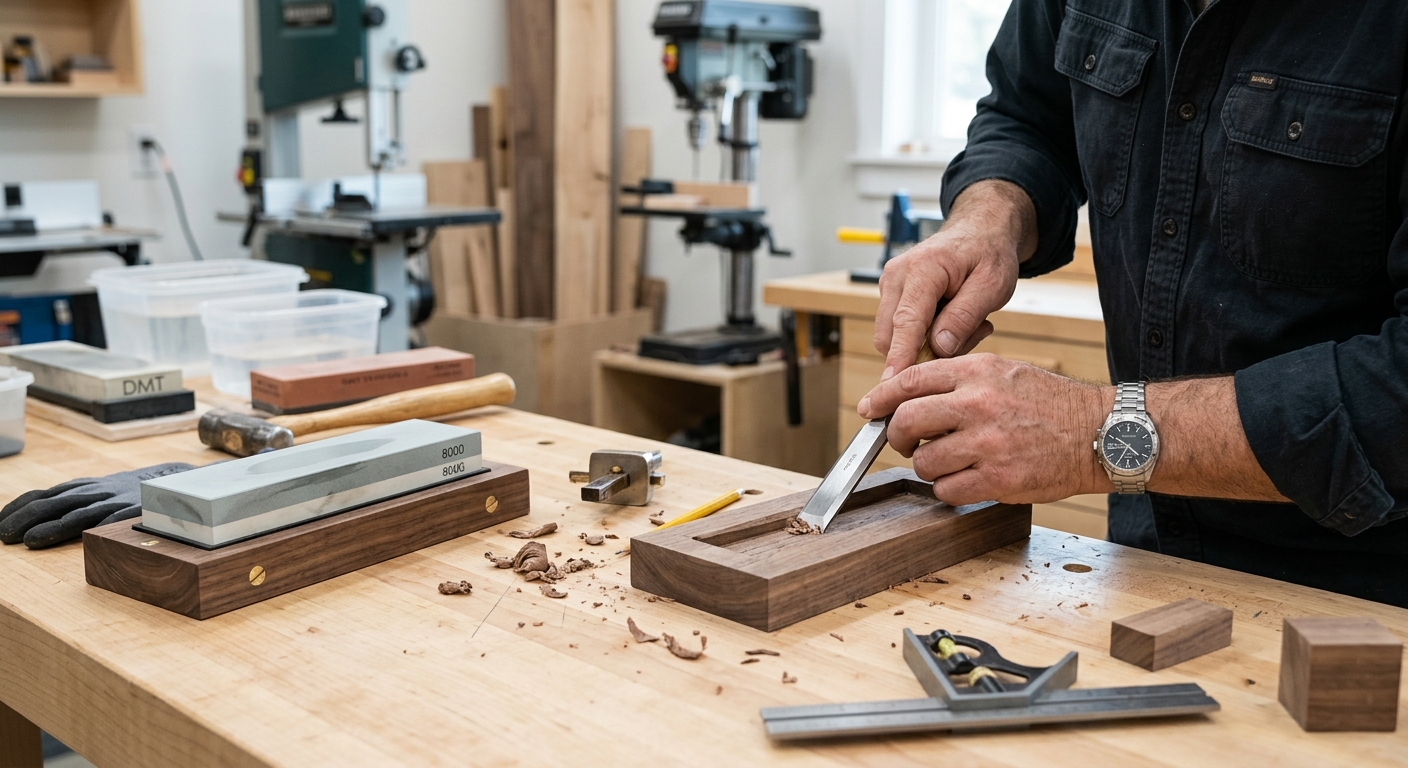
Waterstones and oil stones need holders that keep them flat and prevent sliding. Build simple wooden frames from 3/4-inch plywood with the stone sitting in a recess. Glue rubber feet to the bottom of each holder so they don’t slide on the bench surface. Build dedicated holders for each stone in your progression.
Step 4 – Mount the Leather Strop
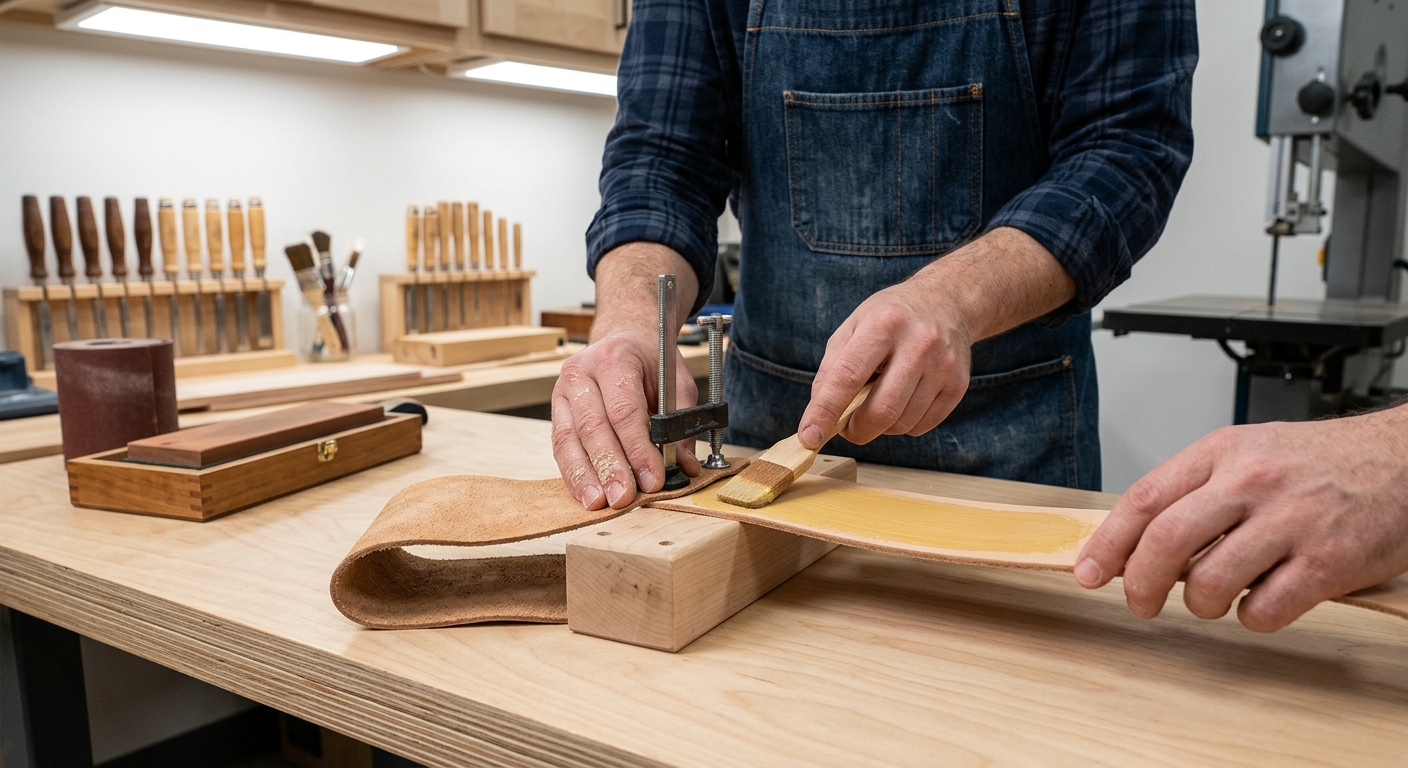
Glue a piece of leather to a flat 3/4-inch MDF or plywood board. The smooth side of the leather goes up for the final honing pass. Screw this strop board to the station top or make it a removable insert. Apply stropping compound to the leather and work it in before first use.
Step 5 – Set Up Water or Oil Access
For waterstones, a simple squeeze bottle of water is all you need – store it in a hole drilled into the bench surface near the stones. For oil stones, a small dispenser bottle works the same way. Build a small trough under the stone holders to catch drips and keep the bench surface clean.
The Sharpening Routine
- Black the bevel with a marker
- Set the honing guide to the correct angle
- Work through your stone progression until the marker is completely removed
- Flatten your stones if they’re used frequently
- Strop on leather with compound
- Test on end grain – a sharp chisel or plane will shave end grain cleanly
FAQ
How often should I sharpen? When the tool stops performing at its best, not after a set number of uses. A sharp hand plane shaves tissue-thin shavings and glides without force. When it starts tearing instead of slicing, it’s time to sharpen.
Do I need a grinder at the sharpening station? A grinder speeds up major edge repairs and bevel re-grinding after grinding nicks or chips. It’s not required if you’re maintaining already-sharp tools, but it saves significant time when edge angles need resetting.