Your Feet Matter – Build a Proper Anti-Fatigue Station
Standing on concrete or even plywood for hours causes fatigue, back pain, and sore feet that limit how long you can productively work. An anti-fatigue mat station solves this by providing cushioning under the areas where you stand most – at the workbench, at the table saw, and at the assembly table. This build creates a fitted anti-fatigue system for the bench that stays in place, protects the mats from caster damage, and looks intentional rather than like an afterthought.
The Science of Anti-Fatigue Mats
Standing on a hard surface compresses the blood vessels in the feet and legs, reducing circulation. The subtle micromovement caused by a slightly compliant surface (an anti-fatigue mat) keeps the muscles engaged and the blood flowing. Studies show anti-fatigue mats reduce fatigue by 30 to 50 percent compared to standing on hard floors. For shop work, this translates directly into longer, more productive sessions and less discomfort the next morning.
Materials
- Commercial anti-fatigue mat – at least 3/4-inch thick gel or foam rubber (Tru-Comfort or similar brand)
- 3/4-inch plywood for border strips and mat holders
- Non-slip mat backing (optional)
- Screws for attaching border holders
Step 1 – Identify Your Primary Standing Zones
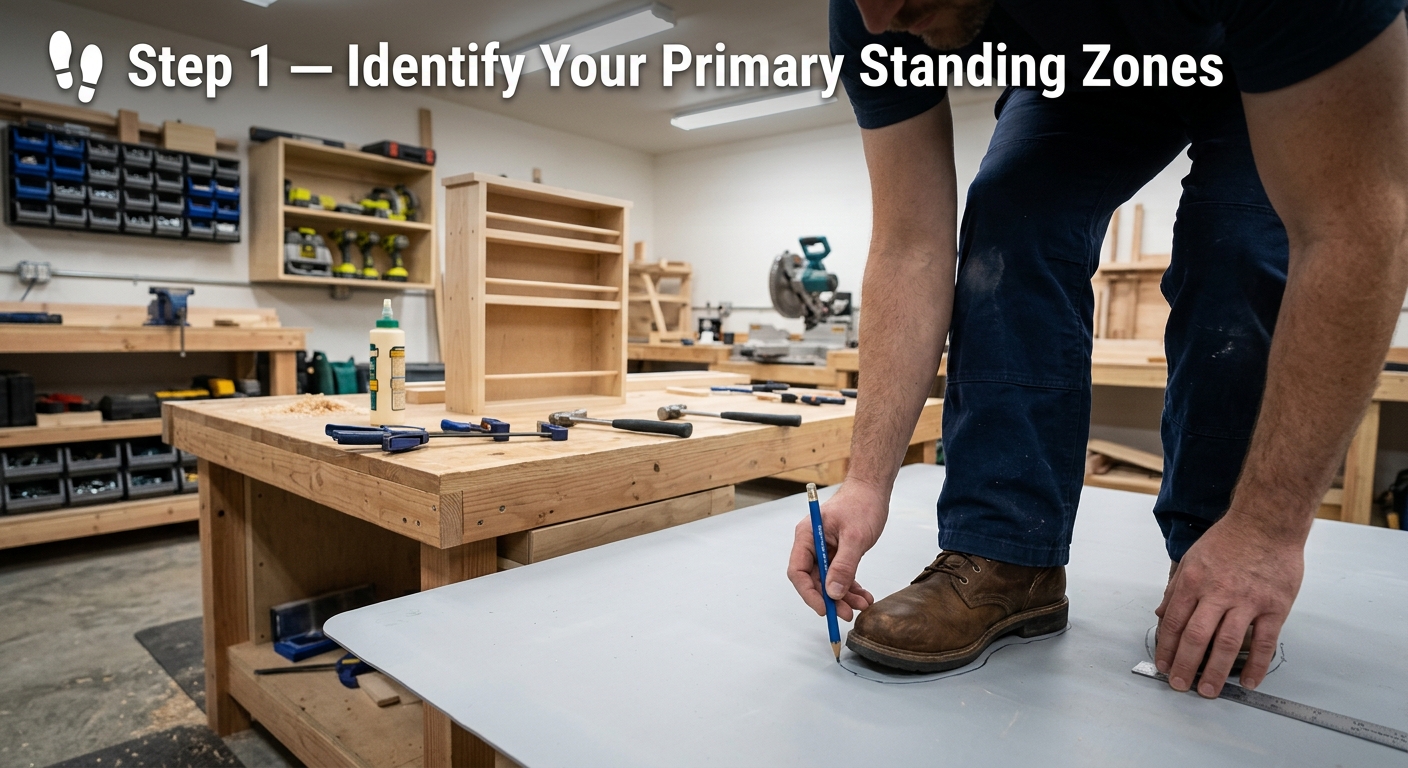
Walk through your shop and identify the three or four places where you stand most – typically the workbench, the table saw feed position, the miter saw station, and the assembly table. Mark these zones with tape temporarily to confirm they’re correct. These are where the anti-fatigue mats go.
Step 2 – Choose the Right Mat
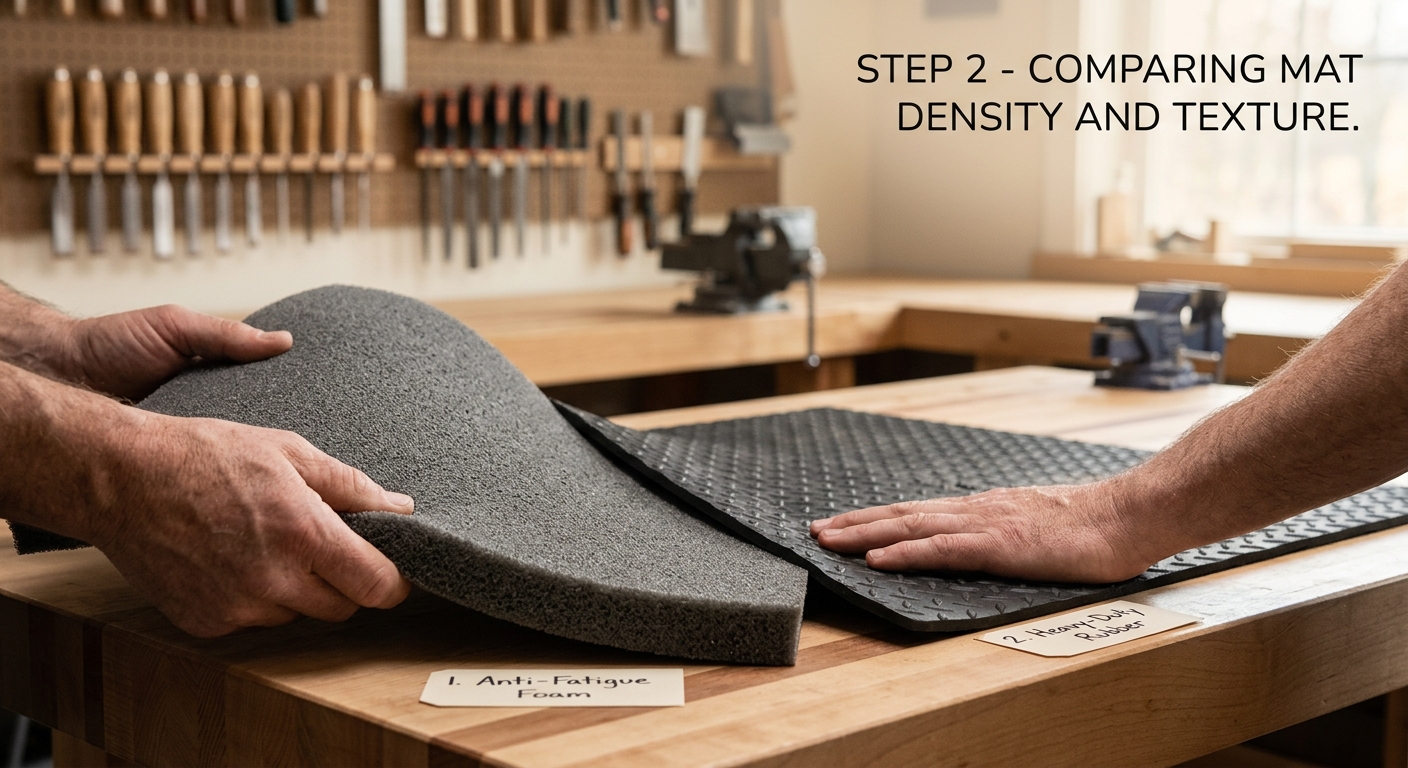
Mats differ dramatically in quality and feel. Avoid cheap foam mats – they compress flat quickly and lose effectiveness. Invest in gel or thick rubber foam mats rated for shop environments. Key features: oil-resistant surface (oil-impregnated concrete and finish drips won’t destroy it), beveled edges (so you don’t trip on the edge), and at least 3/4-inch thickness. Tru-Comfort, Rhino Mats, and WellnessMats are reputable brands.
Step 3 – Build Mat Border Strips
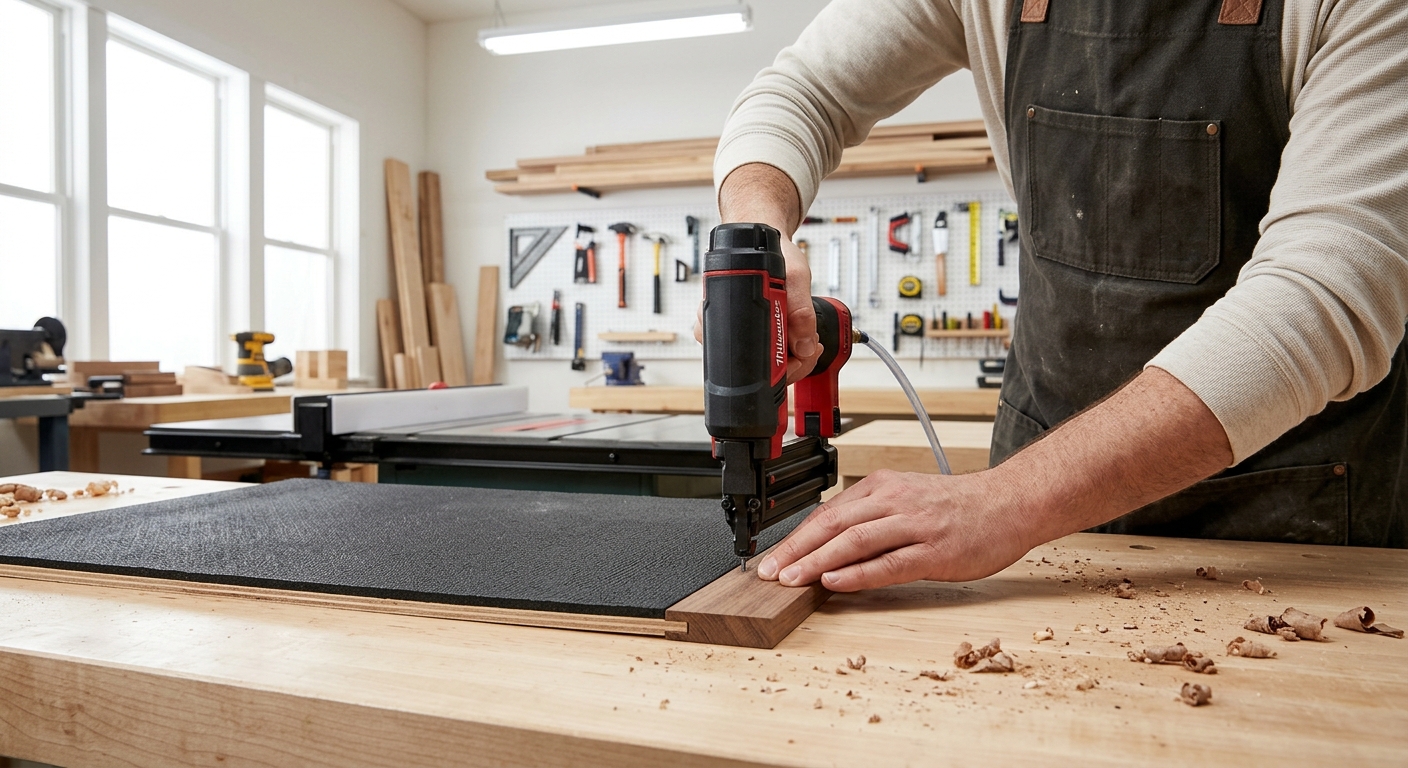
To keep mats from sliding during work, build simple plywood border strips that sit flush with the mat edges and screw to the shop floor (or to the bottom of the bench legs). The strips don’t hold the mat down – they just prevent it from sliding sideways when you step on the edge. Cut them from 3/4-inch plywood, about 2 inches wide and sized to the mat perimeter.
Step 4 – Deal with Shop Traffic
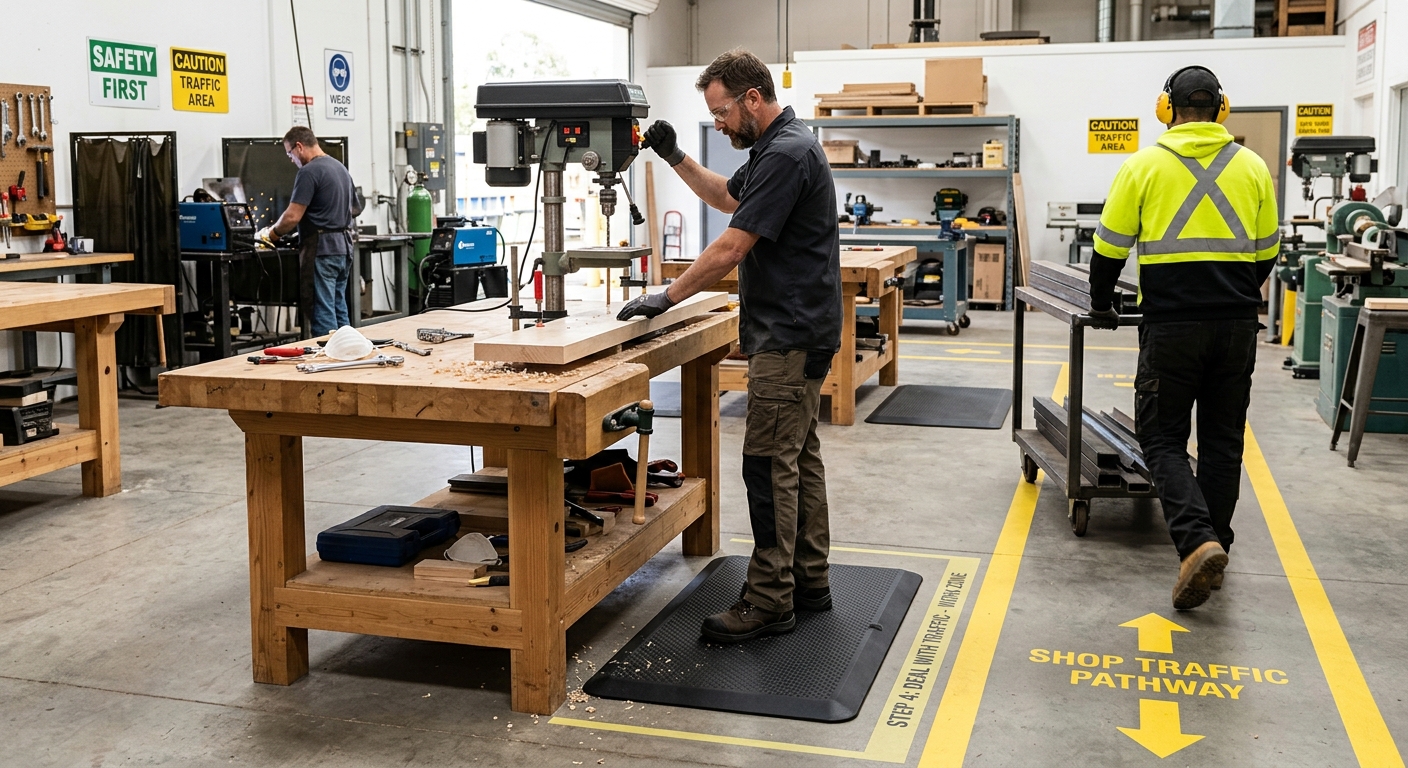
Mats in traffic paths (between machines and the material storage area) need extra attention. Use interlocking rubber mat tiles here rather than a single large mat – tiles can be added or removed as needed and damaged tiles replace individually. Keep the tile joints running perpendicular to the main traffic direction so carts and dollies roll smoothly over them.
Step 5 – Maintain the Mats
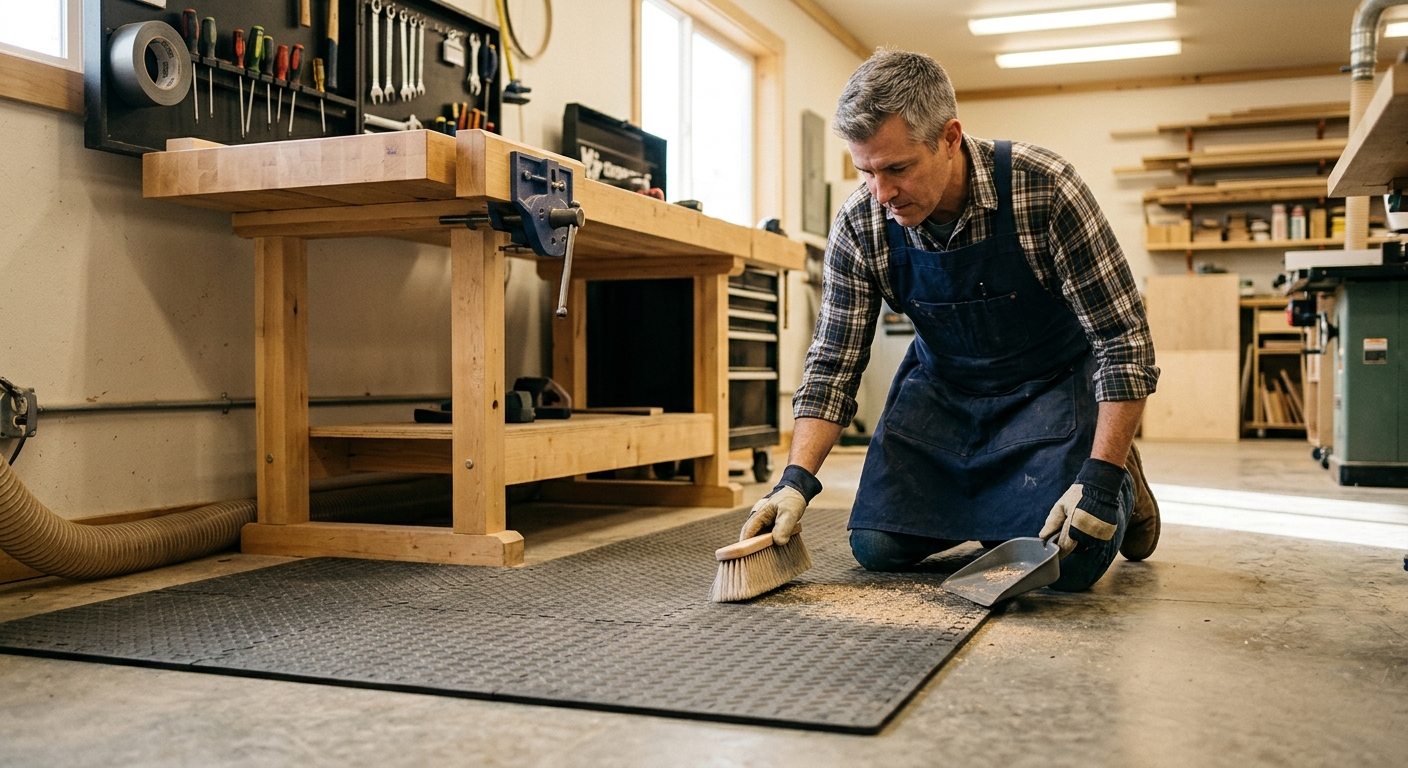
Clean mats regularly – sawdust and shavings trapped under a mat create uneven spots. Pick up and shake out each mat weekly. Vacuum or blow off the floor underneath. Check for any signs of compression fatigue (the mat doesn’t spring back when you step off it) and replace mats that have lost their resilience.
FAQ
Are anti-fatigue mats safe around power tools? Yes – they’re specifically designed for industrial environments with machinery. The slight elevation and compliance of the mat surface does not affect stability during tool use.
How thick should my mat be? 3/4-inch is the minimum for significant fatigue reduction. 1-inch thick mats are noticeably better for sessions over two hours. The extra cost is worth it for the time you spend standing at the bench.