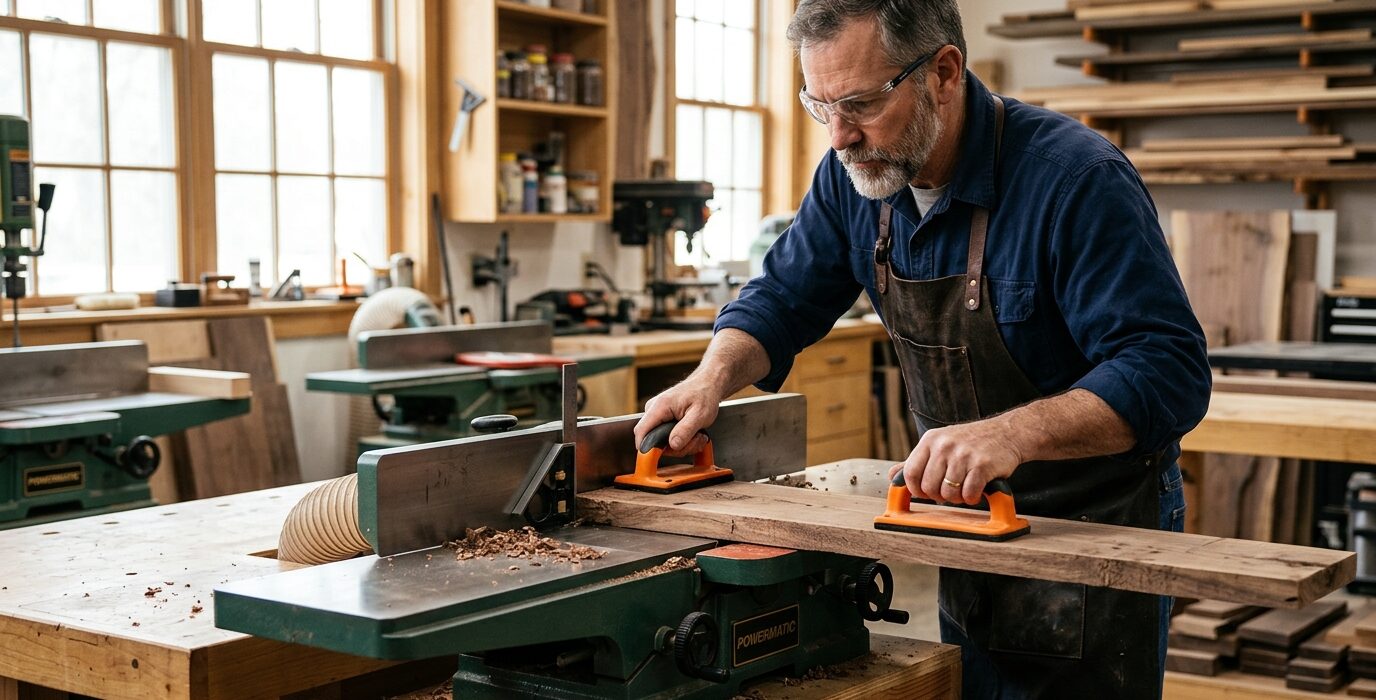
How to Set Up a Jointer for Flat, Square Edges
The jointer does two things well: it creates a flat reference face on rough lumber, and it creates a square edge relative to that face. These two surfaces become the reference faces for all subsequent machine operations – the planer works from the flat face, the table saw fence references the square edge. If the jointer setup is wrong, every subsequent operation inherits the error. Getting the jointer right is foundational to accurate woodworking.
The Key Adjustments
- Outfeed table height (must be coplanar with the cutterhead knife at the top of its arc)
- Infeed table depth (sets the depth of cut – typically 1/32 to 1/16 inch per pass)
- Fence angle to the table (must be exactly 90 degrees for face-jointing-adjacent edge joints)
- Knife height uniformity (all knives must be the same height)
Step 1: Set the Outfeed Table Height
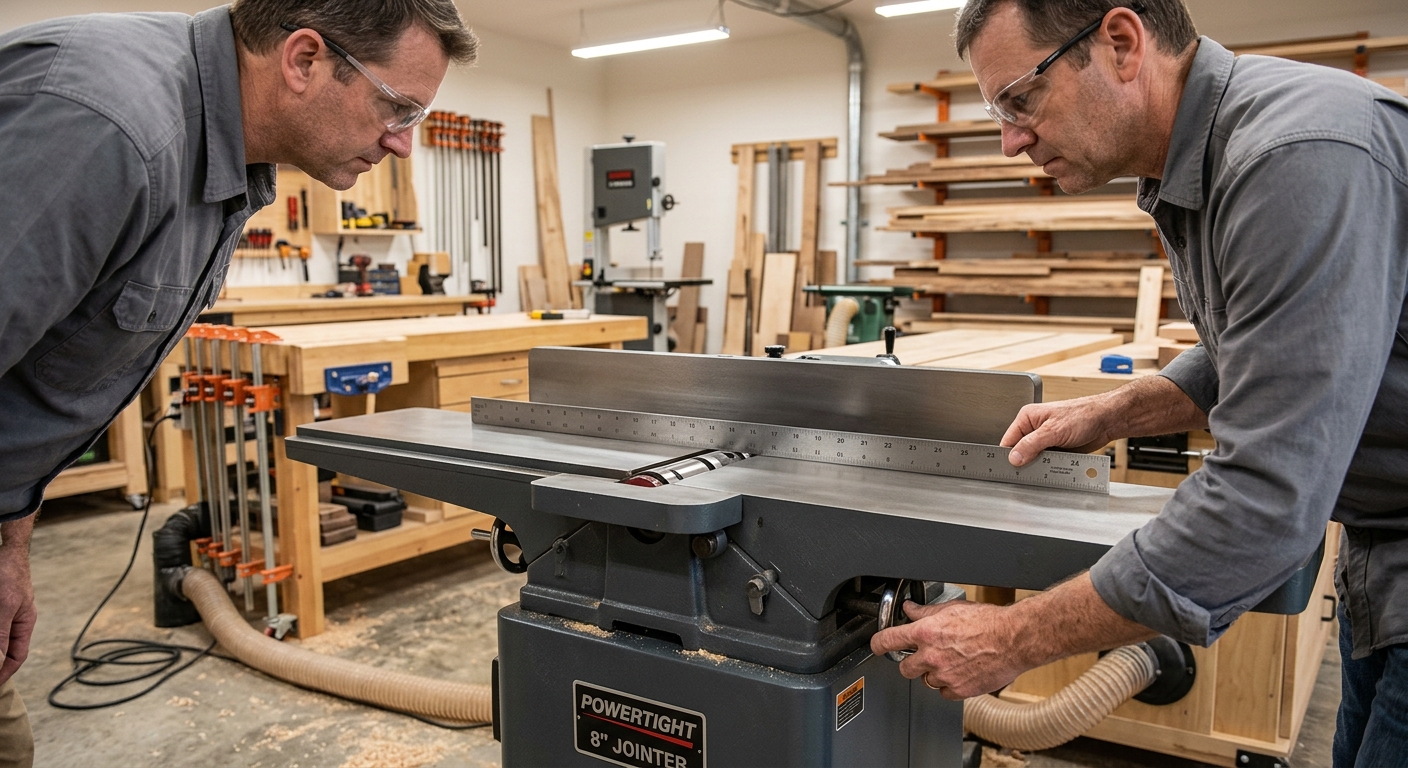
This is the most critical adjustment. Place a long straightedge on the outfeed table and hang it over the cutterhead opening. Rotate the cutterhead by hand – the knife should just barely kiss the underside of the straightedge at the top of each knife’s arc, with zero clearance. If there’s a gap, the outfeed table is too low – material will snipe at the end of each pass. If the knife contacts too firmly, the outfeed is too high – material will arch over the head and the cut will taper.
Step 2: Confirm Knife Height Uniformity
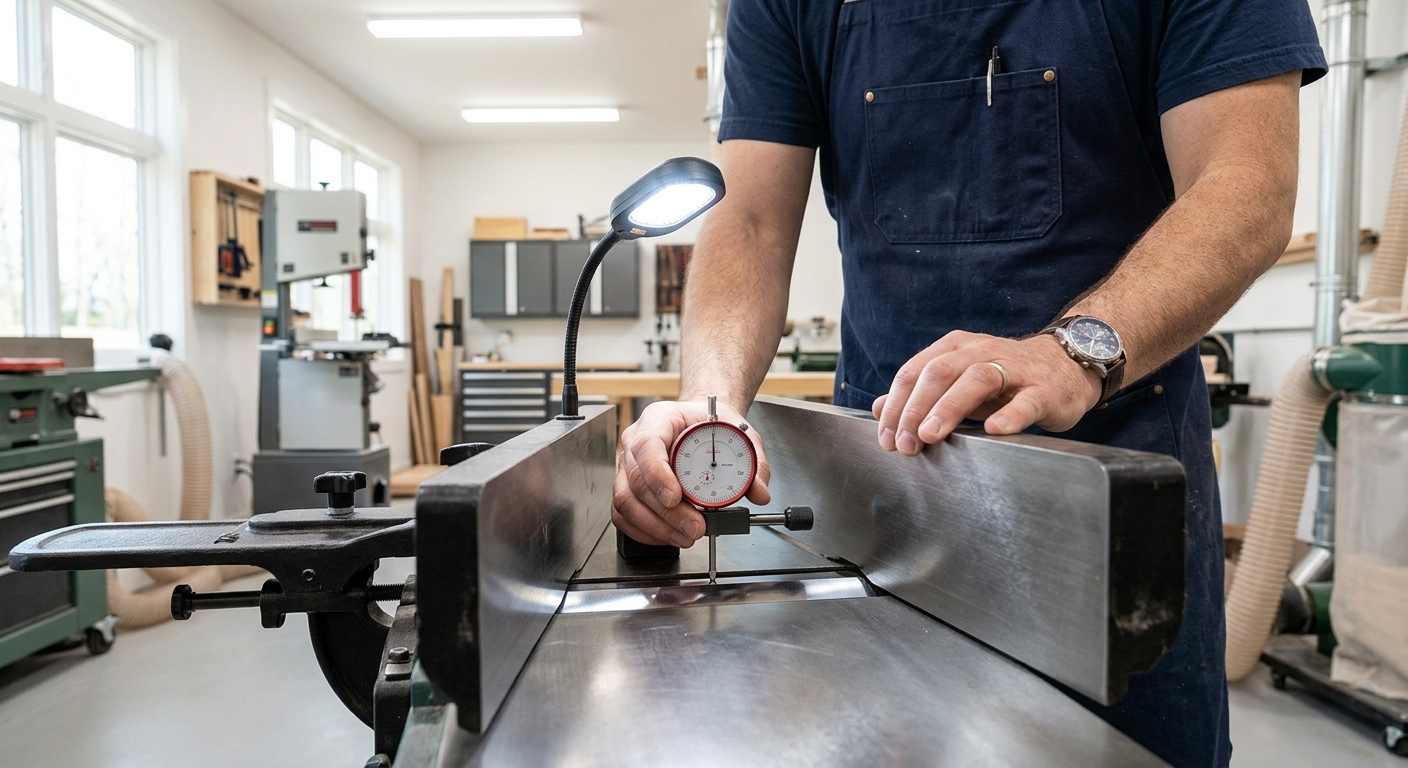
All knives in the cutterhead must be at the same height. Place the straightedge on the outfeed table and rotate each knife to its top position in turn. Each knife should make identical, light contact with the straightedge. If one knife is low, it’s not cutting – it’s just dragging. If one is high, it cuts more than the others and produces a corrugated surface. Adjust knife heights with the adjustment screws in the cutterhead.
Step 3: Set the Fence to 90 Degrees
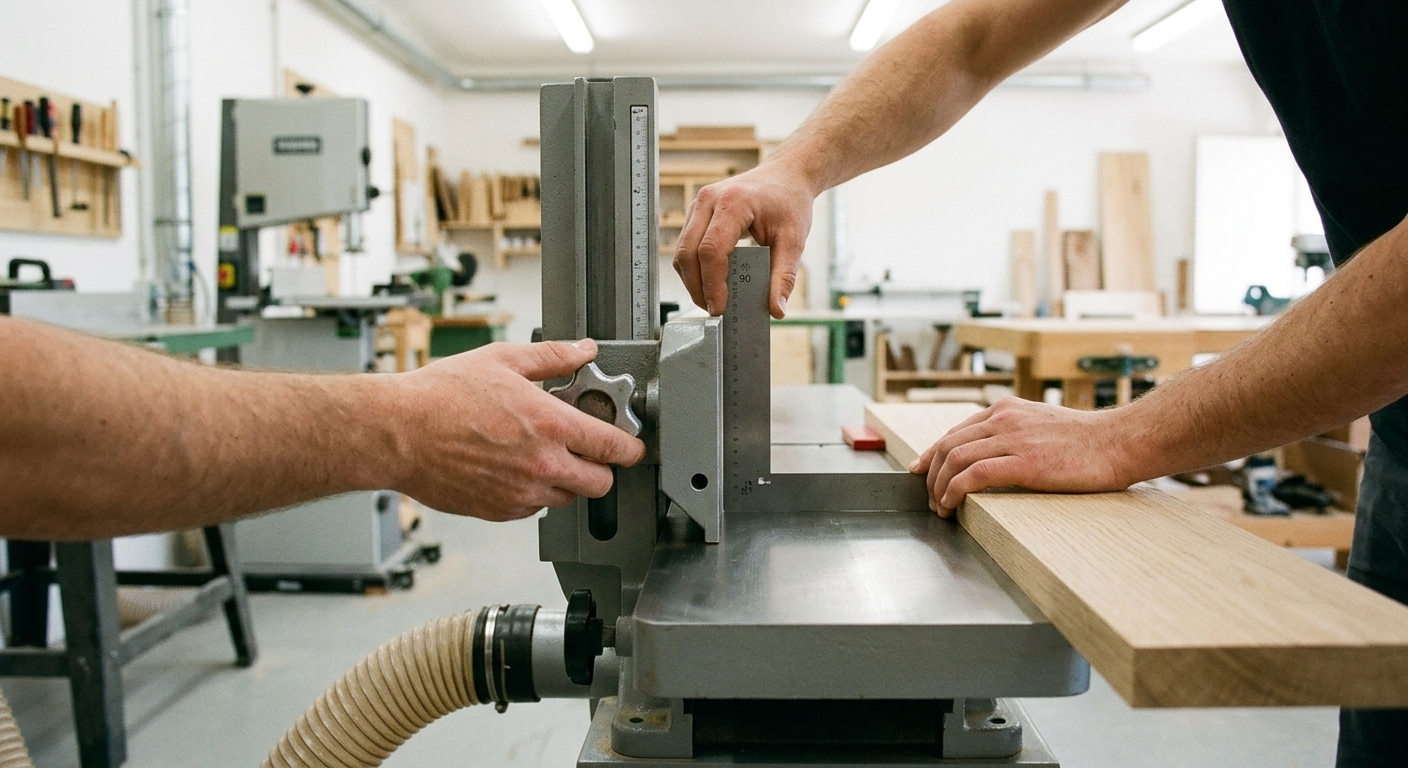
Unlock the fence and check it with a reliable machinist’s square: the fence face must be 90 degrees to the table. Adjust the fence tilt mechanism until the square shows no gap. Lock the fence at 90 degrees. Verify by jointing a piece of scrap face down against the fence and checking the jointed edge with the square – it should be perpendicular to the face.
Step 4: Face Joint a Board
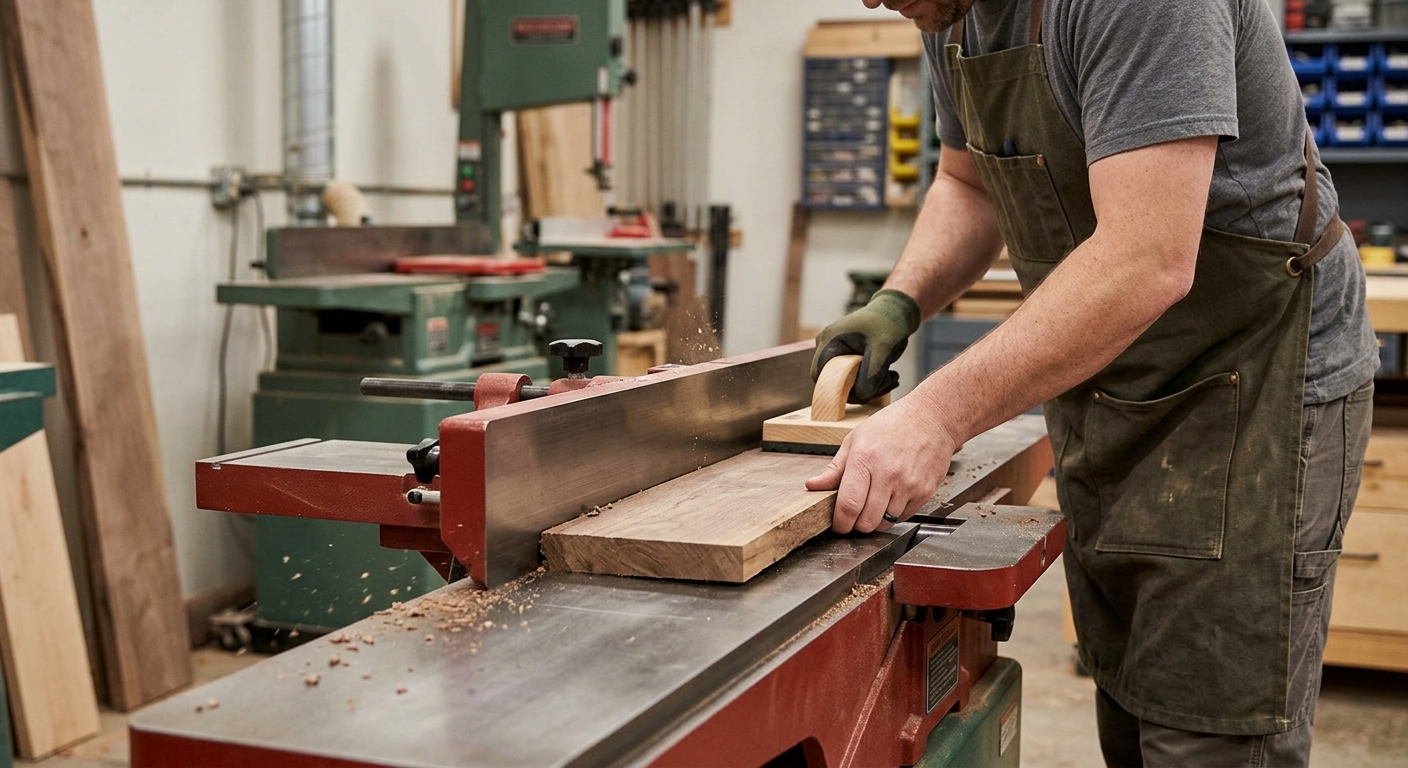
Feed the cupped or warped face of the board against the infeed table, with the convex side down. This prevents rocking – a board placed concave-down on a flat table rocks and the jointer cuts the high spots only, potentially making the cup worse. Feed with the grain running downhill into the cutter. Take multiple passes until the full face is flat.
Step 5: Edge Joint the Board
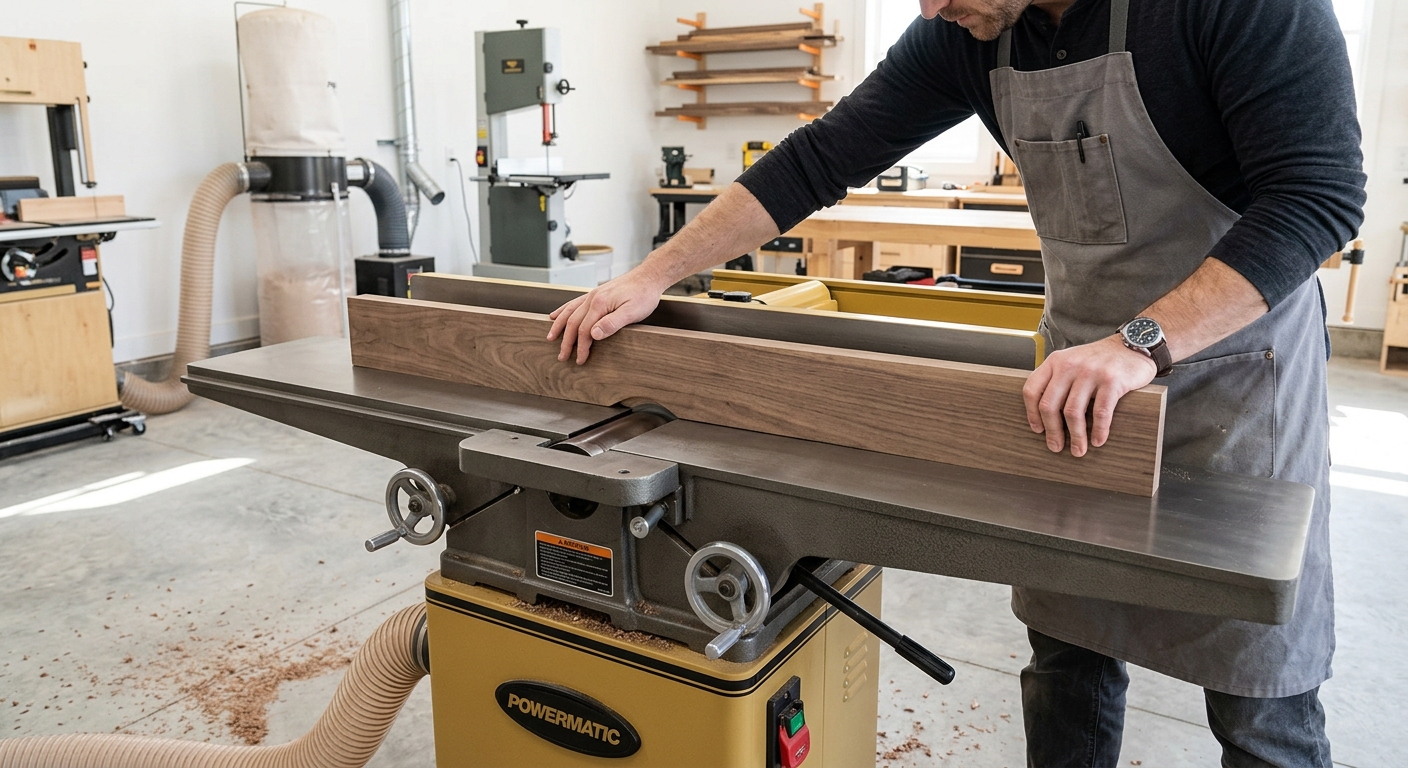
With the flat face against the fence, pass the edge across the jointer. The fence holds the board perpendicular to the table throughout the pass. The result is an edge that is flat and square to the face – ready for the table saw fence or edge gluing.
Pro Tips
- Always joint with the grain. Reading grain direction before running a board over the jointer prevents tearout. The grain should be running “downhill” into the cutter – if the cutter is going against the grain, flip the board end-for-end.
- Jointers don’t make wood thinner. A jointer creates a flat reference surface, not a consistent thickness. To reduce thickness, use the planer after face jointing.
FAQ
How much material does a jointer remove per pass?
For face jointing, 1/32 inch per pass is standard – multiple light passes are more accurate than one heavy pass. For edge jointing, you can take 1/16 inch per pass. Never exceed the manufacturer’s recommended depth of cut – excessive material removal causes rough surface, kickback risk, and accelerated knife wear.