How to Use a Pocket Hole Jig – Settings, Drill, and Assemble
Pocket hole joinery is one of the most practical woodworking techniques for home shop use: fast, strong enough for furniture and cabinets, and requiring no specialized machinery beyond a pocket hole jig. A Kreg K4 or K5 handles 90% of pocket hole applications in a home shop. If you haven’t used one, this guide walks through every setting and technique needed to get strong, well-aligned joints on the first try.
How Pocket Holes Work
A pocket hole jig drills an angled pilot hole through the workpiece. A special self-tapping screw drives through this angled hole and bites into the mating piece. The angle creates a clamping action as the screw drives – the screw pulls the joint tight. The joint is strong in shear (the direction cabinet face frames, drawer boxes, and furniture experience most stress) but weak in tension (pulling apart).
Step 1: Set the Drill Guide Height
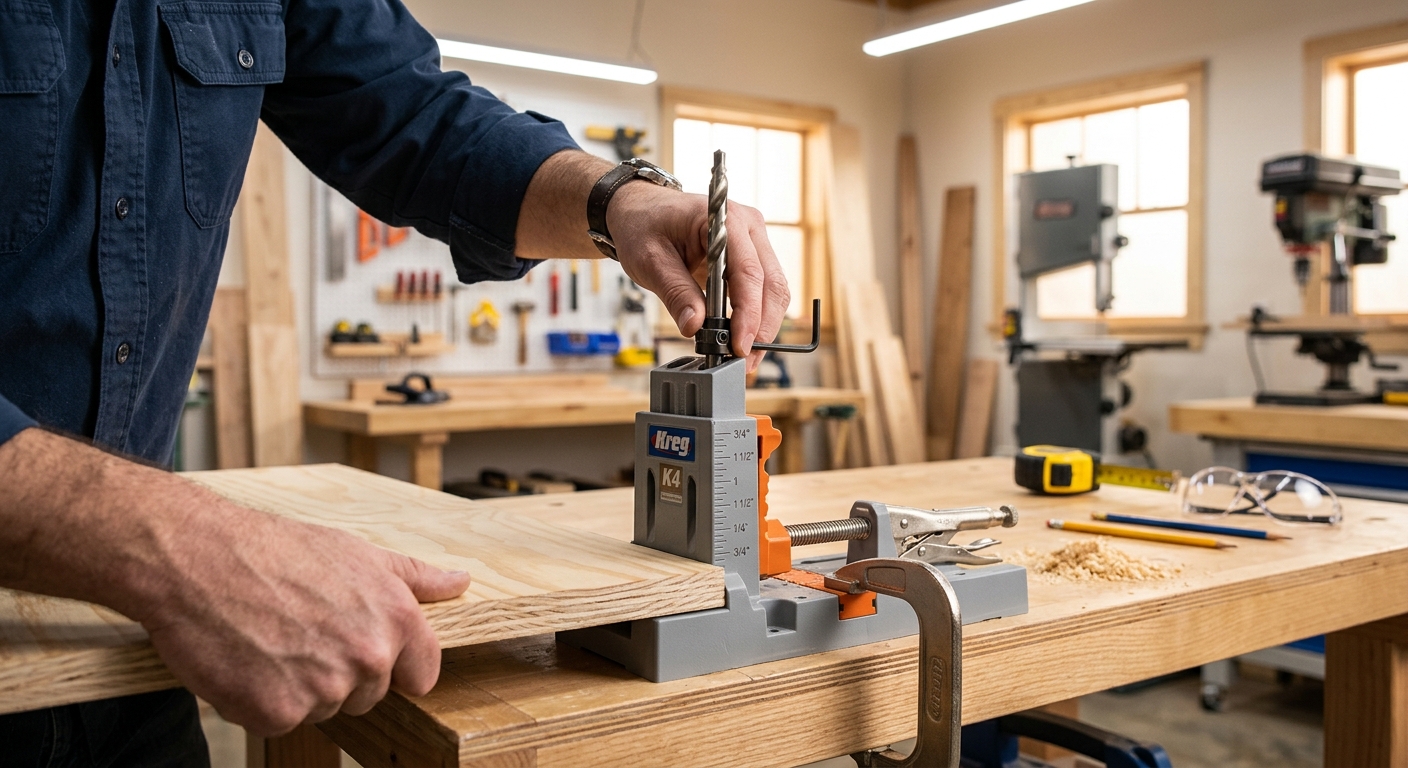
The jig’s drill guide adjusts for material thickness. Most jigs have a stepped collar or a depth marking that corresponds to the material thickness. Set the jig for the thickness of the workpiece (the piece with the pocket, not the piece being joined). Getting this setting right is the most important step – an incorrect depth results in the screw either blowing through the face or not reaching the mating piece.
Step 2: Set the Drill Bit Collar Depth
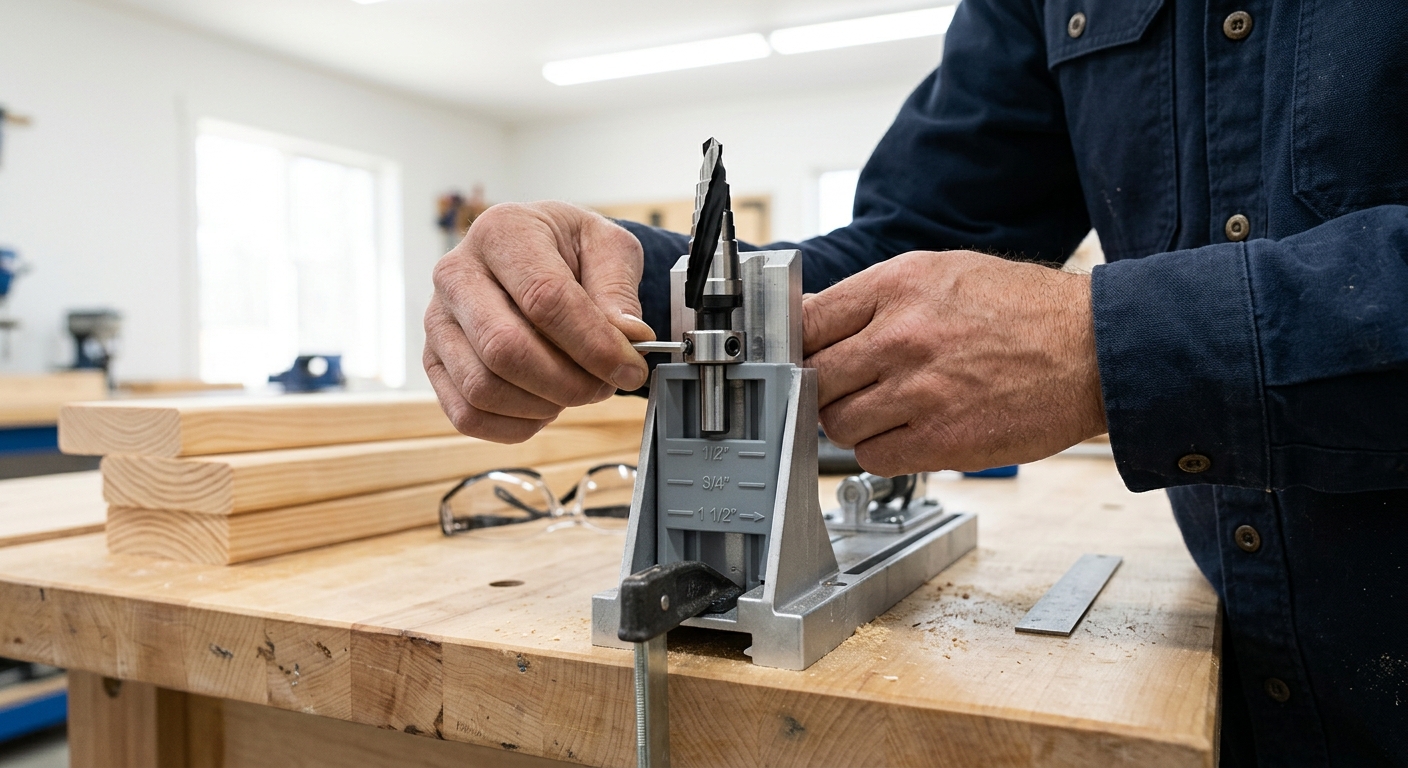
Kreg and similar jigs come with a stepped drill bit that has an adjustable collar. Set the collar position to match your material thickness per the jig’s chart. The collar sets how deep the pocket hole goes – too deep and the screw exits the face; too shallow and the joint is weak. Check your jig’s specific instructions for this setting.
Step 3: Drill the Pocket Holes
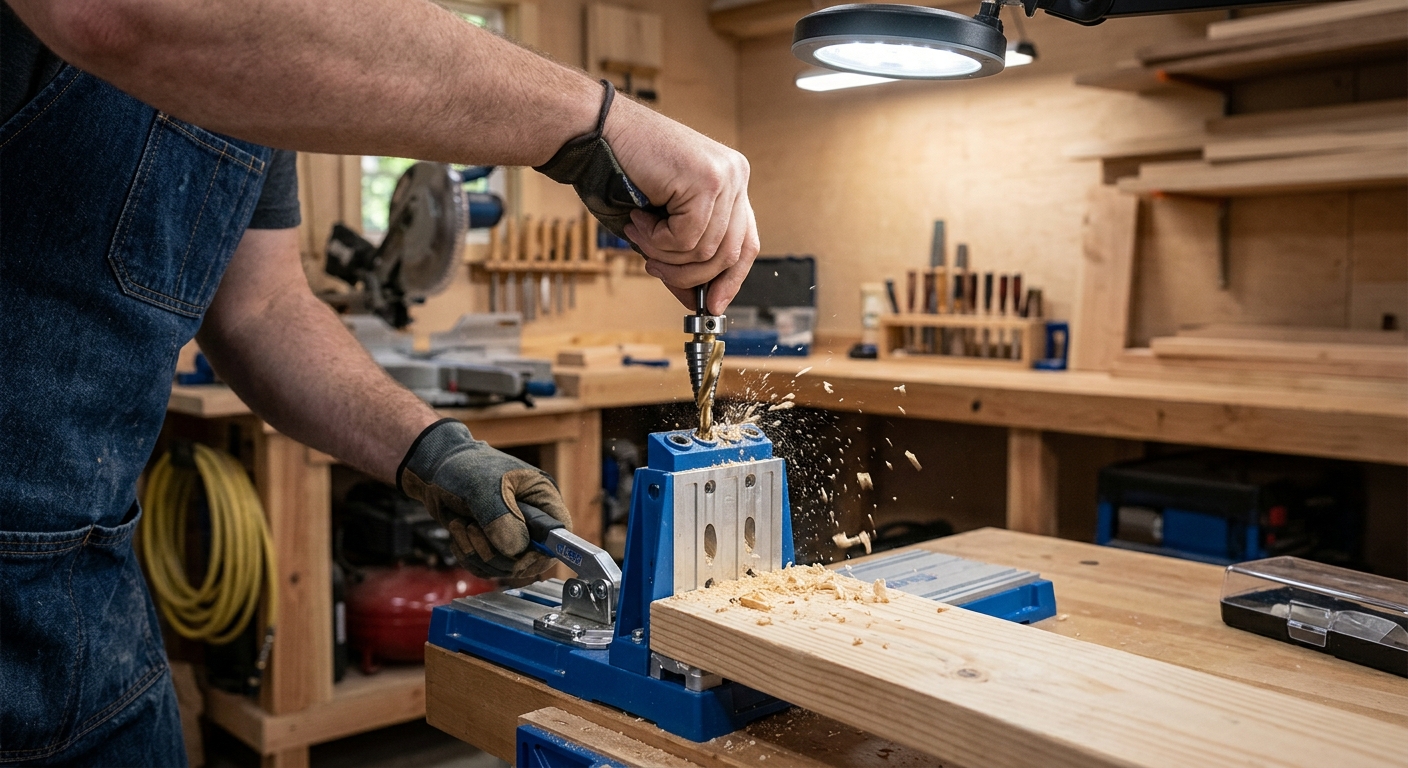
Clamp the jig to the workpiece with the face guide aligned to the face of the board. Drive the bit in at full speed with steady feed pressure – pocket hole bits drill at an angle, so the bit tends to want to walk. The stepped bit creates the pilot hole and the pocket simultaneously. One smooth pass completes the pocket. Two holes per joint is standard for most applications.
Step 4: Select the Right Screw Length
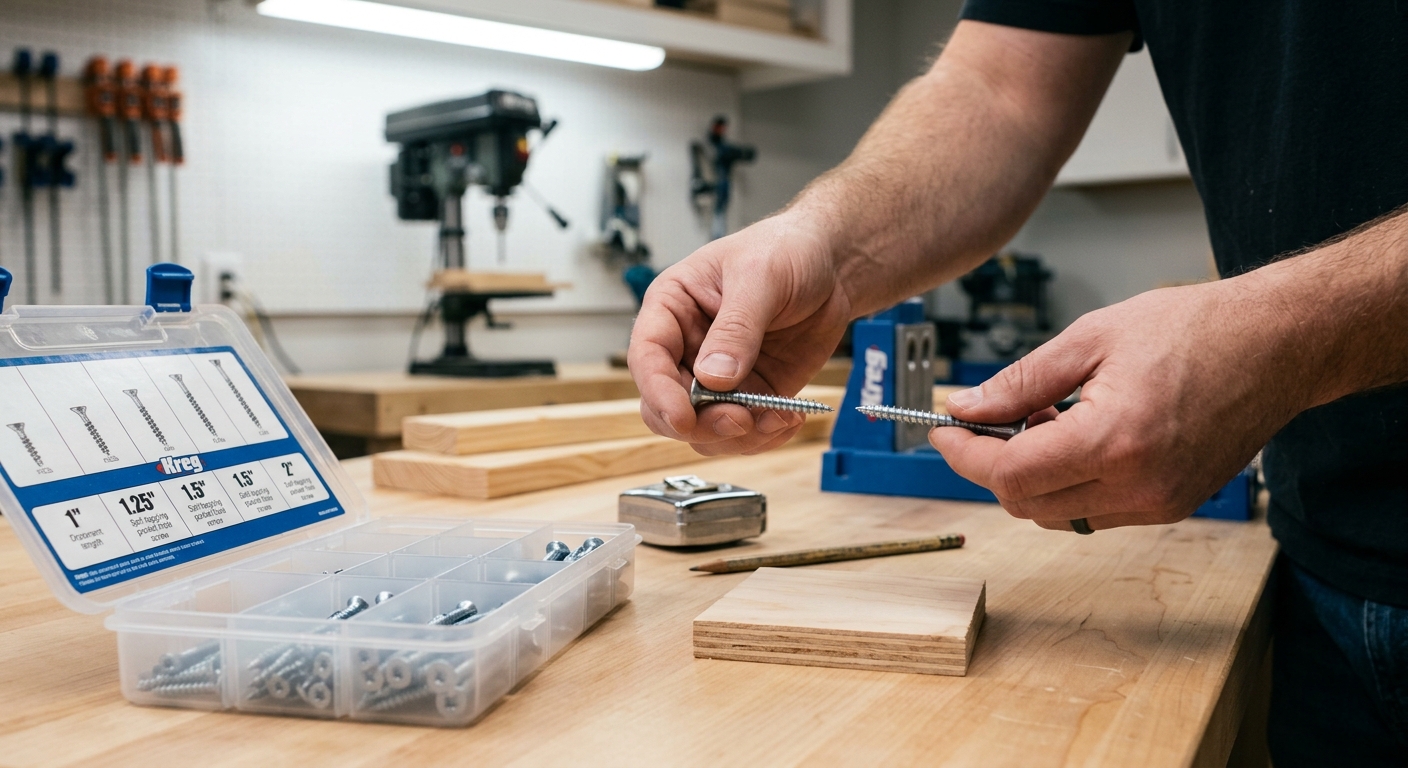
Pocket hole screw length is determined by total material thickness, not material thickness of a single piece. For joining 3/4-inch material, use 1-1/4-inch screws. For 1-1/2-inch material, use 2-inch screws. Using the wrong length either pulls through the face or fails to reach the mating piece. Most jig manufacturers publish a screw selection chart on their website.
Step 5: Assemble the Joint
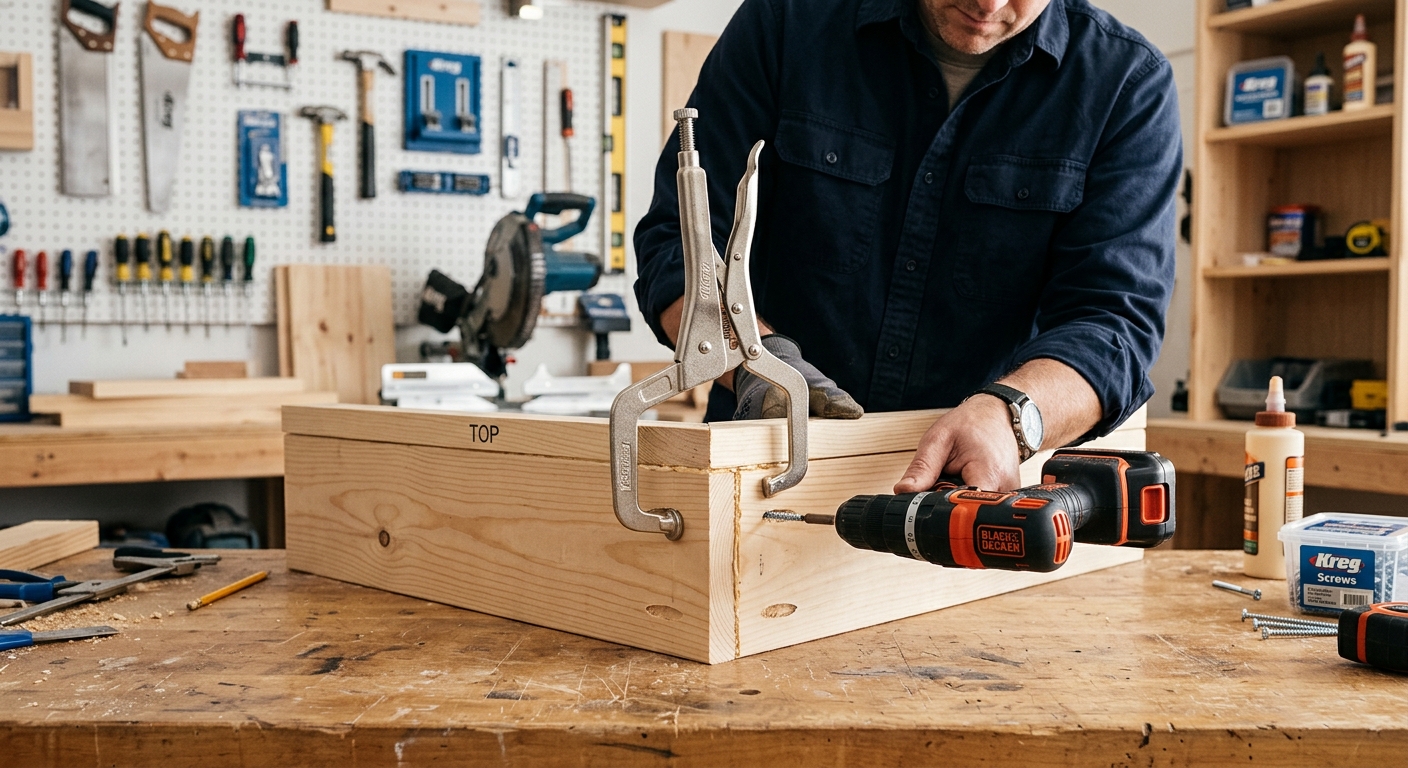
Apply a light bead of wood glue to the mating surfaces for stronger joints (optional but recommended for structural connections). Clamp the pieces in the correct position – the pieces must not shift during driving. Drive the screw at medium speed – too fast generates heat and can strip the square drive. The joint should pull tight as the screw seats. Don’t overtighten.
Pro Tips
- Always use a clamp. Even with glue, pieces shift as the screw drives if they’re not clamped. A simple right-angle clamp or a face-frame clamp keeps things aligned.
- Pocket holes show – design accordingly. The pocket holes are on the inside of the joint. In a cabinet face frame, the pockets face inward (hidden). In a table apron, the pockets face the inside (also hidden). Plan pocket hole locations so they’re never visible in the finished piece.
FAQ
Is pocket hole joinery as strong as mortise and tenon?
No – mortise and tenon is stronger, particularly in tension (racking resistance in chair legs, for example). But pocket holes are strong enough for most furniture applications that don’t involve racking loads: cabinet face frames, drawer boxes, bed frames, tabletop attachment. For chairs, heavily racked furniture, and anything that gets regular abuse, use mortise and tenon or dowels.