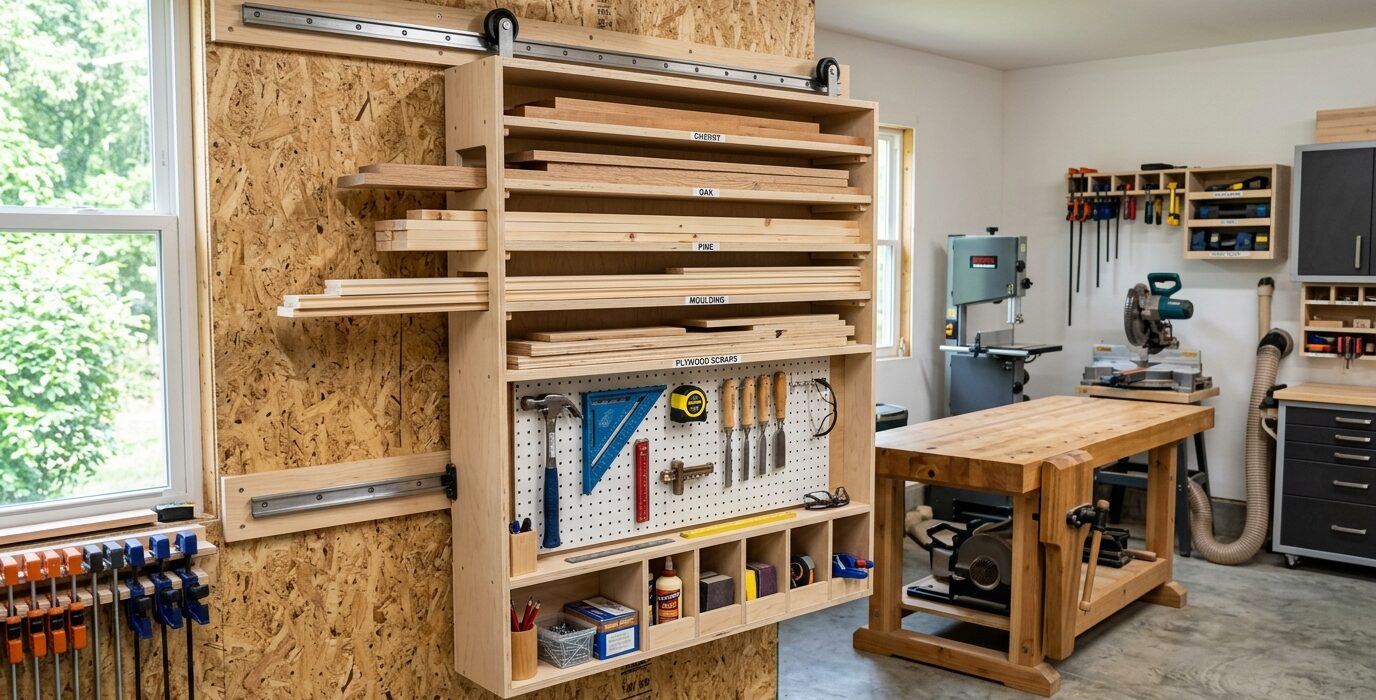
A Sliding Lumber Rack That Maximizes Wall Space
A standard horizontal lumber rack stores boards in fixed bays. A sliding rack adds the ability to push boards back and forward, accessing boards in the middle of a stack without removing everything in front. This is the right approach for a garage workshop with limited floor space – boards come out without a wrestling match and go back without stacking them in order.
Materials
- Steel pipe or heavy-duty all-thread rod: 1-inch diameter, multiple pieces
- Steel pipe flanges for wall mounting
- Lag screws – 3/8 x 3-inch for stud mounting
- Steel electrical conduit or EMT as the sliding rods
- Optional: rubber end caps on all rod ends
Step 1 – Find and Mark the Studs
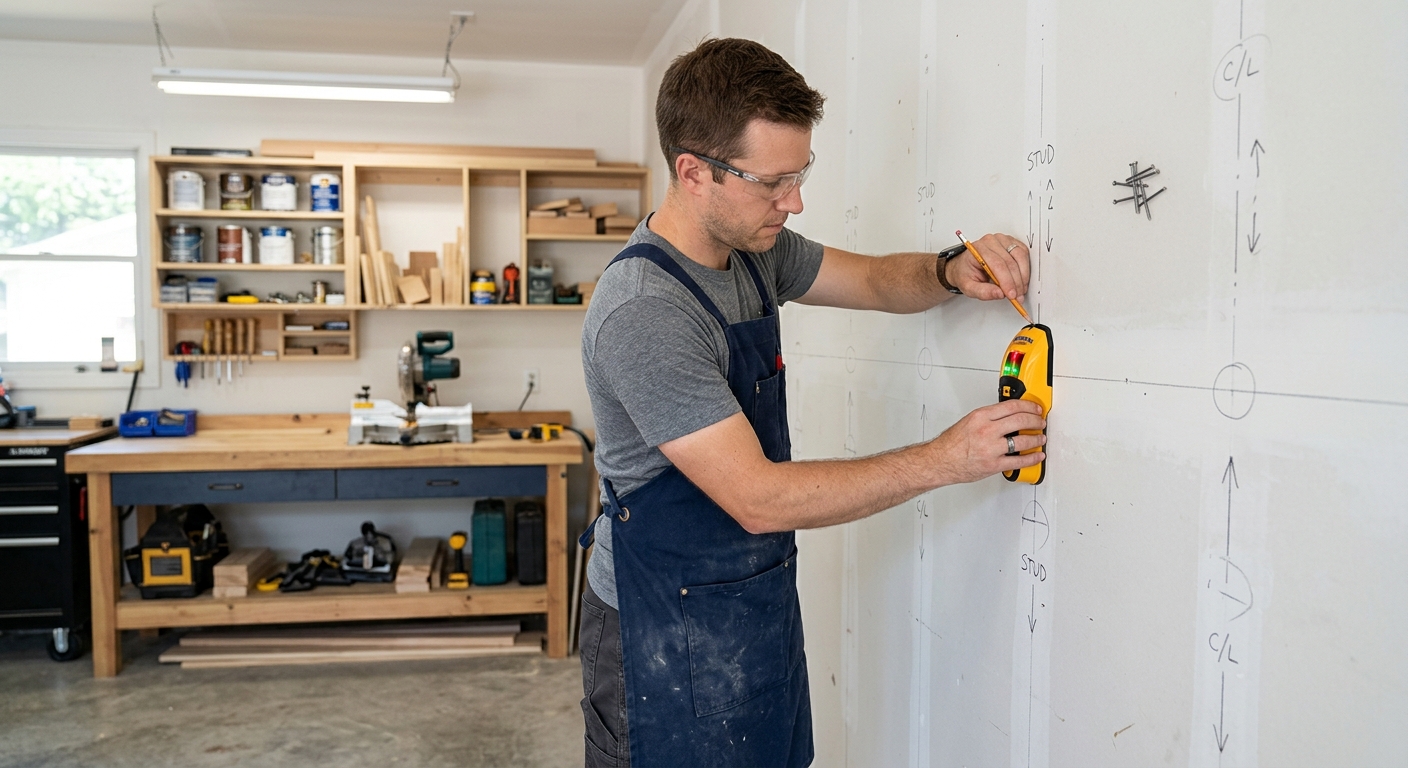
The lumber rack must anchor into wall studs – period. Drywall anchors will pull out under lumber weight. Find every stud in your planned rack area and mark them clearly. Plan your rack arm spacing to hit at least two studs per arm mounting plate.
Step 2 – Install the Wall Brackets
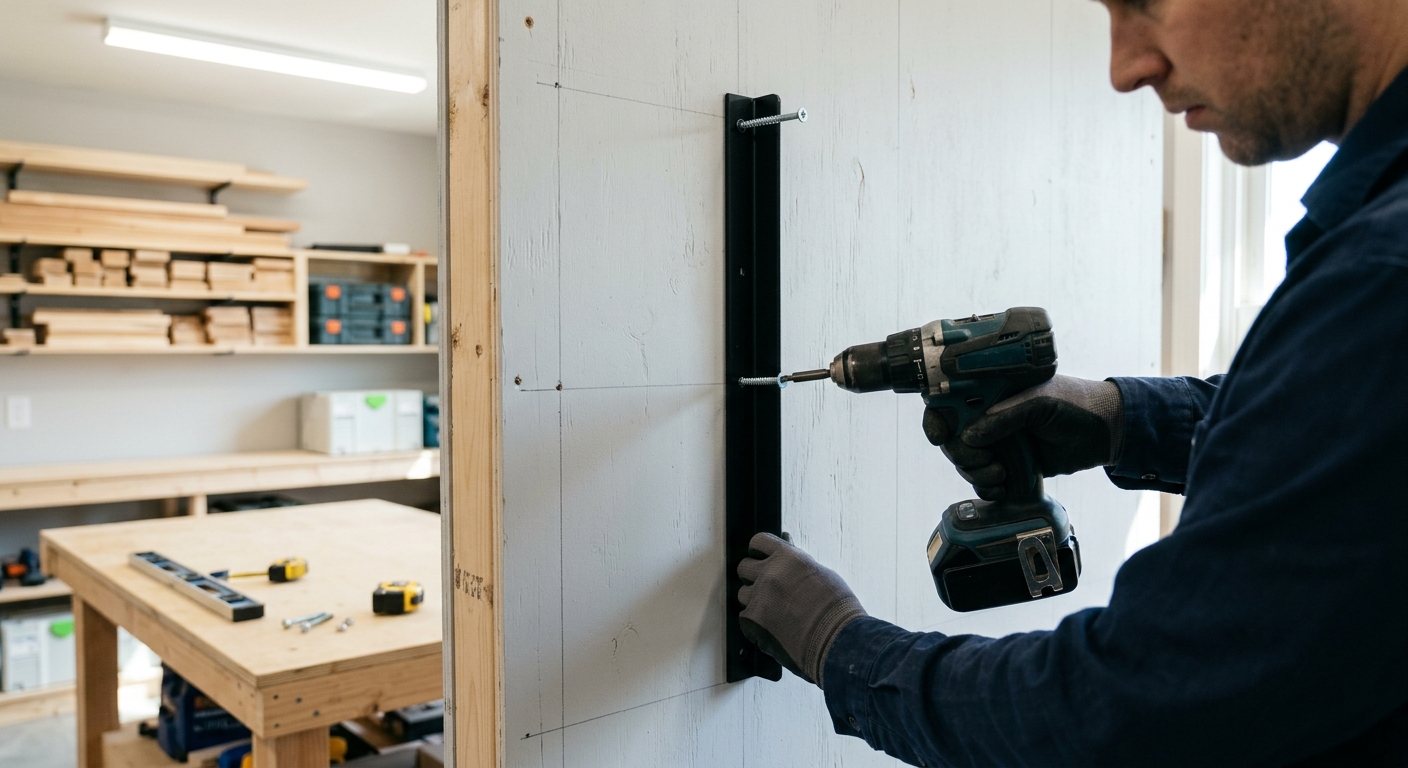
Install pipe flanges or custom-welded brackets at the stud locations. For a sliding rack, you want two rows of brackets – the fixed back row mounts pipe that acts as the rear rail, and the front row holds the sliding rods. Install both rows perfectly level and aligned.
Step 3 – Install the Rear Fixed Pipe
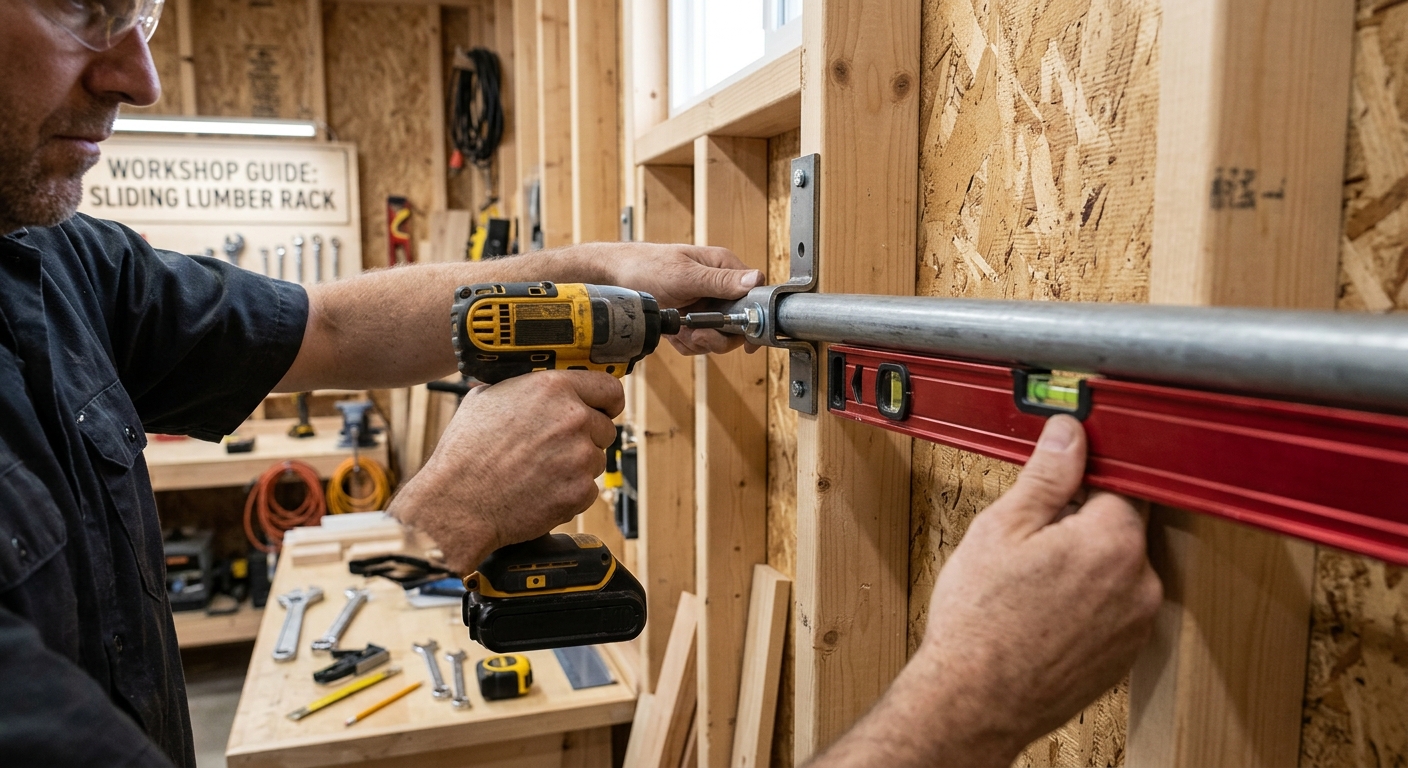
The rear pipe is fixed in the wall brackets. This pipe is the backstop for the lumber – boards rest against it when pushed all the way back. Use 1-inch steel pipe cut to length and secured in the flanges.
Step 4 – Add the Sliding Front Rods
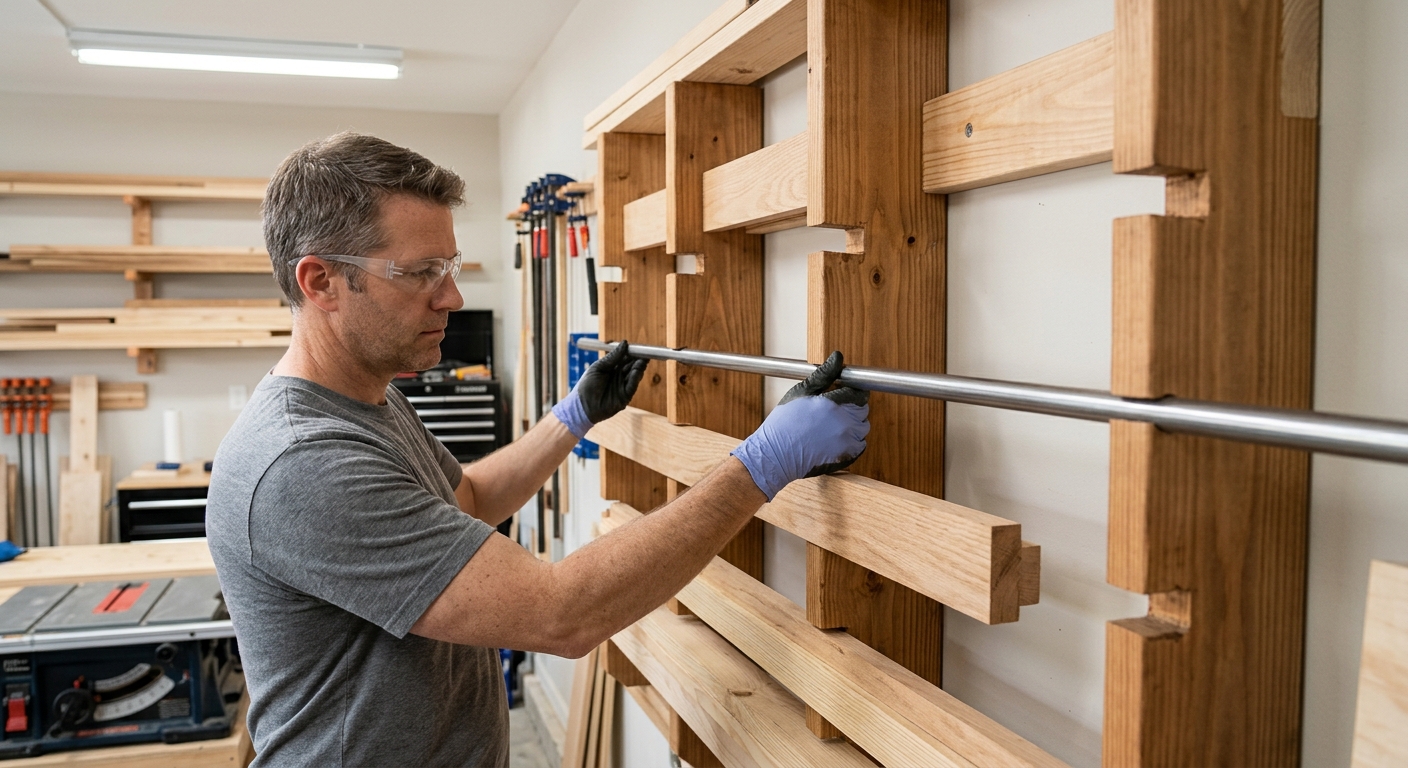
The front rods slide in and out on the front bracket row, allowing you to pull a rod forward to access boards on that level, then push it back. Use smooth steel conduit or EMT for the sliding rods. Add rubber end caps to prevent the rods from pulling completely out of the brackets.
Step 5 – Load and Label the Rack
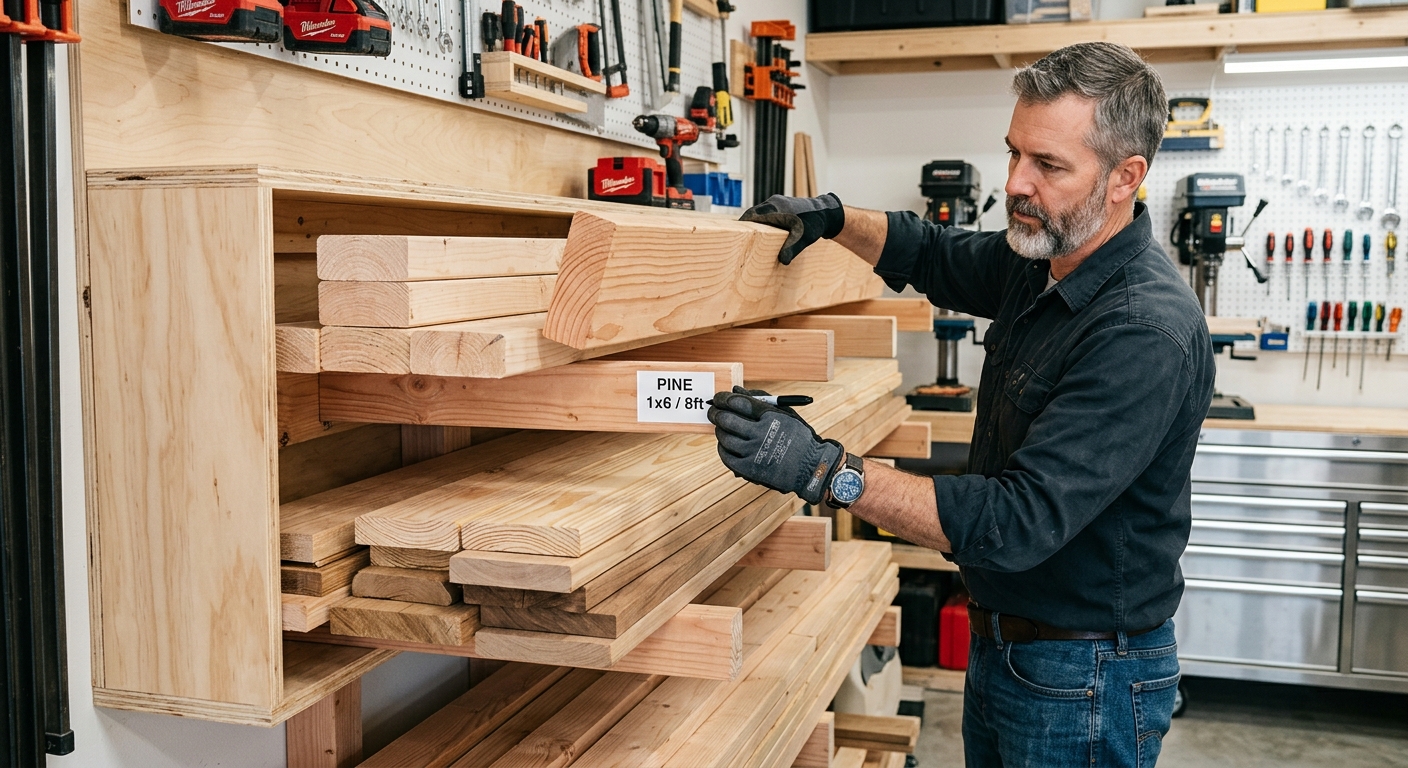
Load boards by species and dimension. Use chalk or paint markers to label each rack level. A quick scan of labels tells you what’s in stock without pulling boards out to look. Keep your most-used species at eye level and reach.
FAQ
How much lumber can this hold? A properly lag-bolted rack into studs handles the weight of solid lumber well – hundreds of pounds per level is typical. Don’t exceed the stud connection strength; add more mounting points for very heavy loads.
Should I sort lumber before storing it? Let lumber acclimate in the shop for a week before storing on the rack, especially if it came from a cold or damp storage environment. Check moisture content with a meter if you have one.