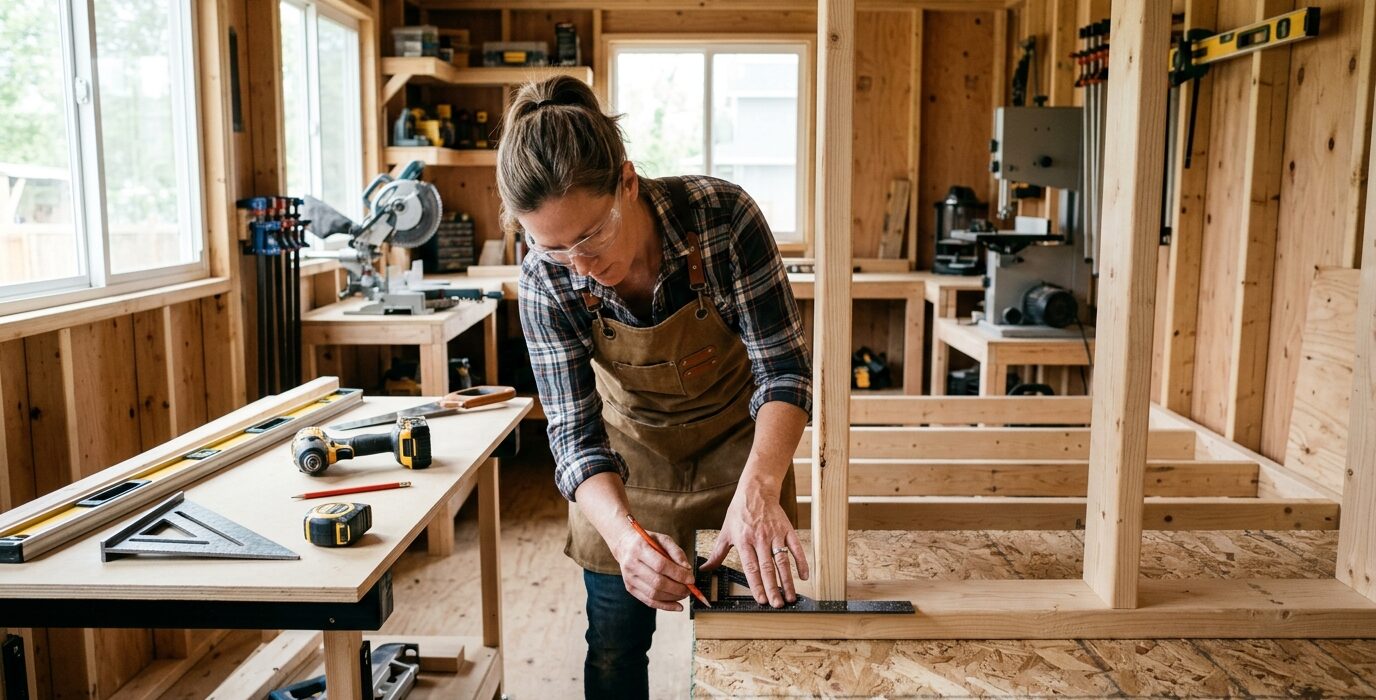
A Real Woodworking Shop in 100 Square Feet
A 10×10-foot shed is a serious constraint – roughly 100 usable square feet after accounting for wall thickness, door swing, and the space that just doesn’t work. But many woodworkers have proven that a productive, organized shop fits in this footprint. The key differences from a garage shop: the tool selection is more deliberate, the mobile-base strategy is even more critical, and the shop configuration changes frequently.
What Fits in a 10×10 Shed
Honestly: a workbench, a miter saw on a wall-mounted fold-down station, a benchtop router table, hand tools on every wall, and a drill press on a mobile base. A table saw with 8-foot infeed and outfeed clearance doesn’t fit unless the door is open and you work toward the driveway. A compact contractor saw with folding stands can work if you’re careful about positioning. You will be making compromises – understanding them in advance prevents frustration.
Step 1: Build the Right Workbench
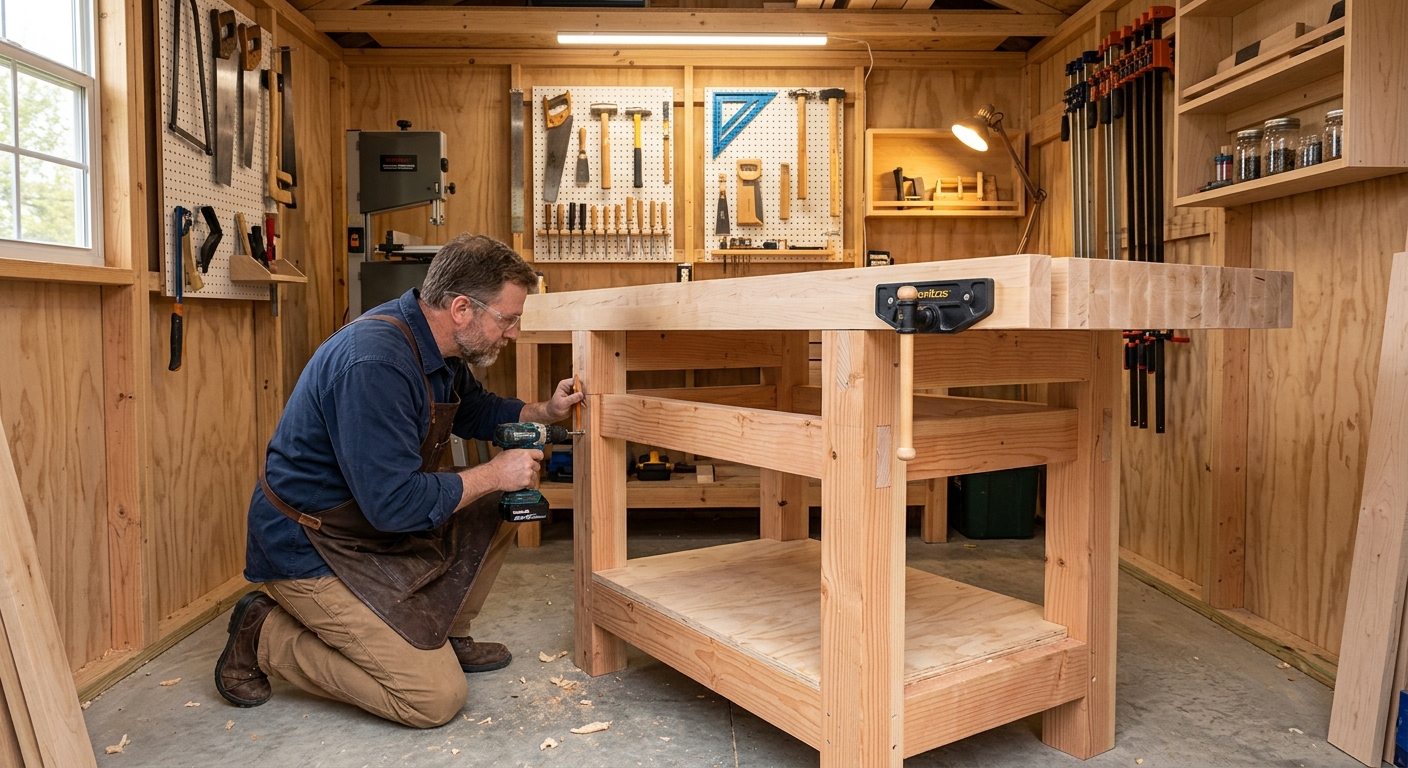
In a 10×10, the workbench is typically along one full wall – 8-10 feet of continuous bench. Go to the wall surface; don’t leave space behind the bench. The bench becomes both your primary work surface and your storage system. Mount French cleats on the wall above the bench from bench height to ceiling – this is your primary tool storage zone.
Step 2: Install Fold-Down or Wall-Mounted Stations
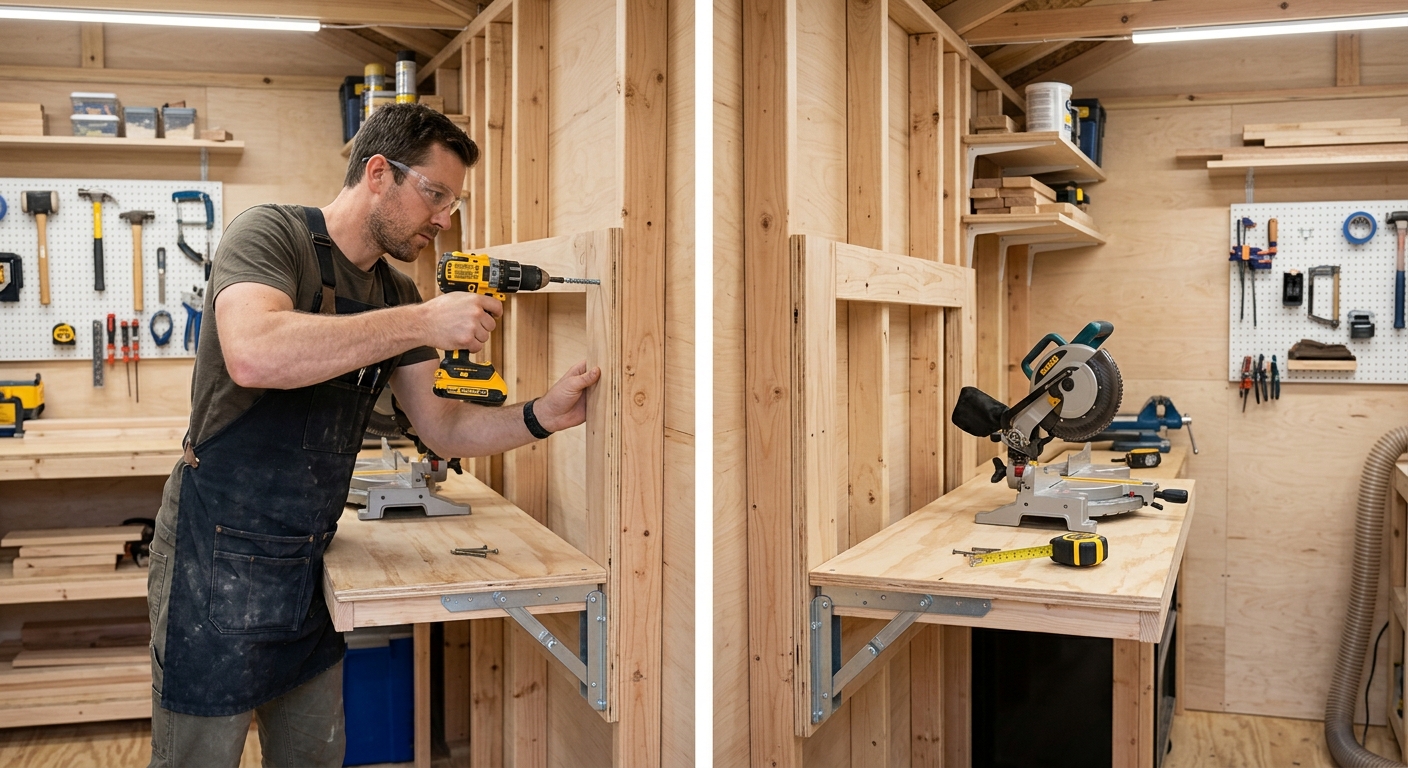
A miter saw that lives on a stand takes up floor space 100% of the time, even when you’re not crosscutting. A wall-mounted fold-down miter saw station takes that floor space 0% of the time when not in use. Same principle for any benchtop tool: a flip-top stand with two tools uses one floor footprint. A fold-away outfeed extension for the miter saw reclaims floor space between cuts.
Step 3: Ceiling Storage for Lumber
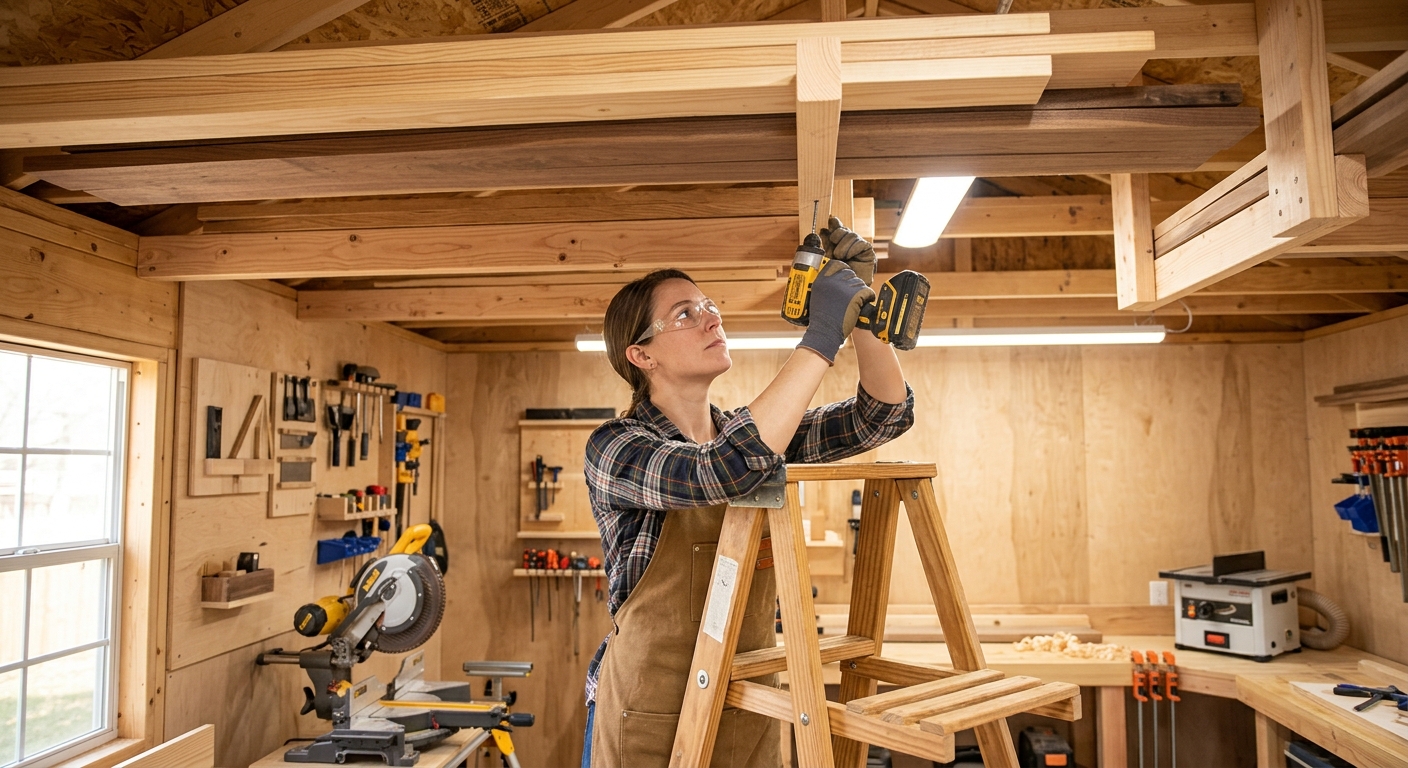
In a 10×10 shed, wall space is needed for tools – you can’t spare a wall for lumber racks. Mount lumber storage on the ceiling: two pairs of 1-inch pipes running the length of the shed, 18 inches apart, provide a lumber grid for boards up to 8 feet. Sheet goods can store vertically in one corner with vertical dividers.
Step 4: Manage Dust Before It Manages You
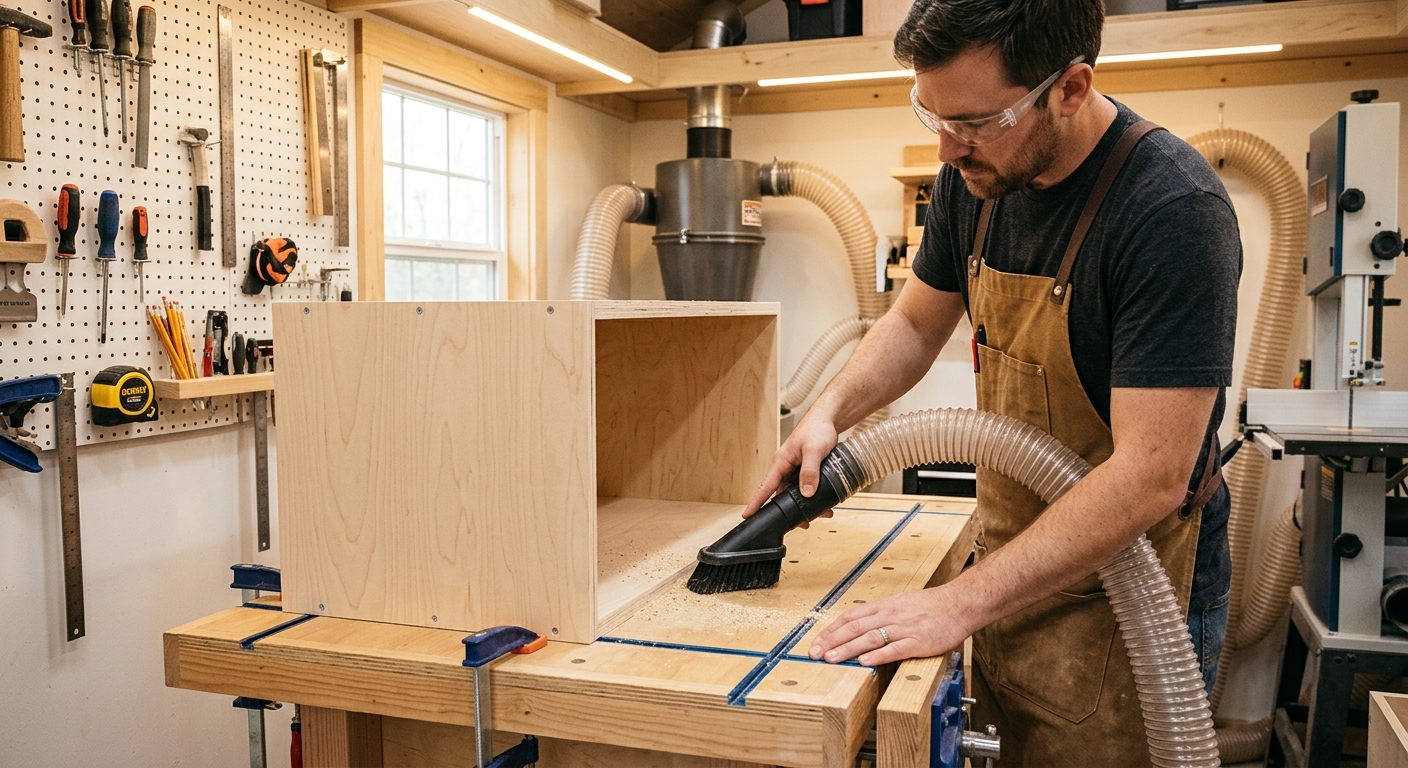
A small enclosed space fills with dust faster than a garage. A shop vacuum connected directly to each tool (with the hose moved as you switch tools) is the practical solution in a space too small for a dedicated dust collector. A 2-1/2 HP shop vacuum with a dust separator captures 90% of production dust effectively.
Step 5: Insulate for Year-Round Use
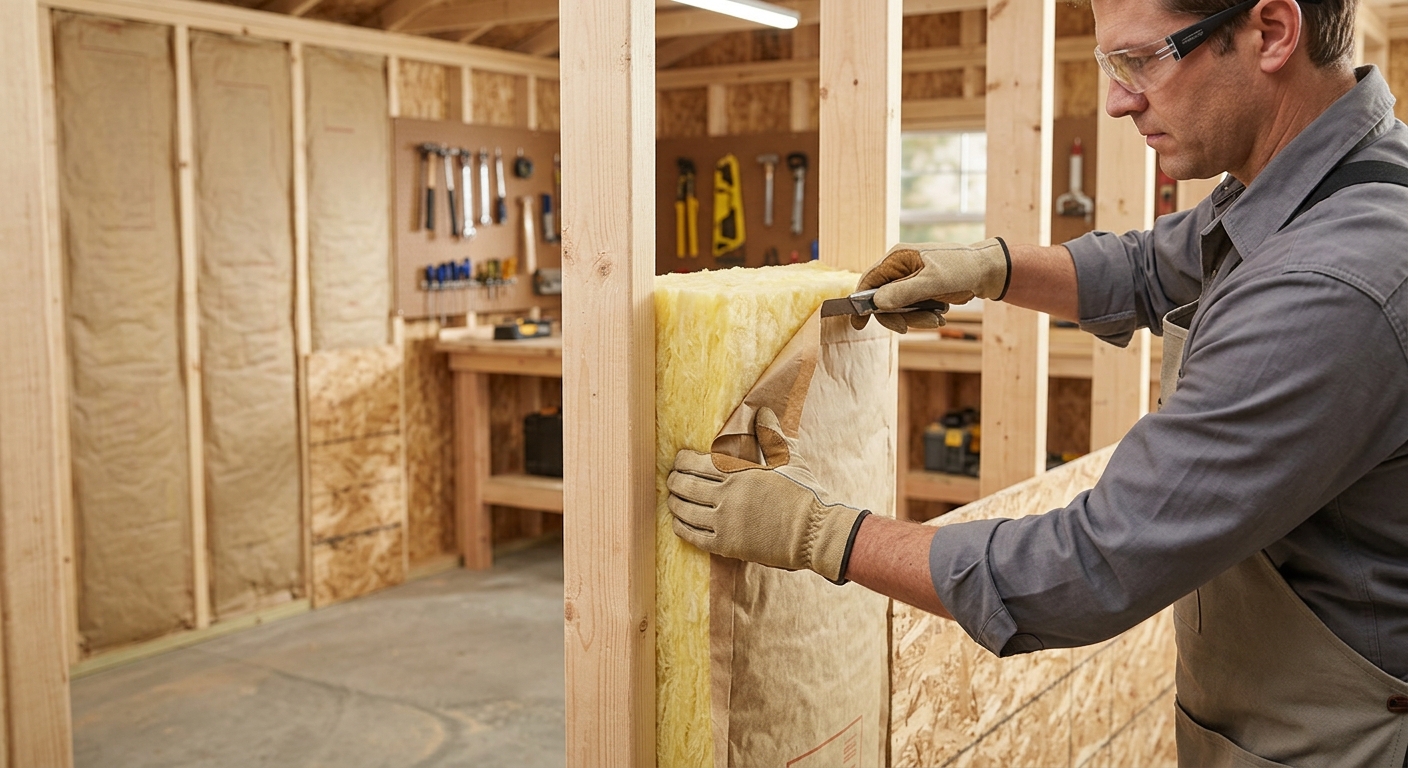
A 10×10 shed is easier and cheaper to insulate than a garage. Spray foam the wall cavities from outside, add a vapor barrier, and finish with 1/4-inch OSB inside. A single wall-mount electric heater handles the space in all but extreme cold. The small volume means a 1,500-watt heater can maintain 60 degrees in temperatures down to 15 degrees F.
Pro Tips
- Use a track saw instead of a table saw. A track saw and a good set of tracks processes sheet goods as accurately as a table saw and requires zero permanent floor space – it hangs on the wall when not in use.
- Work with the door open. When processing large pieces, open the shed door and let workpieces extend into the driveway. This effectively doubles your working space for any operation involving long stock.
FAQ
Can I do serious furniture in a 10×10 shed?
Yes – but not simultaneously. The shed workflow is sequential: rough out lumber one session, mill it the next, lay out joinery the next. You can’t have every operation set up at once, but a complete piece of furniture absolutely fits within this footprint. Many fine furniture makers have worked in smaller spaces.