
A Dedicated Finishing Corner
Finishing work – applying stain, oil, varnish, lacquer, or paint – requires its own space separated from the dust and contamination of the main shop. A dedicated finishing corner provides adequate ventilation, good lighting for color and coverage assessment, a clean surface for the workpiece, and storage for all finishing supplies within arm’s reach. Building this corner permanently is one of the best quality-of-life improvements for woodworkers who do their own finishing.
What the Finishing Corner Needs
- Ventilation: An exhaust fan for solvent removal and fresh air supply
- Lighting: High-intensity, accurate-color lighting for seeing finish coverage
- Work surface: A turntable and a stable table at a comfortable height
- Storage: All finishing products and tools within arm’s reach
- Dust management: Barriers to keep shop dust out during finishing
Materials
- Plastic sheeting for the curtain walls (or a commercial spray booth curtain)
- LED lighting – daylight color (5000K) for accurate color assessment
- Small exhaust fan positioned low for solvent removal
- Lazy Susan bearing and plywood for a turntable
- Metal shelving for finishing supply storage
Step 1 – Choose and Define the Corner
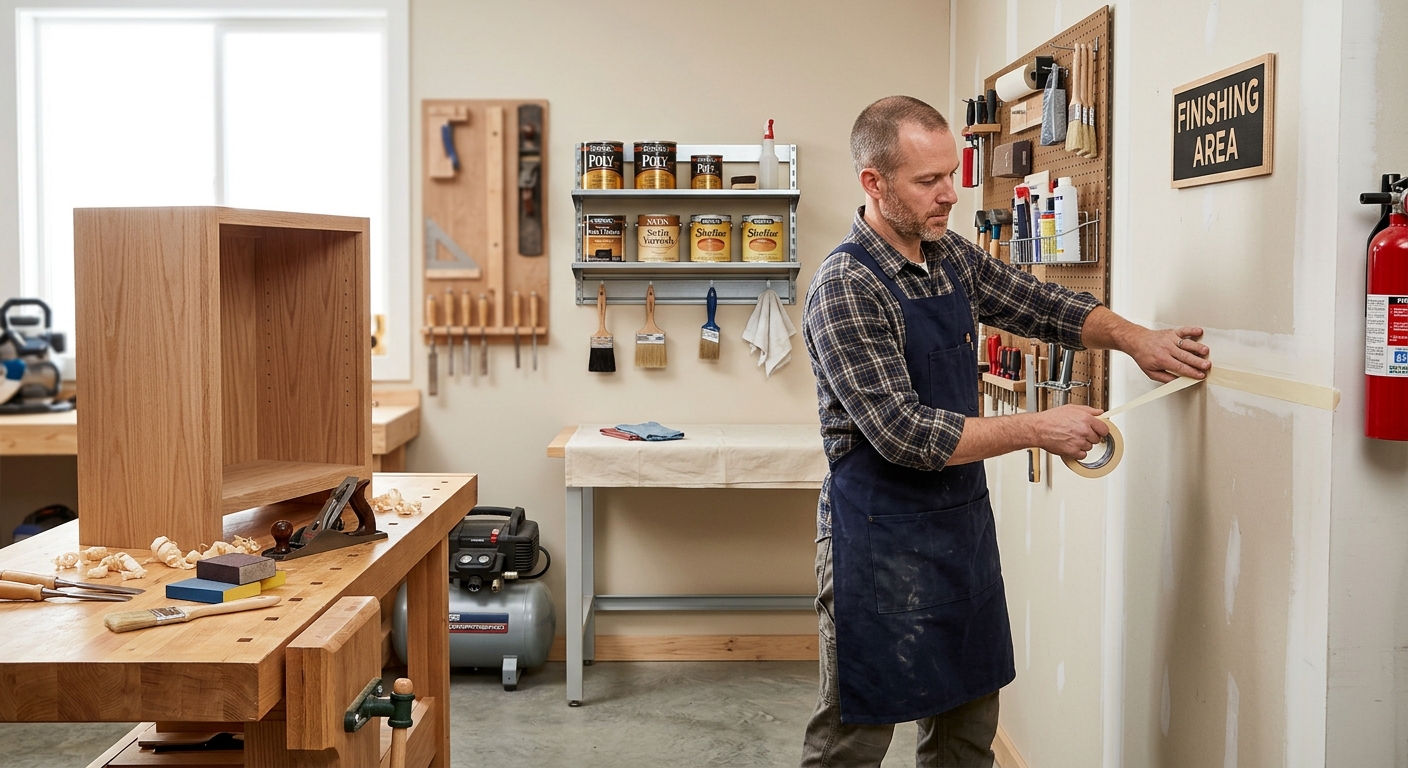
Choose a corner with direct access to an exterior wall (for the exhaust fan). The corner should be away from the main machine area so dust from routing, sanding, and sawing doesn’t drift into the finishing zone. Mark the perimeter of the finishing corner with tape on the floor – typically 8 x 10 feet minimum.
Step 2 – Install the Ventilation
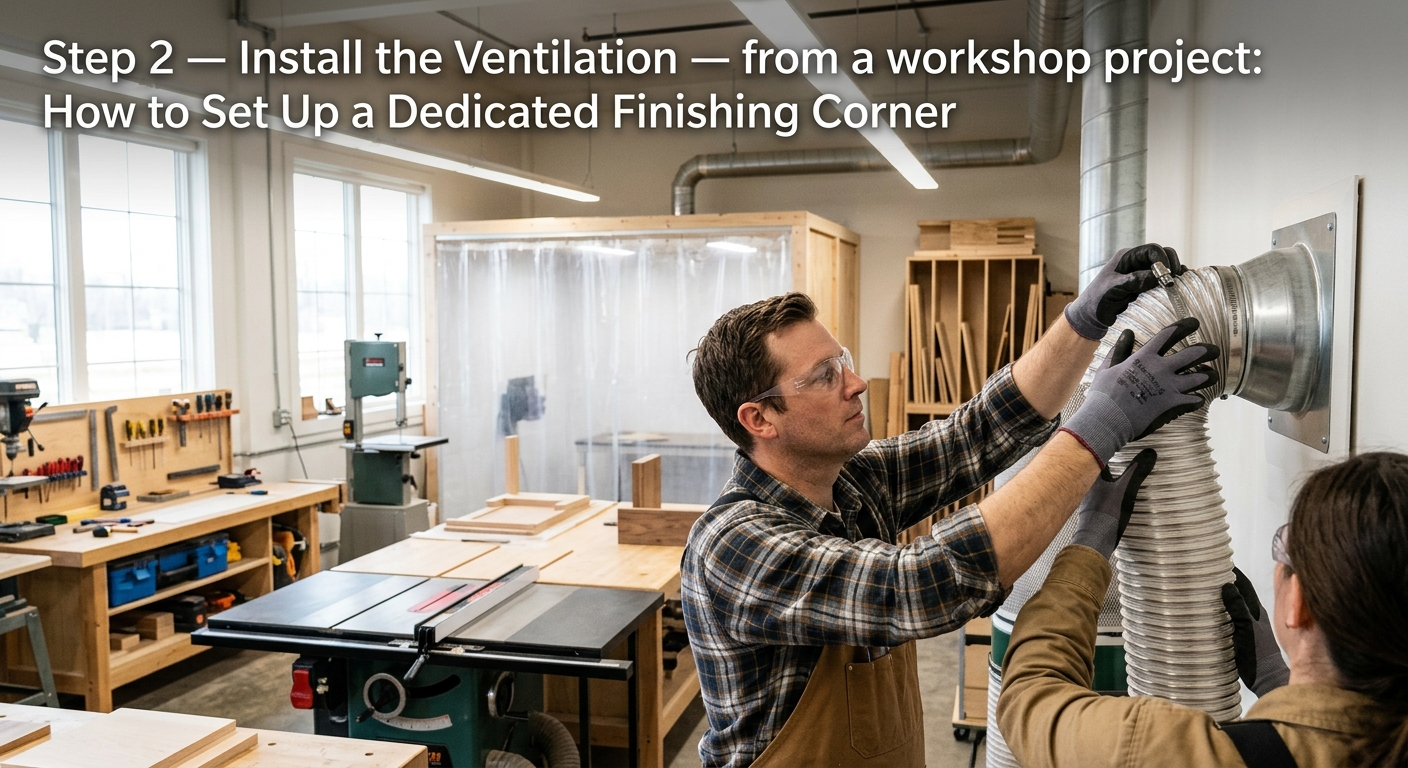
Mount an exhaust fan in the exterior wall at floor level (for solvent removal) or ceiling level (for general air exchange). For water-based finishes only, a standard fan works. For solvent-based finishes, use an explosion-proof fan. Add a louvered fresh-air intake on the opposite wall of the corner to provide a cross-ventilation path.
Step 3 – Hang the Curtain Walls
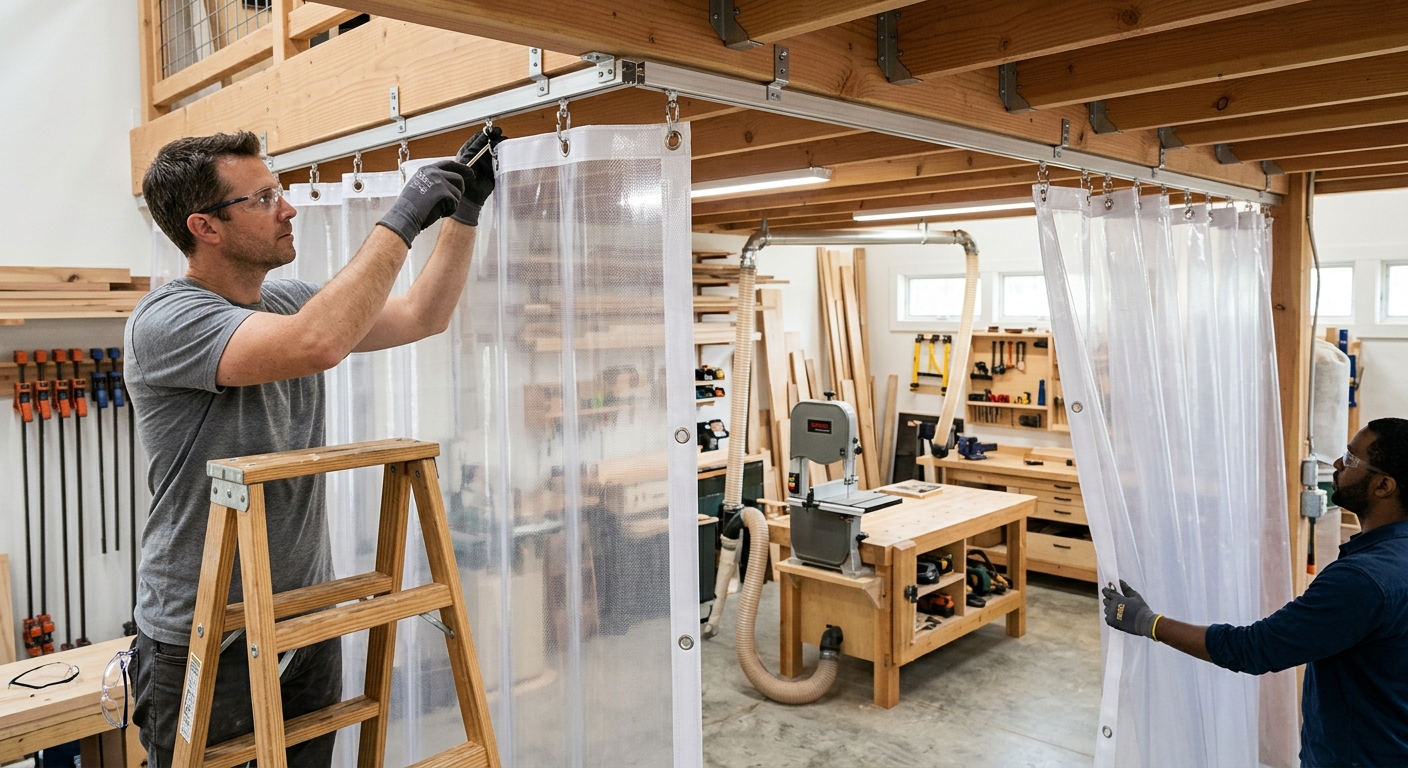
Hang heavy plastic sheeting from the ceiling along the two open sides of the corner. The curtains contain overspray, keep dust out during finishing, and create a separate environment from the rest of the shop. Use a curtain rod or simple hooks and carabiner clips so the curtains can be pushed aside quickly for access.
Step 4 – Set Up the Lighting

Mount two or three LED shop lights inside the corner aimed at the work area from multiple angles. Good finishing lighting eliminates shadows so you can see coverage on every surface without moving the workpiece. A bright white LED ring light above the turntable provides even, shadow-free illumination for spray finishing.
Step 5 – Organize the Finishing Supplies
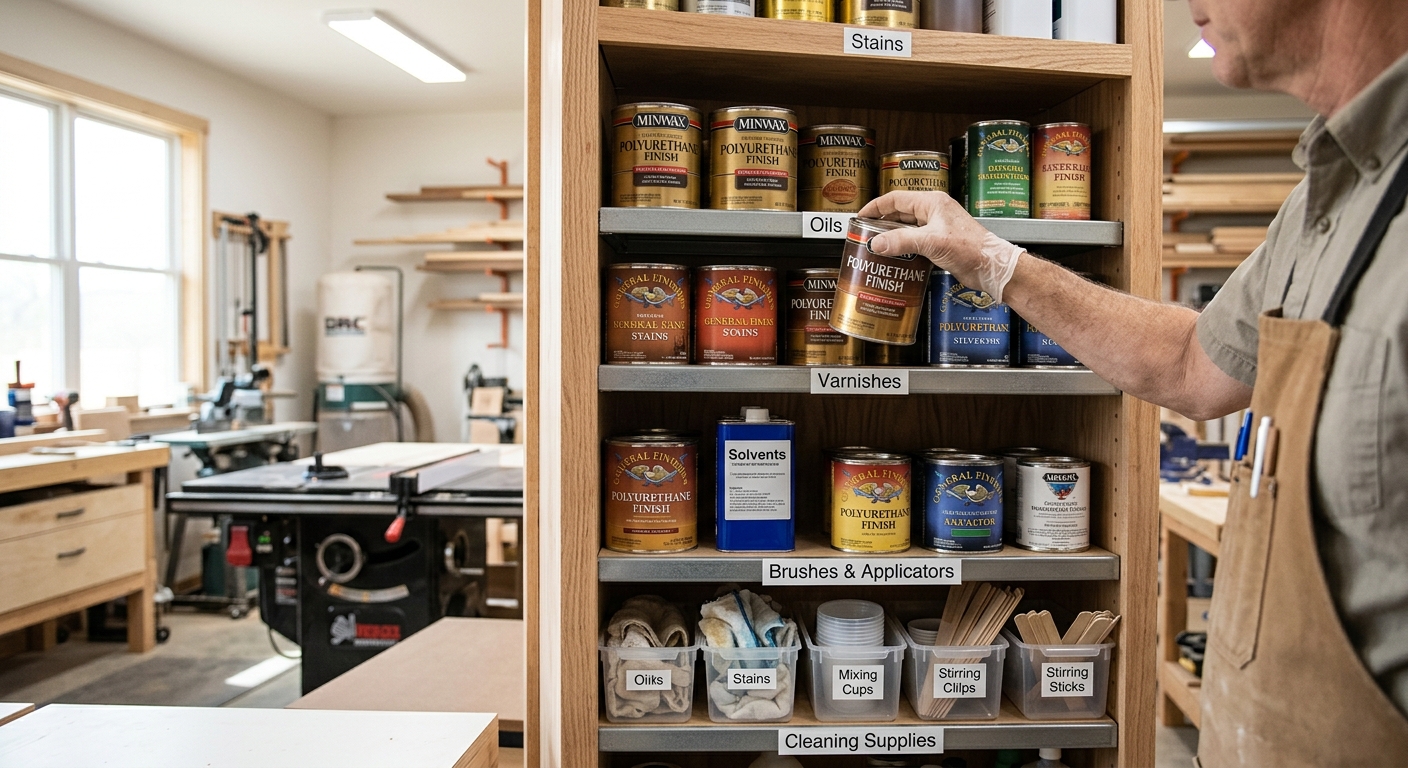
Install a metal shelf unit inside the finishing corner for all finishing products. Organize by type (see the finishing supply organization guide). Keep applicators, brushes, and spray equipment on a dedicated rack. Keep a cleaning station (mineral spirits or water and rags) at one corner of the finishing area for immediate cleanup after use.
FAQ
Can I spray lacquer in this setup? Only with an explosion-proof fan, a fire-rated enclosure, and a properly rated spray gun. Lacquer is highly flammable and produces vapor concentrations that can ignite from static sparks. For home shops, water-based lacquers are a safer alternative that can be sprayed with standard ventilation.
How do I keep dust off wet finishes? Run the shop for at least one hour before finishing and let all dust settle. Keep the curtain walls closed during and after applying finish. Avoid sweeping or blowing dust anywhere near the finishing corner on the day of application.