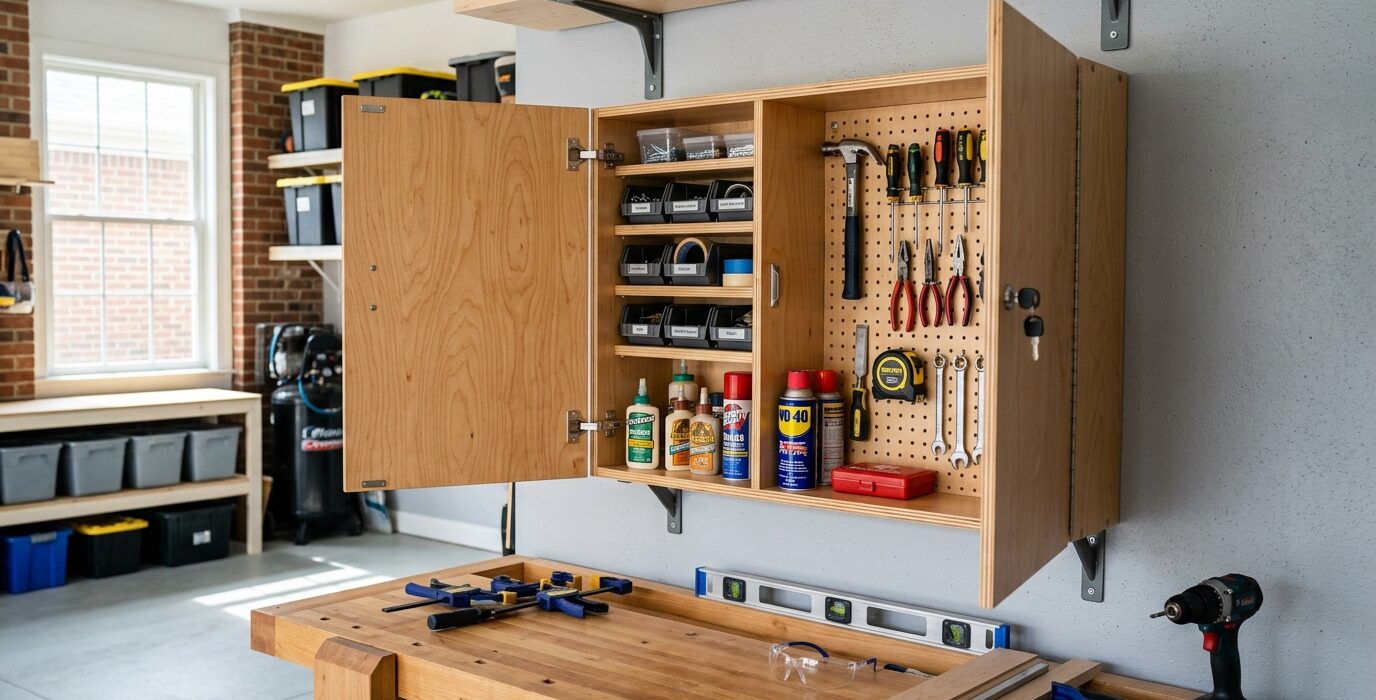
A Shop Supply Cabinet That Locks
A shop supply cabinet with locking doors keeps expensive consumables, precision measuring tools, and hazardous materials secure while still keeping them organized and accessible during work sessions. This is particularly important in shared shops, in garages that are accessible to children, or in workshops in rental properties. This build creates a wall-mounted or floor-standing locking cabinet sized to hold a full complement of shop supplies.
What Goes in the Locking Supply Cabinet
- Precision measuring and layout tools (expensive, easily damaged by mishandling)
- Finishing supplies (particularly any solvent-based products)
- Sharp hand tools that should be protected from unauthorized handling
- Specialty hardware and fasteners
- Sandpaper and abrasives (often expensive in large quantities)
Materials
- 3/4-inch plywood for the cabinet box and doors
- European cup hinges or heavy-duty piano hinge
- A good cabinet lock – cam lock, drawer lock, or deadbolt style
- Shelf pins and shelf standards for adjustable shelves
- Wood screws and edge banding
Step 1 – Size the Cabinet to the Content
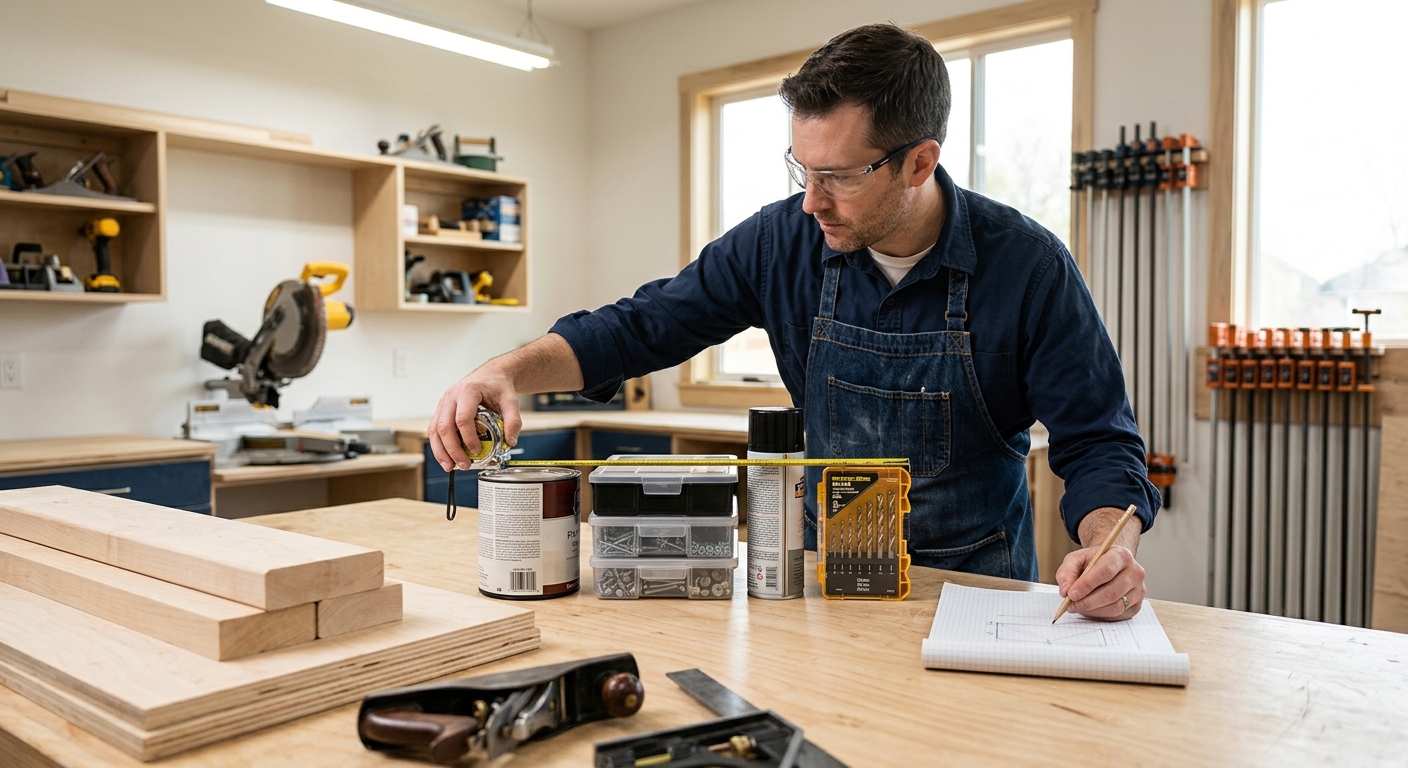
Measure or estimate the total volume of supplies you’ll store. A cabinet approximately 24 inches wide x 36 inches tall x 12 inches deep is a useful starting point – deep enough for spray cans and bottles, wide enough for sandpaper sheets lying flat. Plan shelf spacing around your tallest items (typically spray cans at about 10 inches).
Step 2 – Build the Cabinet Box
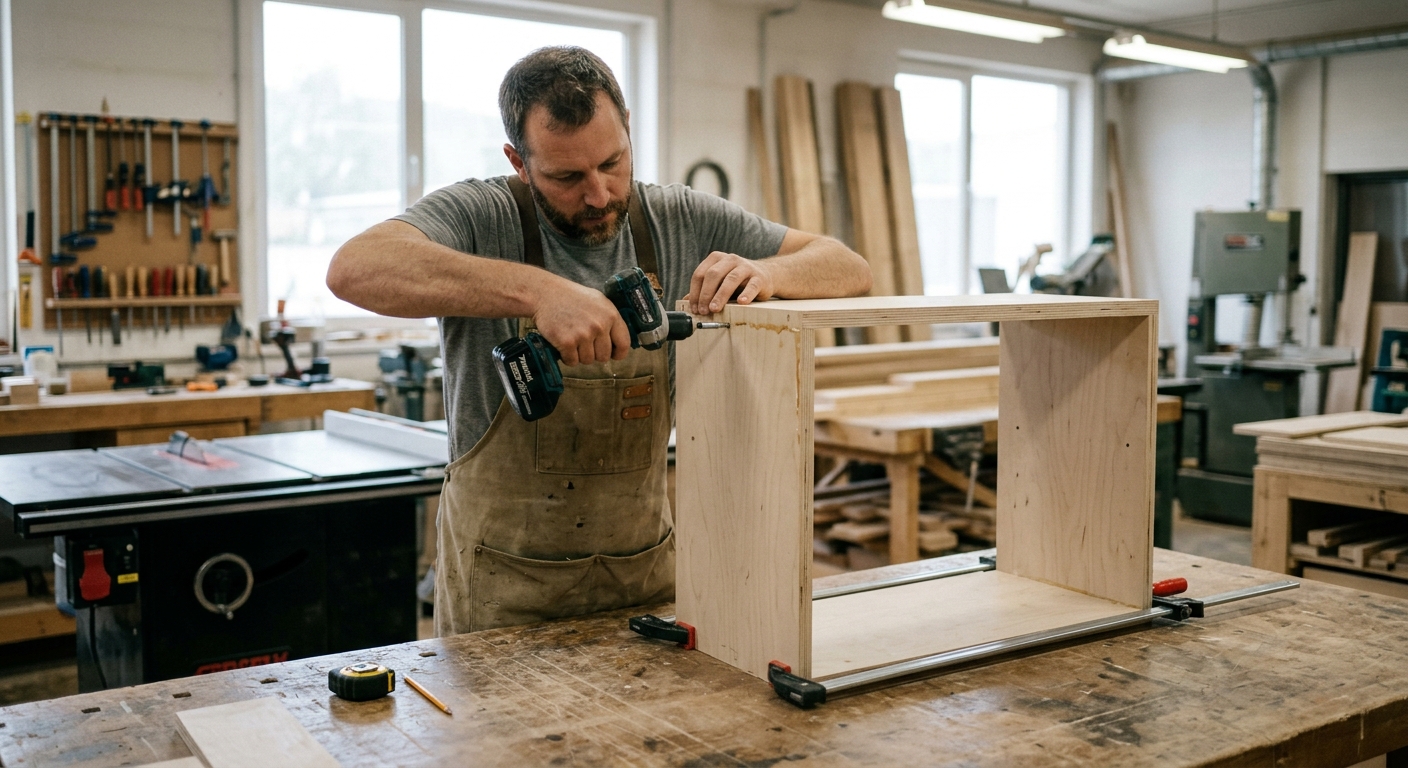
Cut the plywood panels: two sides, a top, a bottom, a back panel, and as many shelves as needed. Assemble with glue and screws – this is a utility cabinet, not fine furniture, so pocket screws work perfectly. Install shelf pin standards on both sides for adjustable shelves. Apply edge banding to the visible plywood edges for a clean look.
Step 3 – Build and Hang the Door or Doors
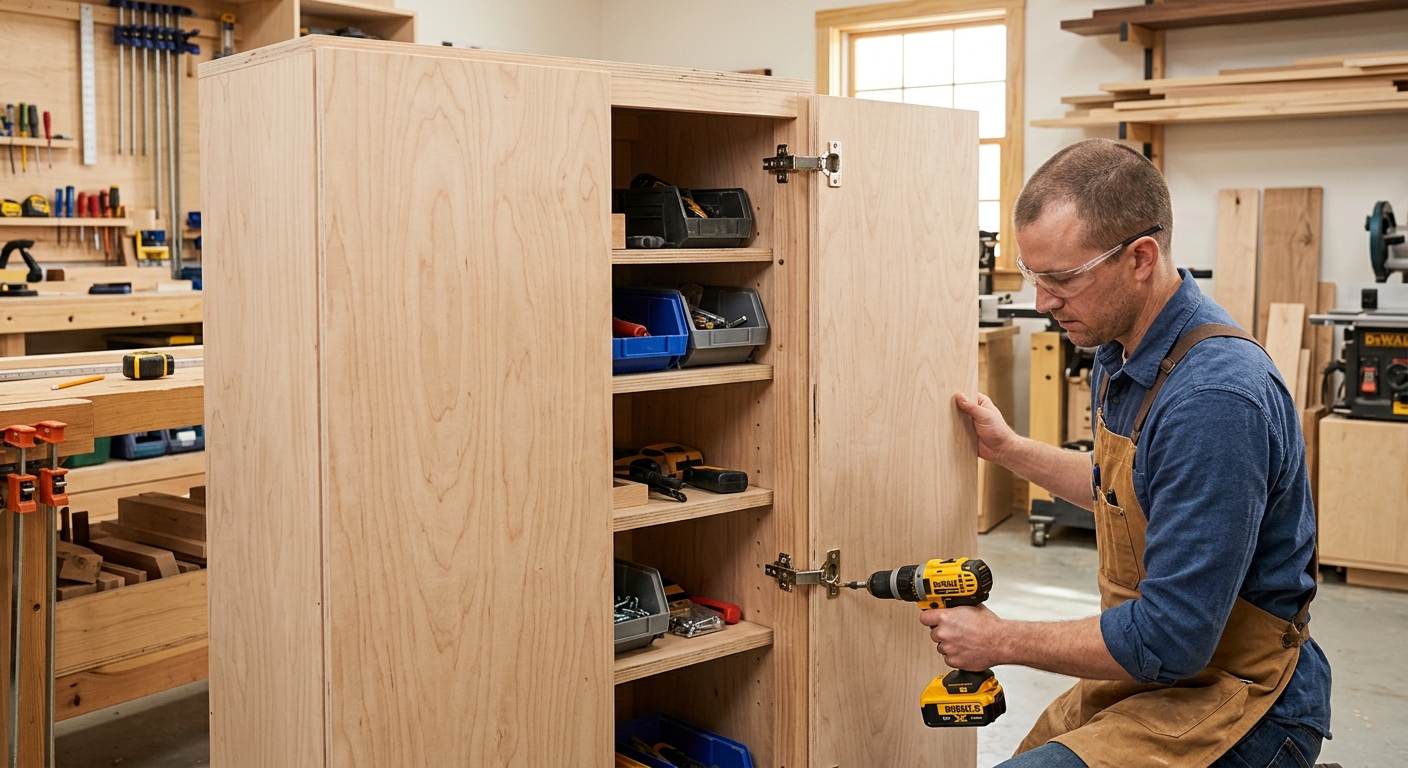
For a cabinet under 24 inches wide, a single door is simpler. For wider cabinets, two doors. Cut the door panel from 3/4-inch plywood, sized for 1/8-inch clearance on all sides. Hang with European cup hinges or a full-length piano hinge. Check that the door opens and closes smoothly before adding the lock.
Step 4 – Install the Lock
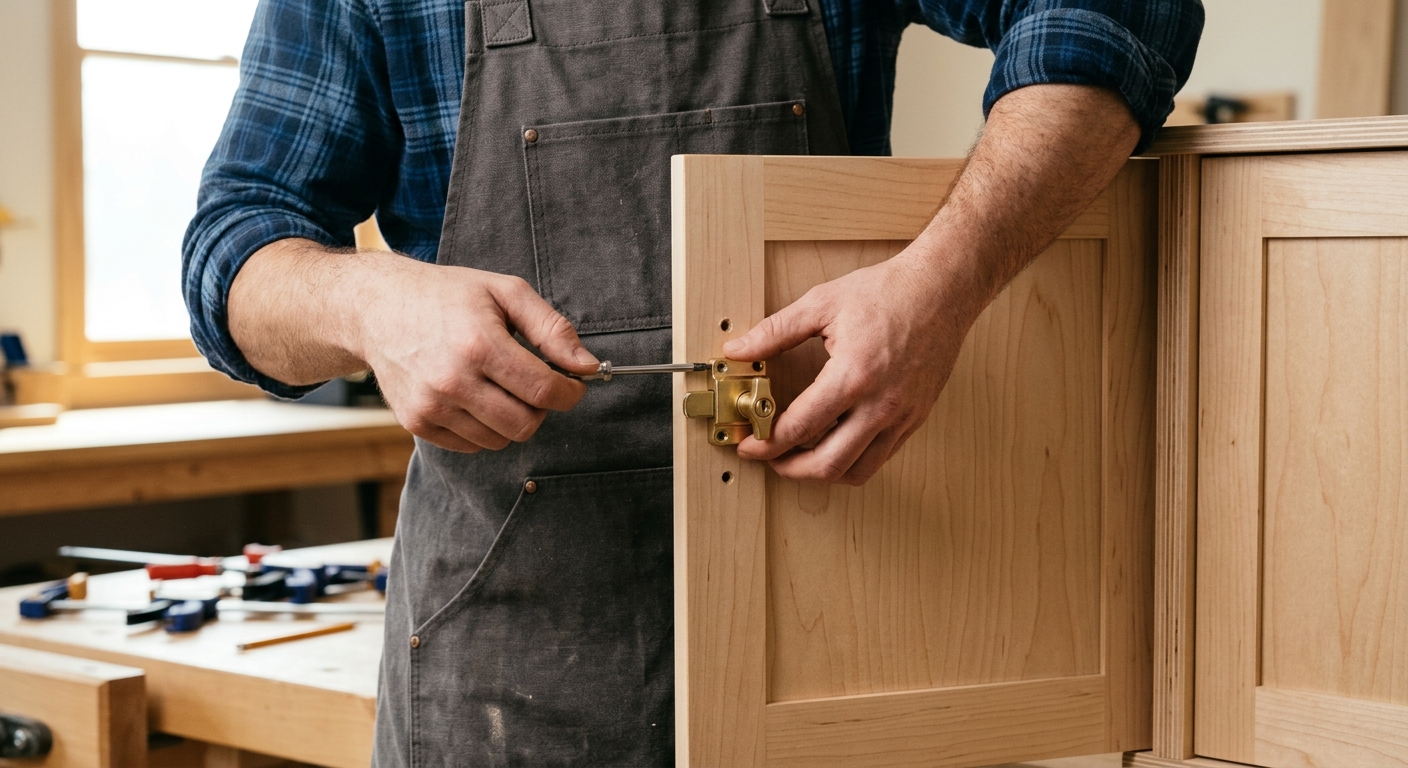
Cabinet cam locks are the simplest installation – drill one hole, insert the lock, turn with a key. For higher security, install a deadbolt-style cabinet lock that engages into a strike plate on the cabinet frame. Use a lock that requires a key from the outside but opens freely from the inside – so there’s no way to be locked inside the cabinet accidentally.
Step 5 – Mount the Cabinet
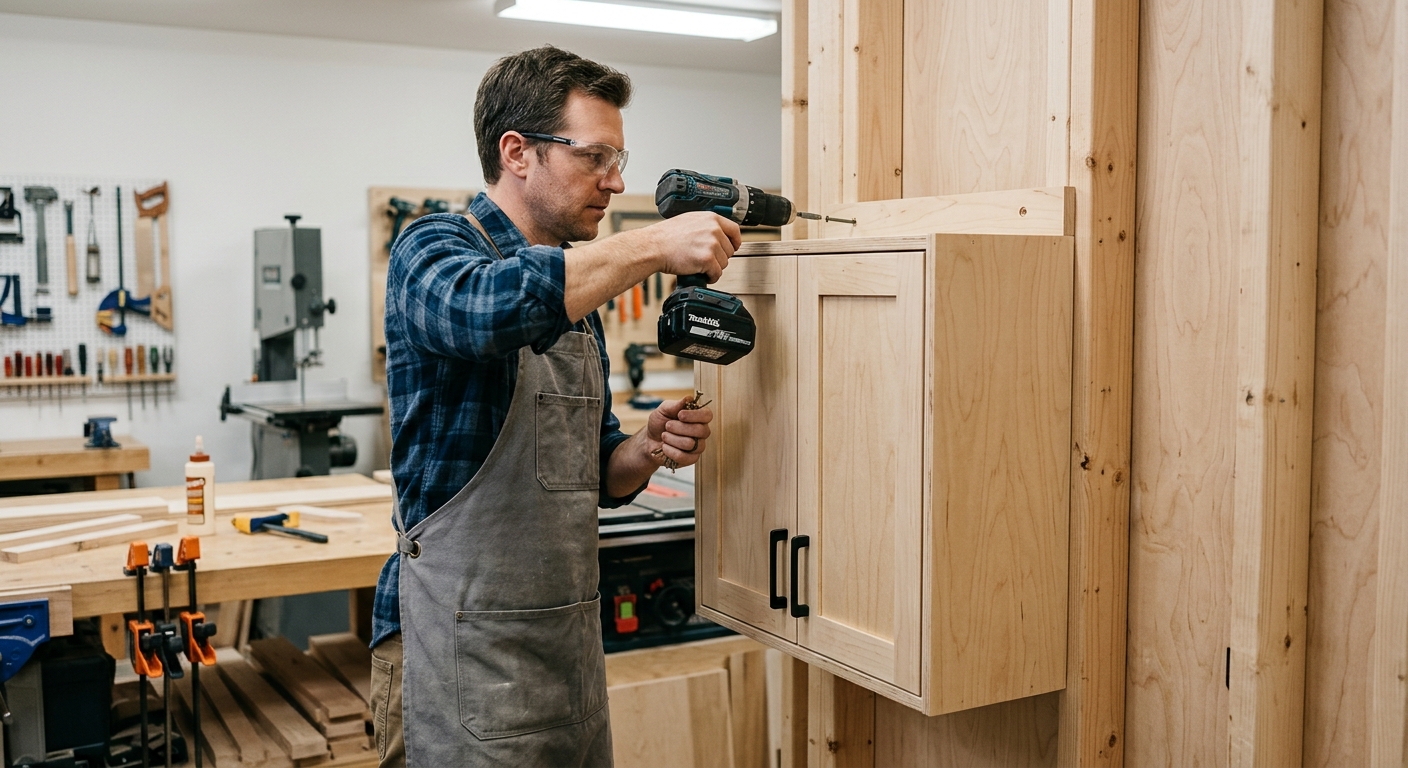
Hang the cabinet on the wall at a convenient height, attached to studs with lag screws through the back panel. A loaded supply cabinet can be surprisingly heavy – don’t rely on drywall anchors for anything over 50 pounds. Alternatively, build a floor-standing cabinet with a plywood base and optional casters.
FAQ
What type of lock is most secure for a shop cabinet? A standard cam lock is adequate for casual security (keeping curious hands out). For real security (preventing determined theft), use a hasp and padlock through the doors, which transfers the security to the strength of the padlock rather than a hardware-store cam lock.
Can I add a combination lock instead of a key lock? Yes – combination padlocks are ideal for shared shops where multiple people need access without sharing keys. A 4-digit combination padlock with a hasp is both affordable and effective.