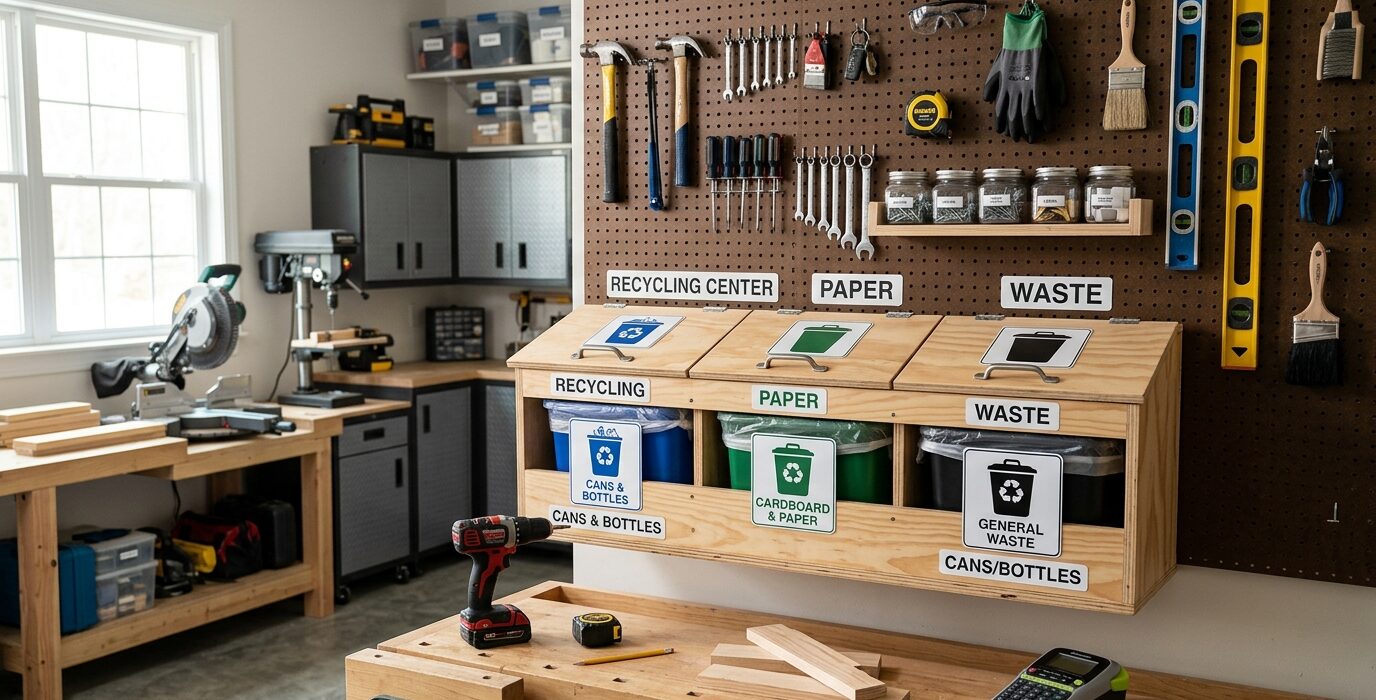
A Recycling and Waste Station for the Shop
Every shop generates waste: wood scraps below the keep threshold, sawdust and shavings, used sandpaper, paint-soaked rags, finish containers, fastener packaging, and general trash. Without a dedicated waste system, these accumulate on the bench and floor until a cleanup session. A purpose-built recycling and waste station makes disposal effortless and keeps the shop floor clean between projects.
What the Station Needs to Handle
- Trash: General shop waste – packaging, worn-out sandpaper, broken drill bits
- Wood scraps for burning: Below-threshold wood pieces that can’t be used but can go in a fire pit
- Sawdust for composting or disposal: Sawdust from finishing-free cuts goes in the compost pile
- Recyclables: Cardboard, paper, plastic containers
- Hazardous waste: Oily rags (in a sealed metal container), solvent-soaked materials, finish containers with residue
Materials
- A rolling metal can with lid for oily rags (essential fire safety)
- Several standard plastic trash cans or bins (one per waste category)
- A plywood station cabinet or simple shelf to organize the bins
- Labels for each bin
Step 1 – Build or Dedicate the Station Location
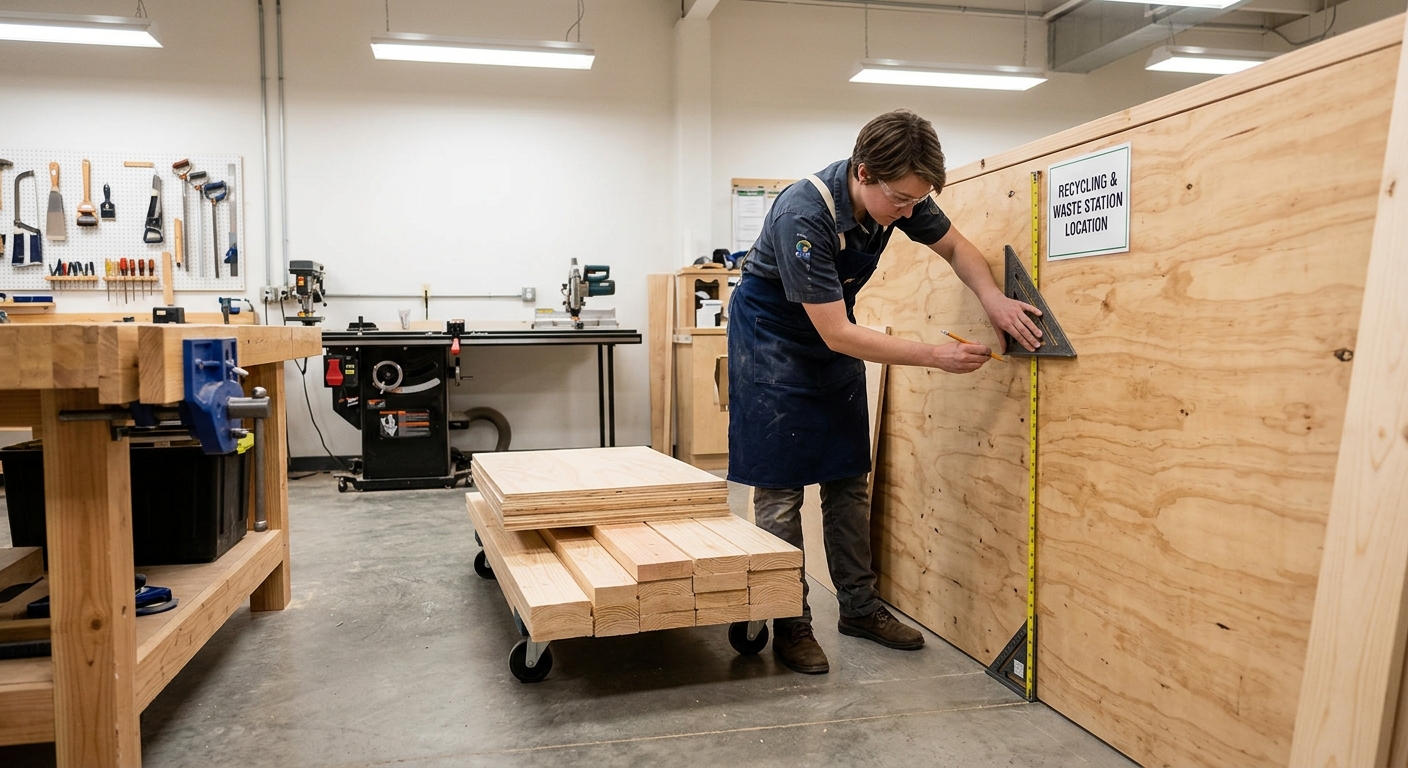
Pick a corner near the shop exit where emptying bins is convenient. The station should be near the bench (for quick disposal of sandpaper and small scraps during work) but not so close that bin contents create dust or odor issues near the work area. A rolling cart that can be pulled to the work area during cleanup and then pushed to the corner for disposal is ideal.
Step 2 – Set Up the Oily Rag Container First
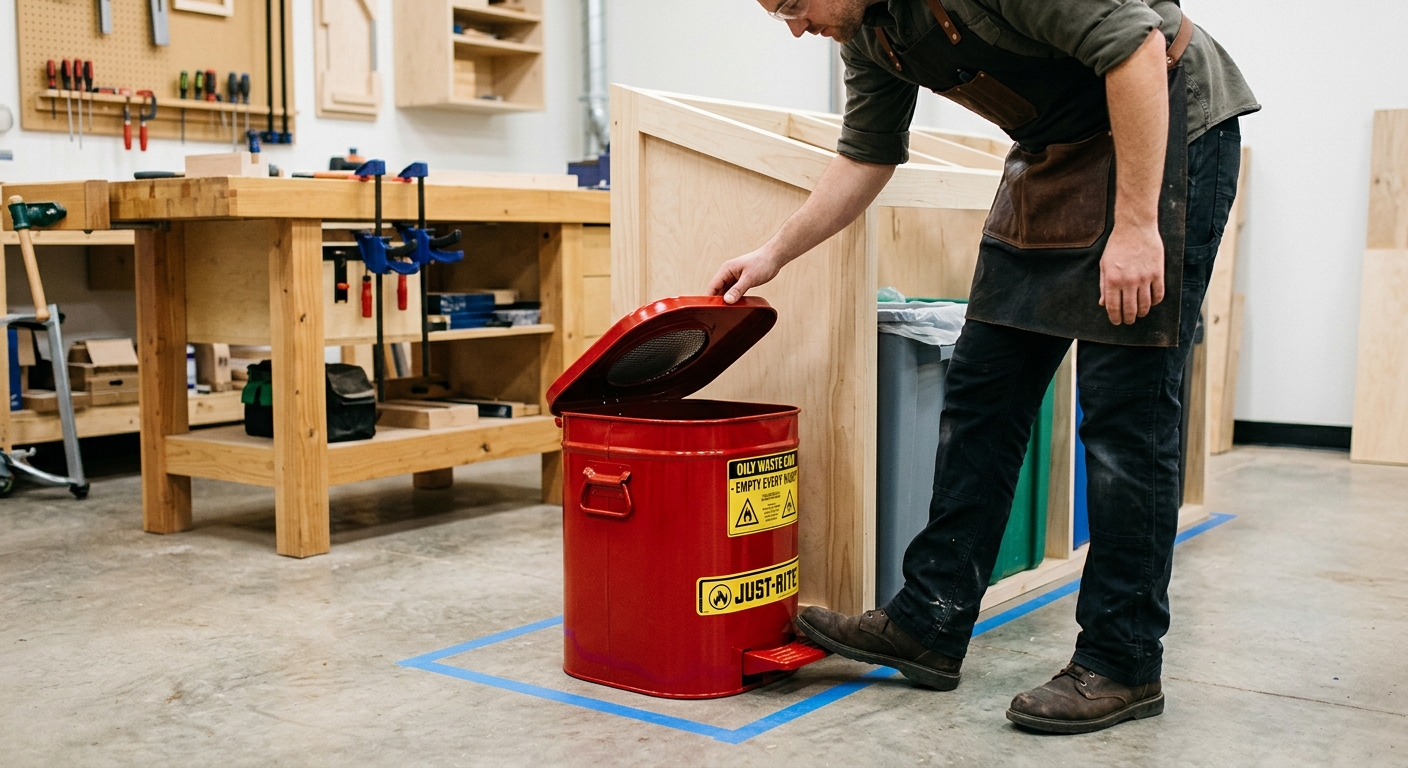
This is the most important safety element. A sealed metal can with a lid (available at any hardware store for $15 to $25) is the correct container for oily or finish-soaked rags. The metal prevents oxygen from reaching the rags if they self-heat, containing a potential fire. Never use a plastic container or an open bin for oily rags.
Step 3 – Create Separate Bins for Each Waste Type
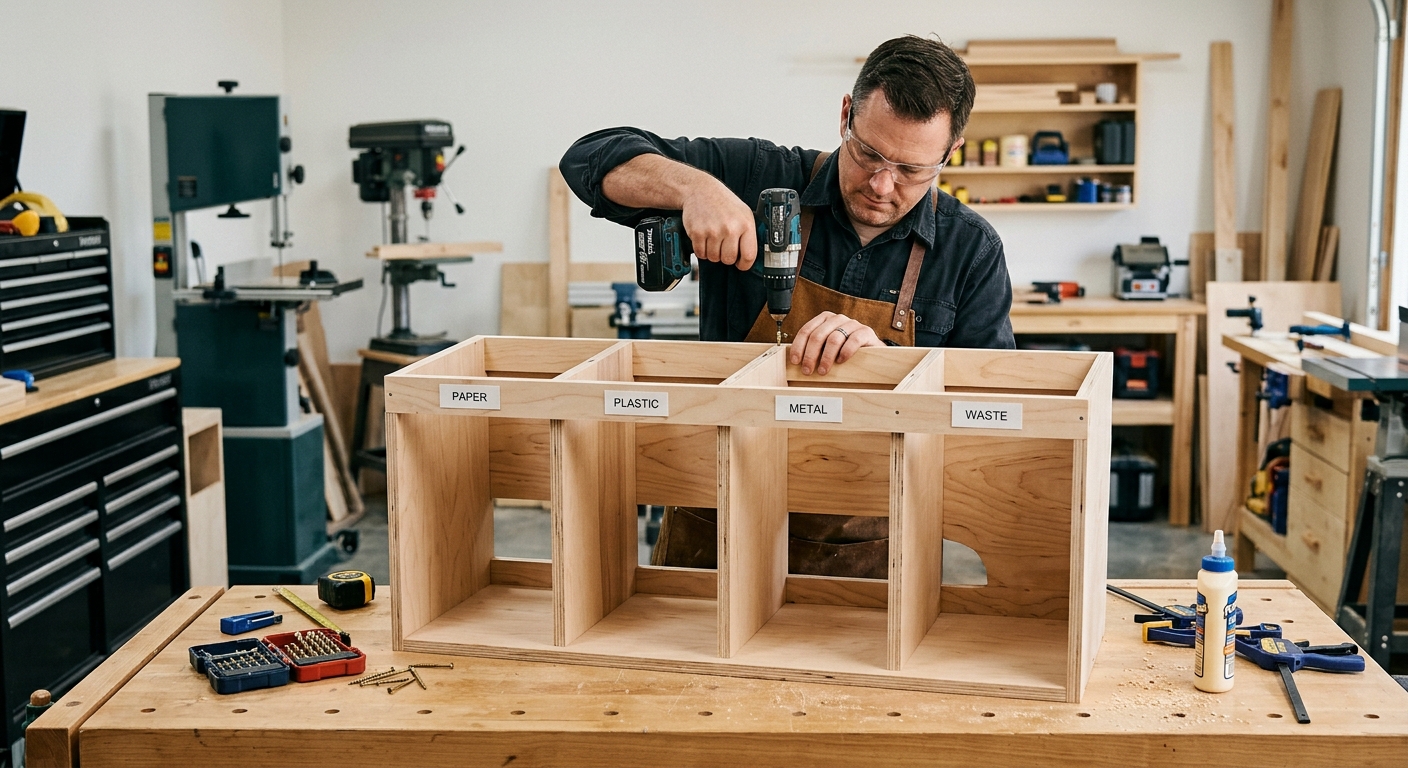
Label clearly: Trash, Wood Scraps, Sawdust, Recycling. Keep them in the dedicated station corner in a consistent arrangement. The consistency matters – you should be able to drop waste in the right bin without looking during the flow of work.
Step 4 – Build a Sawdust Collector Under the Bench
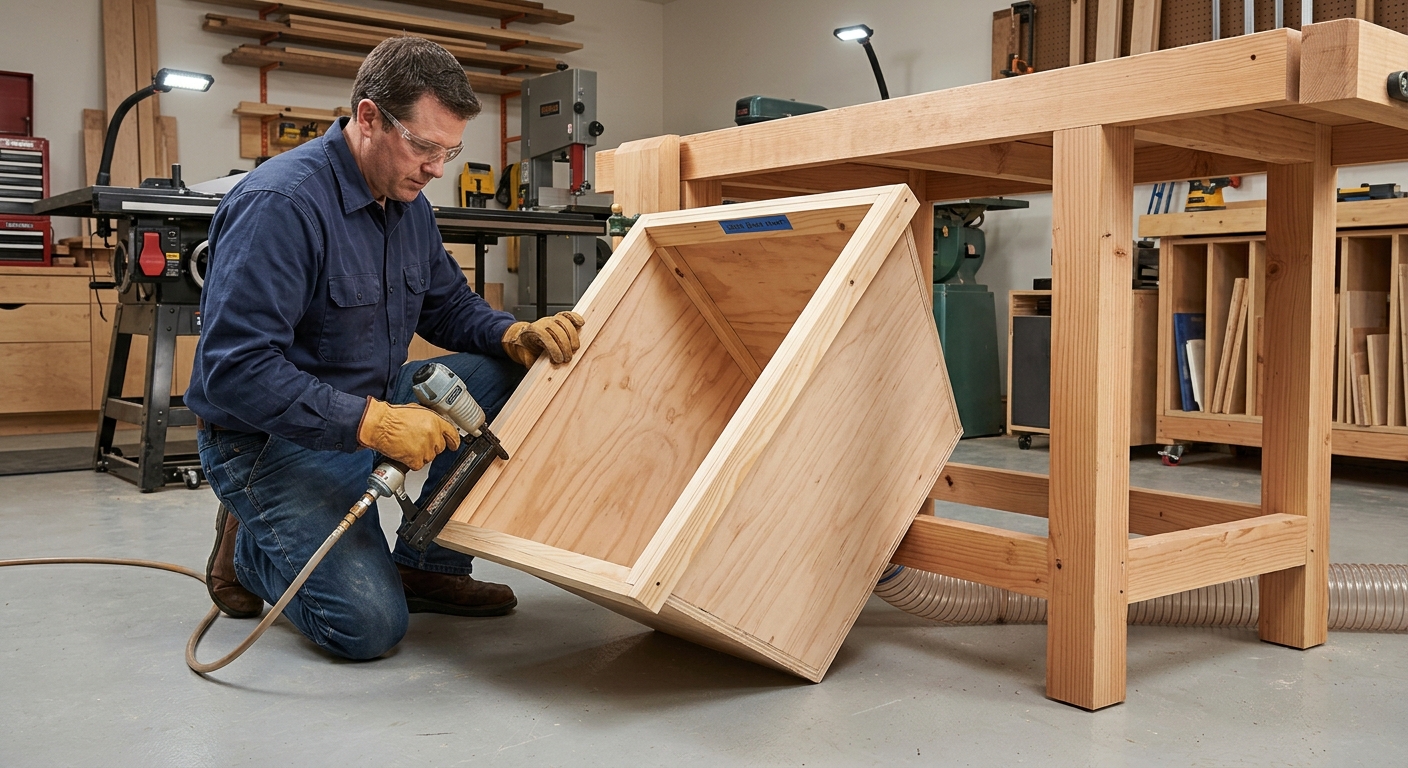
A tray or shallow bin mounted on casters that slides under the workbench or bench saw catches sawdust that doesn’t make it to the dust collector. Roll it out periodically to empty into the sawdust bin. This eliminates the pile of dust that accumulates under machines in most shops.
FAQ
Can I use sawdust in the garden? Untreated wood sawdust (from lumber with no finishes or preservatives) can be composted or used as garden mulch. Mix sawdust with nitrogen-rich material (grass clippings) in a compost pile, or use it as a path mulch. Don’t use sawdust from pressure-treated lumber, MDF, or finished wood in the garden.
How do I dispose of hazardous finish containers? Empty containers with no dried residue can typically go in regular recycling. Containers with residual material go to hazardous waste collection. Check your local municipality’s schedule for periodic hazardous waste collection days.