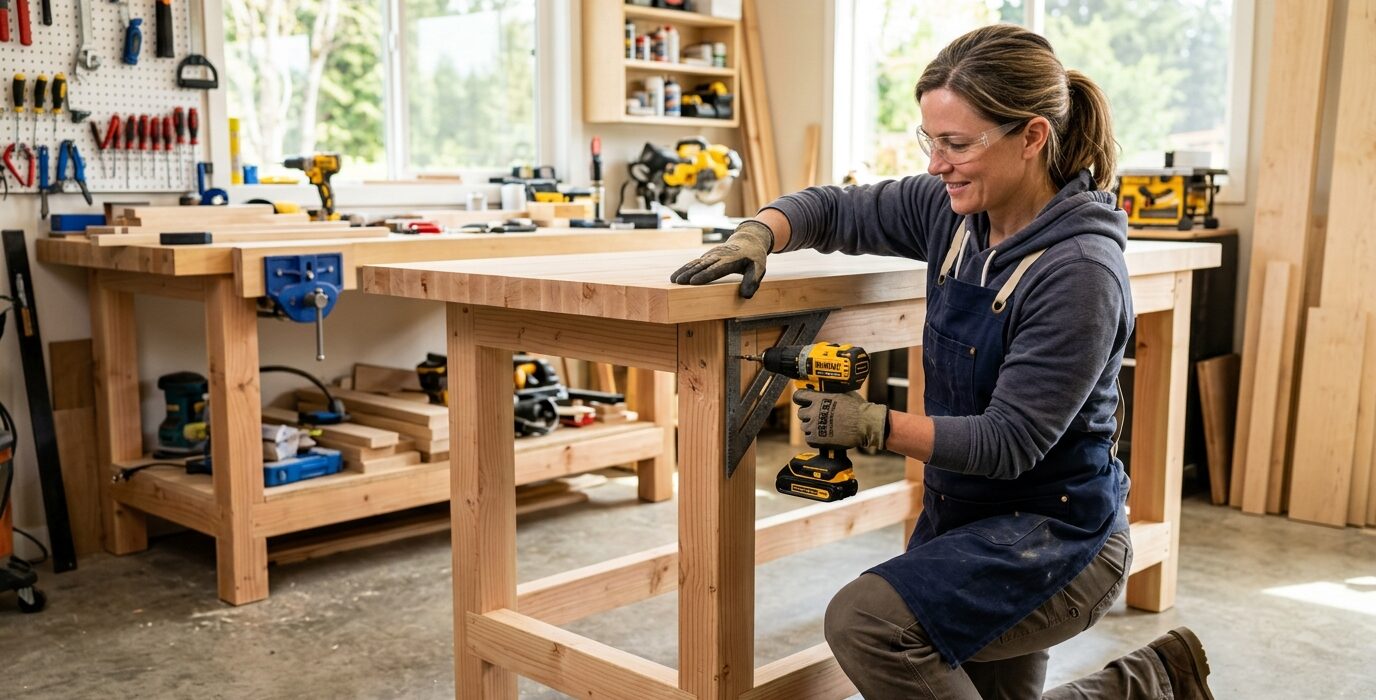
Adding a Second Workbench for Assembly
Many productive shops operate with two benches: the primary workbench for hand tool work, vise work, and precision layout, and a secondary bench dedicated to assembly. The assembly bench handles the large, flat, and messy work – glue-ups, clamping, screw assembly, and staging of large panels – that doesn’t belong on the primary bench where it would compromise the clean surface and precision tools stored there.
Where the Second Bench Fits in the Shop
The assembly bench typically runs along a second wall, perpendicular to or opposite the primary bench. A common arrangement in a two-car garage shop places the primary bench along the back wall and the assembly bench along one side wall, creating an L-shape that gives access to three sides of large workpieces. The assembly bench can be slightly lower than the primary bench – 30 to 32 inches versus 34 to 36 inches for the primary bench.
Materials
- 2×4 lumber for the base frame – approximately 30 linear feet
- 3/4-inch plywood for the top – one full sheet
- 1/8-inch hardboard or melamine for the work surface
- Four locking casters (optional, for mobility)
- Optional: clamping dogs and T-track for workholding
Step 1 – Size It for Your Biggest Assembly
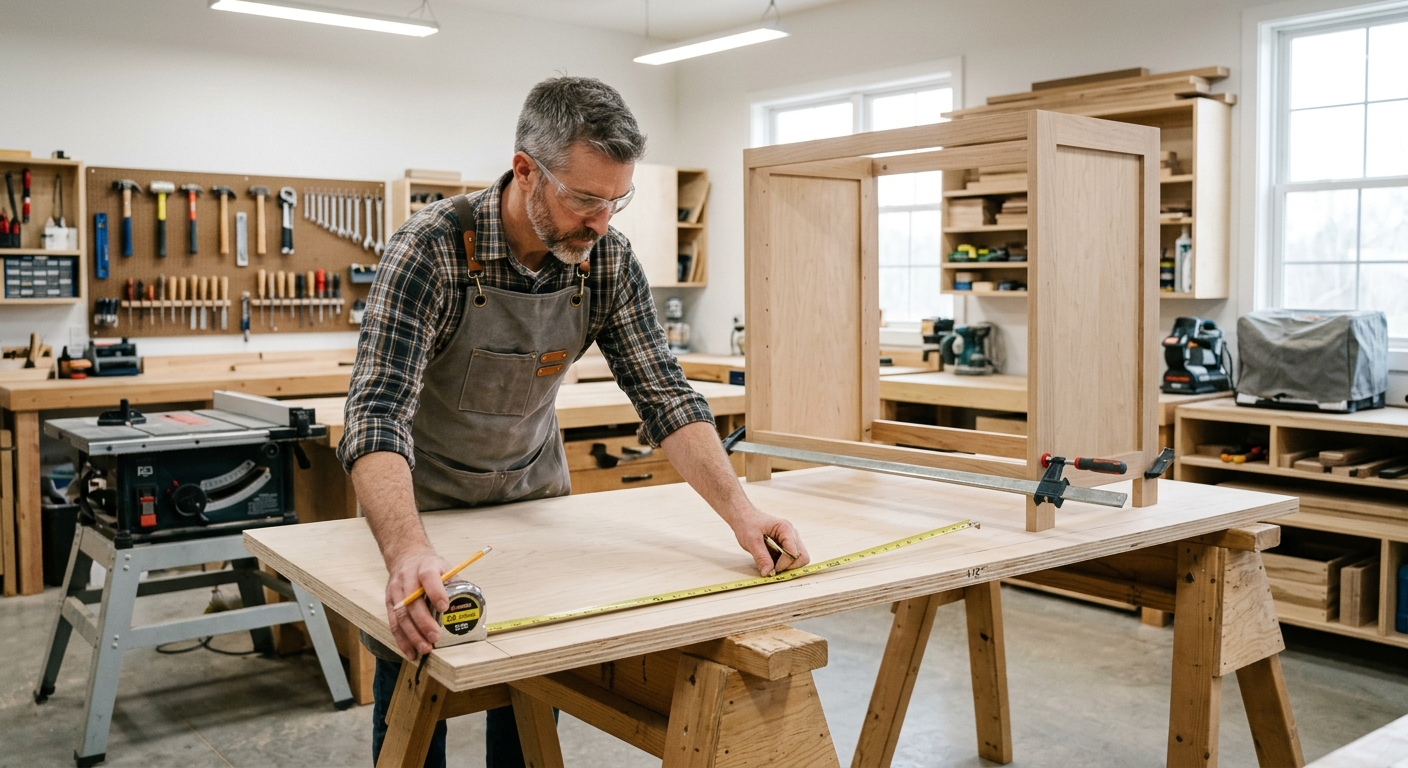
What’s the largest assembly you regularly work with? A 48 x 48-inch case? A 30 x 84-inch tabletop? Size the assembly bench to handle that project with a foot of clearance on all sides for clamps. Most builders regret not making the assembly bench larger rather than smaller.
Step 2 – Build the Base Simply
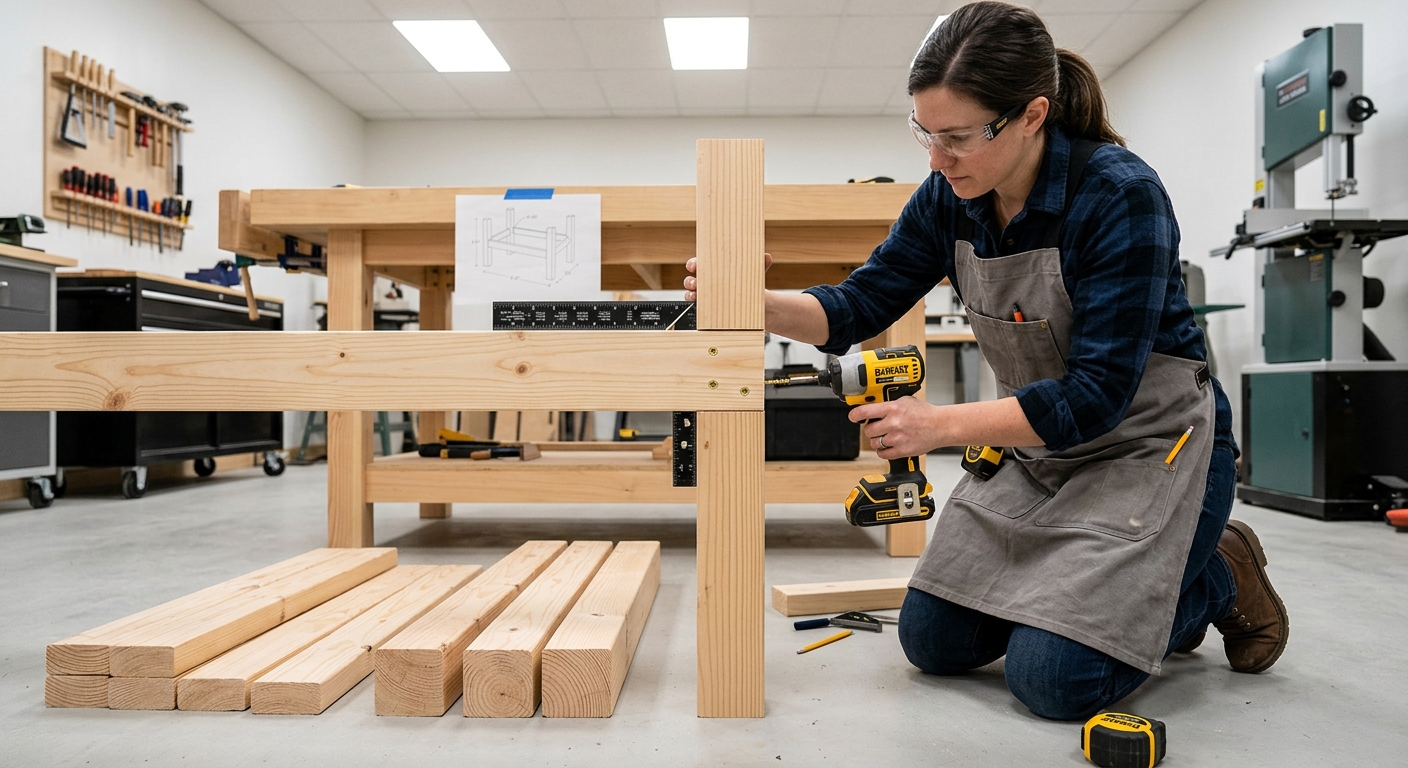
The assembly bench base doesn’t need the mass or precision of the primary workbench. A simple 2×4 frame with a plywood top is entirely appropriate – this bench’s job is to be flat, large, and available for abuse. Build quickly and move on to more important shop projects.
Step 3 – Apply the Right Surface
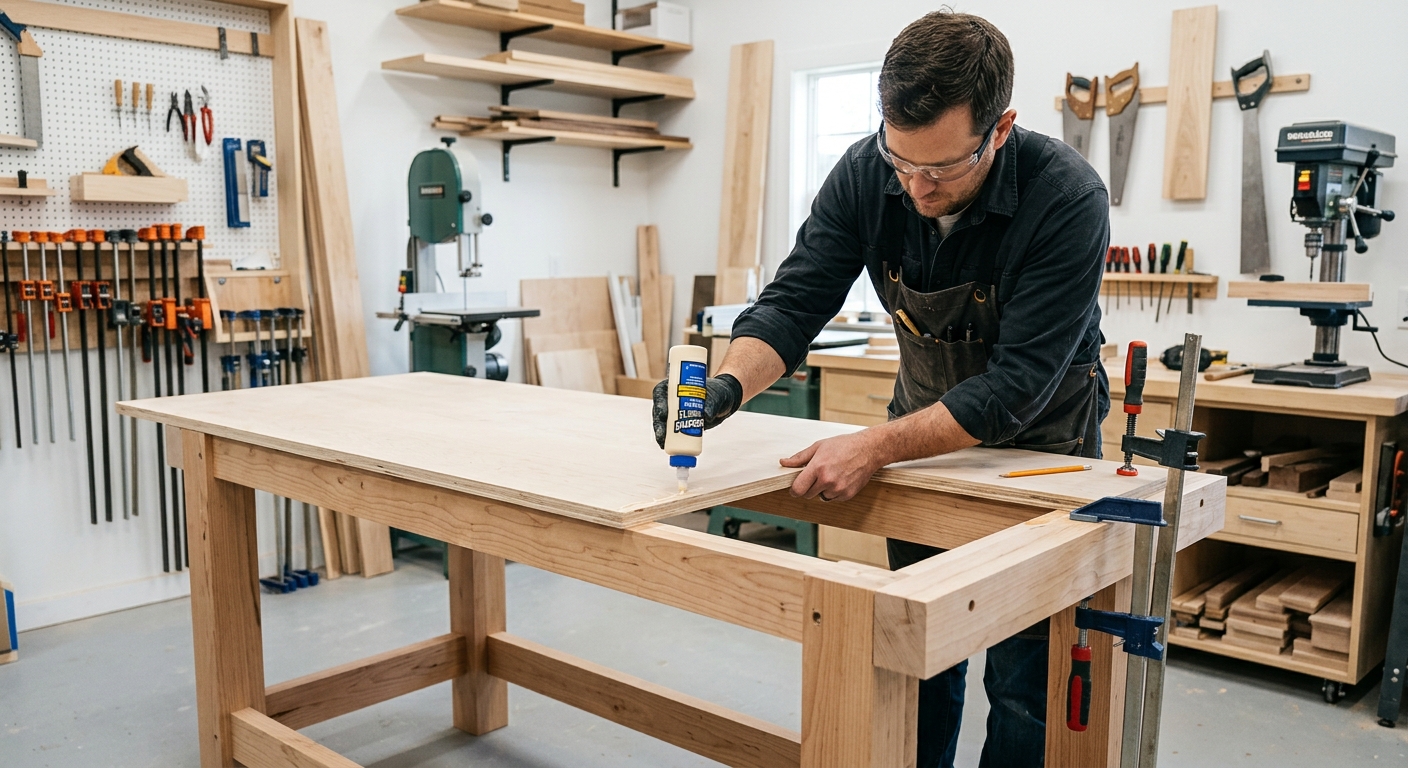
Melamine or tempered hardboard – not a wood or plywood surface. Glue releases from melamine cleanly after curing, which is the defining feature of an assembly surface. Apply paste wax before every major glue-up session for additional protection. Replace the surface annually or whenever glue starts bonding to it.
Step 4 – Add Clamping Infrastructure
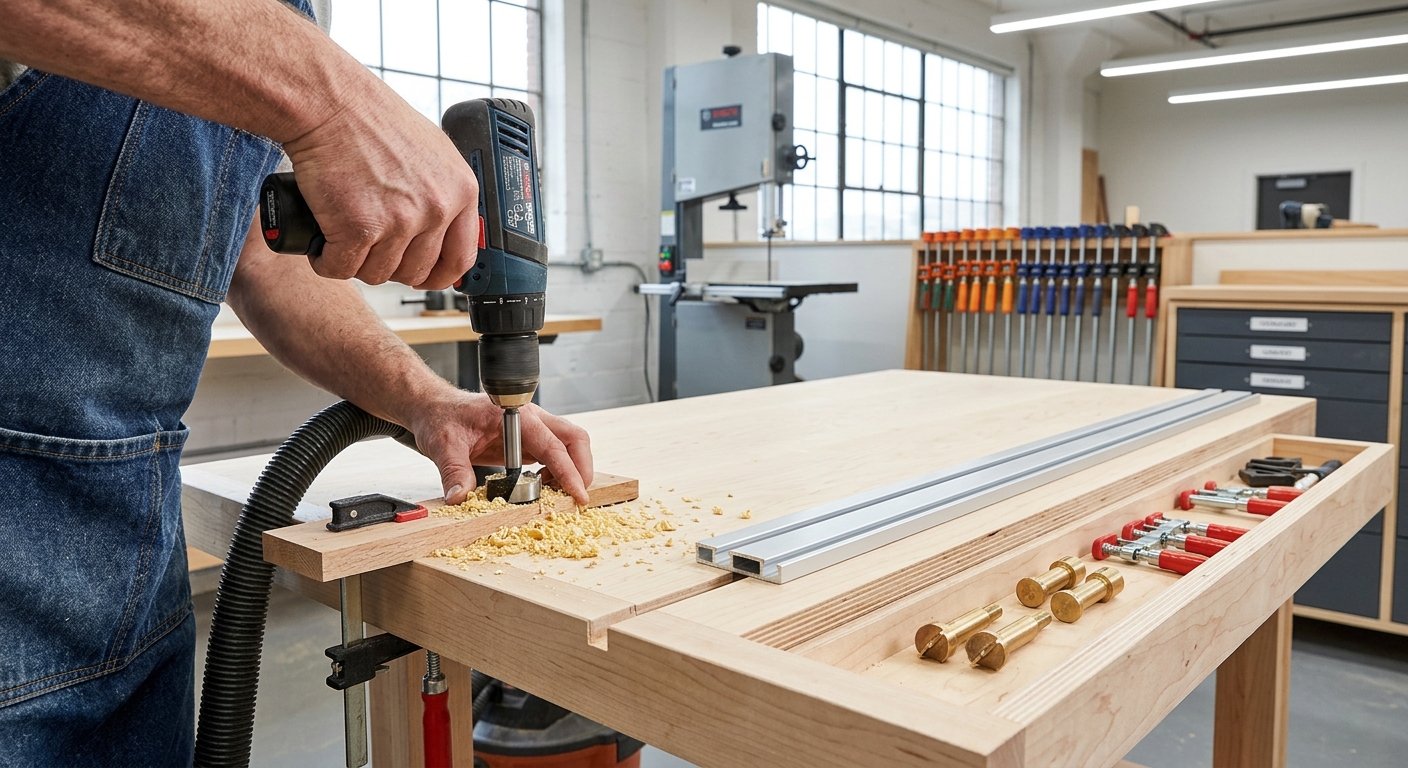
The most useful assembly bench has clamping infrastructure built in. Options include: T-track running the full length and width for clamp attachment, a row of dog holes for holdfasts and bench dogs, or built-in clamp storage directly below the top surface. Even a simple row of large lag screws around the perimeter gives you clamping attachment points.
Step 5 – Store Clamps Below
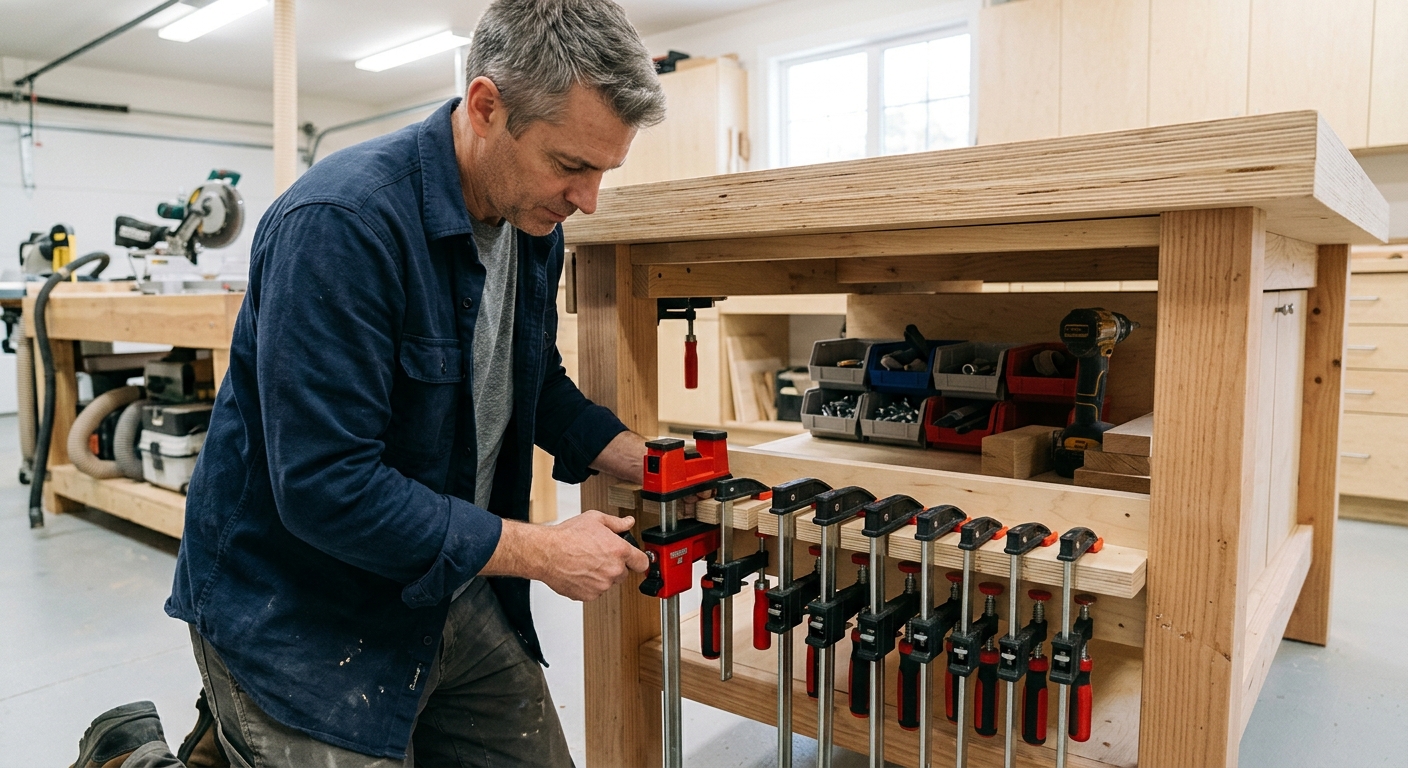
Build or install clamp storage directly below the assembly bench top – within arm’s reach during a glue-up. A row of horizontal pegs on the base stretchers holds bar clamps and pipe clamps. The most useful design puts every clamp you typically use for glue-ups within arm’s reach from the bench surface.
FAQ
Can I just use the primary bench for assembly? Yes, but you’ll find yourself either compromising the primary bench surface or constantly clearing it for assembly work. A second dedicated bench is one of the most impactful shop upgrades for woodworkers who do significant case work, furniture, or cabinet projects.
What if I don’t have room for two benches? A large rolling assembly table (see the Roll-Away Assembly Table guide) that stores against the wall and deploys when needed is the alternative. You lose the dedicated-surface advantage but gain the floor space.