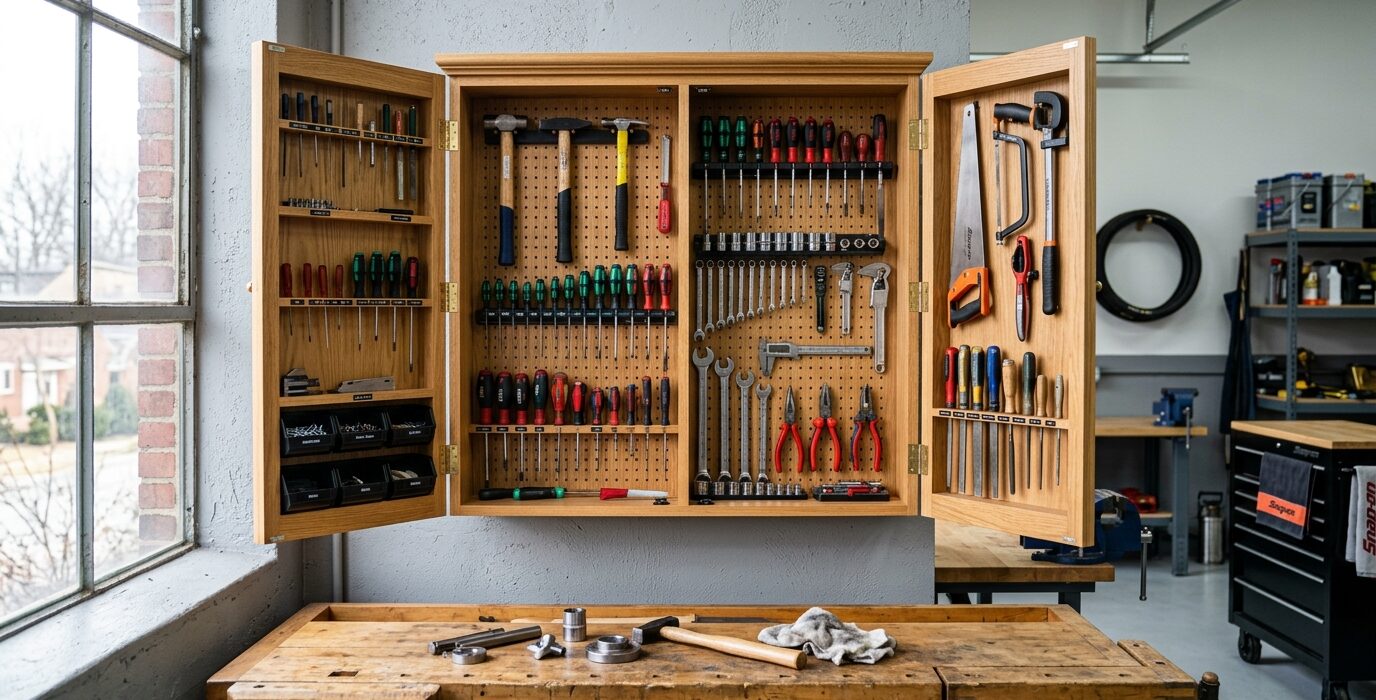
Build a Wall-Mounted Hand Tool Cabinet
A wall-mounted hand tool cabinet keeps your most-used hand tools clean, protected, and organized behind closed doors. Unlike a pegboard or open wall rack, a cabinet keeps tools dust-free between uses – important for edge tools like chisels and plane irons that can rust in humid conditions. A well-built hand tool cabinet is also a satisfaction to open: everything in its place, visible, accessible, and cared for.
What Goes in the Cabinet
- Chisels – in size order, cutting edges protected
- Hand planes – on dedicated holders that rest the plane on the side, not the sole
- Marking and layout tools – marking gauge, marking knife, combination square, bevel gauge
- Saws – hand saw, dovetail saw, carcass saw
- Mallets and hammers
- Rasps and files
Materials
- 3/4-inch Baltic birch plywood for the cabinet box
- 1/4-inch plywood for the back panel and door panels
- Piano hinges or European cup hinges for the doors
- Rare earth magnets or magnetic catches for the door closures
- Assorted plywood scraps for tool-specific holders and racks inside
Step 1 – Design the Interior Layout First
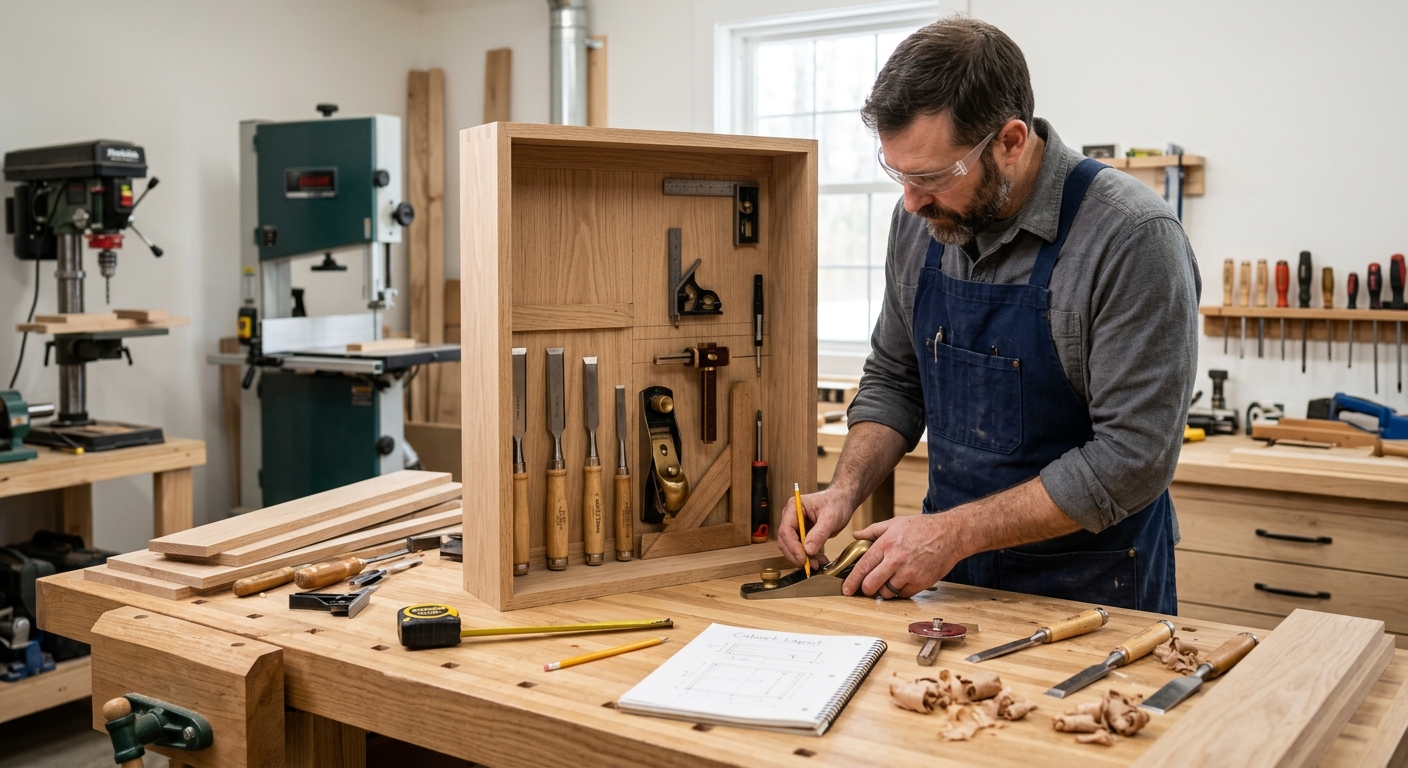
Before building the box, lay out all the tools you intend to store in the cabinet on the bench. Group them by type and usage. Measure the footprint. Now design the cabinet interior around those tools – specific holders for the planes, a chisel rack, saw holders, and dedicated spots for every item. The interior design drives the cabinet dimensions, not the other way around.
Step 2 – Build the Cabinet Box
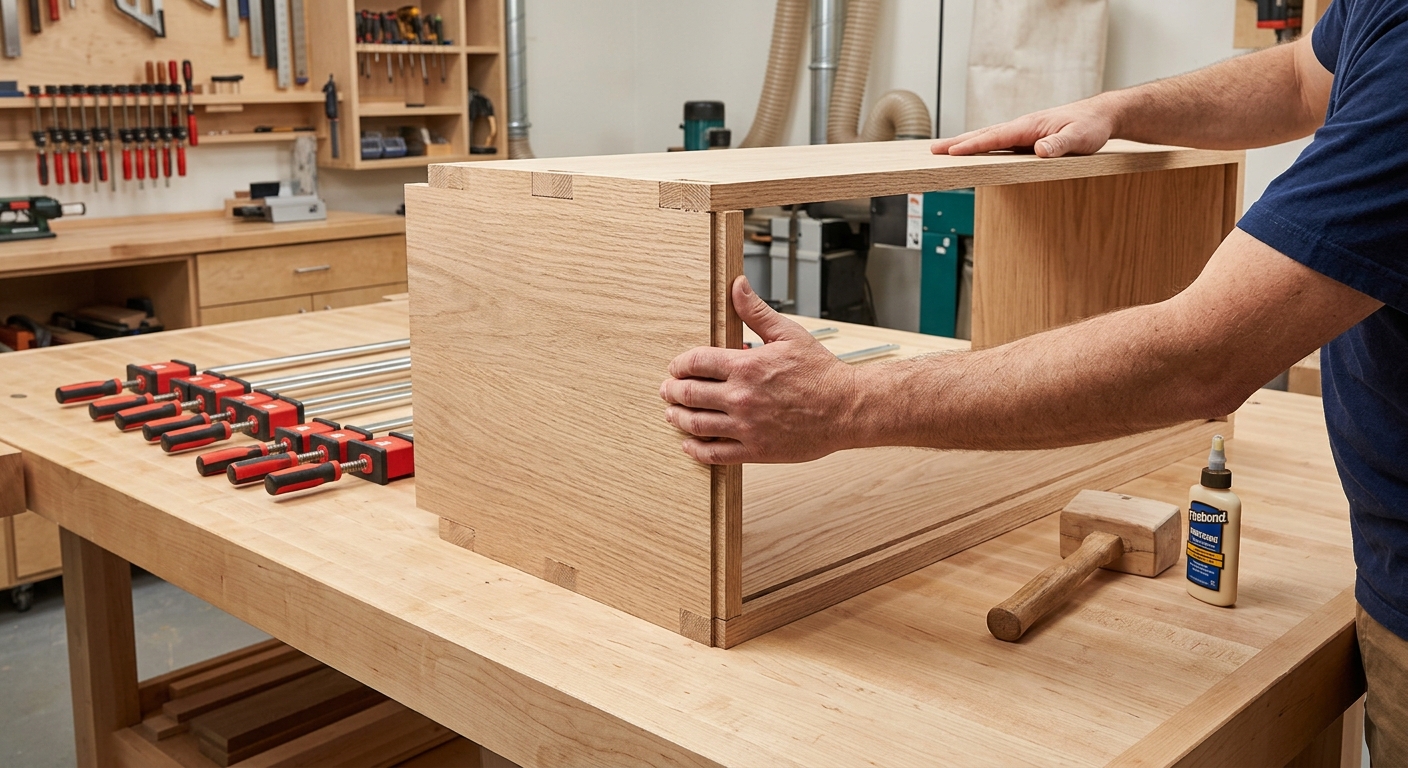
Cut the sides, top, bottom, and back from plywood. Assemble with glue and screws – dado joints in the sides for the top and bottom panels are stronger than butt joints if your skills allow. The back panel of 1/4-inch plywood adds significant rigidity to the box. Check for square before the glue sets.
Step 3 – Build the Interior Tool Holders
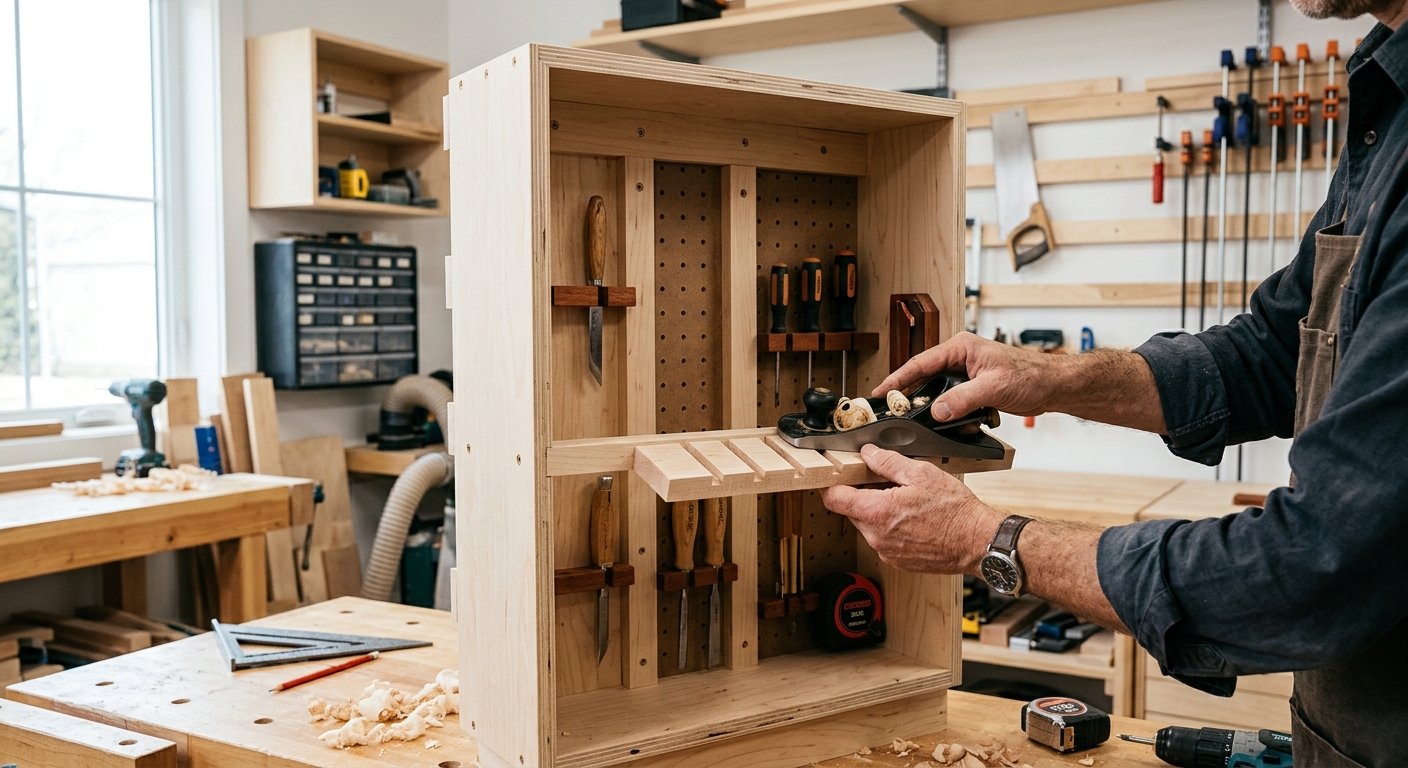
Each tool type needs its own holder. Chisels: a strip of 3/4-inch plywood with holes sized just slightly larger than each chisel handle diameter – the chisel drops in vertically, cutting edge protected. Planes: wooden cradles or simple shelf with a stop at the front, planes stored on their sides. Saws: wooden pegs or a horizontal bar the handle hangs from.
Step 4 – Build and Hang the Doors
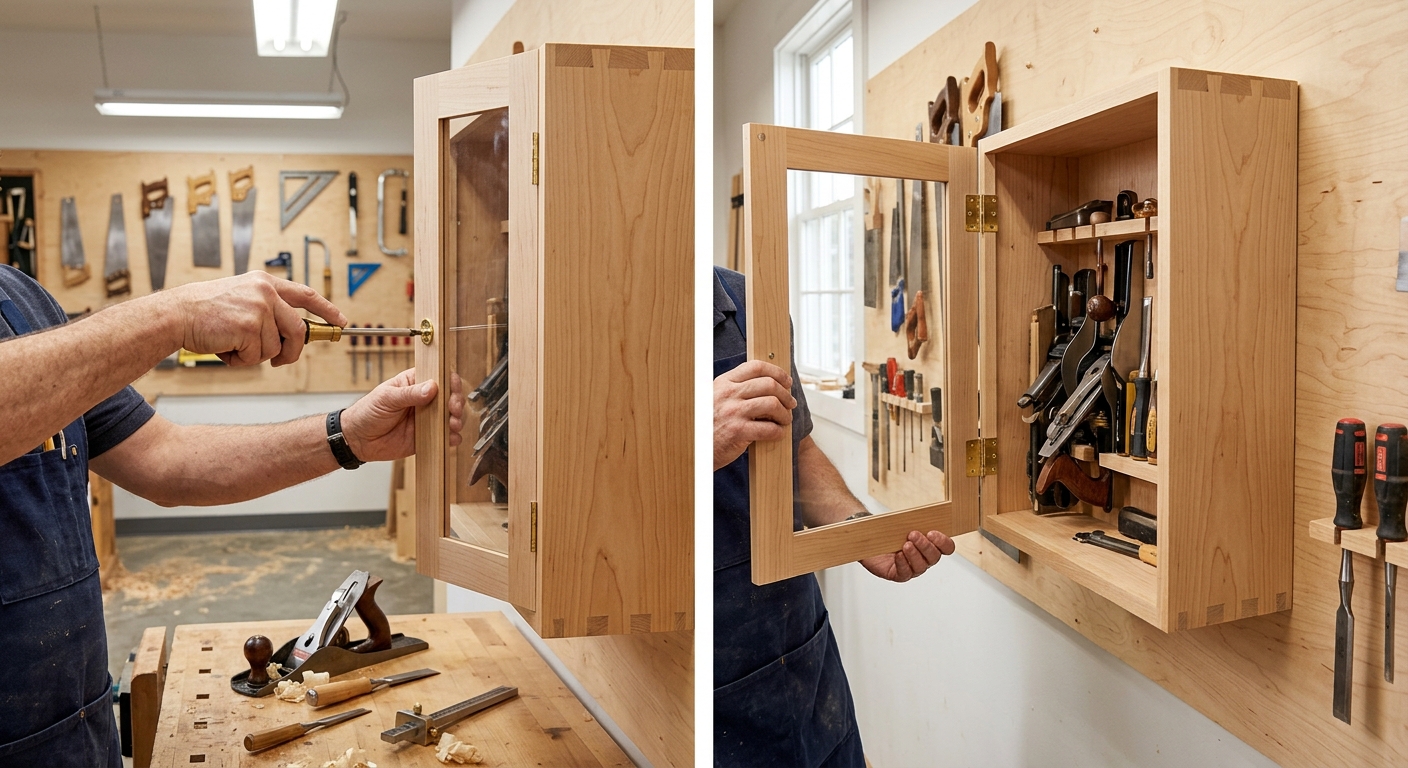
The doors can be plain plywood or have glass panels for visibility. Plain plywood doors can also hold tools – mount additional holders on the inside faces of the doors for frequently used items that you reach for quickly during work. Hang with piano hinges cut to door height for maximum hinge strength on heavy doors.
Step 5 – Finish and Mount
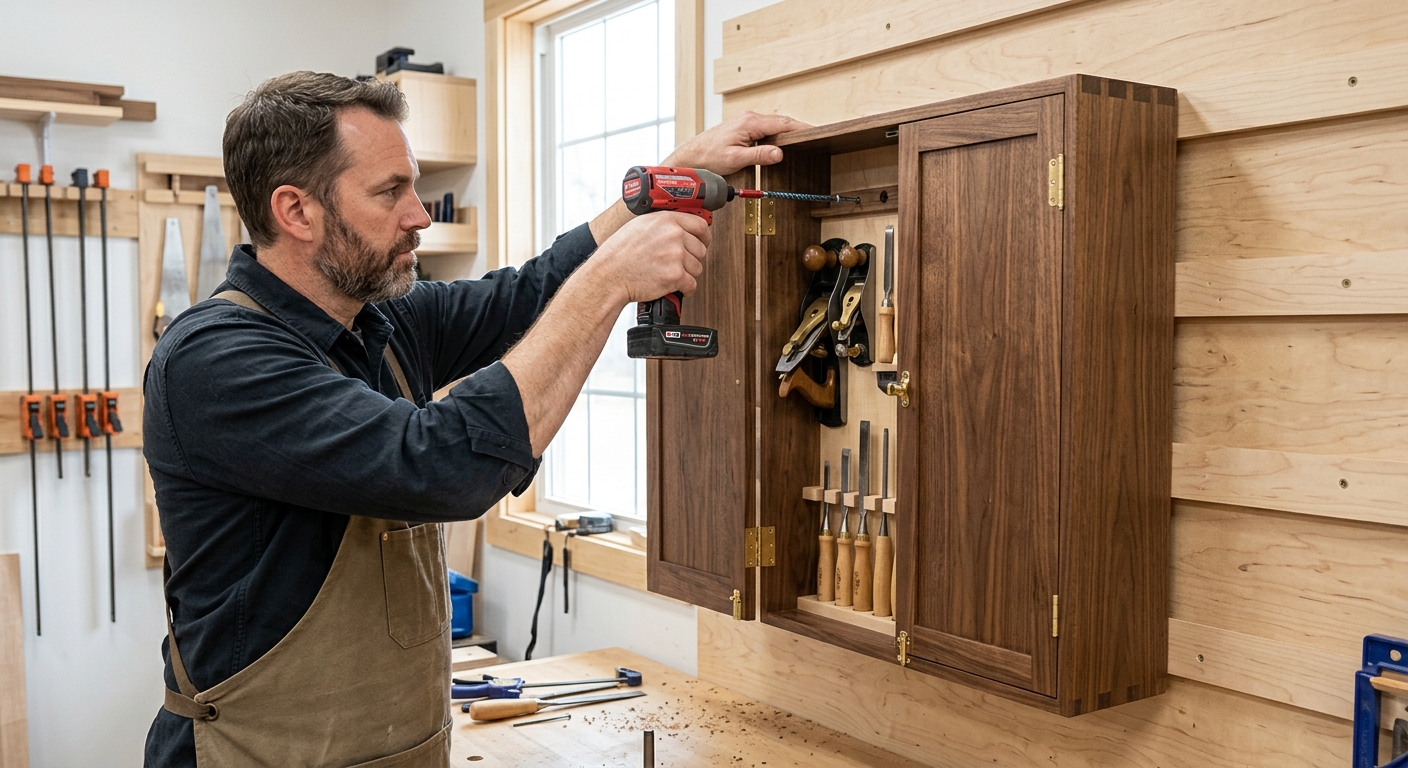
Apply a simple oil finish or shellac to the interior. The finish prevents moisture from being absorbed by the wood, which helps maintain a stable humidity inside the cabinet – better for rust prevention on metal tools. Mount the cabinet on the wall with lag screws into studs. A loaded tool cabinet is heavy.
FAQ
Should I add a dehumidifier or silica gel to the cabinet? In humid climates where rust is a real concern, silica gel packets inside the closed cabinet absorb moisture. Replace them every 3 to 6 months or whenever they change color (if using indicating packets).
What size should my cabinet be? Plan for your current tool collection plus 30 percent growth space. A cabinet that’s full immediately becomes frustrating as your tool collection expands.