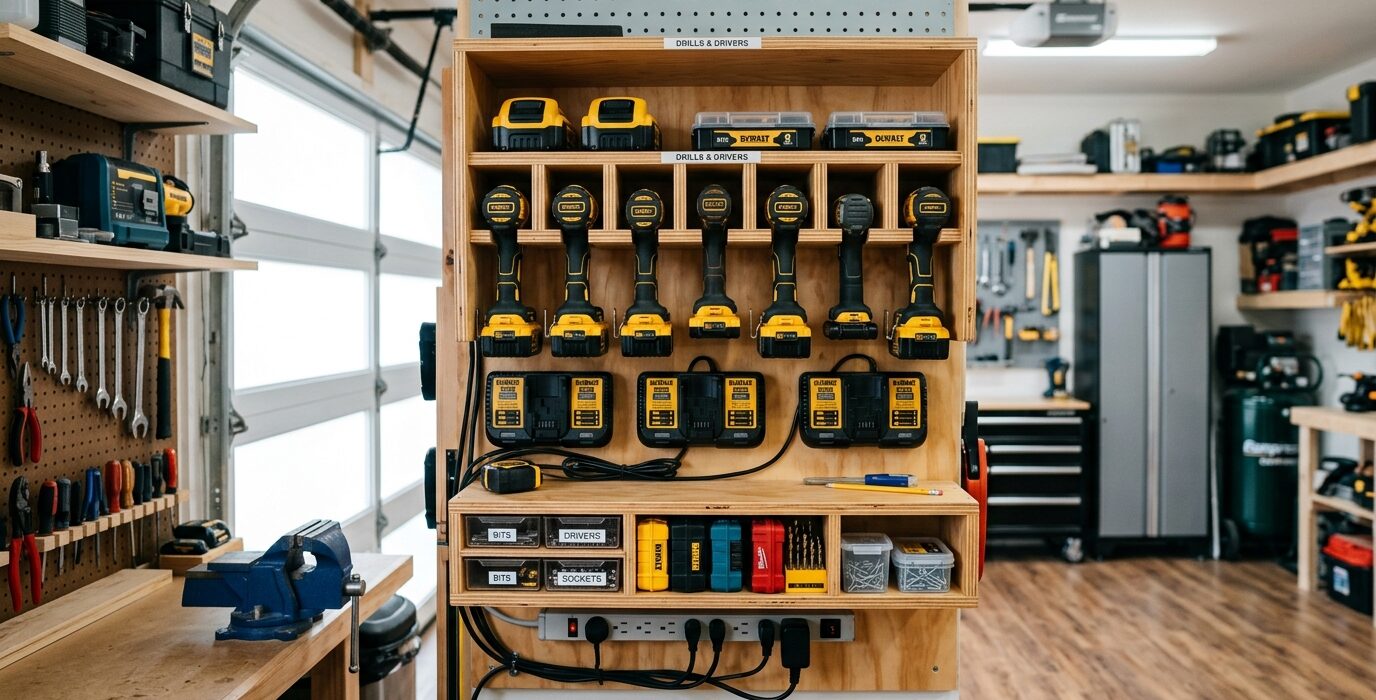
A Drill and Driver Station with Charging
A dedicated drill and driver station solves a common shop frustration: the cordless tools are always charging, always at a different battery level, and always somewhere other than where you need them. A wall-mounted station with individual charging slots for each tool and battery keeps drills and drivers organized, charged, and ready at a single consistent location.
Materials
- 3/4-inch plywood for the station back panel and shelf
- Mounting screws and wall fasteners
- Power strip with individual switches for each charging port
- Tool-specific holders – wooden blocks with tool-shaped cutouts, or simple wooden dowels
- Battery charger brackets (some chargers have wall-mount keyhole slots built in)
Step 1 – Assess Your Tool and Battery Inventory
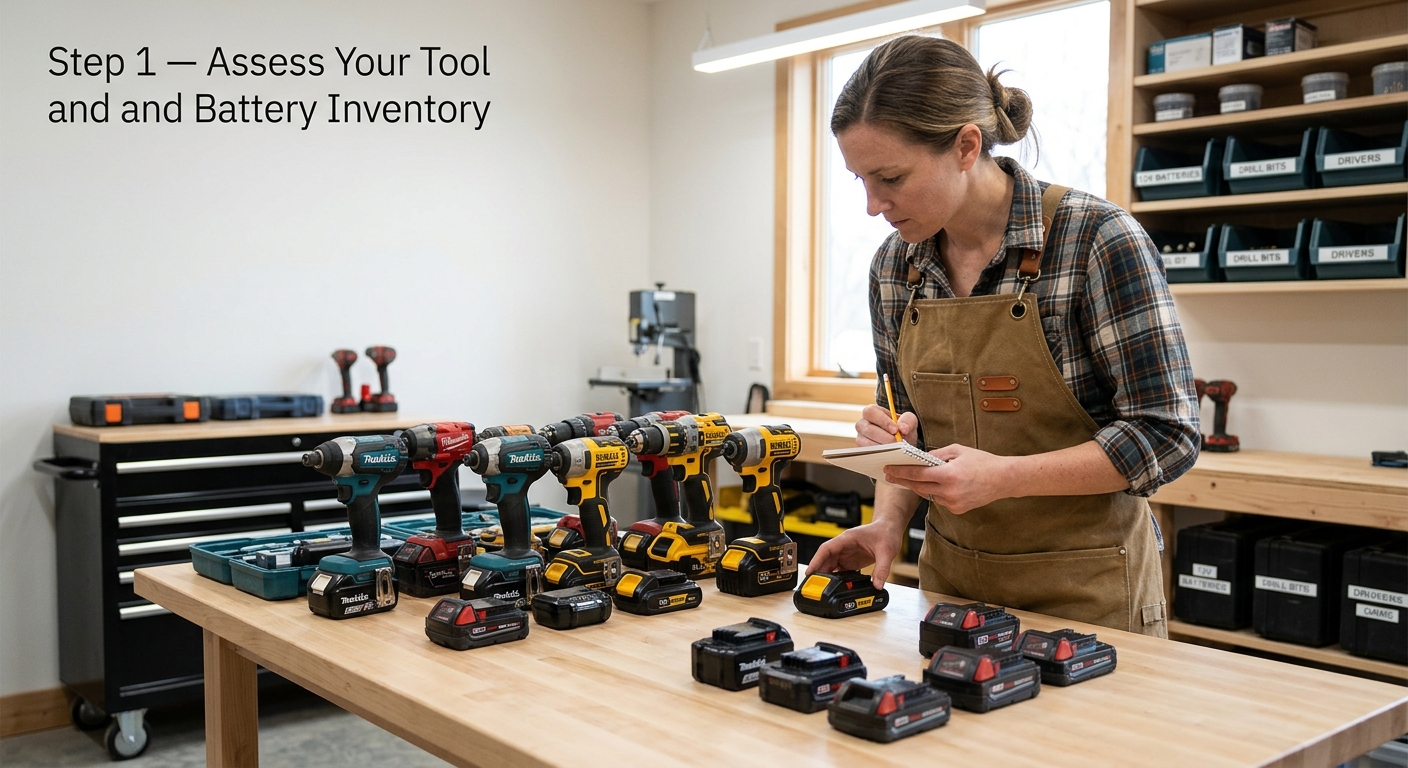
Count your drills, impact drivers, and chargers. Note each brand and model – tool holders need to fit specific tool bodies. Count batteries by voltage (12V, 18V/20V) – each battery needs a charging slot. This inventory determines the station’s size and layout.
Step 2 – Build the Station Panel

Build a plywood back panel sized to hold all the tools and chargers with a few inches between each item. Include a horizontal shelf at the bottom for tools that don’t hang well, and mounting points at the top for hanging drills and drivers vertically by their handles.
Step 3 – Build Tool Holders
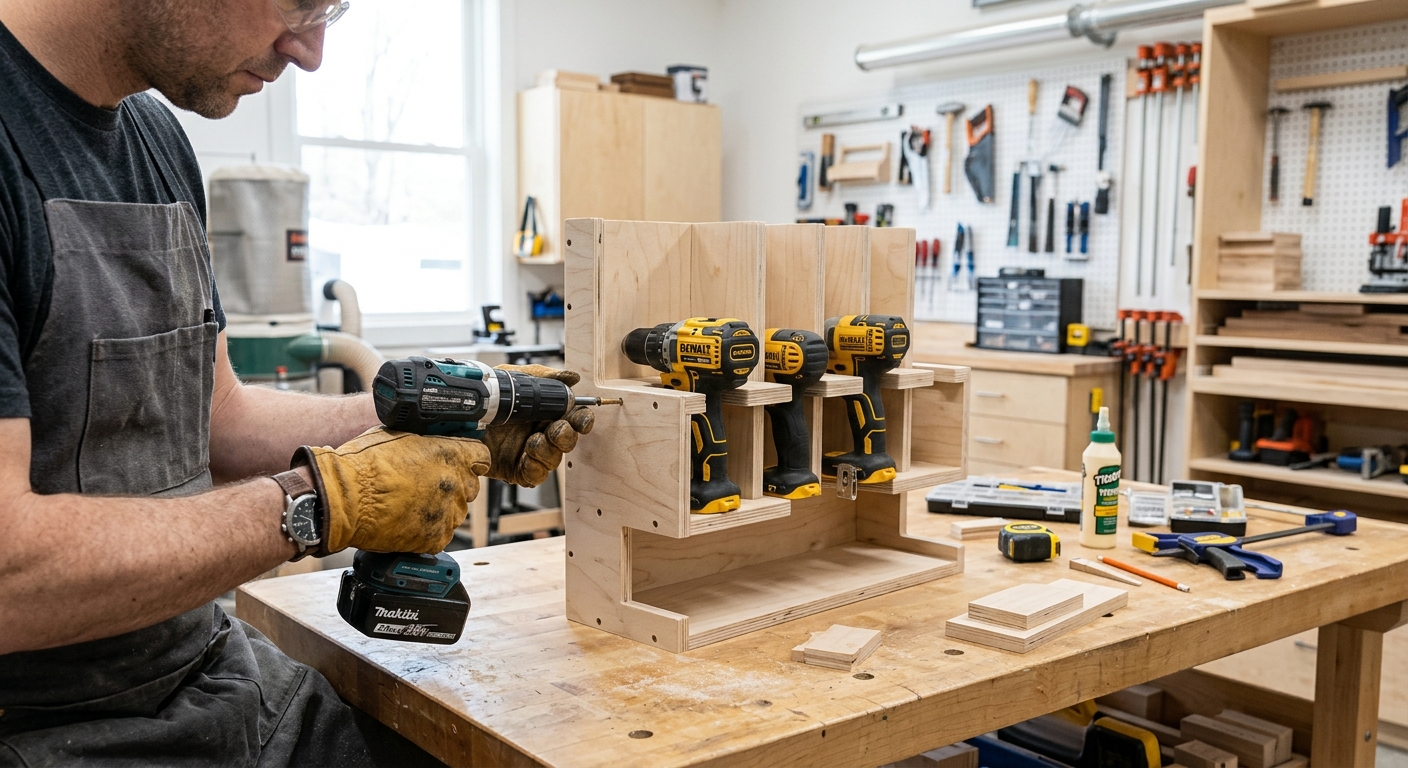
The simplest drill holder is a wooden dowel or hook that the drill trigger guard hangs from. More elegant is a wooden block with a trigger-guard-shaped notch routed into it – the drill drops in and is fully supported. Make holders sized to each specific tool – impact drivers are smaller than standard drills and need their own sized holders.
Step 4 – Mount the Chargers
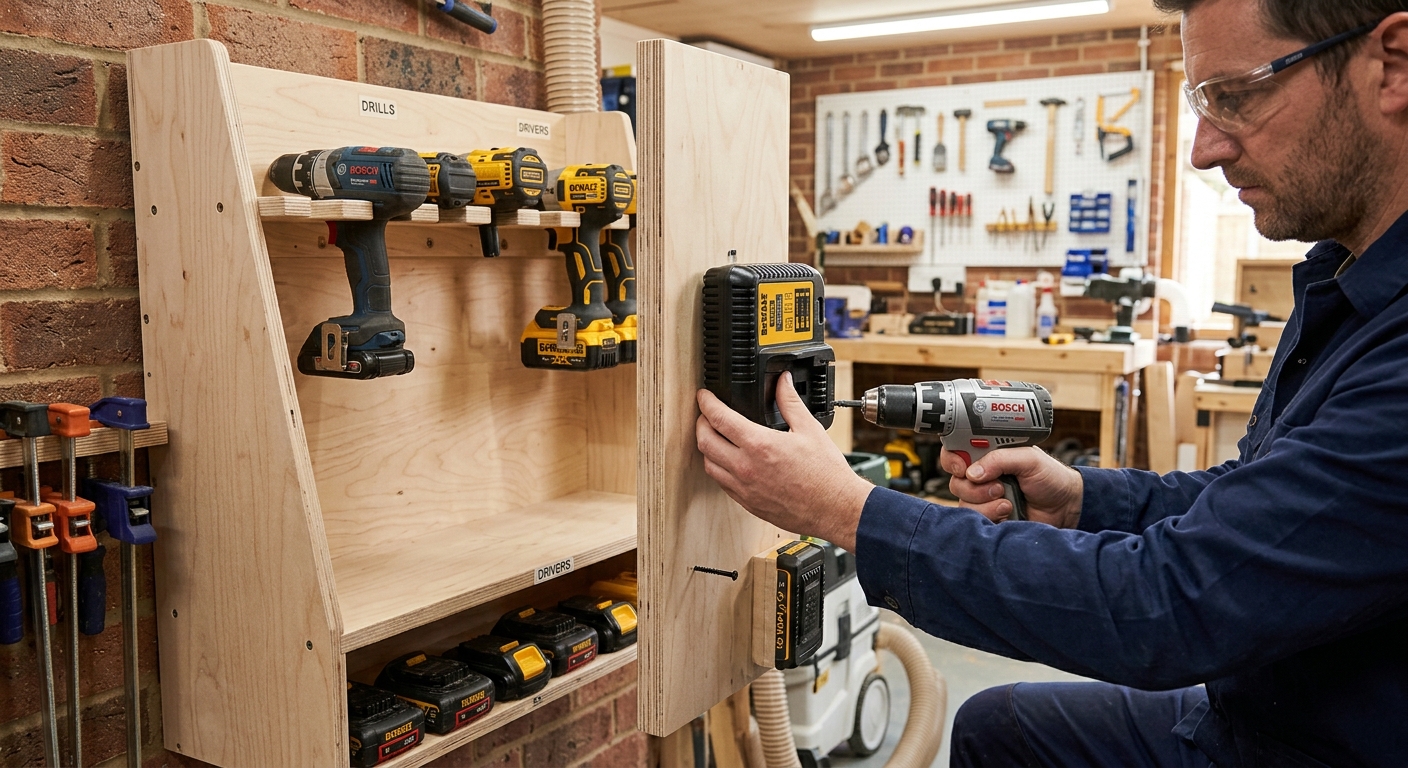
Many battery chargers have two keyhole slots on the back for wall mounting. Mark and install two screws at the right spacing for each charger, then hang the chargers. If your chargers don’t have wall-mount provisions, build simple shelves for them – one charger per shelf for easy access.
Step 5 – Add the Power Strip
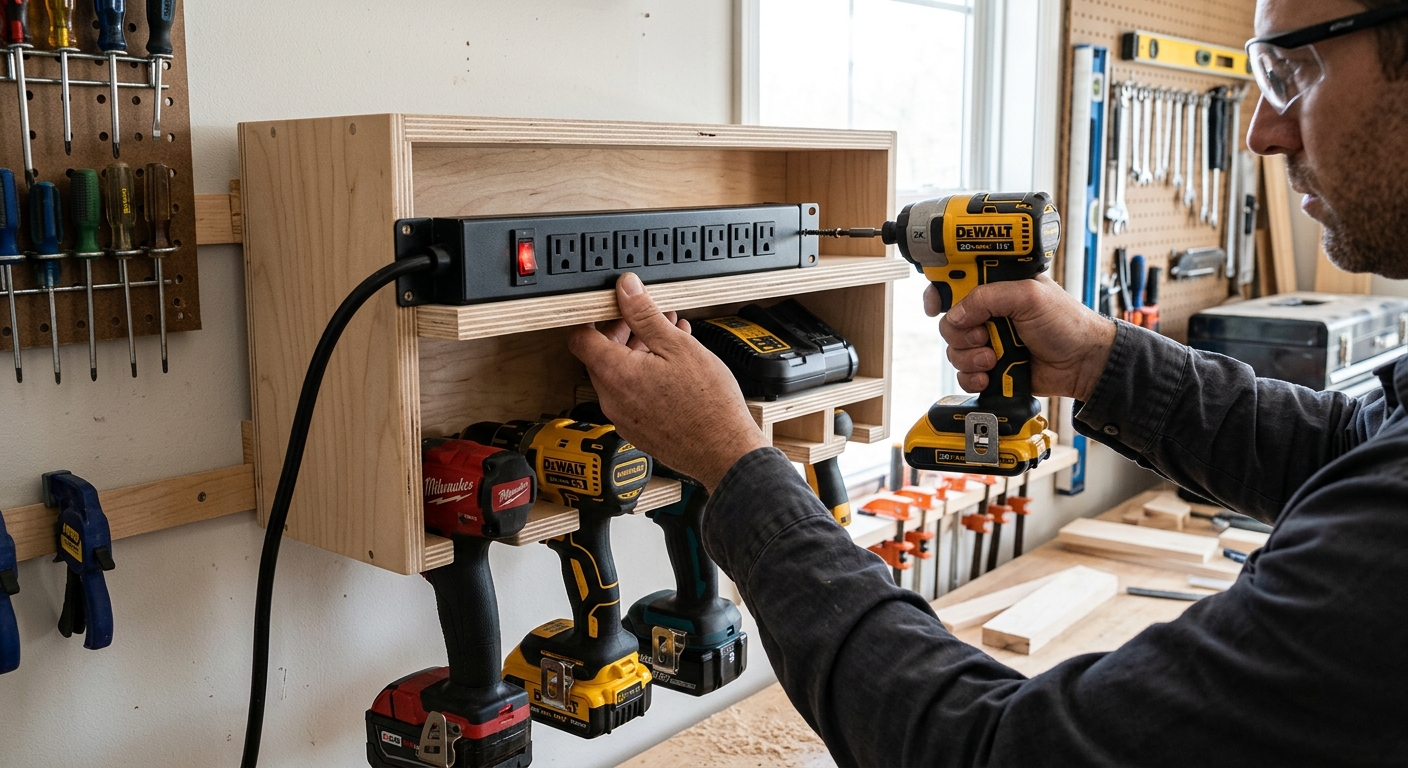
A power strip with individually switched outlets mounts along the bottom of the station. One switch per charger means you can charge only the batteries that need it without having all chargers on simultaneously. Label each switch with the charger it controls.
Battery Rotation System
The most useful organizational habit for a cordless tool station: always use the battery on the right, charge it, and put it back on the left. Batteries cycle through the system in a consistent order, which equalizes charge cycles across the battery pack and ensures you always grab a freshly charged battery.
FAQ
Should I leave batteries on the charger indefinitely? Modern lithium-ion batteries on quality chargers are designed to stop charging when full – indefinite storage on the charger is generally safe. However, manufacturers often recommend storing batteries at 40 to 60 percent charge for long-term storage (more than a month). For daily use, leaving them on the charger is fine.
Can I store batteries and chargers near finishing supplies? No – lithium batteries and charging equipment should be kept away from flammable materials. A spark from a failing battery can ignite solvent vapors.