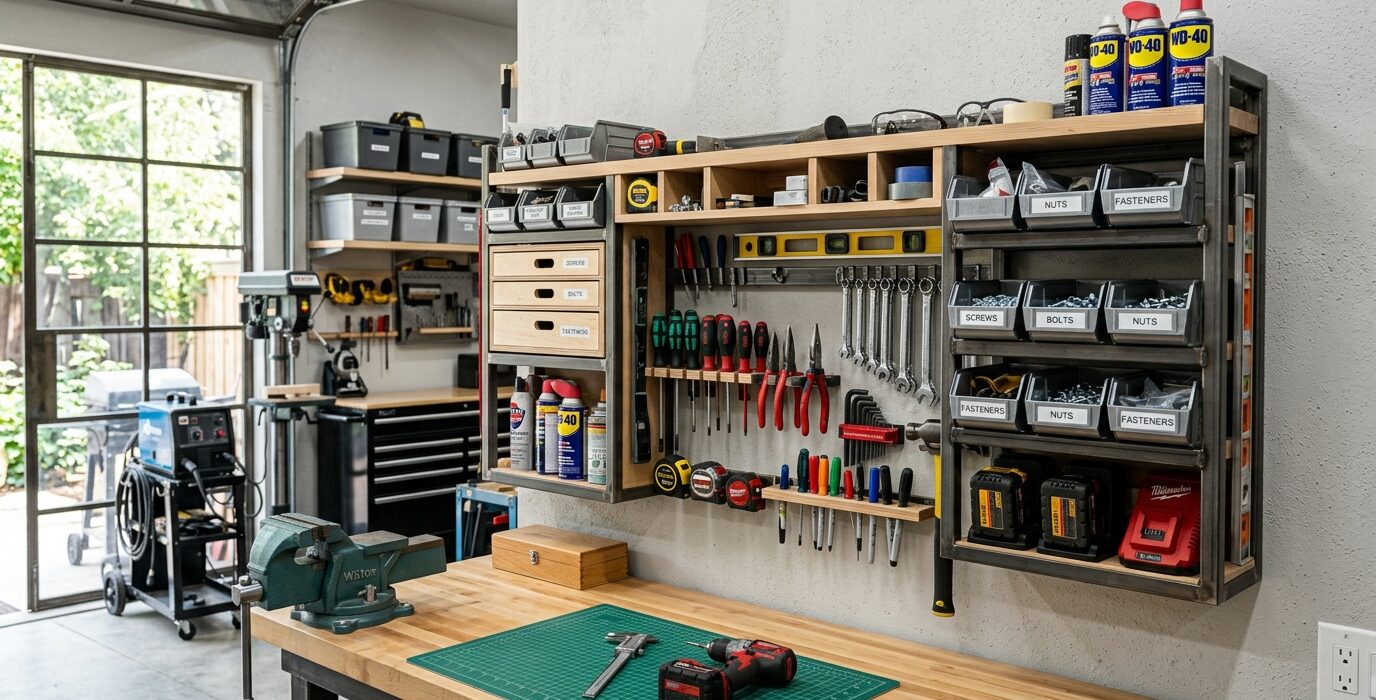
A Level Storage Rack for Long Levels
Levels – particularly long levels (48 to 72 inches) and laser levels – are easily damaged by improper storage. A 4-foot level stored on its edge in a bucket or leaning against a wall for months will develop a permanent set from the stress. A dedicated rack that supports levels horizontally in their natural position keeps them true and accurate for years of use.
Why Levels Need Proper Storage
Long levels flex under their own weight if stored vertically for extended periods. The vial inside a level is calibrated to the level body – if the body bends, the vial reading is no longer accurate. A level stored flat and horizontal retains its accuracy indefinitely. One stored leaning or flexed for months may need recalibration before you trust it again.
Materials
- 3/4-inch plywood for the mounting panel
- Scrap hardwood or plywood for the horizontal support pegs
- Lag screws for wall mounting
- Optional: felt or foam lining on the support pegs
Step 1 – Plan the Level Inventory
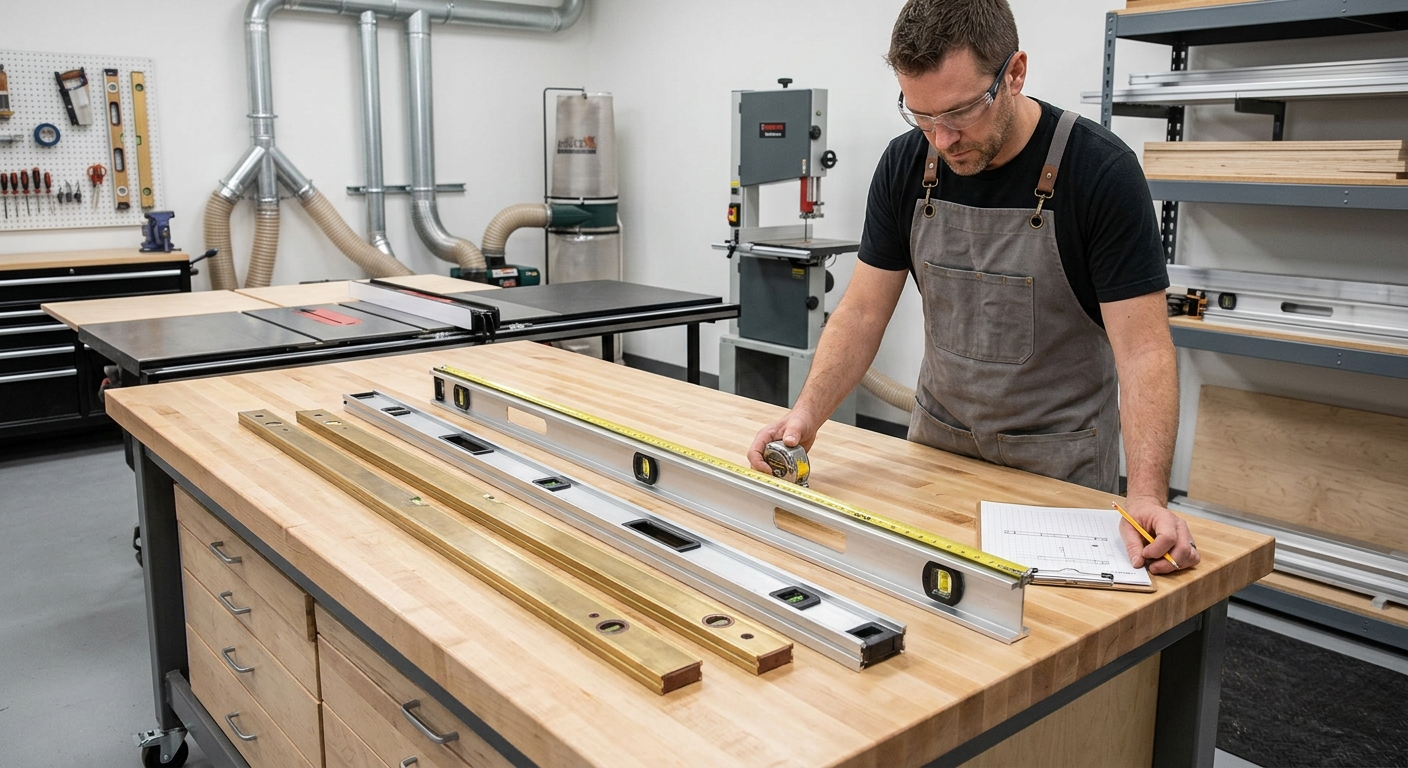
Count your levels by length: 12-inch torpedo levels, 24-inch levels, 48-inch levels, 72-inch levels, and any laser levels. The rack must support each one horizontally. Longer levels need support at two points; shorter ones can rest on a single support.
Step 2 – Build the Horizontal Peg System
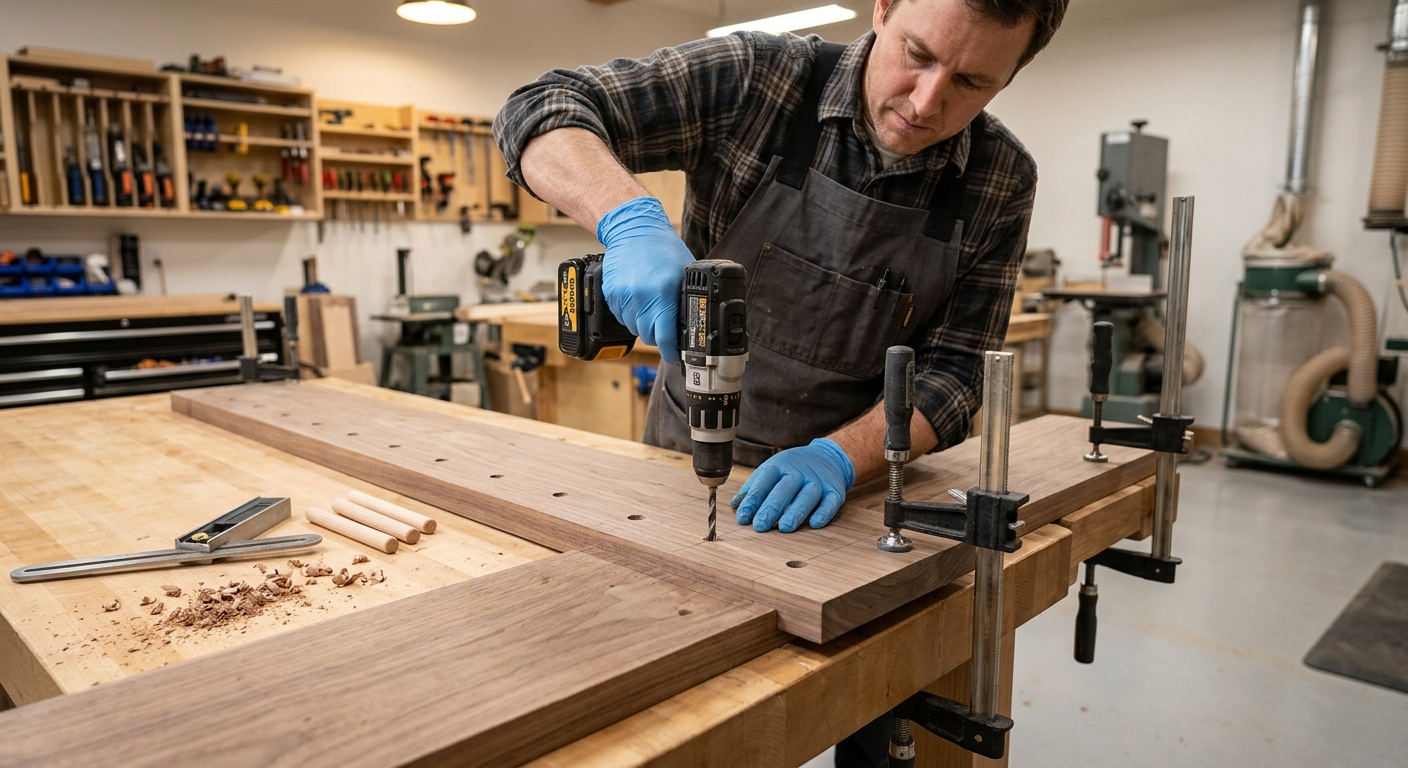
Mount pairs of horizontal wooden pegs on the wall at the appropriate heights. Each pair of pegs supports one level horizontally – the level rests across the two pegs like a bridge. The pegs should be spaced closer to the ends of the level than to the center, providing better support against sagging than a center support would.
Step 3 – Stack Levels Vertically
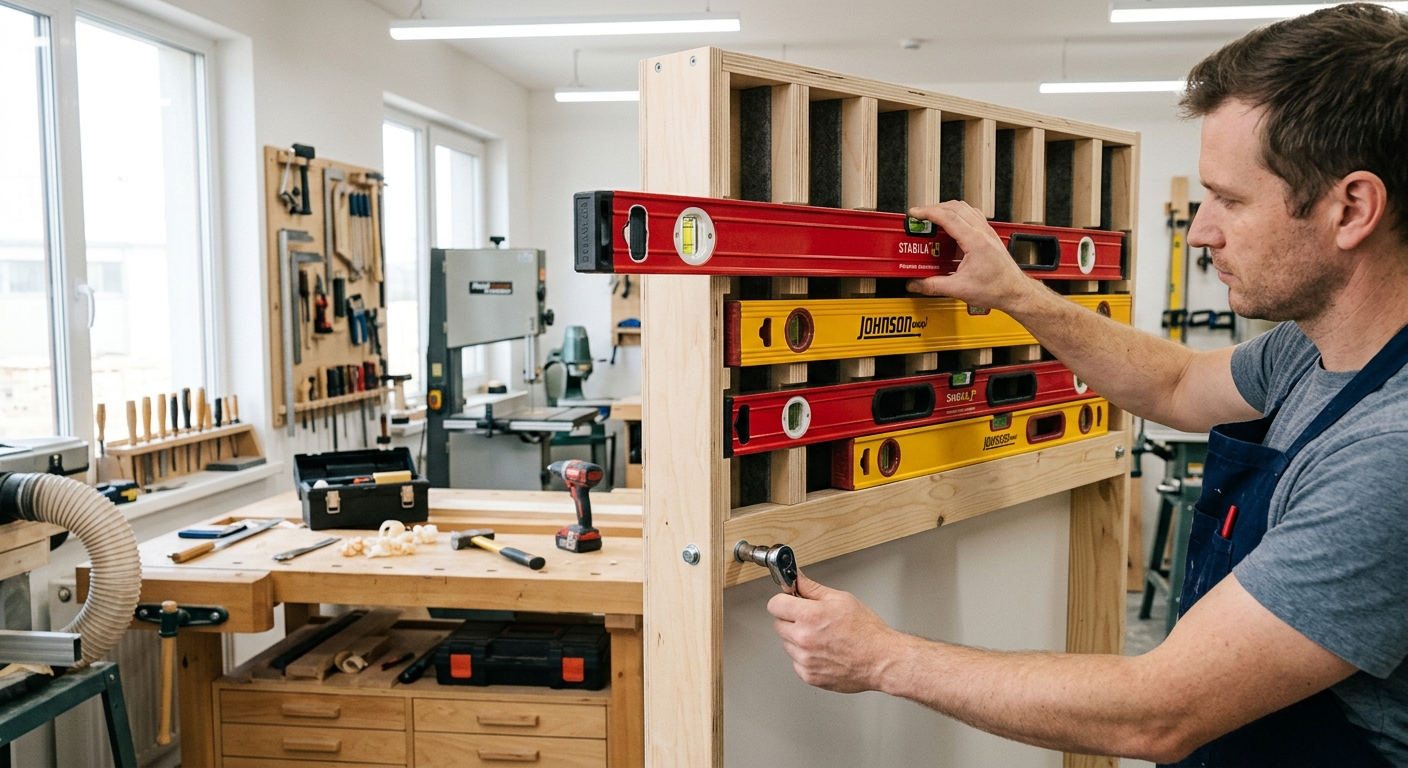
Arrange the horizontal peg pairs at different heights – longest levels at the top, shortest at the bottom. The levels stack vertically (in physical height on the wall) while resting horizontally (in orientation) on the pegs. This lets you store 6 to 8 levels in a narrow wall strip.
Step 4 – Add Retention
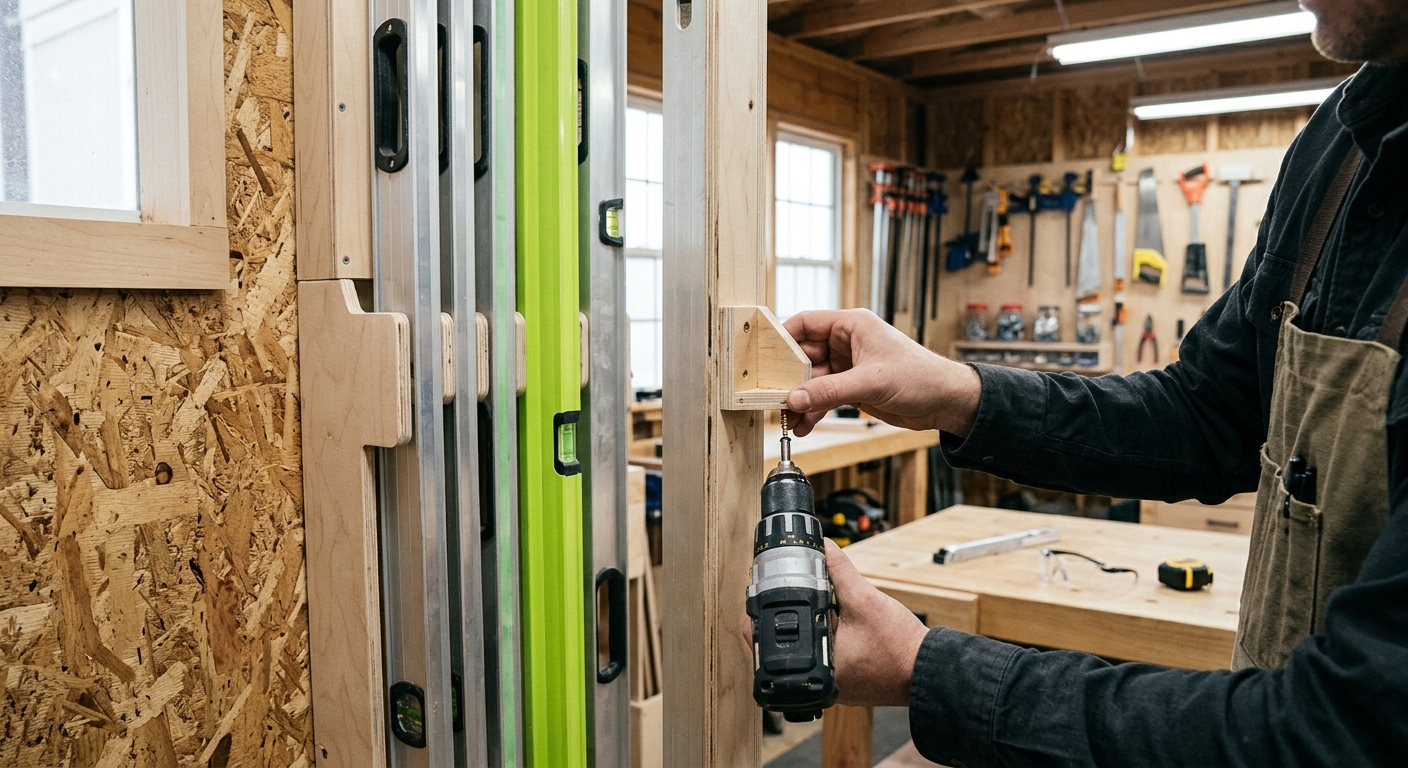
A simple wooden cleat or a bungee cord across the front of each peg pair prevents levels from sliding off if bumped. The retention doesn’t need to be strong – just enough to keep a 6-foot level from falling if someone brushes past the rack.
FAQ
Can I store levels on pegboard hooks? Only short levels (12 to 24 inches) safely hang from a single pegboard hook without risk of bending. Long levels need two-point horizontal support.
How do I know if my level has been bent? Set it on a known flat surface, check the vial, flip it 180 degrees end-for-end, and check the vial again. If the readings are different, the level is bent or the vial has shifted. Most quality levels can be recalibrated by adjusting the vial mounting screws.