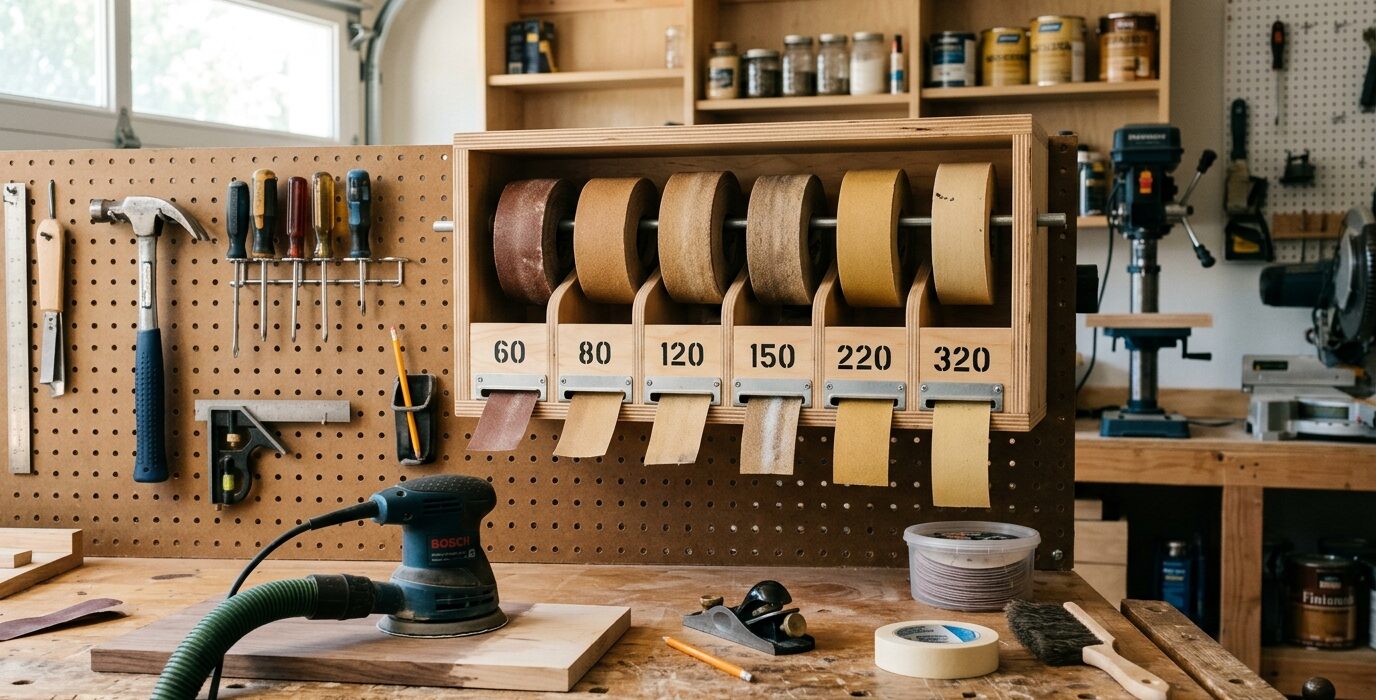
A Sandpaper Dispenser for the Bench Wall
Sandpaper sheets stored in a drawer or a pile become useless quickly – the corners fold, the backing tears, the grits get mixed up. A wall-mounted sandpaper dispenser keeps each grit in its own labeled slot, allows single sheets to be pulled out cleanly, and puts everything within reach at the sanding station. This is a small build with a large quality-of-life improvement.
Materials
- 3/4-inch plywood for the dispenser body
- 1/4-inch plywood for the front panel slots
- Wood screws and sandpaper to test the slots
Step 1 – Design the Slot Layout
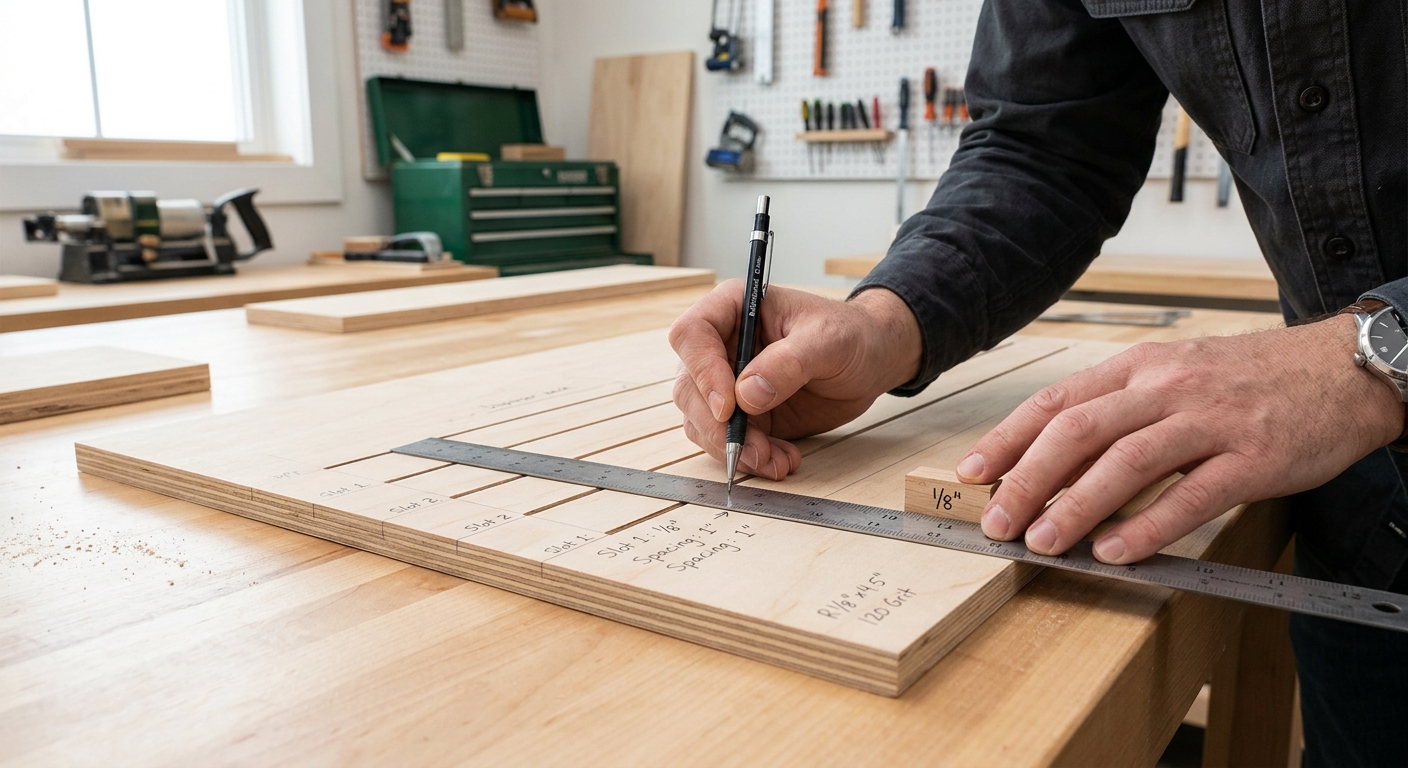
Decide how many grits you regularly keep in stock. A typical shop needs: 60, 80, 120, 150, 180, 220, 320, and 400. That’s 8 slots. Each slot holds a full 9 x 11-inch sandpaper sheet lying flat. Plan the dispenser as a series of horizontal shelves or angled slots that hold sheets flat and allow pulling one sheet at a time from the bottom of the stack.
Step 2 – Build the Slot Box
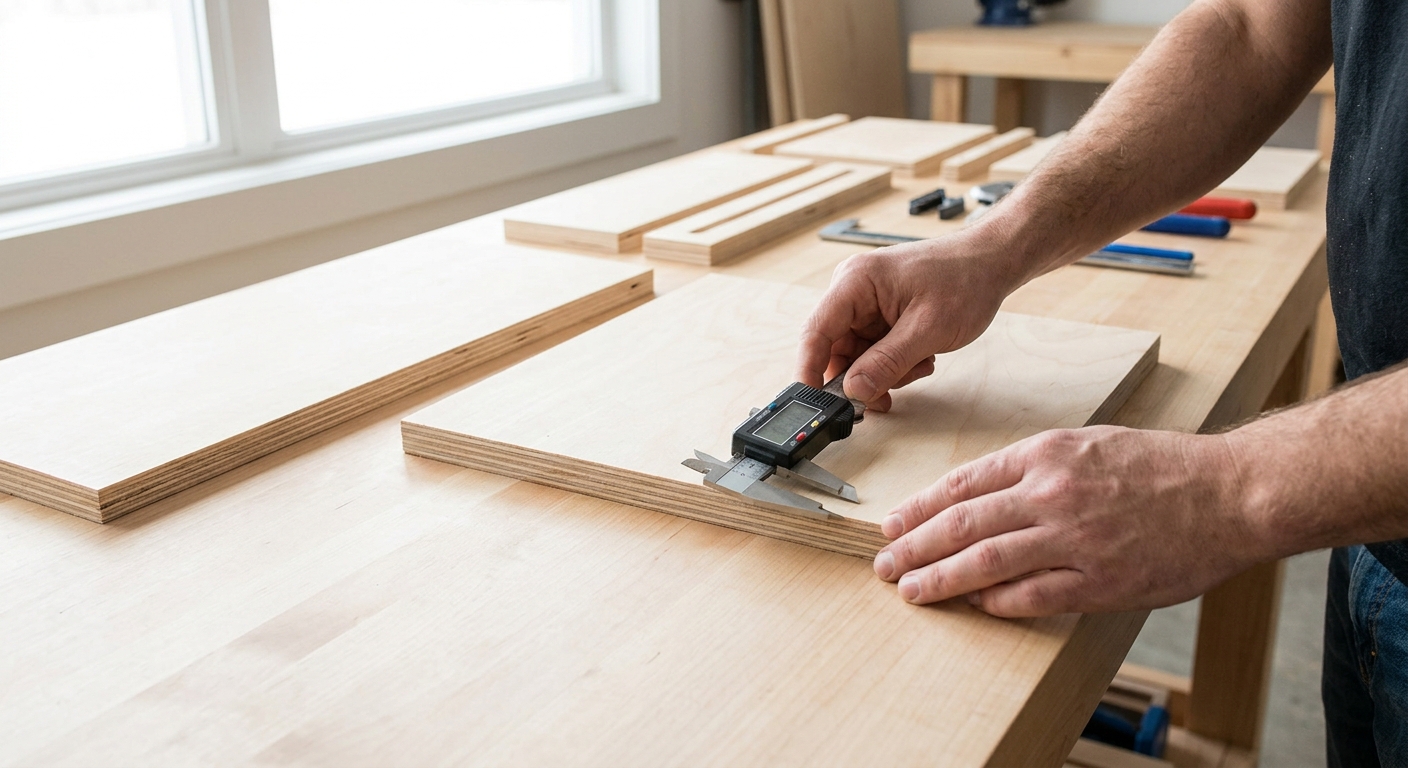
Build a plywood box approximately 11 inches wide (slightly wider than a sheet of sandpaper), 6 inches deep, and tall enough to contain 8 to 10 slots. Each slot is created by pairs of plywood shelves spaced 1/4 to 3/8 inch apart – just enough space to slide a sheet in or pull one out without binding.
Step 3 – Create Pull-Out Access
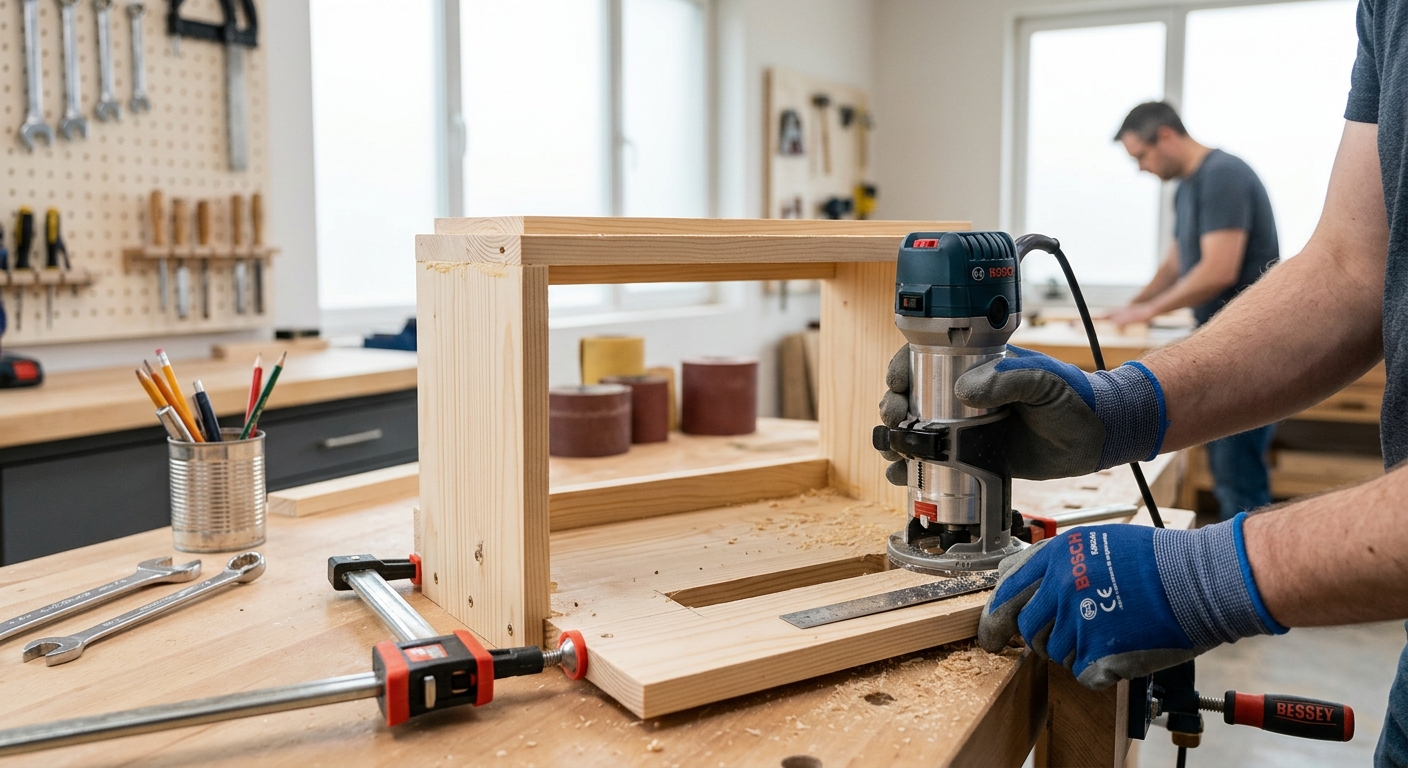
The bottom of each slot is open at the front – sandpaper sheets slide forward and can be pulled out from the front. A small notch at the bottom center of each slot face makes it easier to grip the edge of a sheet. The stack of sheets in each slot falls forward naturally as you pull them out one by one.
Step 4 – Label Each Slot
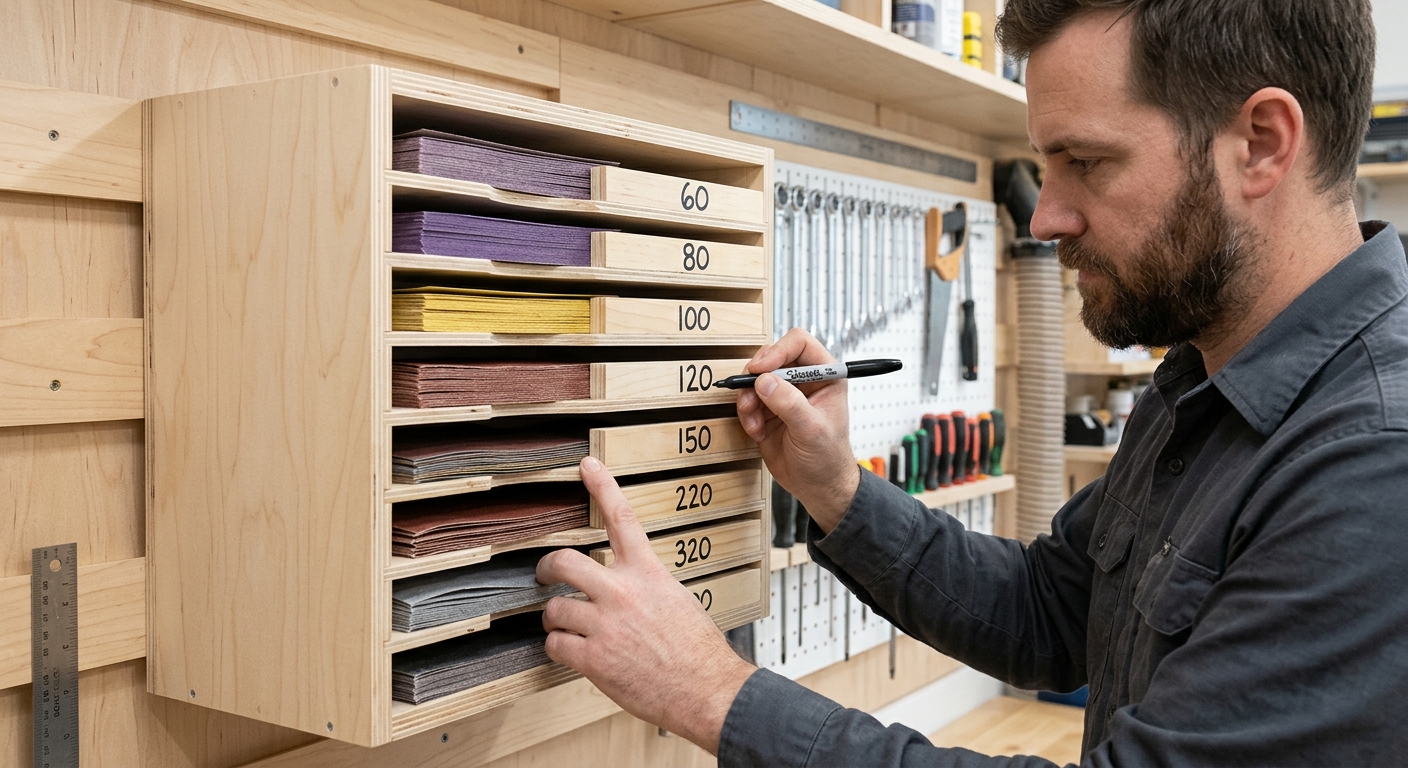
Label each slot with the grit number in large, easy-to-read text. A paint marker or vinyl label on the front face of each slot divider works well. The grit number should be visible at arm’s length from the primary sanding position.
Step 5 – Mount at a Useful Height
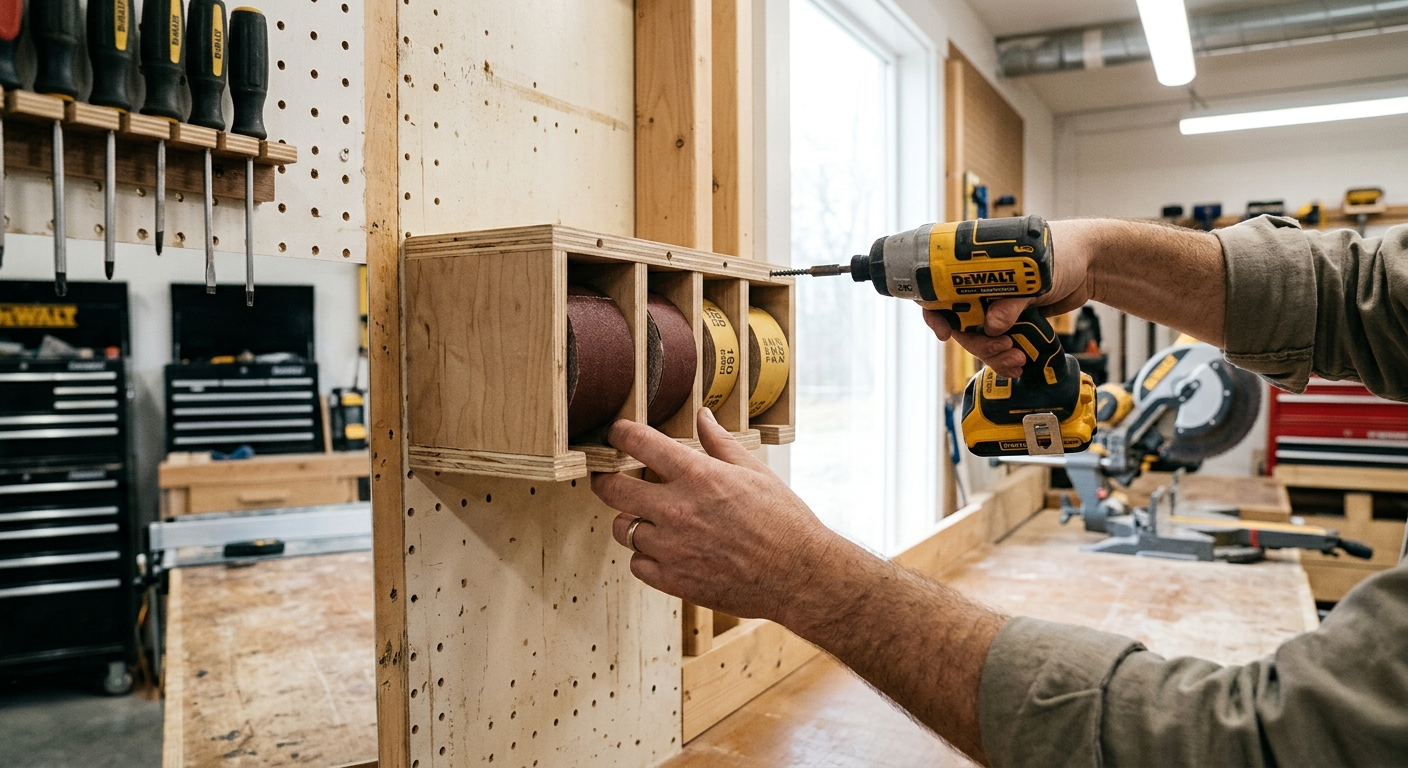
Mount the dispenser at the sanding station – beside the sanding table, above the workbench, or next to the drum sander. Position it at a height where you can see the labels from a standing position and pull a sheet out with one hand while the other holds the workpiece.
FAQ
Should I cut sheets in half before storing? For orbital sander sheets and quarter-sheet sanders, pre-cutting to the right size and filing by size is more convenient than storing full sheets and cutting as needed. Add smaller sub-slots for pre-cut sizes if you use them regularly.
How long does sandpaper last in storage? Sandpaper stored flat in a dry environment lasts for years. Moisture is the enemy – stored in a damp shop, the paper backing can become soft and the abrasive can loosen. Keep your dispenser in a dry location.