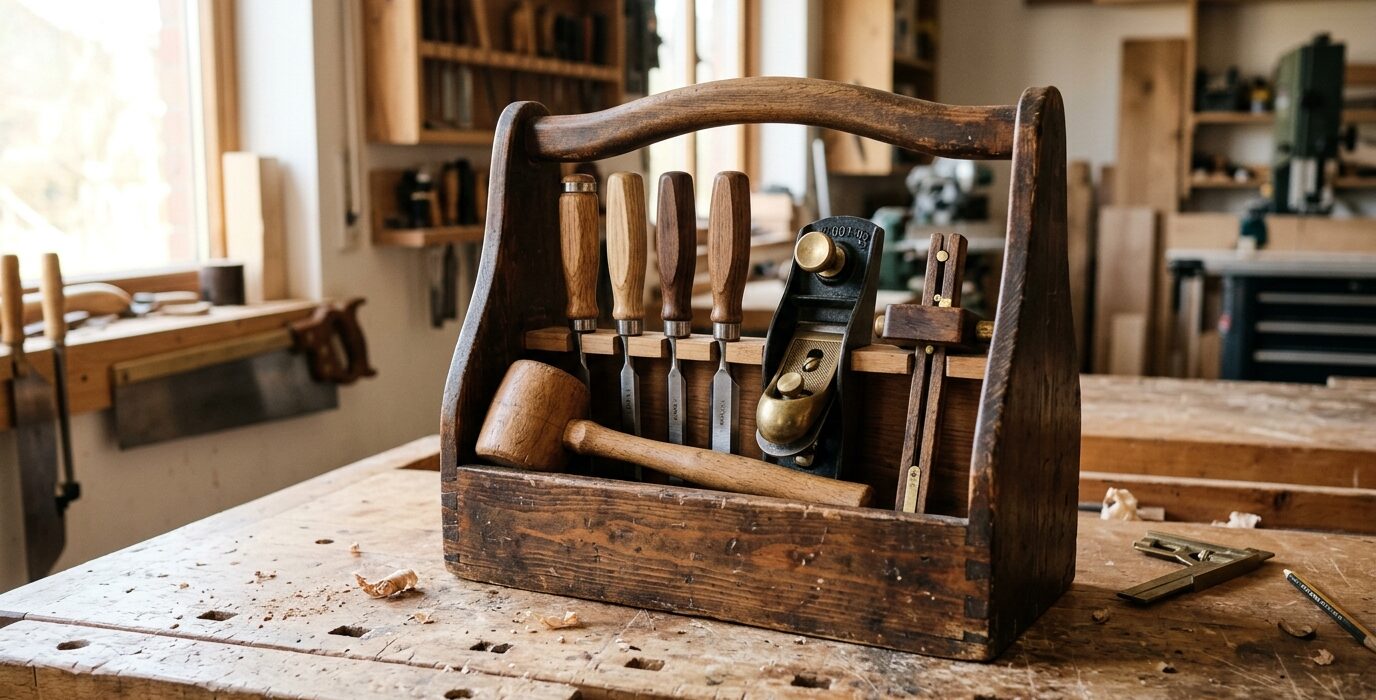
A Shop-Made Tool Tote for Carrying Hand Tools
A tool tote is the carpenter’s version of a briefcase – it carries everything you need for hand tool work to any location in the shop, to a job site, or to a client’s home. A well-made tool tote protects your chisels from damage during transport, keeps everything organized and accessible, and is a satisfying project in its own right. Building your own lets you size it exactly to your tool set.
Classic Tool Tote Design
The traditional carpenter’s tote is an open box – two angled end pieces, long sides, a bottom, and a center divider that doubles as a handle. The open design lets you see every tool at a glance and access any tool without digging. The center divider/ handle runs the length of the tote and provides the carrying grip. This design has been used by tradespeople for at least two centuries because it works.
Materials
- One piece of 1/2-inch or 3/4-inch pine, poplar, or plywood: approximately 4 board-feet
- Wood glue and finish nails or screws
- Sandpaper for cleanup
- Optional: leather strap for the handle grip
Step 1 – Cut the Parts
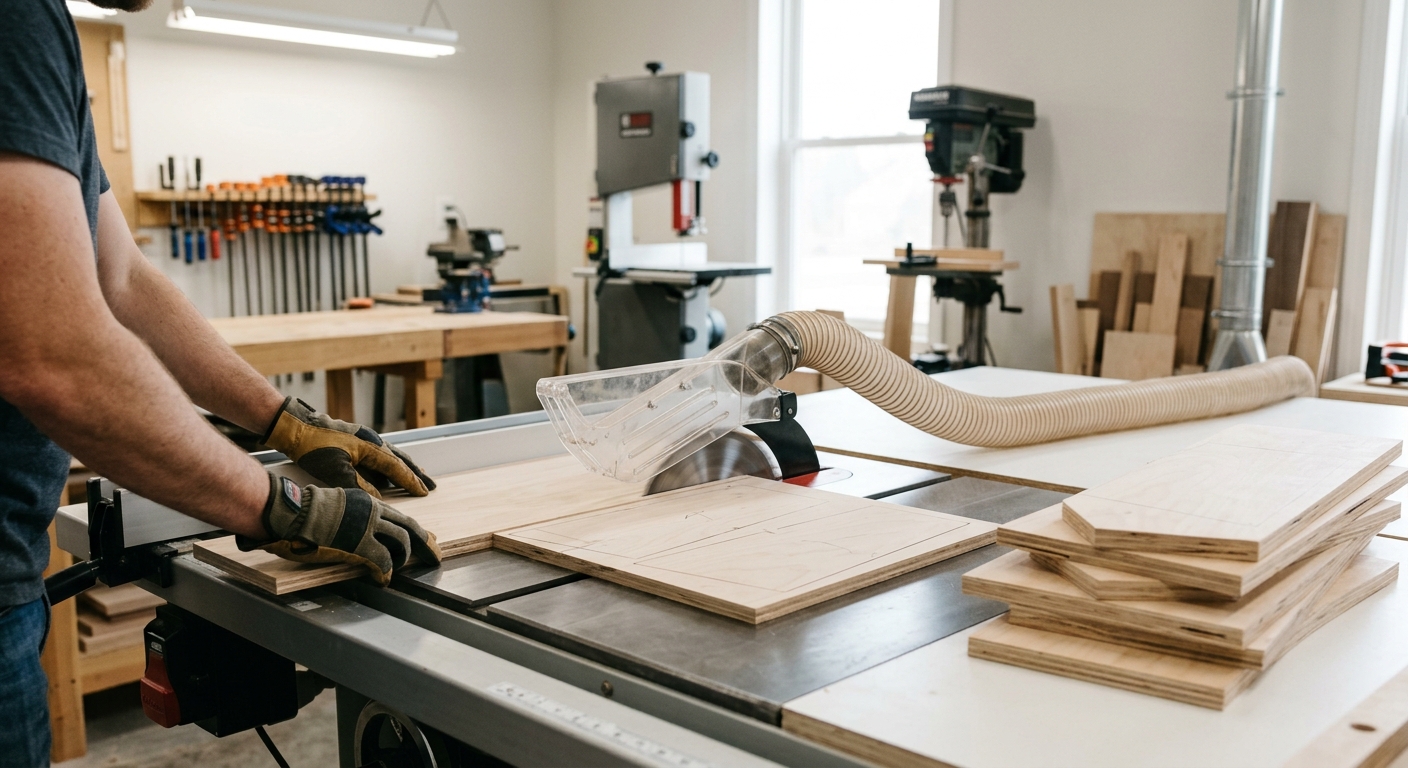
Cut the bottom to your tote length (18 to 24 inches for most hand tool sets) and about 8 inches wide. Cut two long sides, 8 inches tall. Cut two end pieces with angled tops that match the pitch of the center handle. Cut the center divider/handle piece – it runs the full length of the tote and rises above the sides to form the hand grip.
Step 2 – Cut the Handle Hole
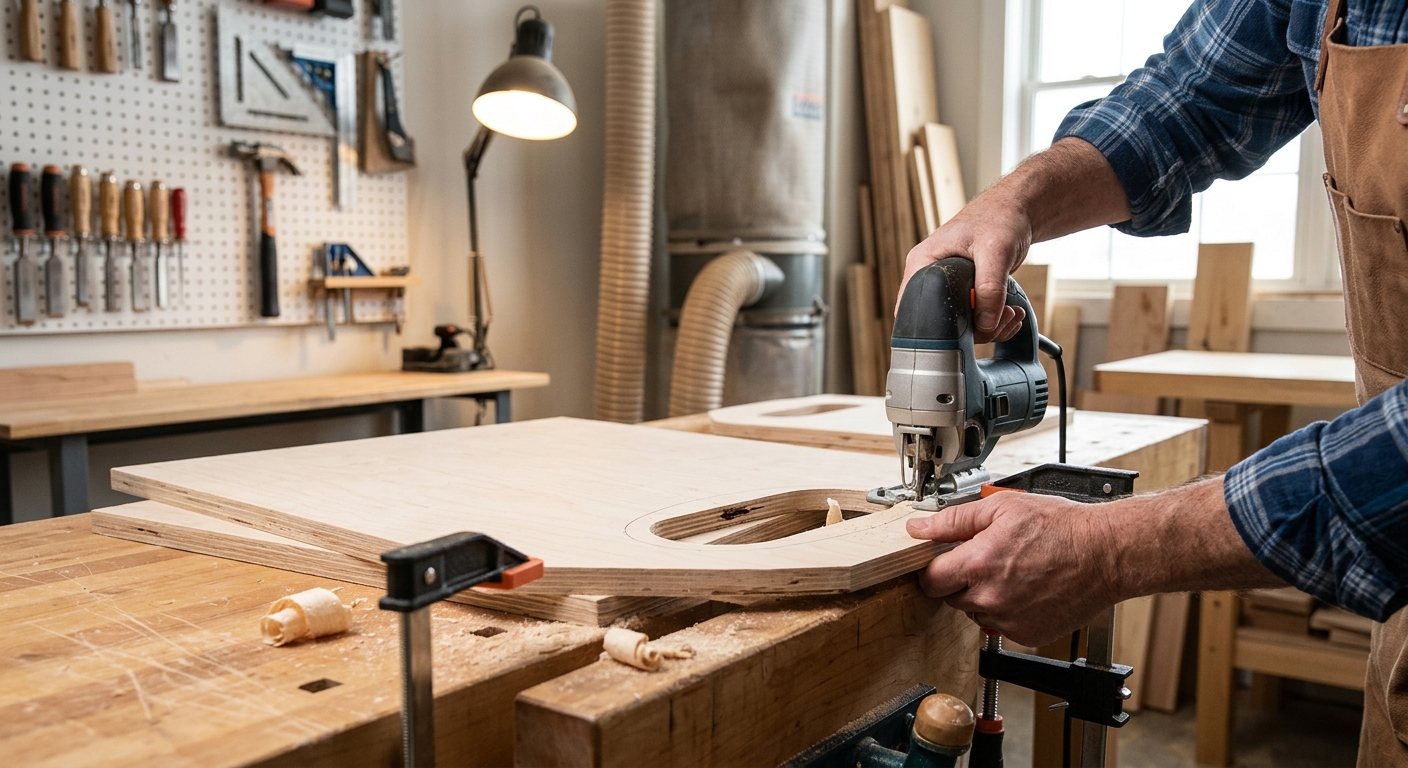
The handle hole in the center divider is what you carry the tote by. Cut an oval or rectangular opening in the top portion of the center divider – about 4 inches long and 1.5 inches tall. Round all edges of the hole with a rasp and sandpaper until they’re smooth and comfortable to grip. This is where your hand goes every time you pick up the tote.
Step 3 – Assemble the Box
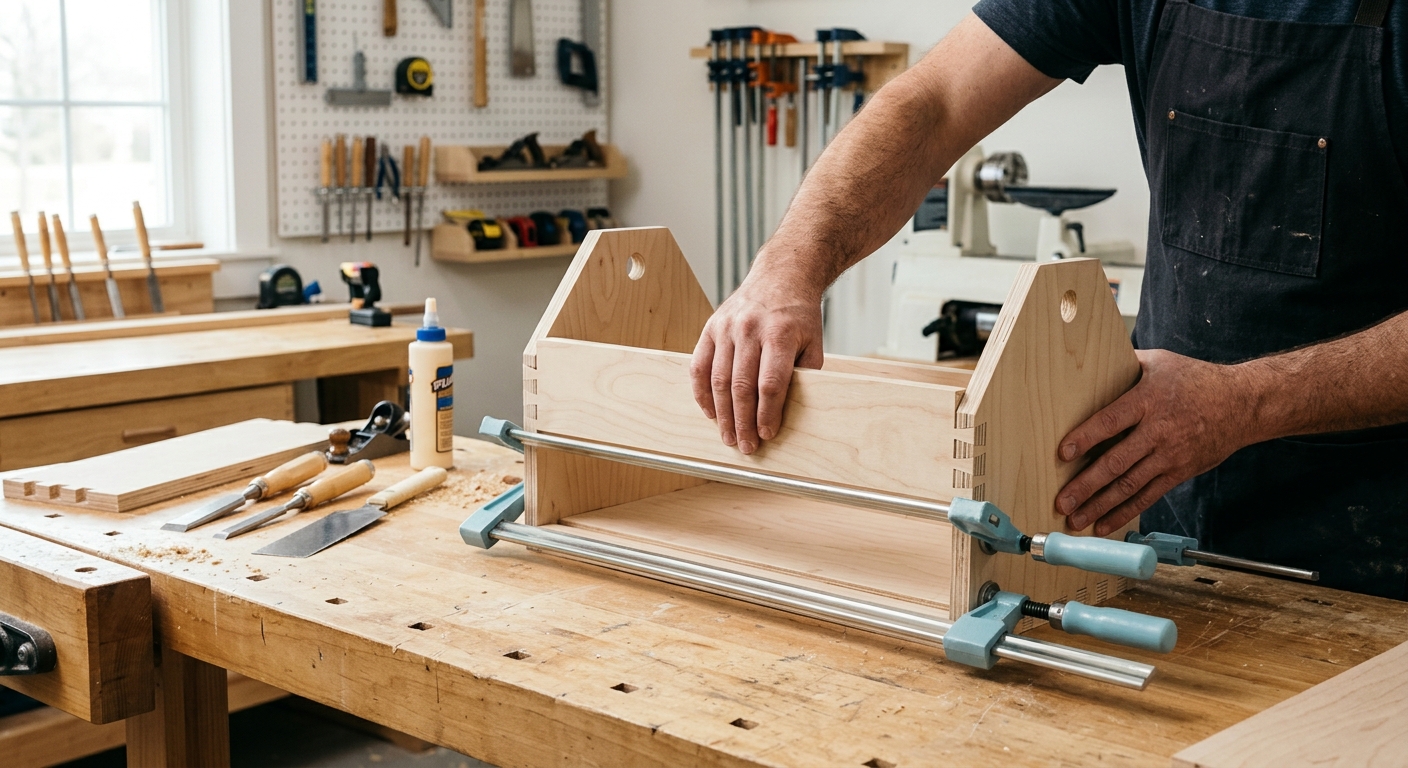
Glue and nail or screw the bottom to the two long side pieces. Then add the end pieces, which connect the sides at each end. Finally, glue and nail the center handle divider into the center of the tote length, resting on the bottom and supported by notches in the end pieces. Check for square at each step.
Step 4 – Add Tool Holders
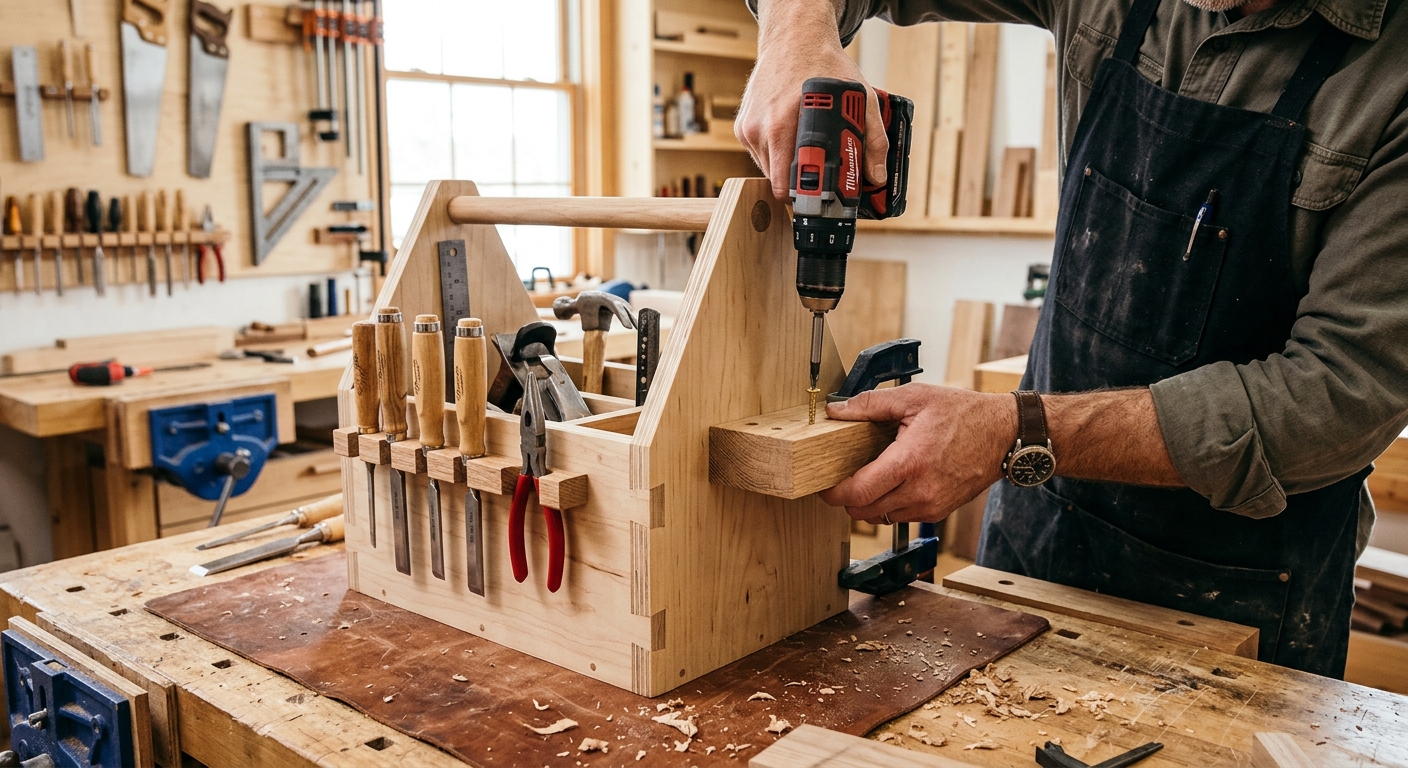
The tote’s interior can be as simple or as organized as you prefer. The most useful addition is a series of chisel holders on one long side – small plywood loops or holes that hold chisel handles in a row. On the other side, a saw slot (a gap wide enough for the saw plate) keeps the saw secure without banging against other tools.
Step 5 – Finish and Protect
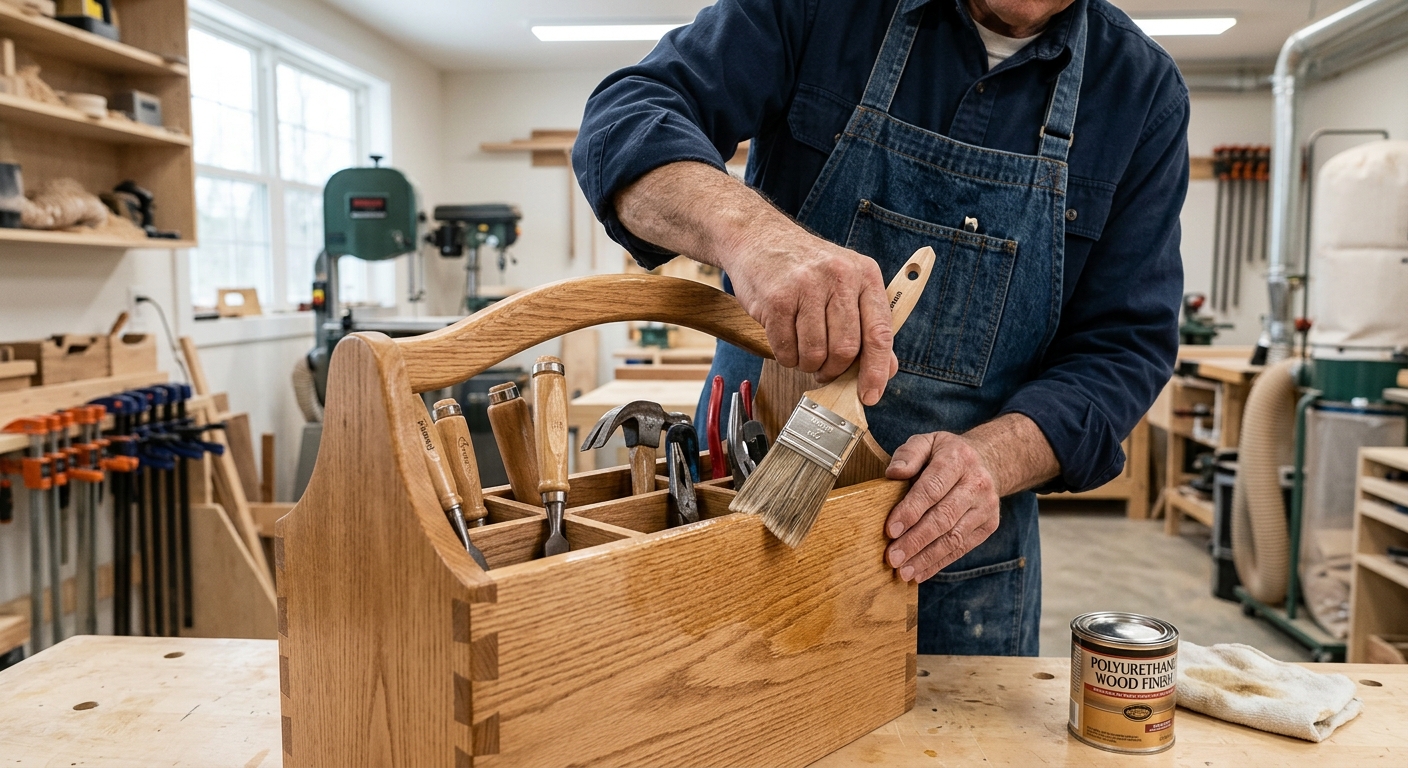
A tote takes real abuse – drops, scraping against job site floors, and regular handling. Finish with boiled linseed oil or a few coats of oil-based polyurethane. The finish prevents moisture absorption, keeps the wood from splitting, and makes the handle more comfortable to grip.
FAQ
What’s the right size for a tool tote? Size it around your longest saw – usually a 22 to 26-inch panel saw or a 24-inch tenon saw. The tote length should be 2 to 4 inches longer than the longest tool. Everything else fits around the saw.
Should I use solid wood or plywood? Solid pine or poplar is the traditional choice and slightly more durable at the handle edges. 3/4-inch plywood works well too – it’s more dimensionally stable and less prone to splitting at nail holes.