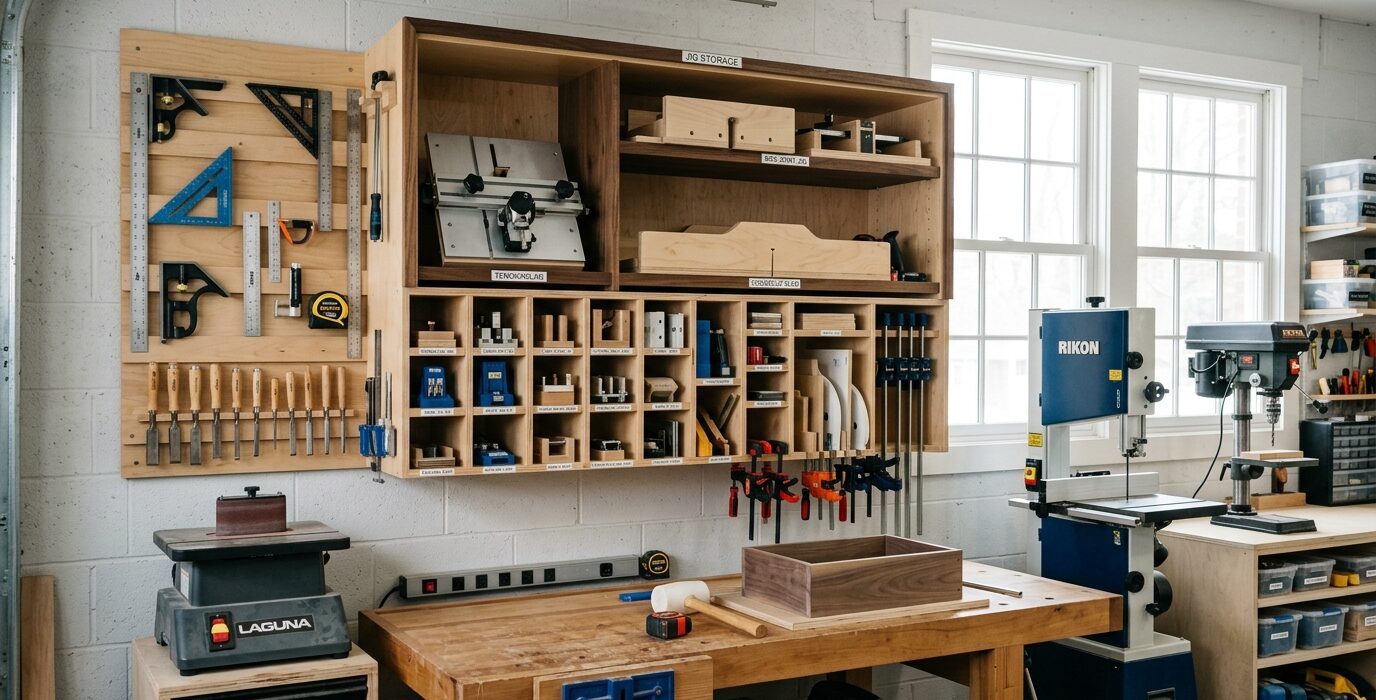
A Jig Storage Cabinet That Makes Jigs Findable
Shop jigs are the most frequently lost items in any woodworker’s shop. A crosscut sled, a tapering jig, a box joint jig – built with care, used for one project, and then set somewhere while another project dominates – they disappear. A dedicated jig storage cabinet gives every jig a labeled home. When you need the box joint jig three months later, you know exactly where it is.
What Makes Jig Storage Different
Jigs are large and irregular in shape. Unlike tools that hang on hooks or fit in drawers, most jigs need open shelf or bin space. A jig cabinet is essentially a large, open shelving unit with enough depth and height to hold jigs on their sides or standing upright, and a label system that tells you what’s on each shelf at a glance.
Materials
- 3/4-inch plywood for the cabinet sides, back, and adjustable shelves
- Shelf pin standards and pins for adjustable shelves
- A simple cabinet door (optional) to keep dust off jigs in long-term storage
- Label holders for each shelf
Step 1 – Size the Cabinet to Your Largest Jig
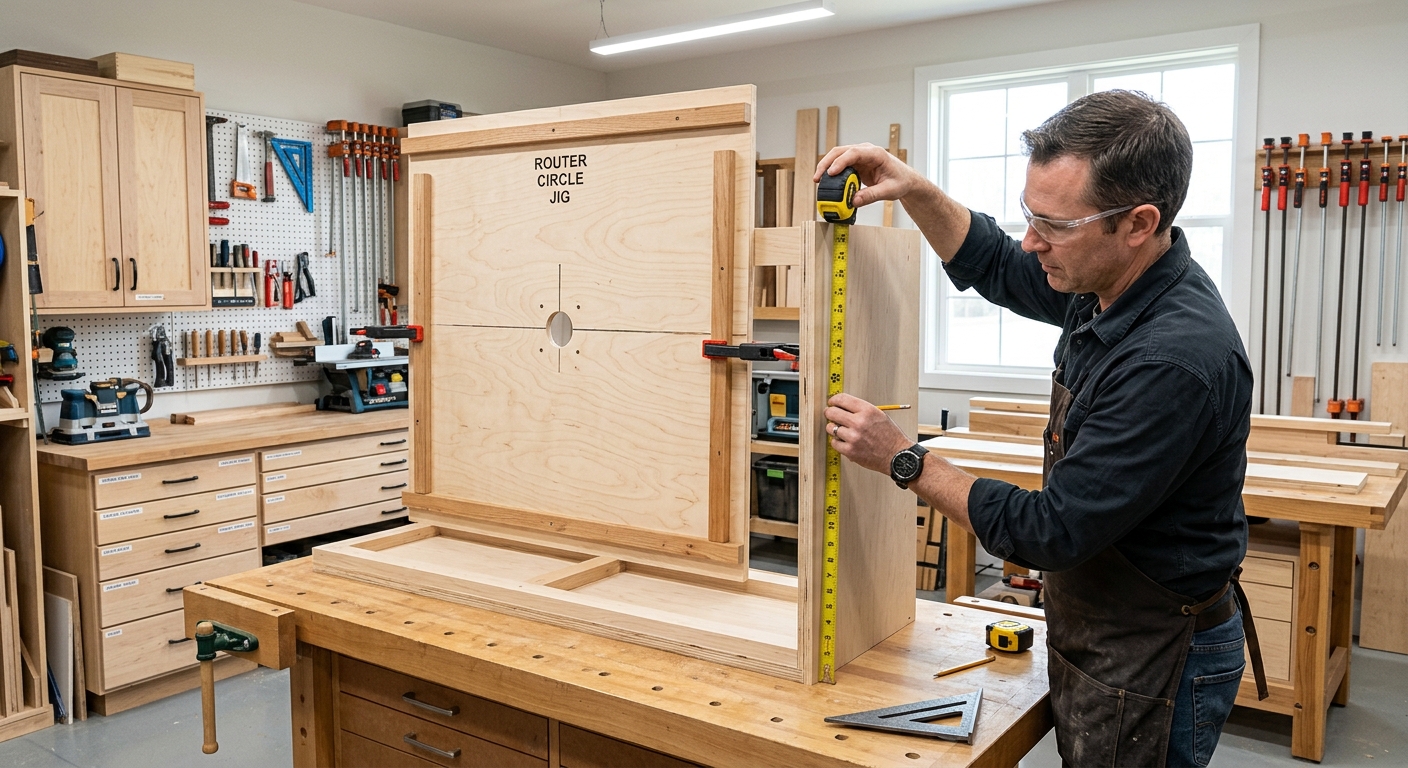
Measure your largest jig – likely a crosscut sled or an outfeed table assembly. The cabinet interior must accommodate this jig without forcing it. Add 4 inches of clearance in each dimension for comfortable access. Most jig cabinets run 24 to 36 inches wide, 24 to 30 inches deep, and 48 to 72 inches tall.
Step 2 – Build with Adjustable Shelves
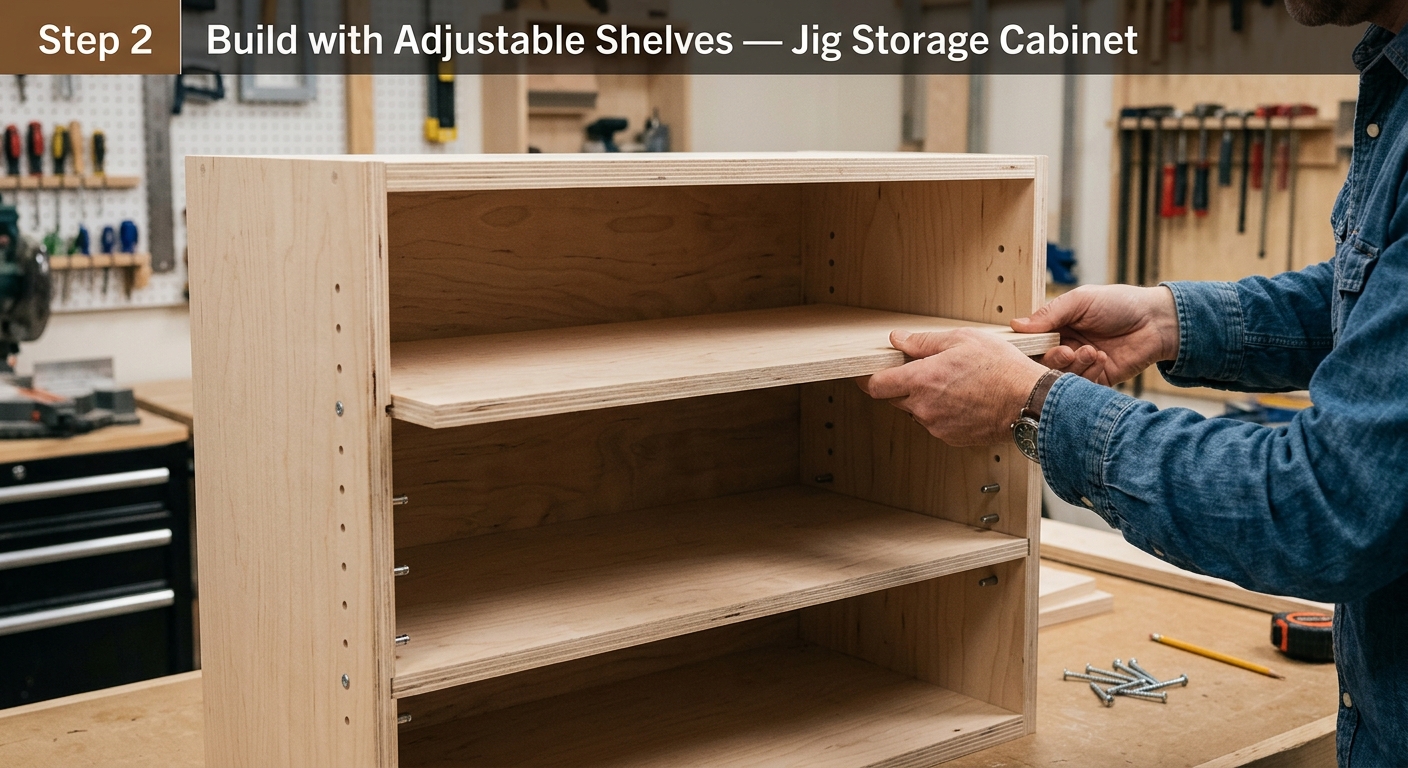
Jigs come in unpredictable heights. Adjustable shelves let you reconfigure the cabinet as your jig collection evolves. Install shelf pin standards on both interior sides and make shelves from 3/4-inch plywood in several widths. Start with every shelf 12 inches apart and adjust as you load the cabinet.
Step 3 – Create a Jig Inventory System

The most important feature of a jig cabinet is a clear label on every shelf position. Write the jig name on a label card and slip it into a label holder at the front edge of each shelf. When a jig is in use, the label card stays – so you know the shelf is expecting that jig back.
Step 4 – Add a Jig Reference Card
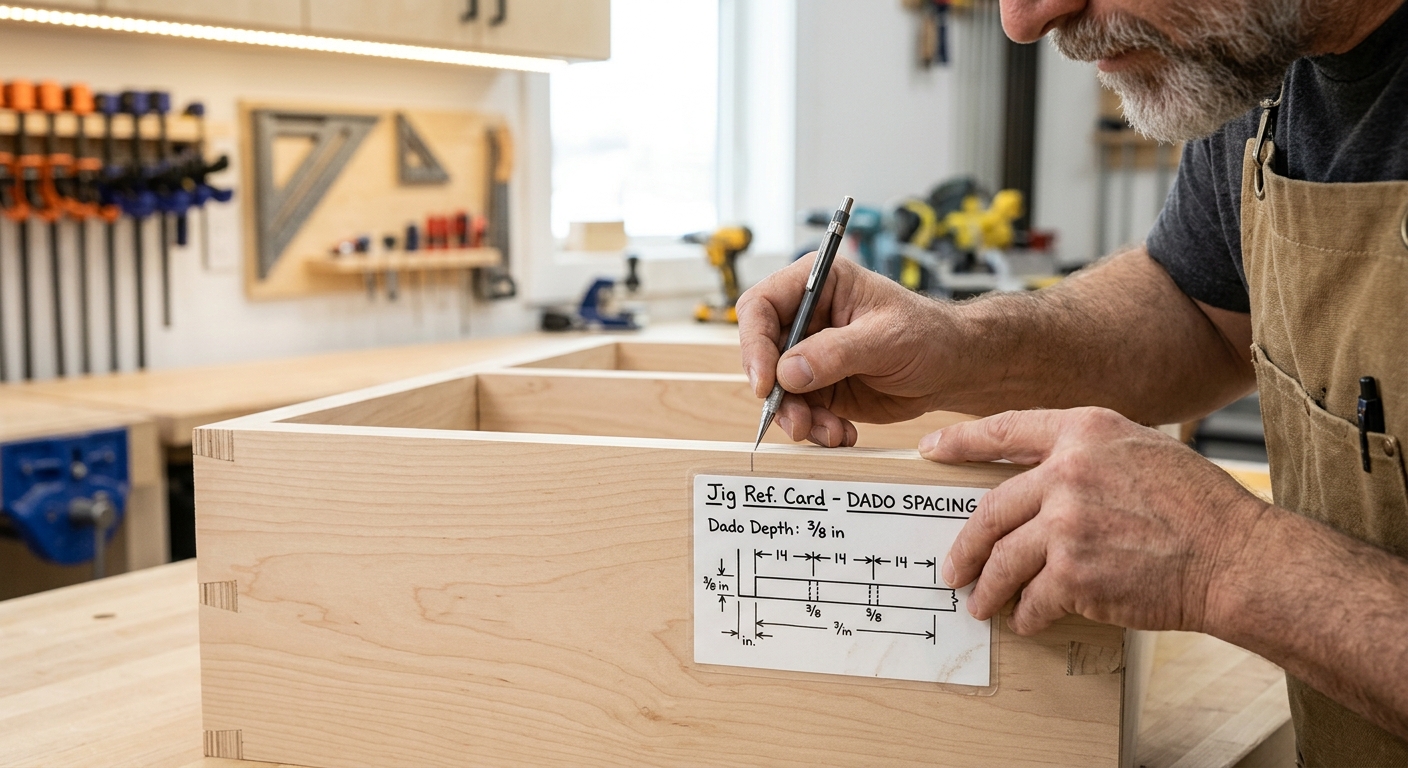
Tape an index card to the inside of the cabinet door (or the wall next to the cabinet) listing every jig by name, its shelf location, and the most common task it’s used for. This reference card is especially valuable for jigs used infrequently – you may forget which jig cuts box joints versus which cuts through-mortises.
FAQ
Should jigs go back to the cabinet between uses during a project? Not necessarily – during an active project, jigs in use stay at the machine. But when a project is complete, every jig goes back before starting the next one. This one habit keeps the cabinet functional.
What about jig templates and patterns? Flat templates (MDF router templates, plywood patterns) can stand vertically in a slot-style divider at one end of the cabinet. Organize them by shape type or by the project they belong to.