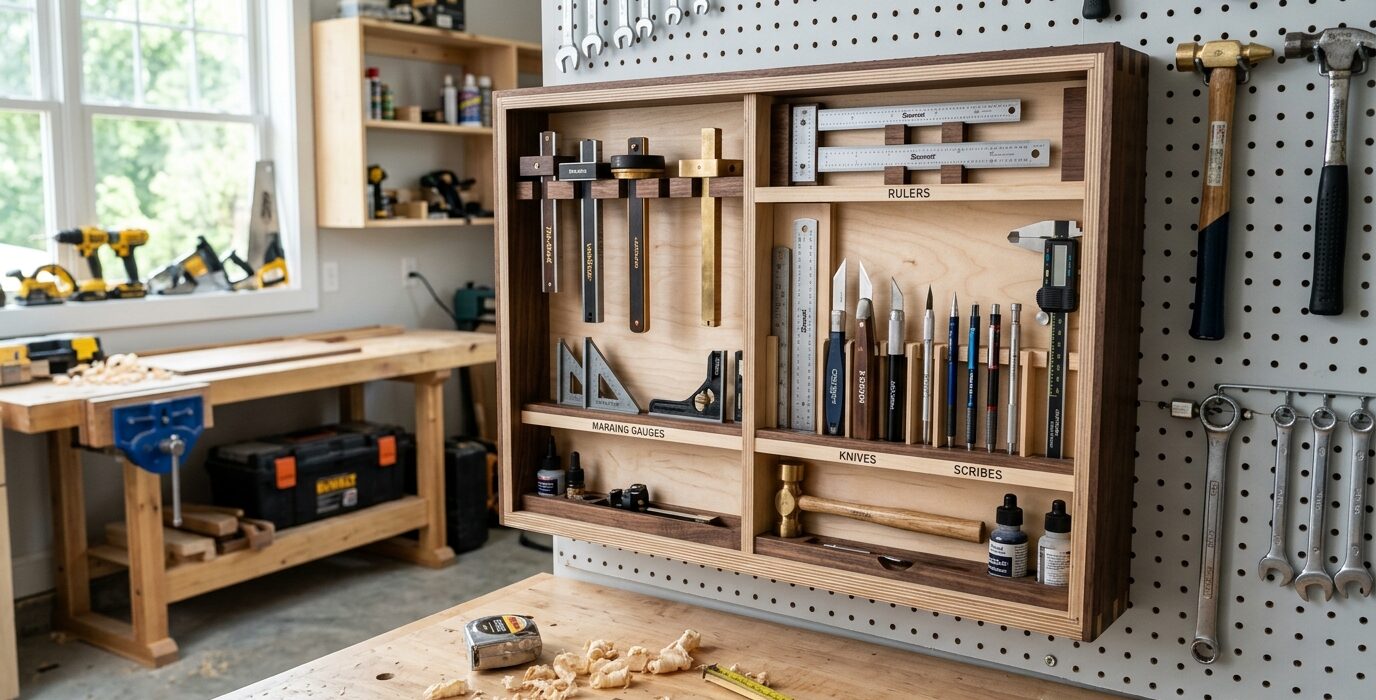
A Marking Tool Station
Layout and marking tools – marking gauges, wheel gauges, mortise gauges, pencils, marking knives, chalk lines, awls – are the first tools used in any project and the most important for accuracy. Yet they’re often the most scattered. A dedicated marking tool station on the bench wall collects every layout and marking tool in one place, organized by frequency of use, always ready when layout time begins.
What Goes on the Station
- Marking gauges – single, double (mortise gauge), panel gauge
- Marking knife and pencils in multiple grades
- Combination square, try square, and bevel gauge
- Chalk line reel
- Awl and center punch
- Dividers and compass
- Sliding bevel
Materials
- 3/4-inch plywood back panel, sized to the collection
- Hardwood strips with various hole sizes for handles
- Small wooden ledge strips for the gauges
- Optional: small drawer for frequently replaced pencils
Step 1 – Plan the Station Layout
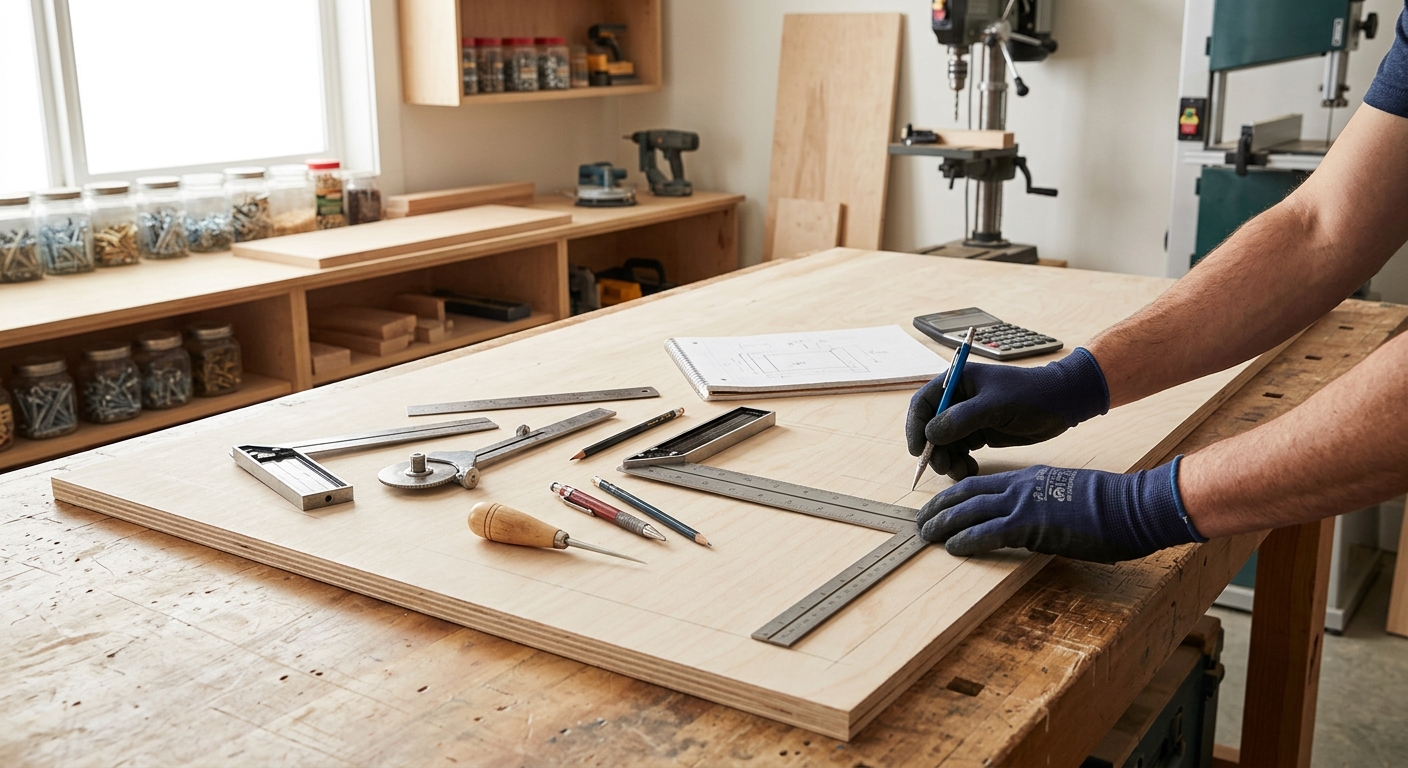
Arrange all the marking tools on the bench in the order you’d typically reach for them during a layout session. The marking knife and a pencil should be the most accessible. Squares second. Gauges third. Specialized tools (dividers, chalk line) can be in secondary positions. This working order should become the station layout order.
Step 2 – Build the Back Panel
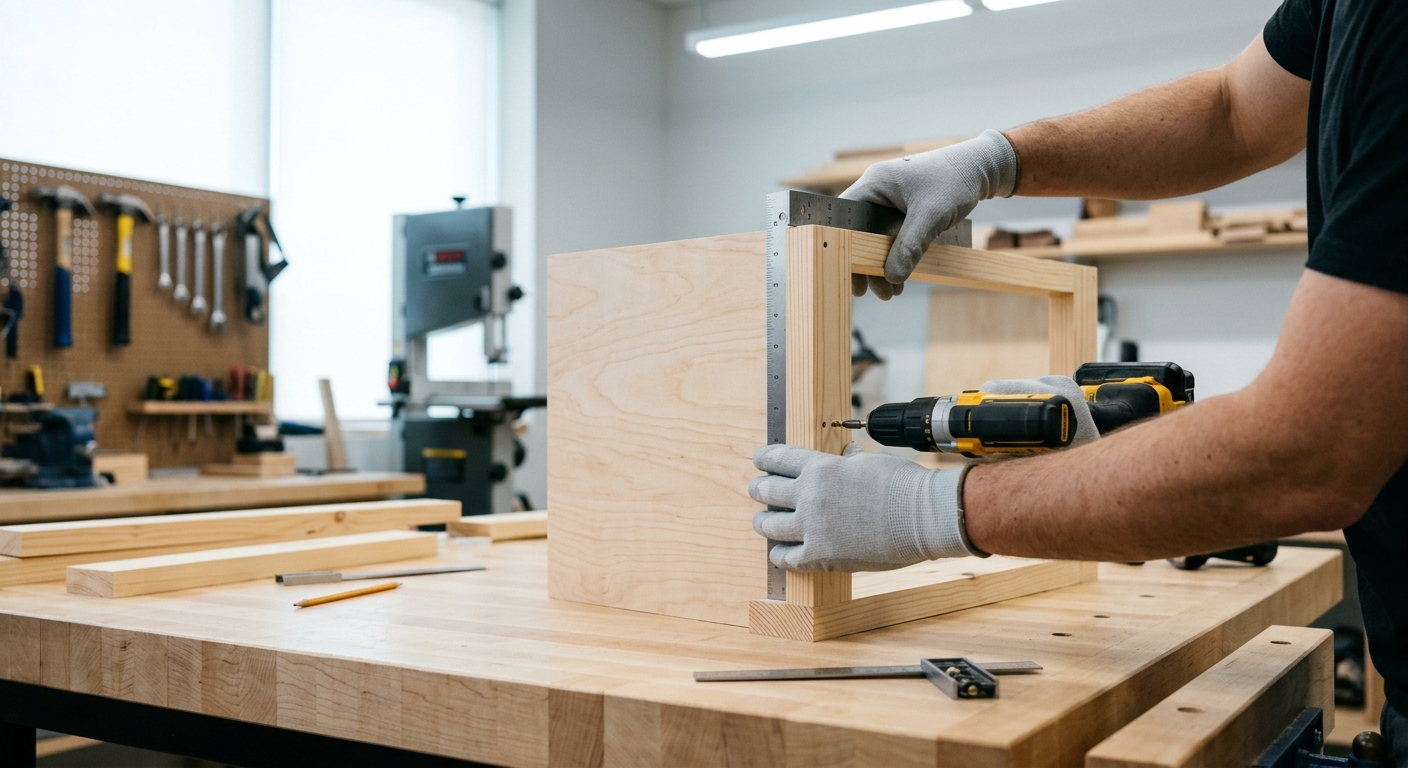
Cut a 3/4-inch plywood panel to hold all the tools with comfortable spacing between them. The panel should be as large as needed – don’t cram tools together. Mount the panel vertically on the wall above the bench at a comfortable height for reaching and replacing tools without bending.
Step 3 – Create Gauge Holders
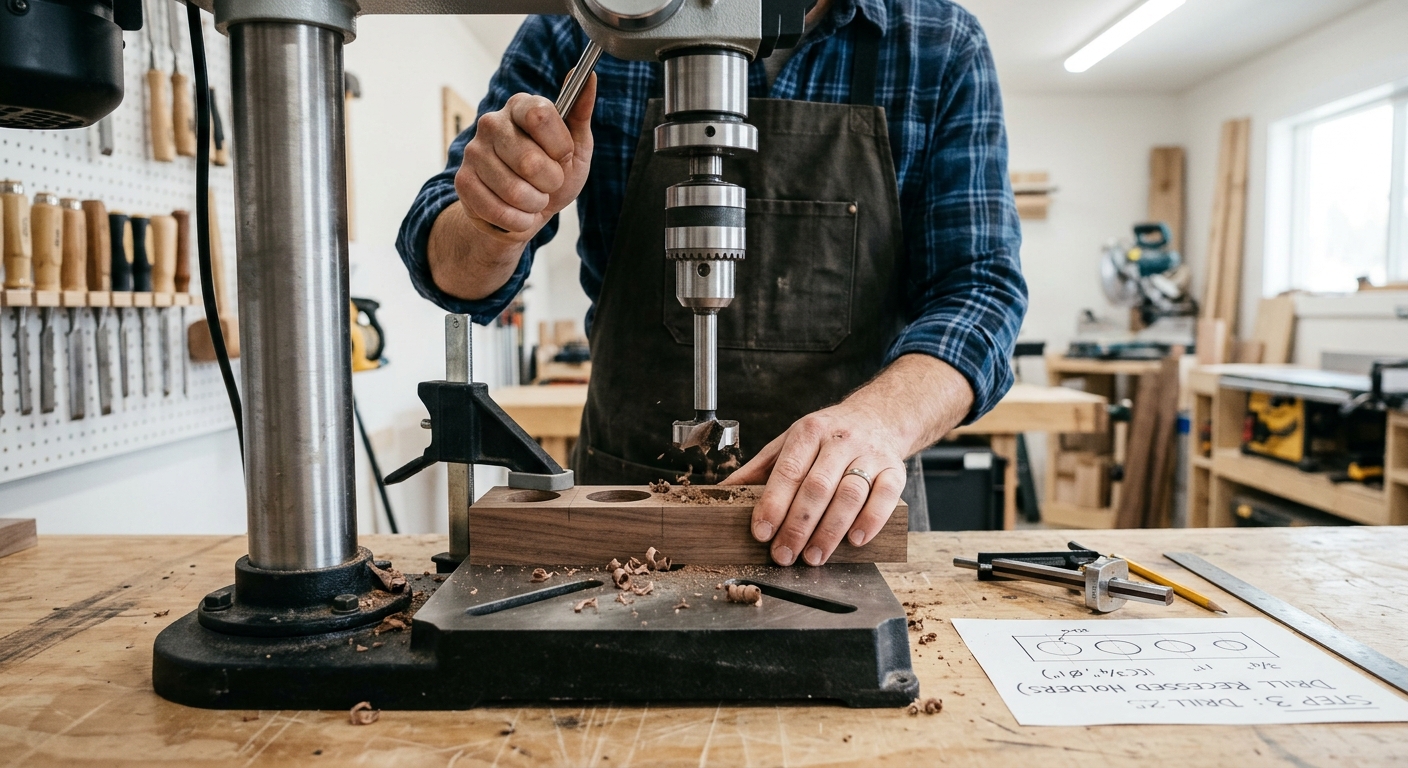
Marking gauges have a flat fence and a protruding stem – they need a specific holder to hang securely. Build small wooden ledges with a slot that the fence rests on, with a small stop behind to prevent the gauge from falling forward. The gauge fence sits on the ledge, the stem hangs below, the thumbscrew stays accessible.
Step 4 – Add Pencil and Knife Holders
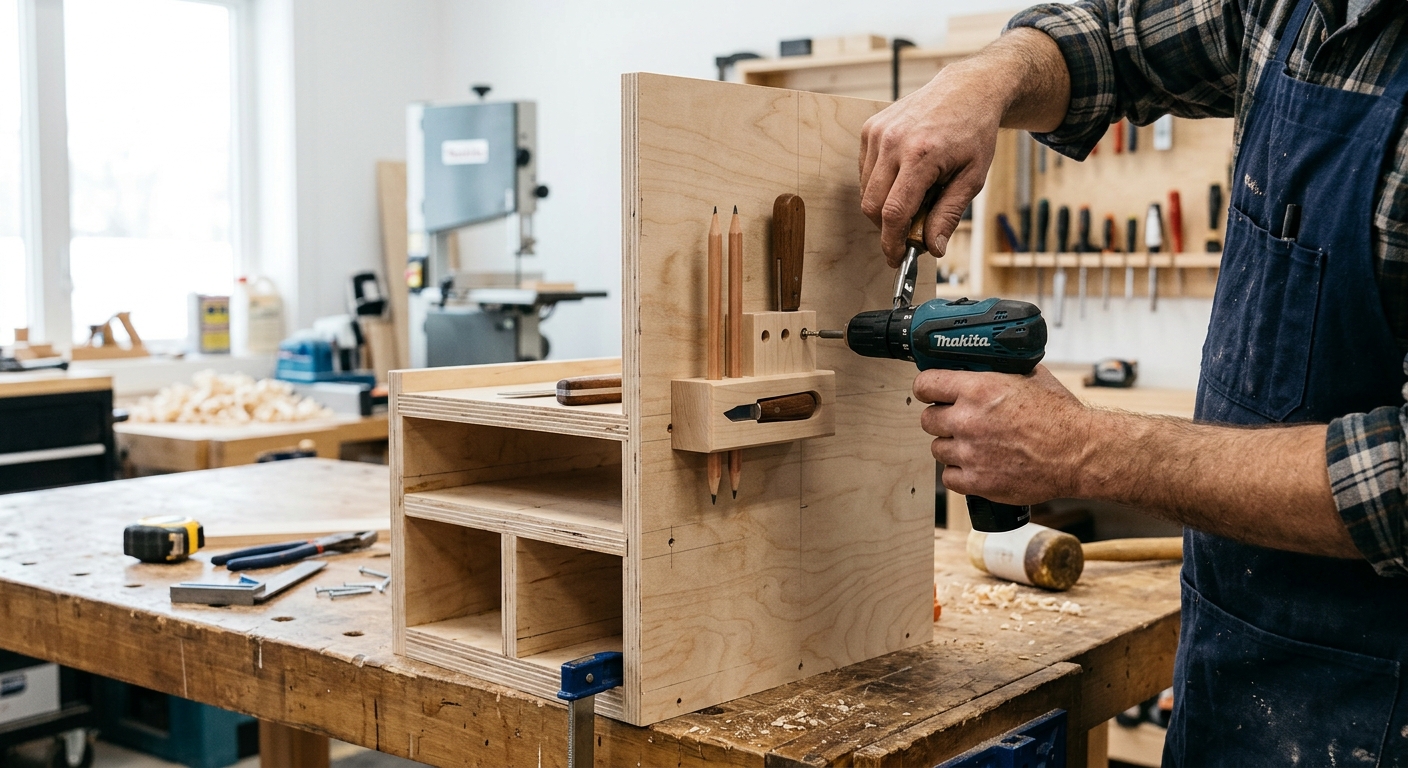
Drill angled holes in a hardwood block for pencils and the marking knife – similar to the screwdriver rack, the angle holds the tools in place by gravity. Include holes for multiple pencil grades (4H for layout, 2H for marking, HB for general work) and a narrow slot for the marking knife blade to rest in protected.
FAQ
Should I keep the marking tools at the bench or near the material? At the bench – all layout and marking happens at the bench on the actual workpiece. The marking station lives above the primary work area so you never have to walk across the shop to start a layout session.
How many marking gauges does one shop need? At minimum: one single-pin marking gauge and one double-pin (mortise) gauge. Add a wheel gauge for long-grain marking and a panel gauge for large panels. Beyond that, additional gauges in the current project’s setup can stay set and staged, speeding up repeated operations.