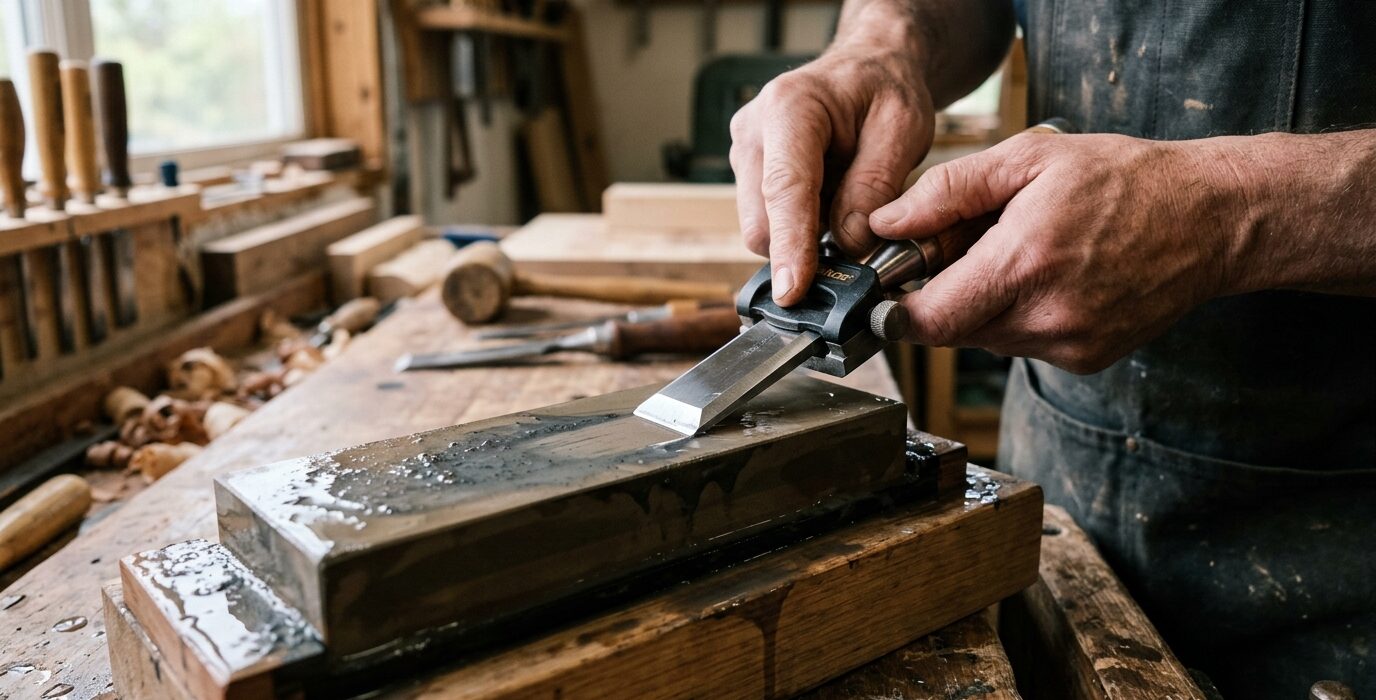
A Chisel Roll for Travel and Job Site Work
A chisel roll is a leather or canvas tool wrap that holds chisels individually, rolled up for transport, and unrolled to lay flat during use. It’s the traditional method for carrying edge tools without damage, still used by professional cabinetmakers and furniture makers who work in multiple locations. Building your own leather chisel roll is a satisfying half-day project and results in a tool that will last decades.
Materials
- Heavy leather – vegetable-tanned, 6 to 8 oz weight – approximately 12 x 30 inches for 8 chisels
- Leather lace or heavy waxed thread for stitching
- Leather punch or awl
- Leather needles
- One leather strap and snap or D-ring for the closure
- Beeswax for conditioning the finished roll
Step 1 – Cut the Leather to Size
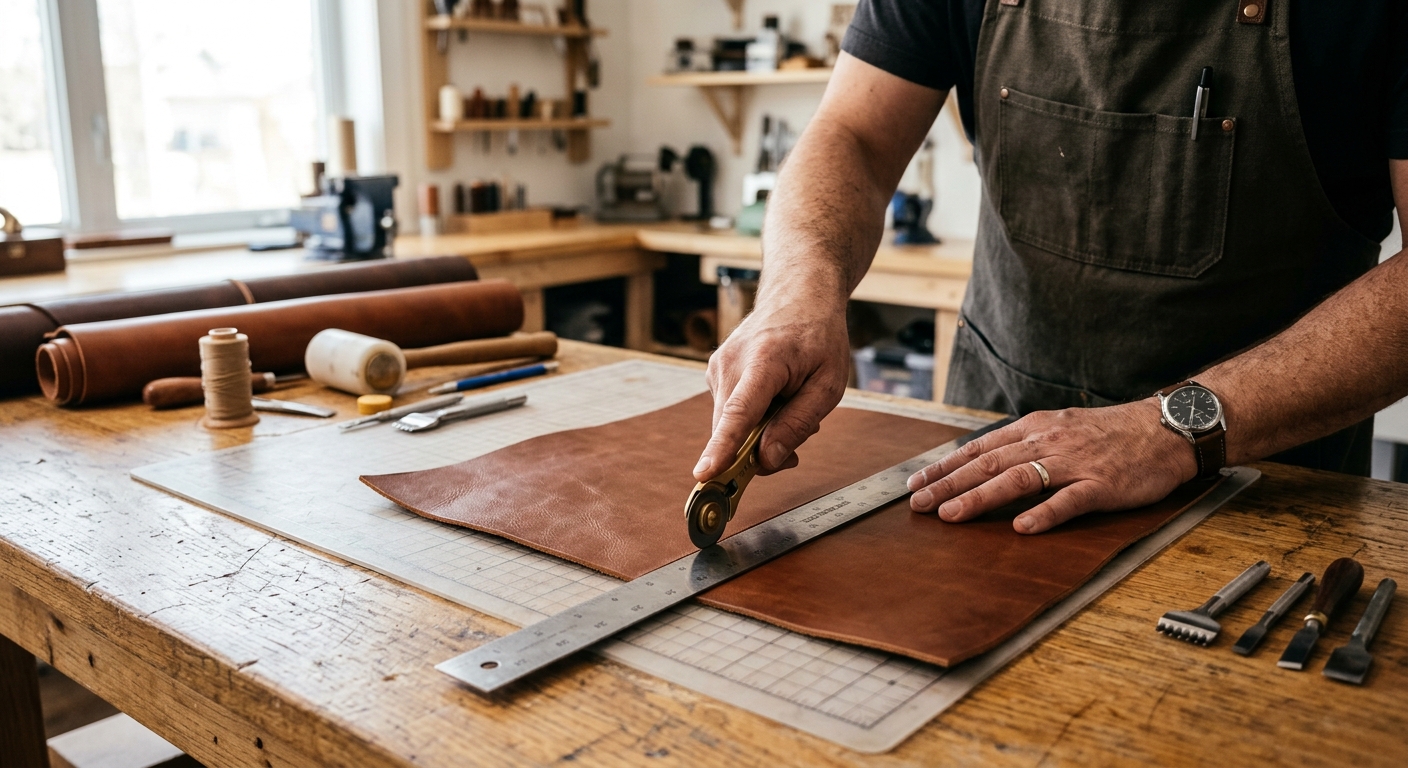
The main panel is a rectangle 12 inches wide (for a standard chisel length) by 24 to 30 inches long, depending on how many chisels you’re making it for. Add 2 inches to each dimension for the pockets and fold allowance. Cut the leather with a sharp utility knife and a straight edge on a cutting mat – leather dulls blades quickly so use a fresh blade.
Step 2 – Mark and Cut the Pocket Strip
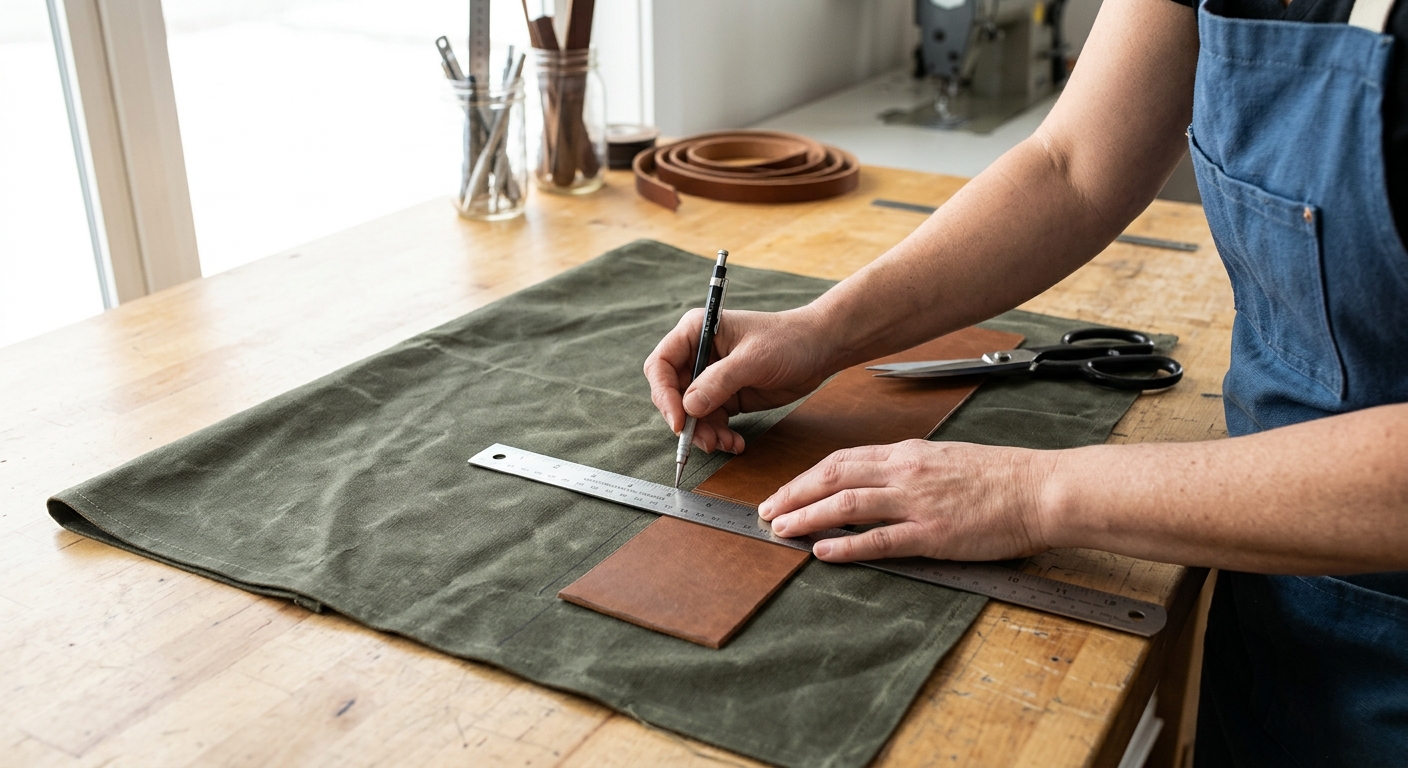
Cut a second leather piece 3 to 4 inches wide and the same length as the main panel. This strip will be stitched to the bottom of the main panel to create the chisel pockets. The pockets hold each chisel handle, with the blade extending up onto the main panel.
Step 3 – Mark and Punch the Pocket Dividers
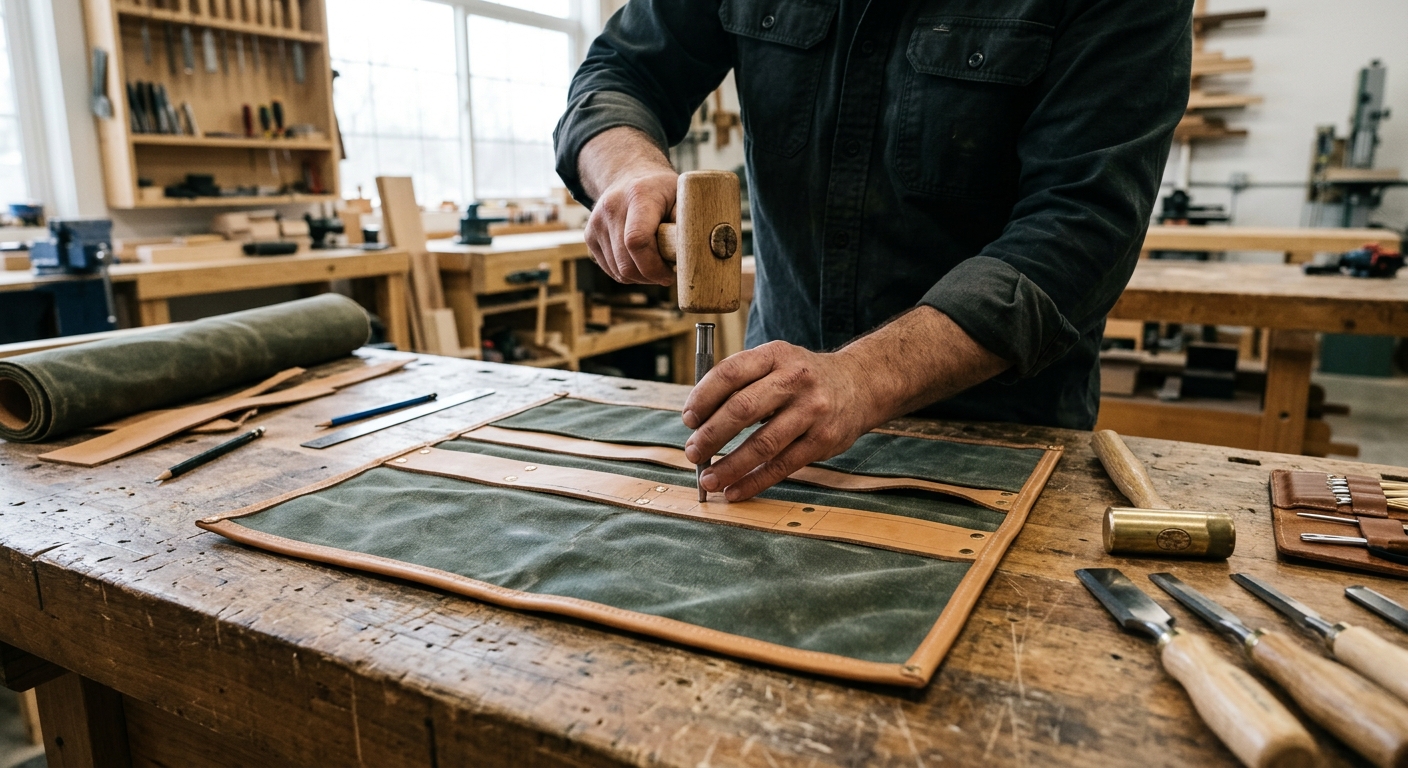
Lay your chisels in a row on the pocket strip, spacing them about 1 inch apart. Mark the pocket divider positions. Punch stitch holes along each divider line with a leather punch or awl. The holes should be evenly spaced about 3/16 inch apart for a clean, even stitch.
Step 4 – Stitch the Pocket Strip to the Main Panel
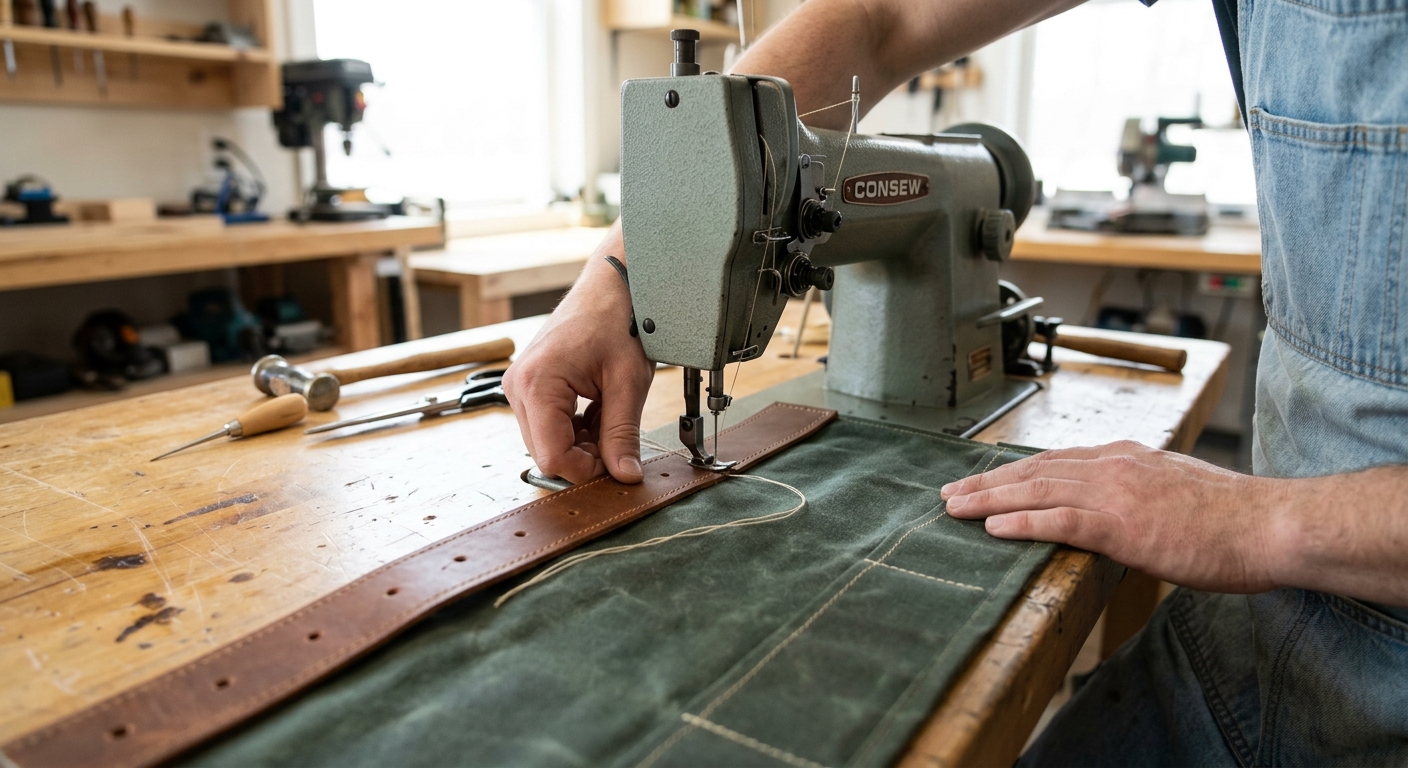
Align the pocket strip at the bottom edge of the main panel. Use a saddle stitch – a two-needle technique that is far stronger than a single-needle running stitch – to attach the pocket strip and create the dividers simultaneously. Pull each stitch tight. This stitching takes time but creates the strongest possible joint in the leather.
Step 5 – Add the Closure Strap
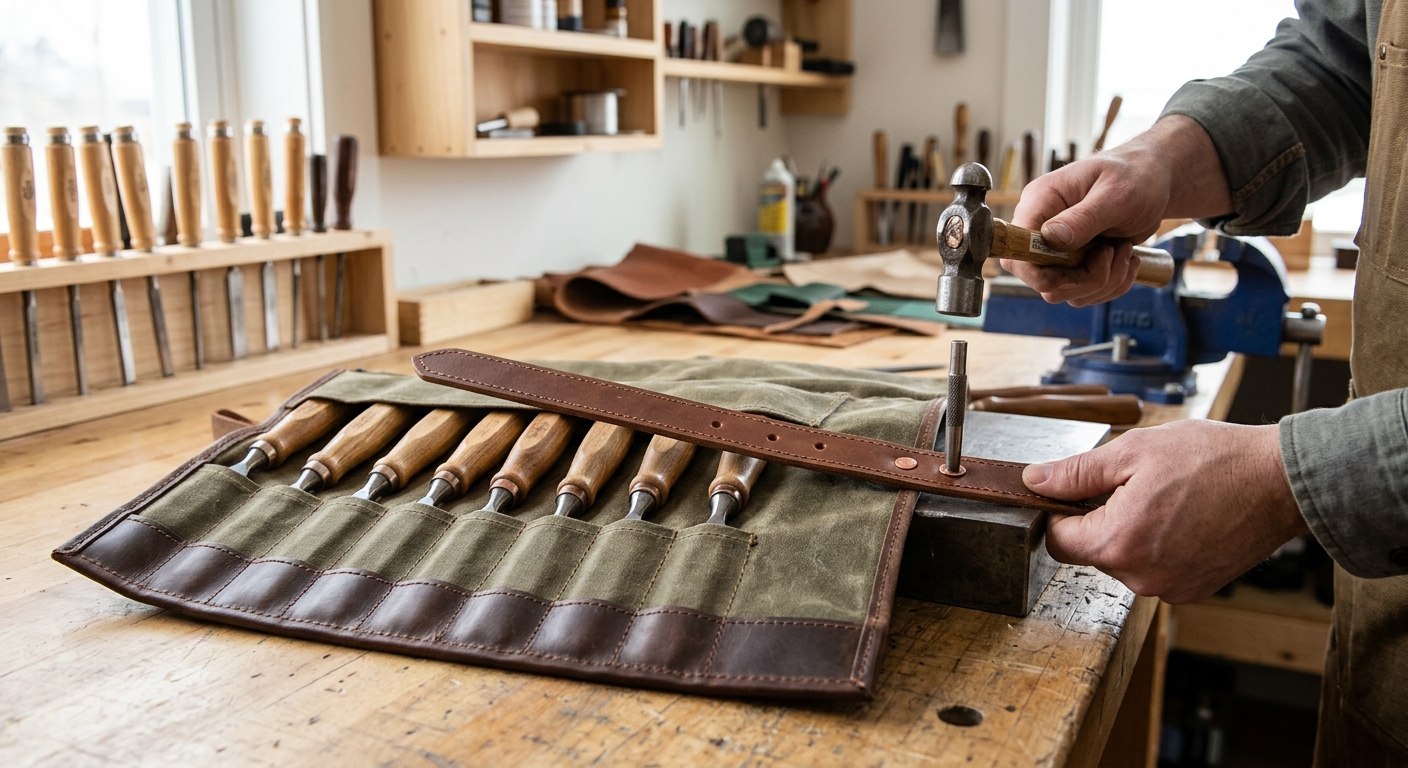
Attach a leather strap to the right end of the main panel. When the roll is rolled up (chisels inside, left edge to right edge), the strap wraps around the roll and fastens with a snap or ties with the strap. The closure should hold firmly but release quickly.
Step 6 – Condition the Leather
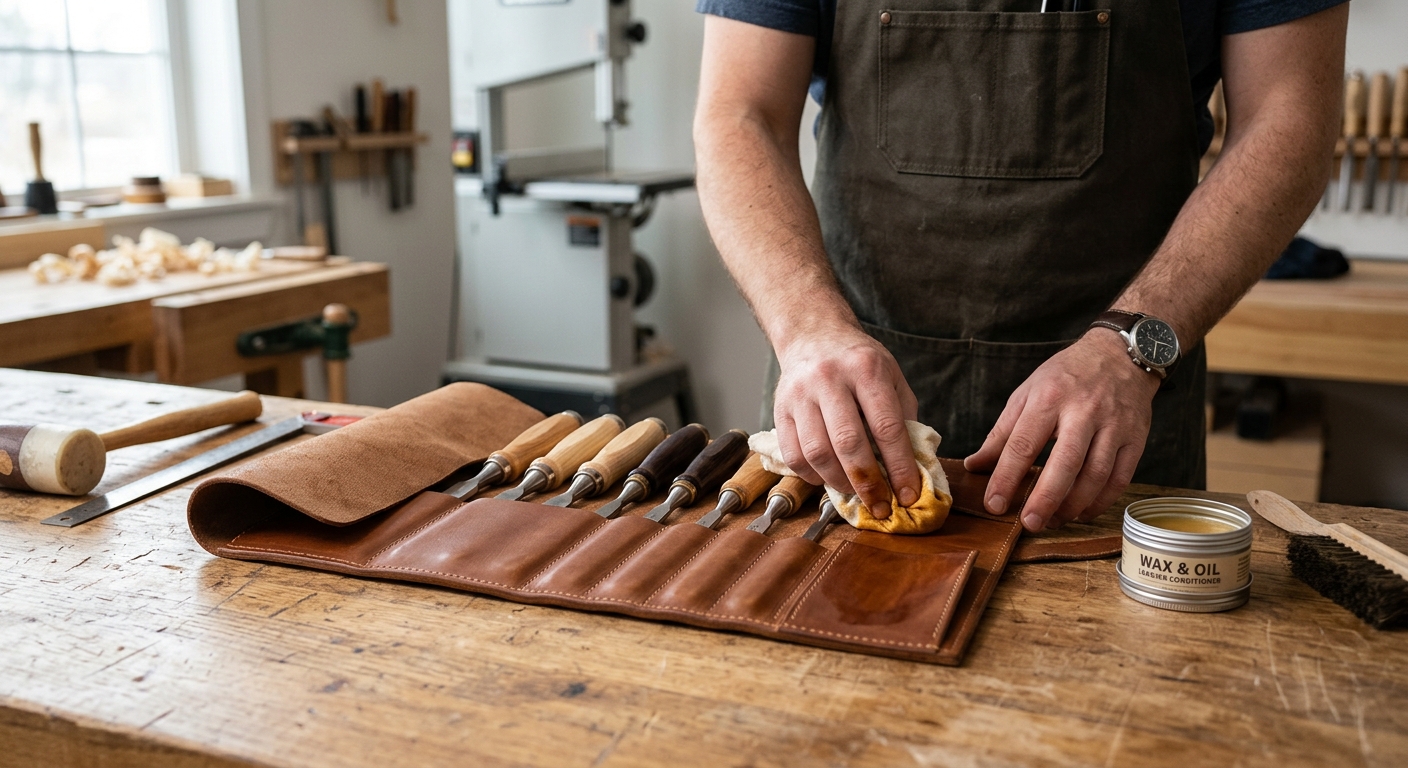
Rub beeswax or leather conditioner into every surface of the finished roll. This feeds the leather, prevents drying and cracking, and makes the surface slightly water-resistant. Repeat once a year or whenever the leather feels dry.
FAQ
Is leather necessary or can I use canvas? Canvas works and is faster to sew (a standard sewing machine handles canvas). Leather is more durable, better-looking, and completely edge-tool-proof – a canvas roll can be cut if a chisel works its way loose. For a roll that will last 20 years, leather is worth the extra effort.
How many chisels should a roll hold? A roll for 6 to 8 chisels is the most practical size – large enough to hold a complete set, small enough to roll compactly. For larger collections, make a second roll rather than one oversized roll that becomes awkward to carry.