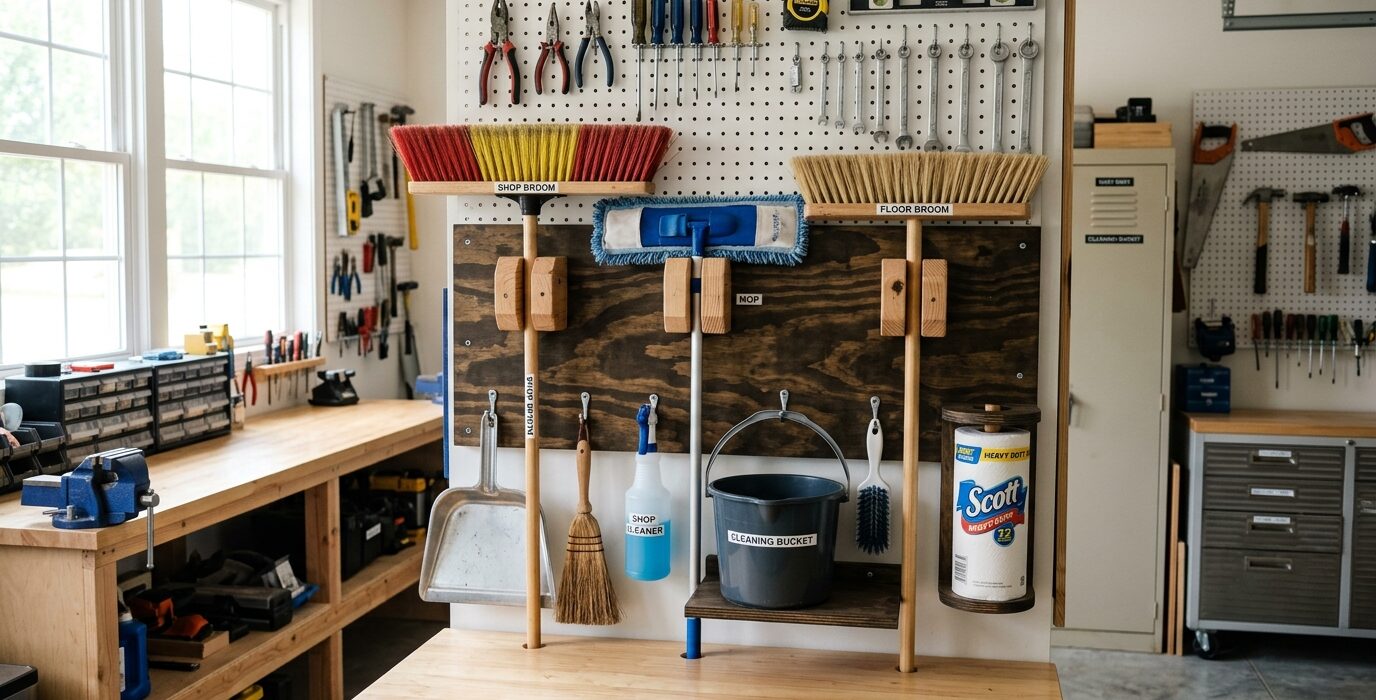
A Shop Broom and Mop Holder for the Wall
Brooms, mops, and push brooms stored in corners lean, fall, and end up on the floor. A wall-mounted holder takes 20 minutes to build and keeps every cleaning implement organized, upright, and accessible. This might be the smallest build on this site – but in a shop where cleanup is ongoing, having cleaning tools immediately at hand is a genuine daily convenience.
Materials
- One piece of 3/4-inch plywood or 2×4 lumber, 4 to 6 inches wide x 36 to 48 inches long
- Several rubber-lined spring clips (broom holders from any hardware store) or wooden pegs
- Lag screws or wall anchors for mounting
Step 1 – Choose Commercial or Shop-Built
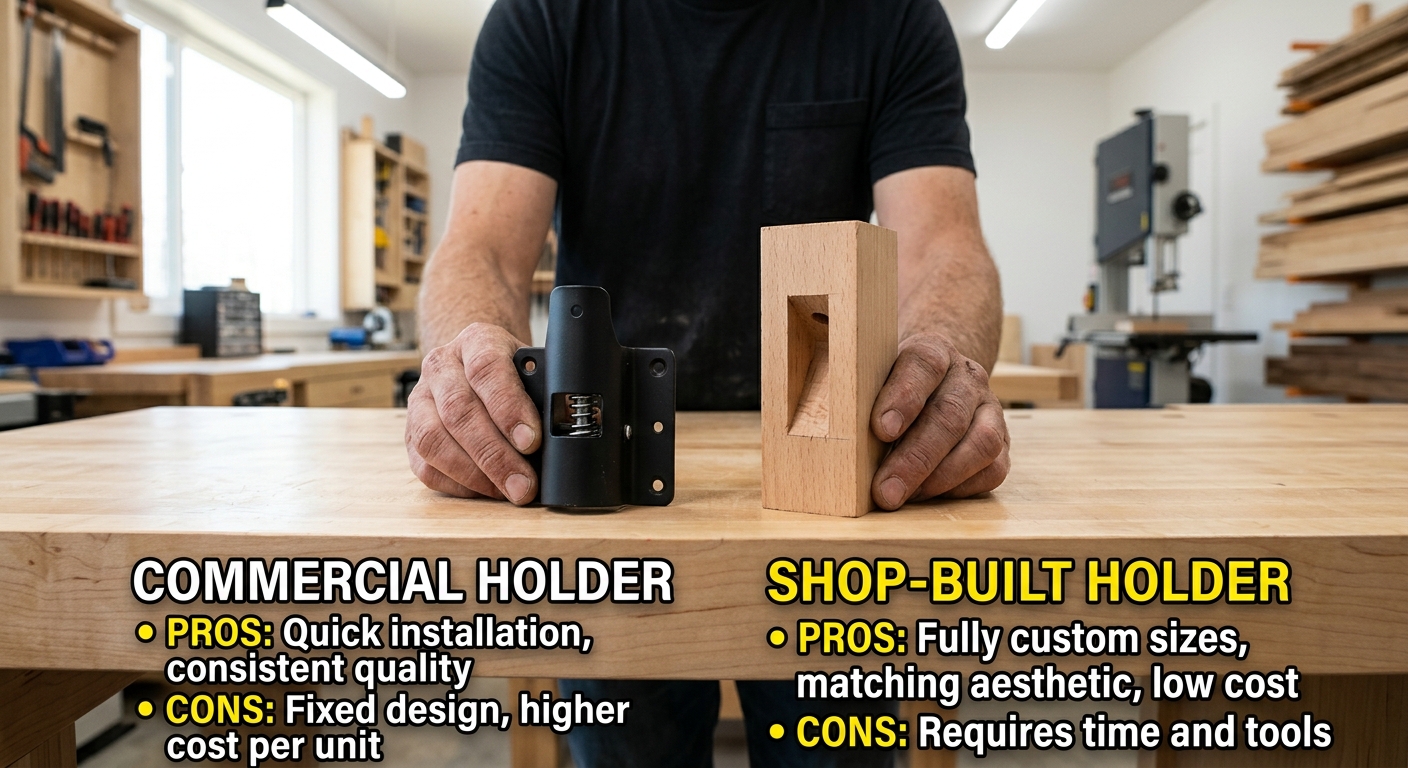
Commercial spring-clip broom holders cost $1 to $3 each at any hardware store and mount with two screws. They hold broom and mop handles of any standard diameter and release with a slight downward pull. A set of 4 to 6 clips on a plywood board, mounted to the wall, is the fastest possible solution – 20 minutes total including mounting.
Step 2 – Build a Wooden Peg Version

The shop-built alternative: drill pairs of angled holes (45 degrees upward) in a 2×4 ledger board. Insert 3/4-inch wooden dowels cut to 4-inch length. Handles rest on the pegs with the tool’s weight held by the angle. This version holds tools as securely as commercial clips and costs almost nothing, but the tools don’t snap in – you need to lean them at the right angle for them to stay.
Step 3 – Mount at the Right Height
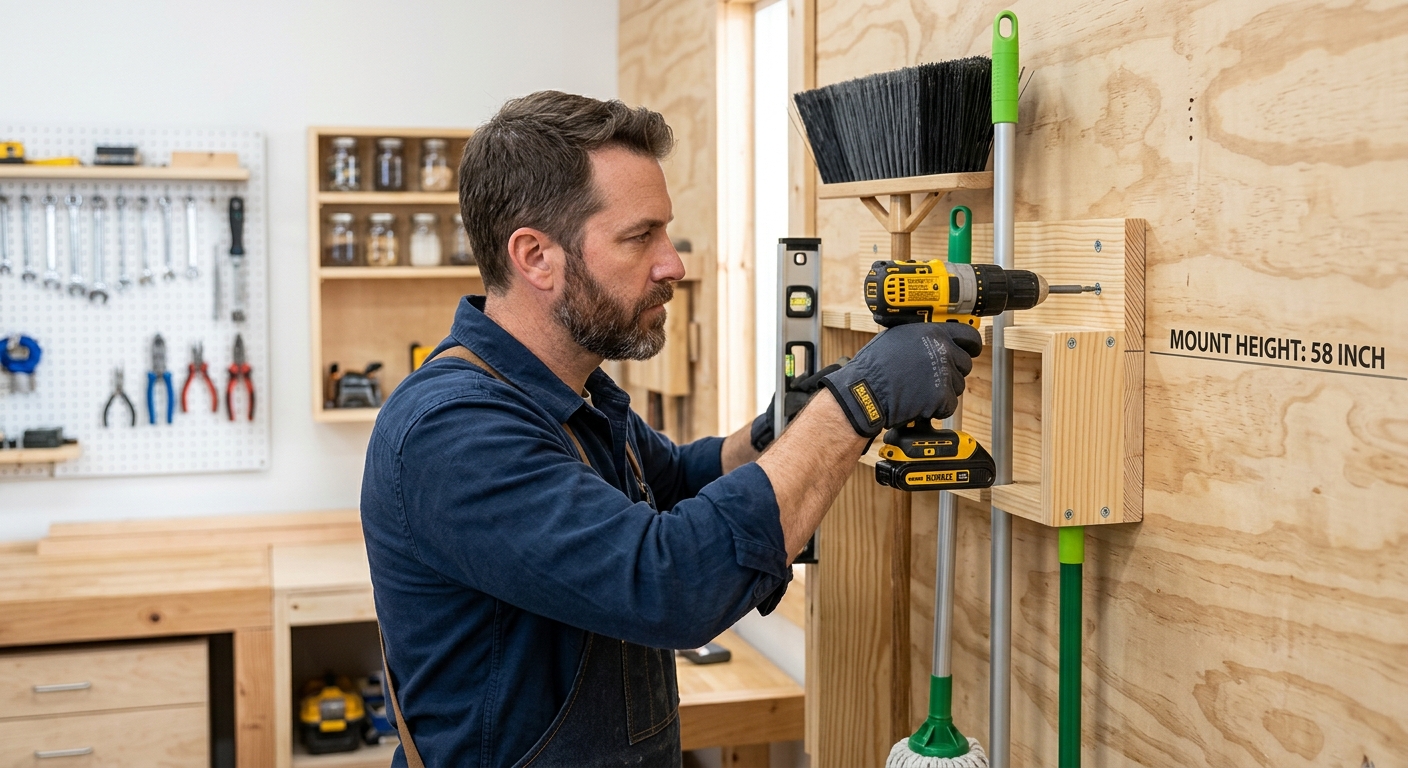
Mount the holder at 5 to 5.5 feet from the floor – high enough that broom and mop heads clear the floor by 2 to 3 inches when hanging. If the heads touch the floor, they get stepped on and the bristles deform permanently. A clearance of 2 to 4 inches from the floor is ideal.
Step 4 – Position Near the Shop Exit
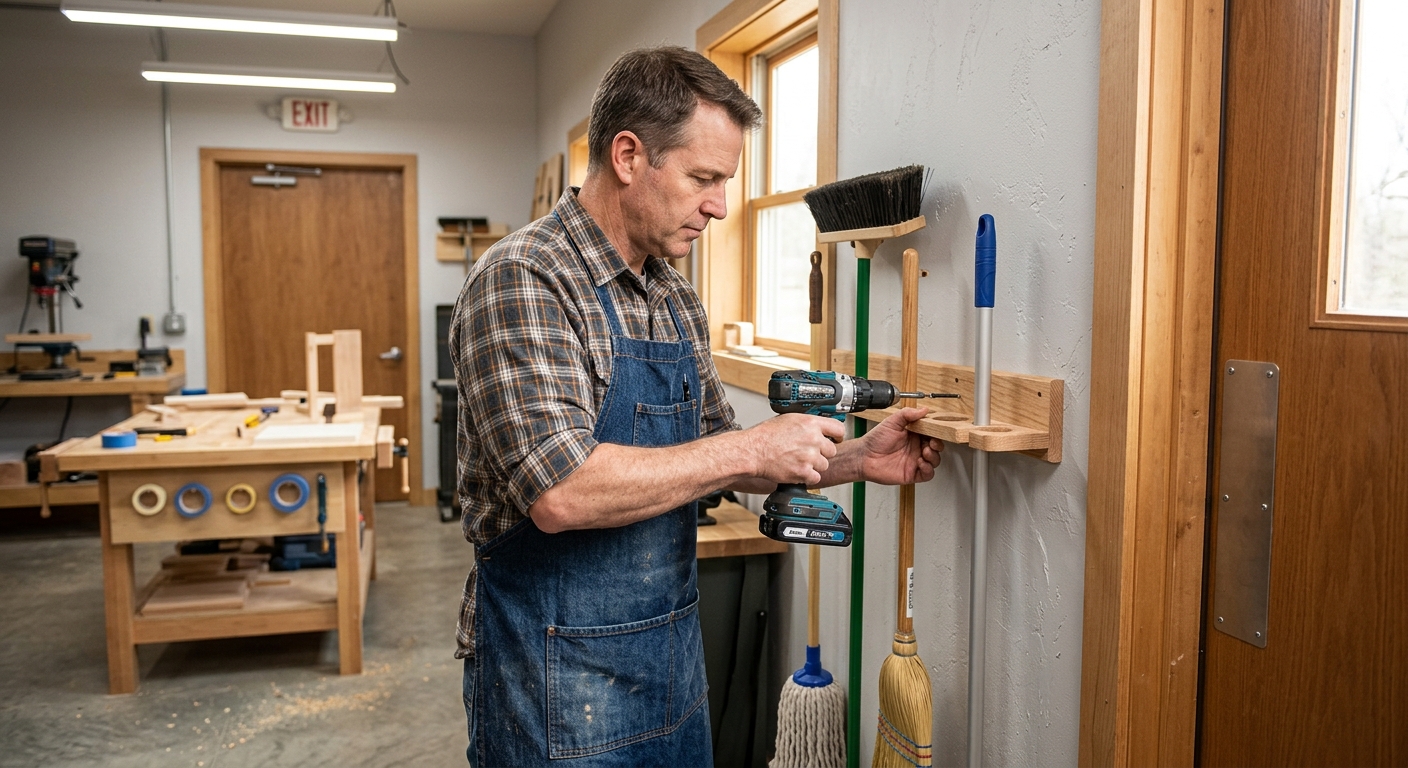
The broom lives near the shop exit door so it’s immediately accessible for the sweep that happens before you leave every day. A broom in the corner on the opposite side of the shop from the exit doesn’t get used as often as one that’s right at the door.
FAQ
Can I also store a dustpan on this holder? Yes – add one more clip for the dustpan handle, or build a simple shelf bracket beside the holder for dustpans with pan ends. Some commercial broom holders include a dustpan clip as part of the design.
How often should I clean the shop floor? A quick sweep at the end of every shop session is good practice. Sawdust and shavings on the floor become a fire risk, a slip hazard, and a pathway for tracked-in moisture. Ten minutes of cleanup at the end prevents a two-hour deep clean later.