
Screwdrivers Off the Counter, On the Wall
Screwdrivers are among the most-used tools in any shop, and they’re also among the most commonly lost, scattered, and difficult to find when you need them. A dedicated screwdriver rack built into the wall puts every driver in view, in reach, and in a fixed location so you always know exactly where to look. This is a quick project that returns immediate dividends in less frustration and faster work.
Materials
- 1×4 or 1×6 board, 24 to 36 inches long
- 1-inch diameter dowel rod, cut into 3-inch sections
- Wood glue
- Mounting screws for wall attachment
- Optional: 1/4-inch plywood backing panel
Step 1 – Inventory Your Screwdrivers

Count every screwdriver, including specialty types: slotted, Phillips, Torx, Robertson, nut drivers, offset drivers, stubby drivers, and magnetic tip holders. Group them by handle diameter – most standard drivers have handles between 1 and 1.5 inches in diameter. This tells you what diameter holes to drill and how many positions you need.
Step 2 – Drill the Holder Holes
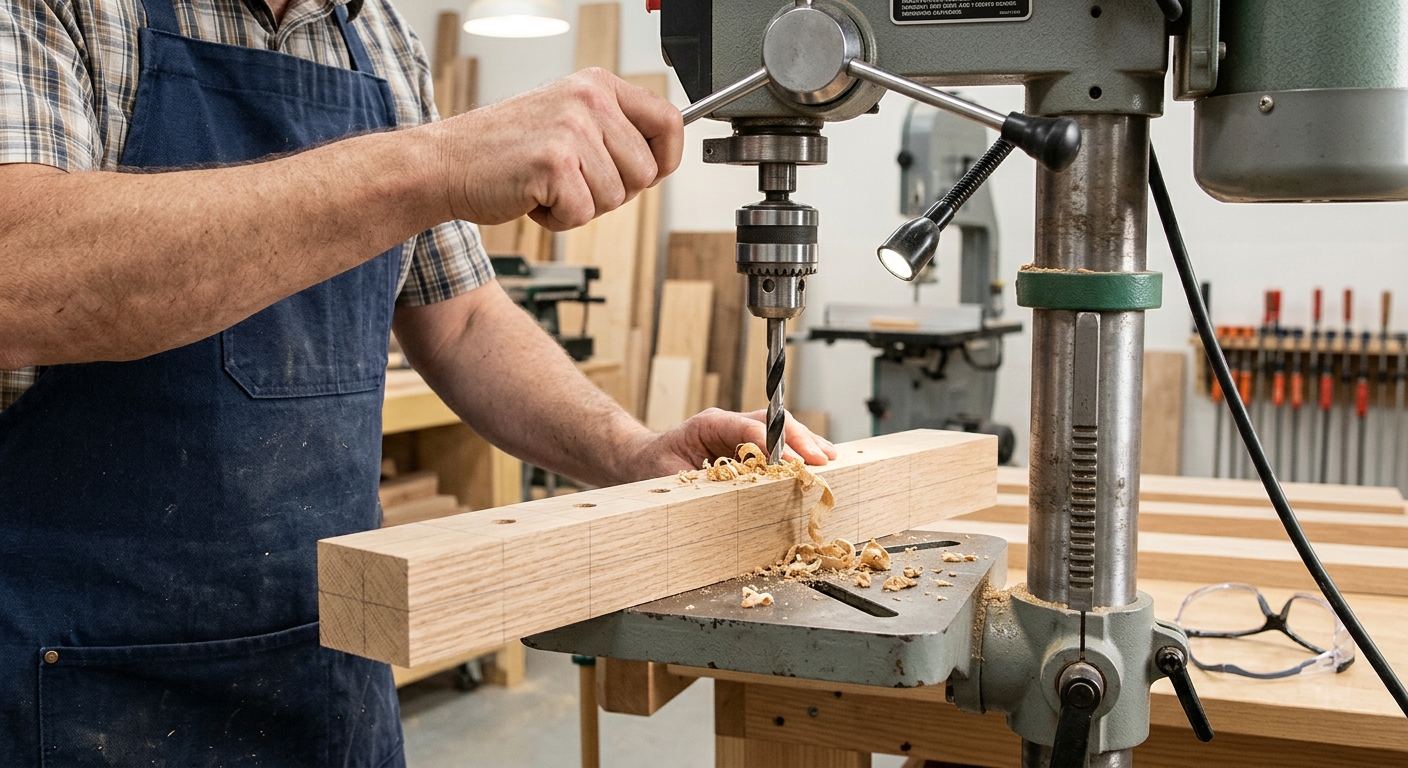
Drill a row of angled holes into the face of the 1×4 or 1×6 board – angled 15 to 20 degrees from vertical so the handles lean forward toward you for easy grip. Use a 1-inch Forstner bit for most standard driver handles. Space the holes 2 to 2.5 inches apart center to center. Drill a secondary row above the first if you have more than 12 to 15 drivers to store.
Step 3 – Cut and Insert the Dowels

Cut the dowel rod into 2.5-inch sections. Apply a small amount of wood glue to the end of each section and tap it into a drilled hole until it’s flush with the back of the board. Let the glue cure fully before loading with tools – the dowels take significant downward force when drivers are grabbed quickly.
Step 4 – Mount to the Wall
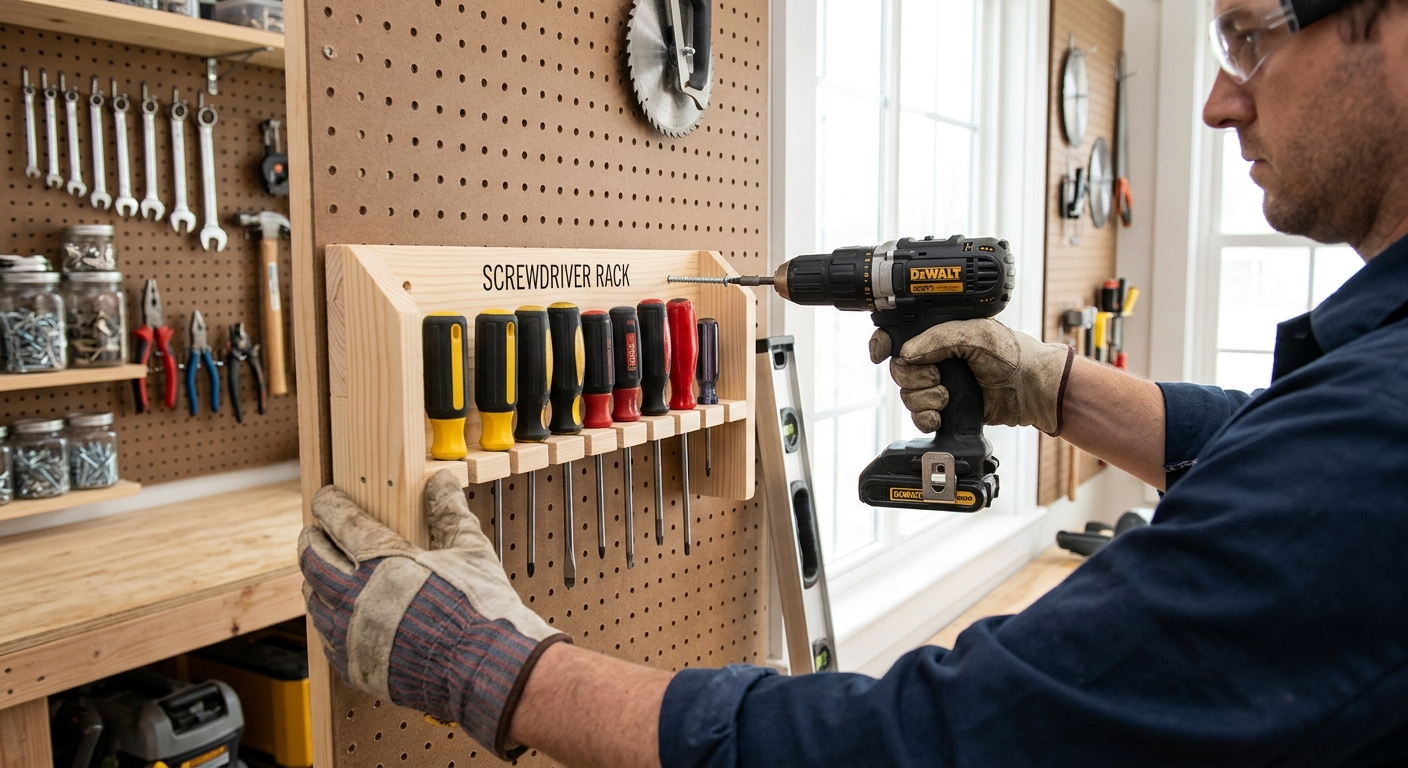
Mount the board at a height where you can see all the driver tips without bending down – typically 48 to 54 inches from the floor. Use two screws at stud locations. If no stud is available at the ideal location, use a plywood backing panel that spans two studs, then attach the holder board to the backing.
Step 5 – Load the Rack
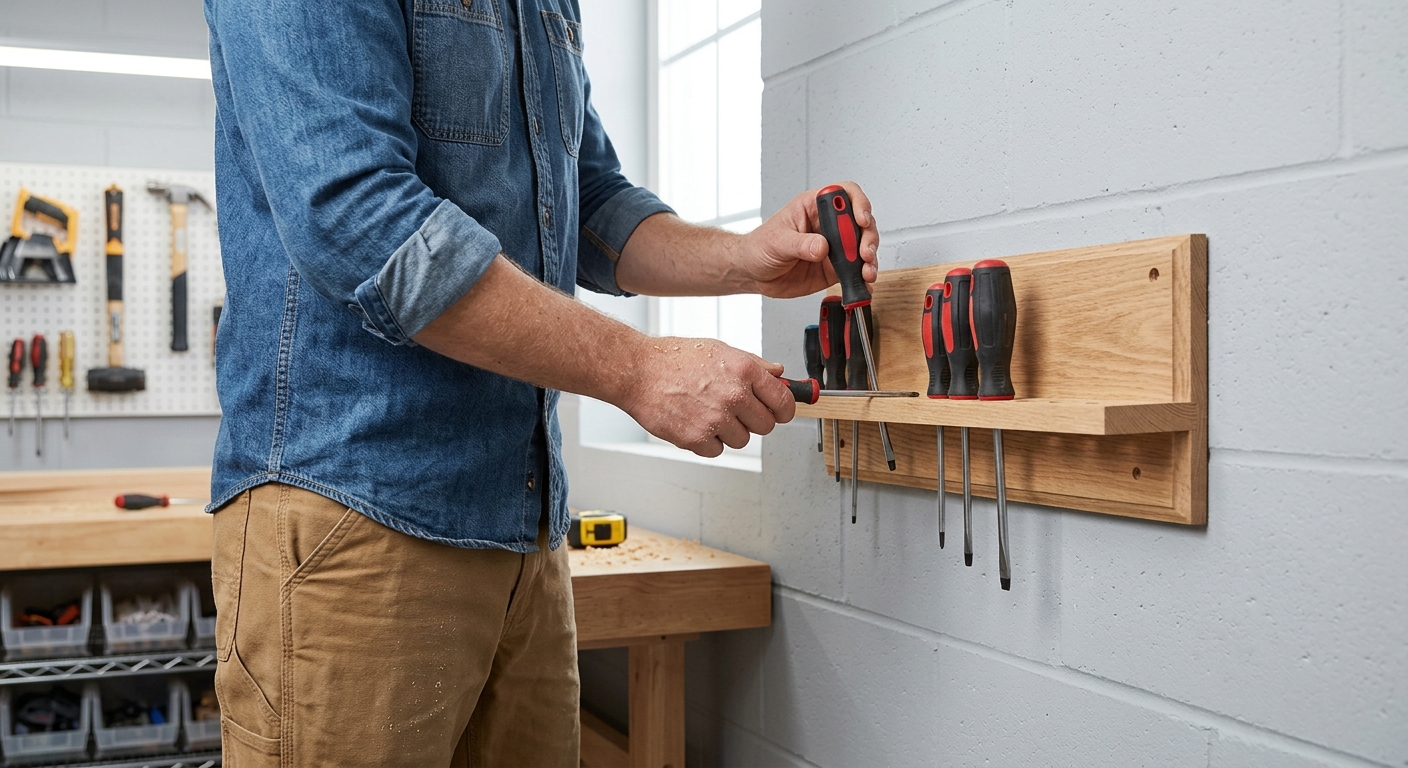
Load screwdrivers from largest to smallest, left to right, with matching types grouped together. All Phillips in one group, all slotted in another, specialty types at one end. Once you establish a system, stick to it – the value of a tool rack is knowing where to return things, not just where to find them.
Pro Tips
- Add a small magnetic strip below the holder for bits, extensions, and magnetic tip holders. These items are too small for the dowel holder but too important to lose in a drawer.
- Color-code the handle ends with a dot of paint by type if your drivers don’t already have color-coded handles. Red for Phillips, blue for slotted, green for Torx – visible across the shop.
- Build a separate rack for impact driver bits in a small plastic bin mounted below the screwdriver rack. Keeping all driver-related tools in one wall zone makes the category complete.
FAQ
Can I use a magnetic strip instead of a dowel rack?
Yes, for all-steel-shank drivers. A magnetic strip holds screwdrivers securely and takes even less space. The limitation is that it only works for tools with enough ferrous metal to attract the magnet – some drivers with composite handles and minimal steel content don’t hold well.
What if my screwdrivers have very different handle sizes?
Drill different hole diameters in different sections of the board – a 1.25-inch section on the left for large handles, a 0.75-inch section for small precision drivers on the right. Matching hole to handle gives a better fit and makes sure drivers don’t fall through.