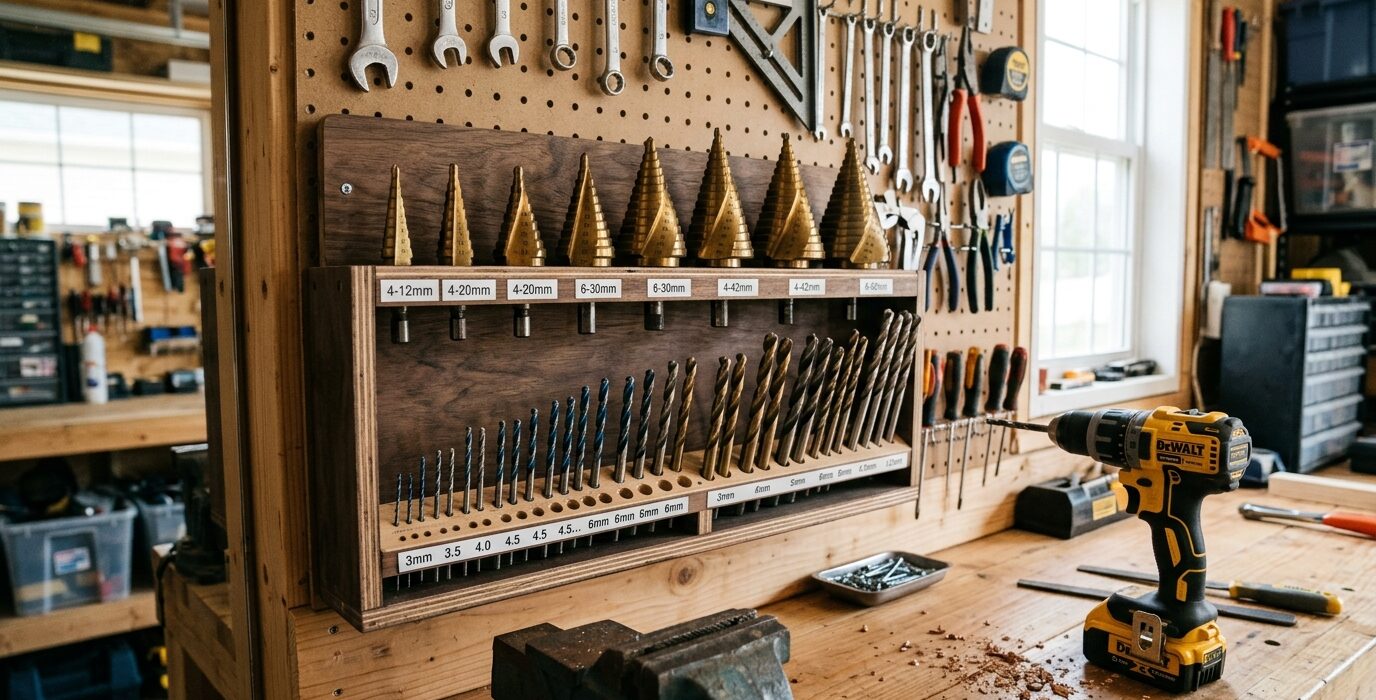
A Step Drill and Bit Holder
Step drills and specialty drill bits – hole saws, Forstner bits, countersink bits, brad-point sets – are expensive, individually sized, and absolutely useless when stored wrong (lost in a jumble, nicked against each other). A dedicated holder for each type puts them within reach at the drill press, organized by size, and protected from the contact damage that dulls carbide and ruins precision ground edges.
Step Drills First
Step drill bits are the most versatile metal-drilling tools for the home shop. They cut holes from 1/8 to 1 1/4 inches in a single bit. Most sets include 3 to 5 bits in different size ranges. A simple block of hardwood with a hole drilled for each bit’s shank diameter keeps step drills upright, visible, and immediately accessible at the drill press.
Materials
- Scrap hardwood (maple or similar) for the bit blocks
- Forstner bits and standard drill bits for drilling the holder holes
- Mounting hardware for wall or bench mounting
- Optional: individual cardboard or plastic containers for each Forstner bit
Step 1 – Build the Step Drill Block
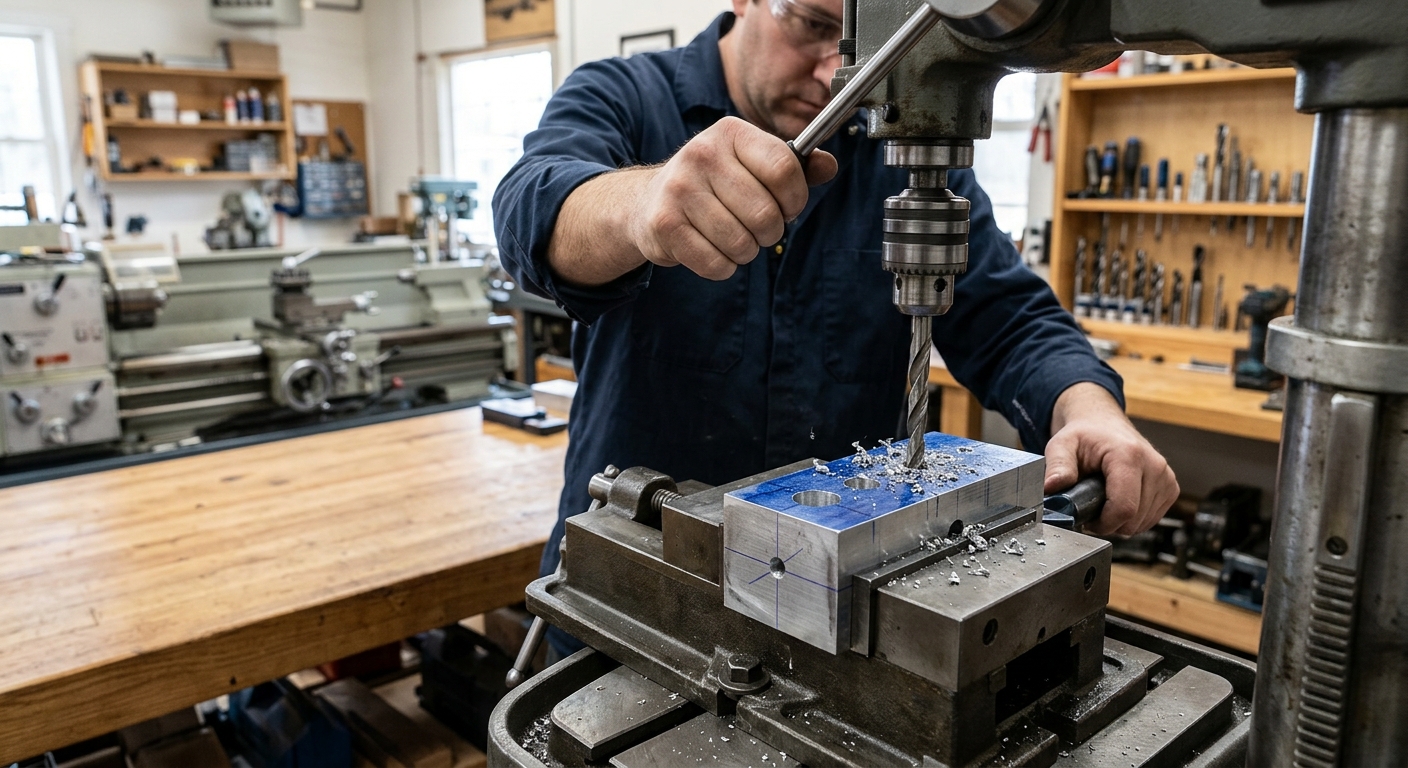
Cut a piece of 2-inch thick hardwood to hold your step drill set. Drill holes sized for each bit’s hex shank – typically 1/4 inch for most step drills. Drill holes at a slight angle so the bits lean slightly back, preventing them from falling out if the block is bumped. Label each hole with the bit’s size range (1/8 to 1/2 inch, 3/16 to 7/8 inch, etc.).
Step 2 – Build Forstner Bit Storage
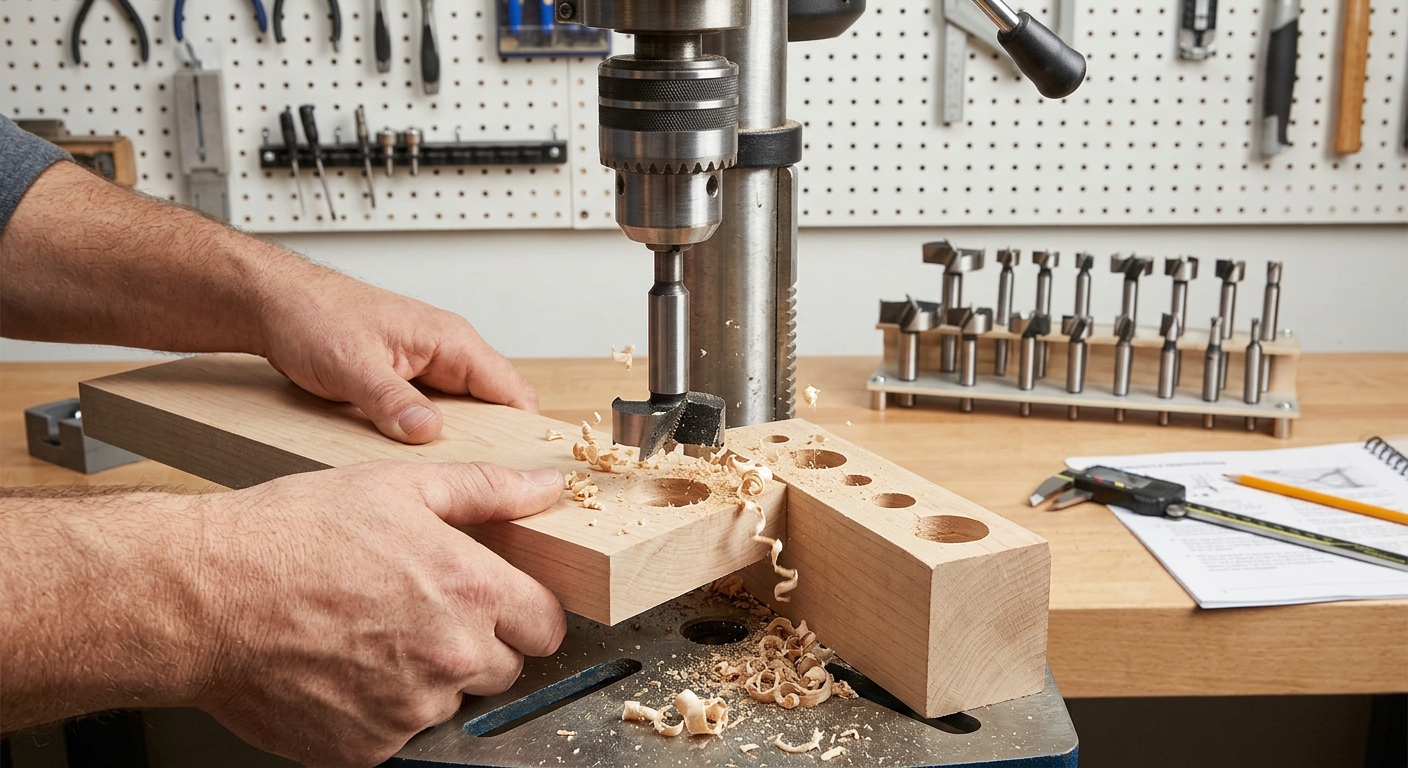
Forstner bits have flat bottoms and sharp outer rims – the outer rim is the precision surface that must be protected. Store Forstner bits in their original cases if they came in one, or in individual felt-lined holes in a wooden block. The holes should be sized for each bit’s body diameter with the cutting end hanging down so the sharp rims don’t contact the block bottom.
Step 3 – Countersink Bit Storage
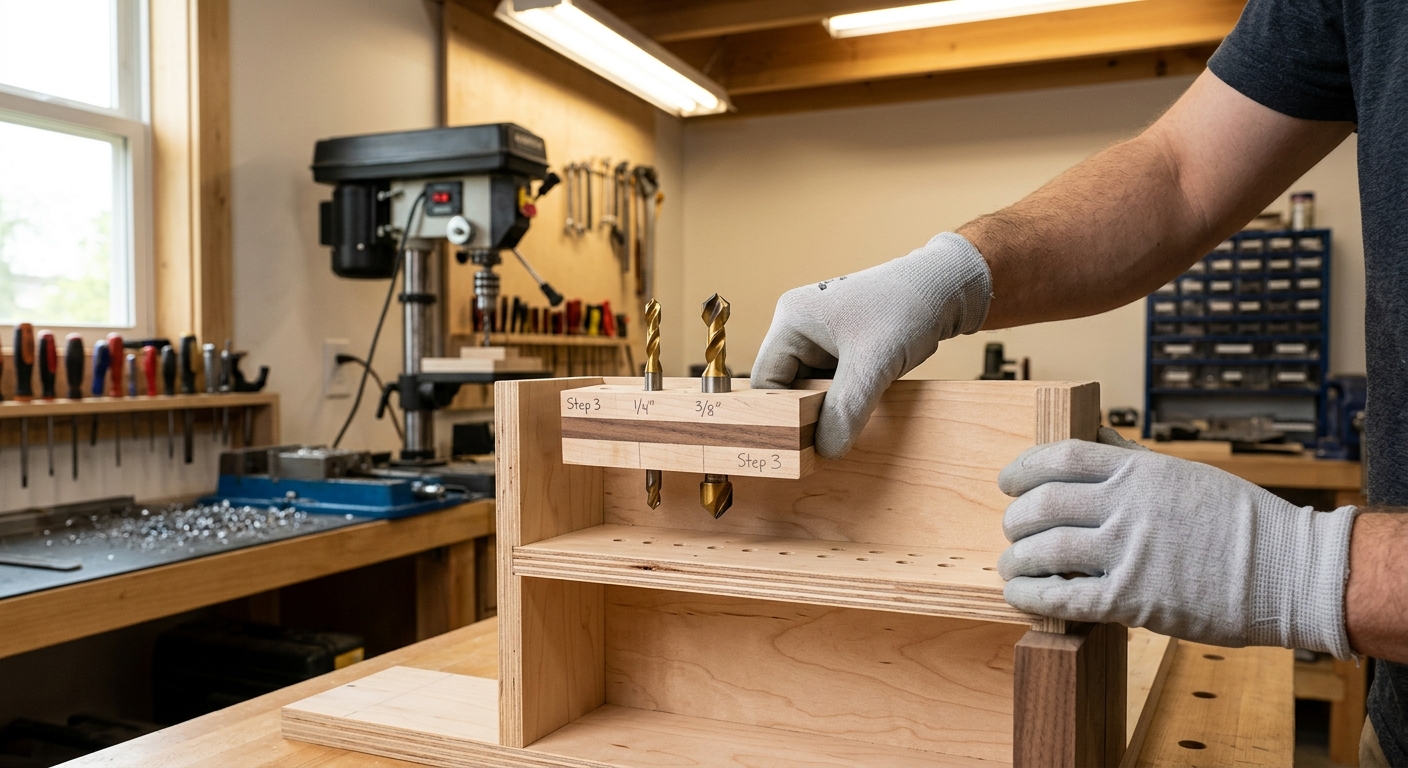
Countersink bits – both the simple single-flute type and the 82-degree tapered type for wood – store well in a simple block with sized holes. Keep them together with the screws they’re matched to: a #8 countersink stored with a sample #8 screw helps identify the right bit without testing.
Step 4 – Hole Saw Storage
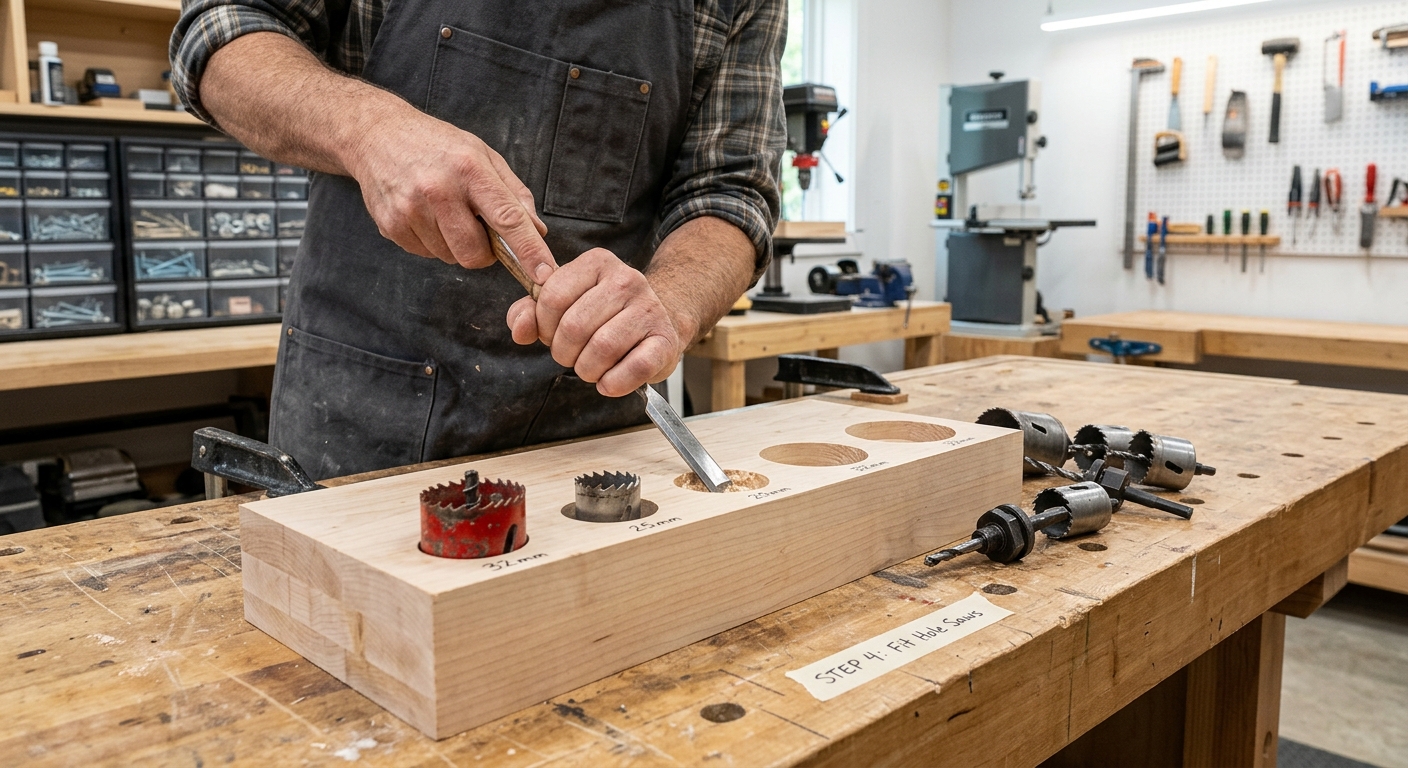
Hole saws are large and awkward. A drawer is the easiest storage – hole saws lay flat and nest if you’re not careful, but a drawer with individual dividers keeps them separated. Alternatively, hang them on individual pegs through their center arbor holes, arranged by diameter along a horizontal bar.
Step 5 – Position the Holder at the Drill Press
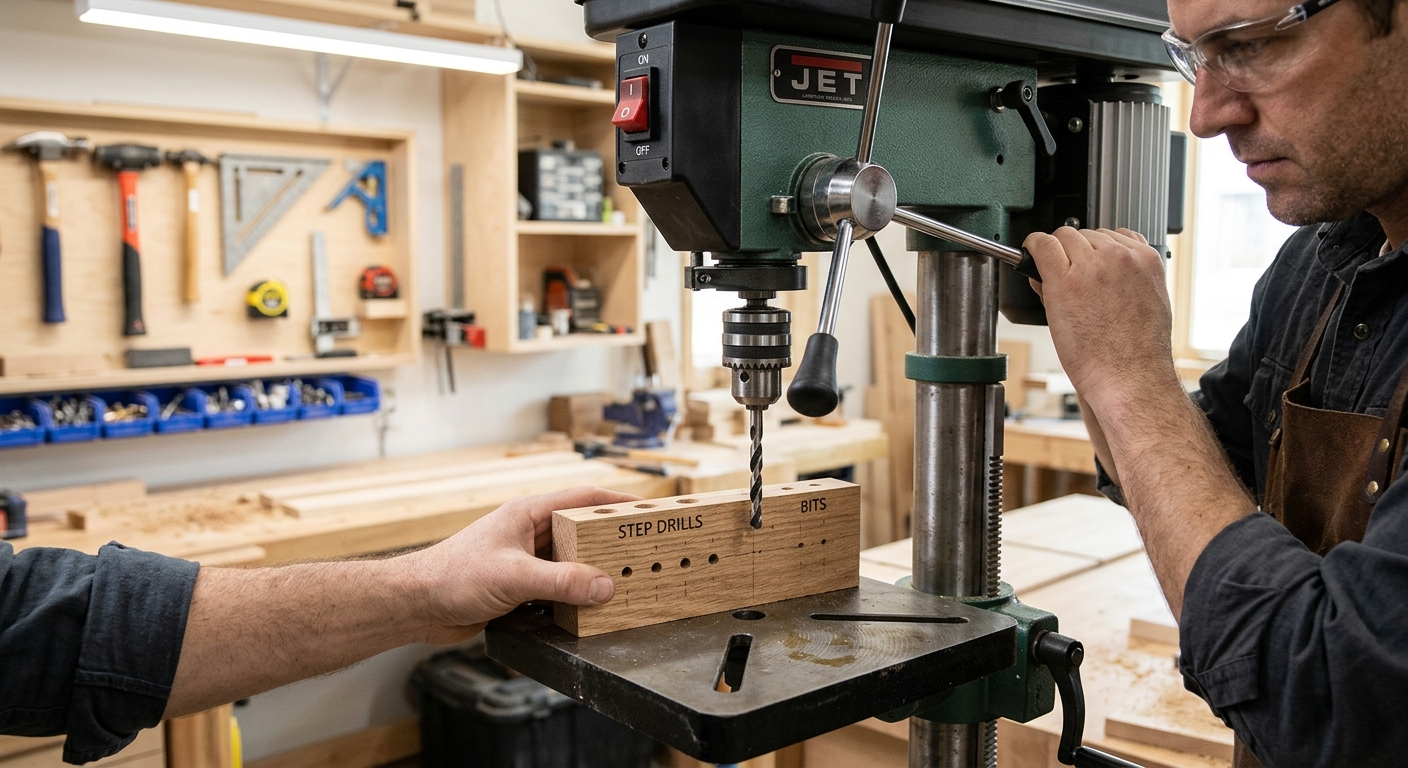
Mount the step drill block and any other specialty bit storage on the wall immediately beside the drill press – not across the shop. Bit selection happens at the drill press, not at the bench. Having bits at the machine eliminates the back-and-forth and the risk of forgetting which bit you were looking for by the time you cross the shop.
FAQ
How do I keep step drill bits sharp? Step drill bits can be sharpened with a small diamond file if individual steps develop flat spots. Moderate sharpening extends life significantly. Most quality step drill sets can be resharpened several times before replacement is needed.
What material is best for the bit storage blocks? Maple or other hard, close-grained hardwood is ideal. The hard grain prevents the holes from enlarging over repeated bit insertion and provides a stable mounting surface that doesn’t move seasonally.