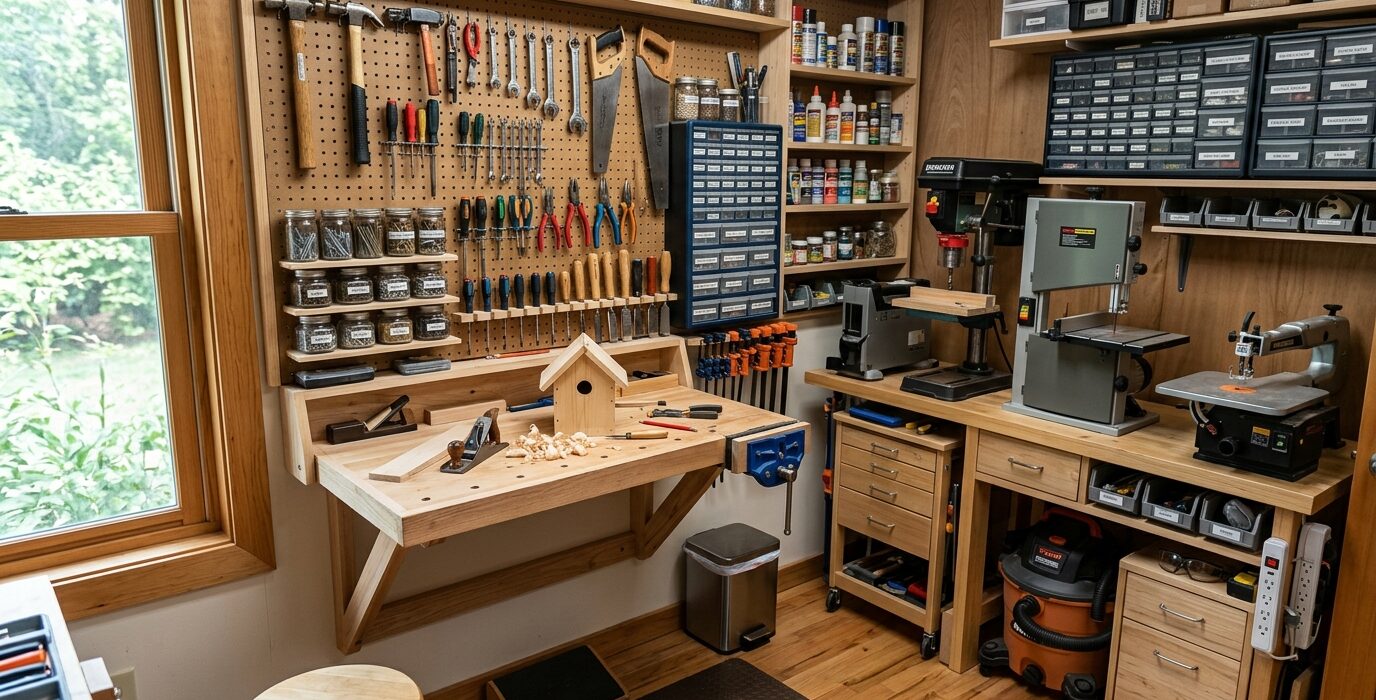
A one-car garage workshop is a genuine constraint – you cannot spread out infinitely, you share the space with a car (or the idea of a car), and every square foot of floor space is precious. But some of the best woodworking and home improvement shops in the country operate in exactly this footprint. The key is not more space, it is smarter organization and the right sequence of decisions.
Step 1 – Clear and Measure Everything
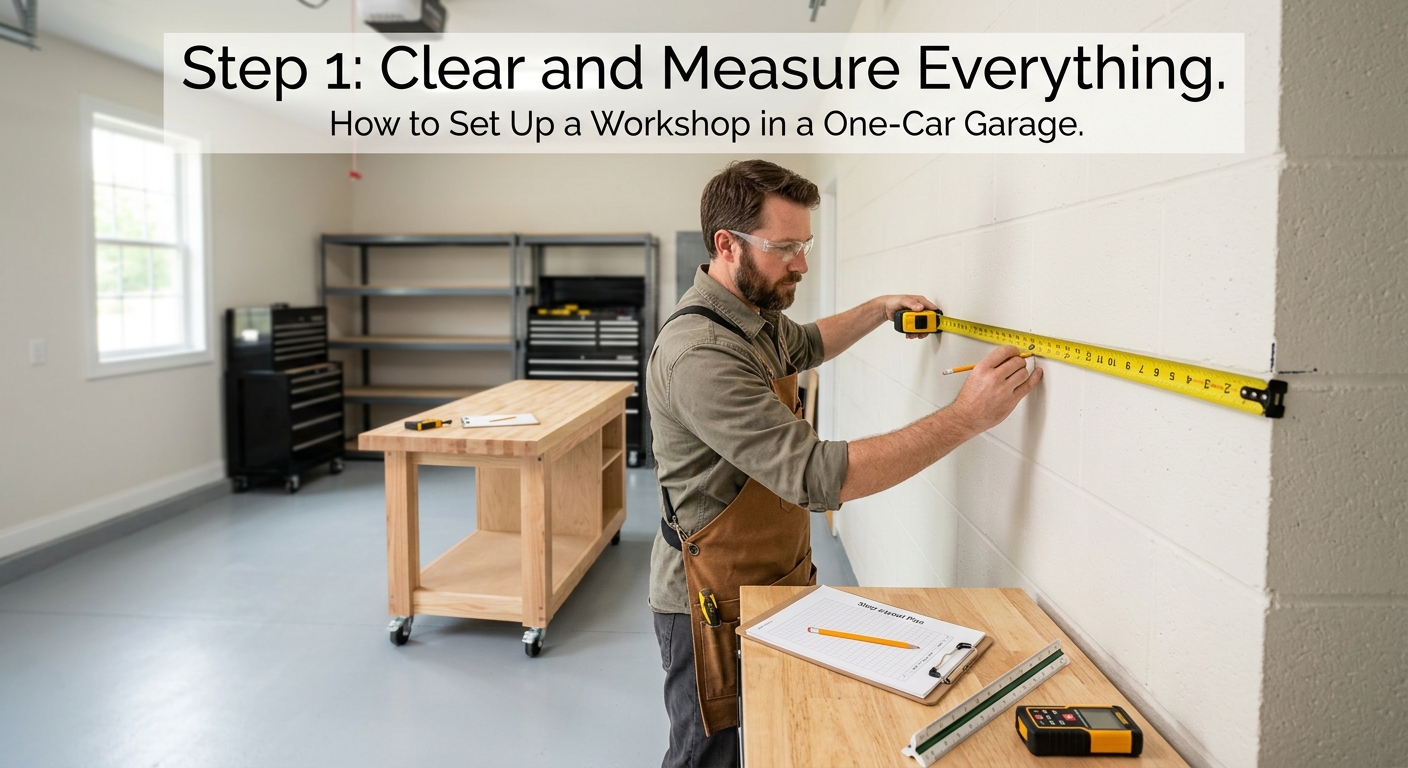
Before buying anything or building anything, empty the garage completely. Sweep it out. Measure the floor to the inch: length, width, ceiling height, and the location of the door, windows, and electrical panel. Draw a simple floor plan on grid paper. This is your planning document – everything else follows from it.
A standard single-car garage is approximately 12×20 feet – 240 square feet. That sounds small until you realize most professional hobbyist shops in Asia and Europe operate in less. The issue is not area; it is workflow.
Step 2 – Assign Zones
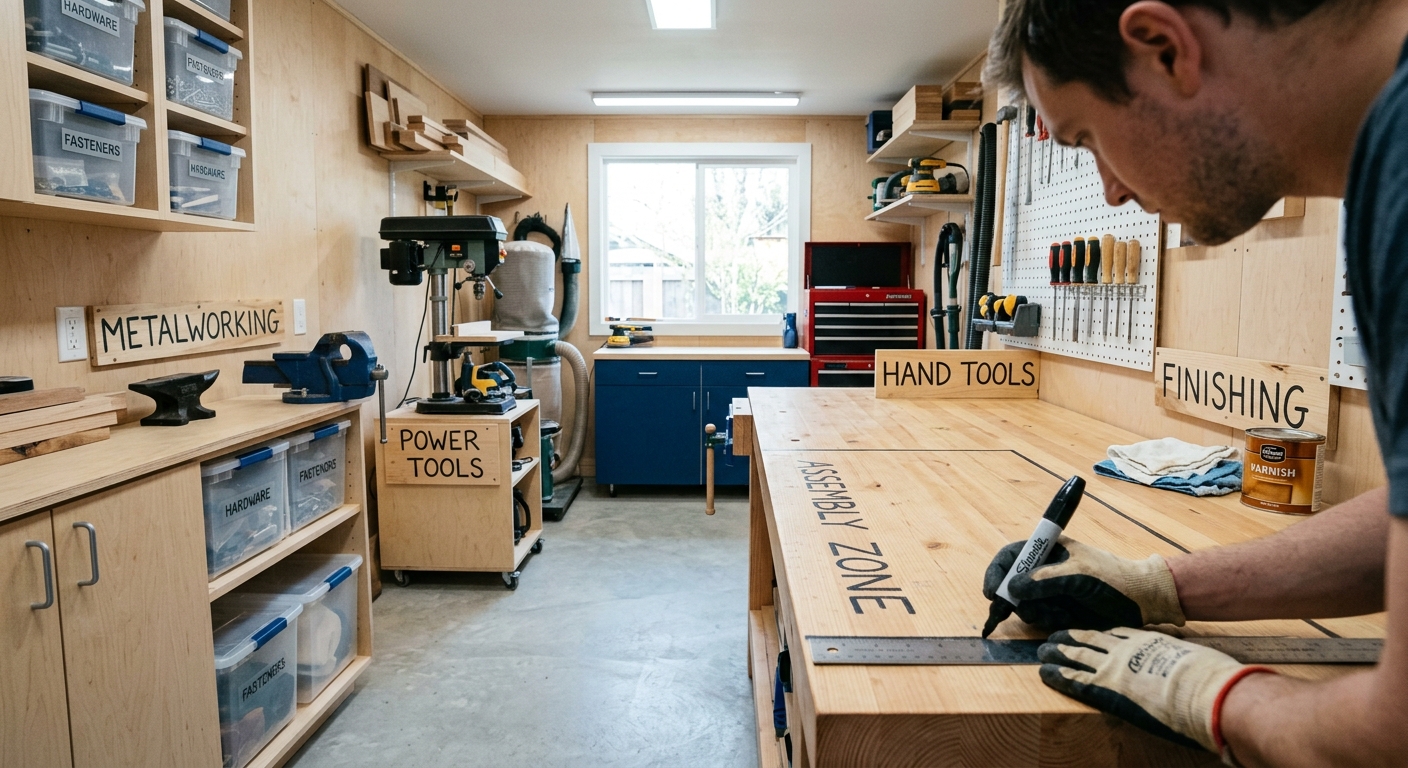
Divide your floor plan into three zones: a machining zone (table saw, miter saw, planer – machines that need clear infeed and outfeed space), an assembly zone (workbench – the largest clear floor area), and a finishing zone (ideally near a window or exhaust fan). The finishing zone can overlap with the assembly zone if you clean between operations.
Step 3 – Put Everything on Wheels
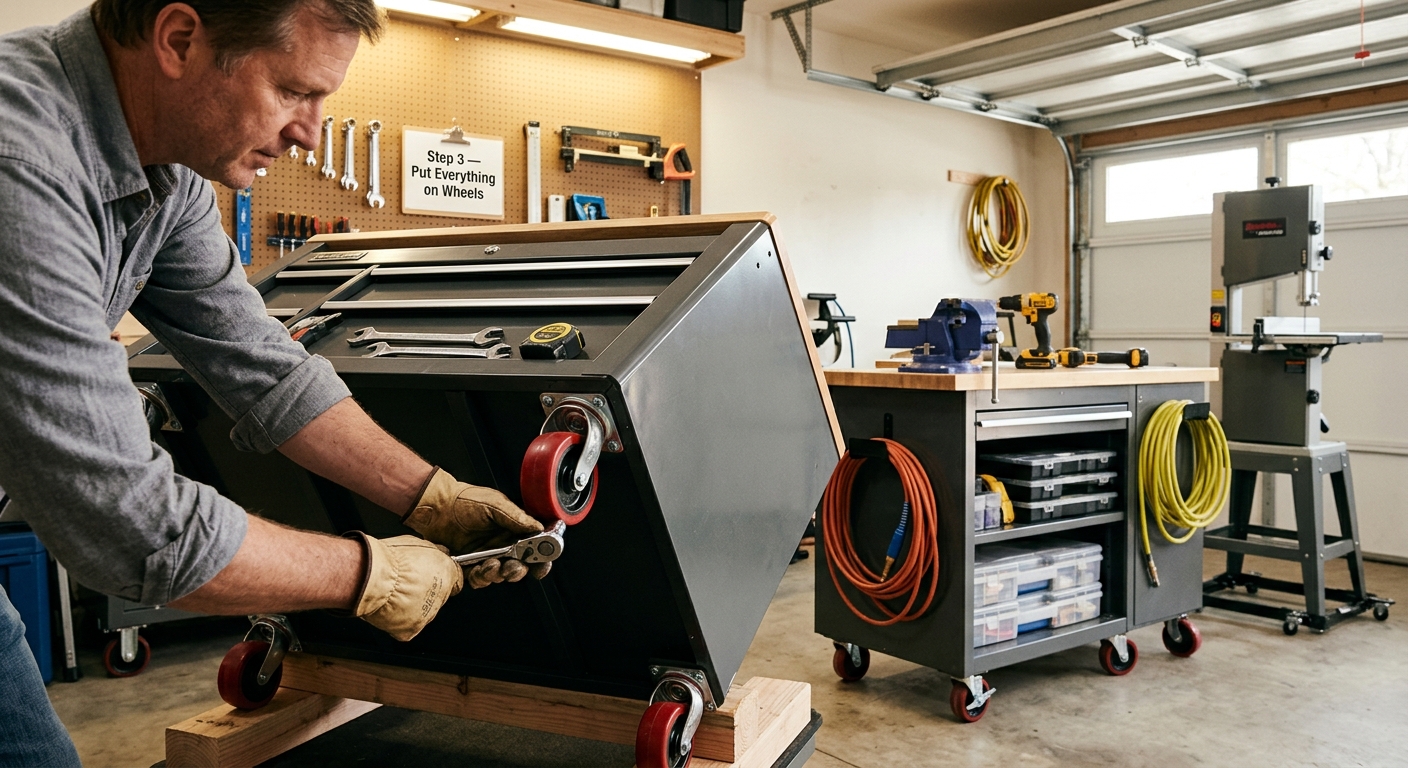
In a small shop, nothing should be permanently fixed to the floor except the workbench. Build or buy mobile bases for every stationary tool – table saw, band saw, drill press, dust collector. Mobile bases let you reconfigure the shop for large panels, roll machines out of the way for assembly, and push everything back for a party or a car in winter.
Step 4 – Use the Walls for Everything Else
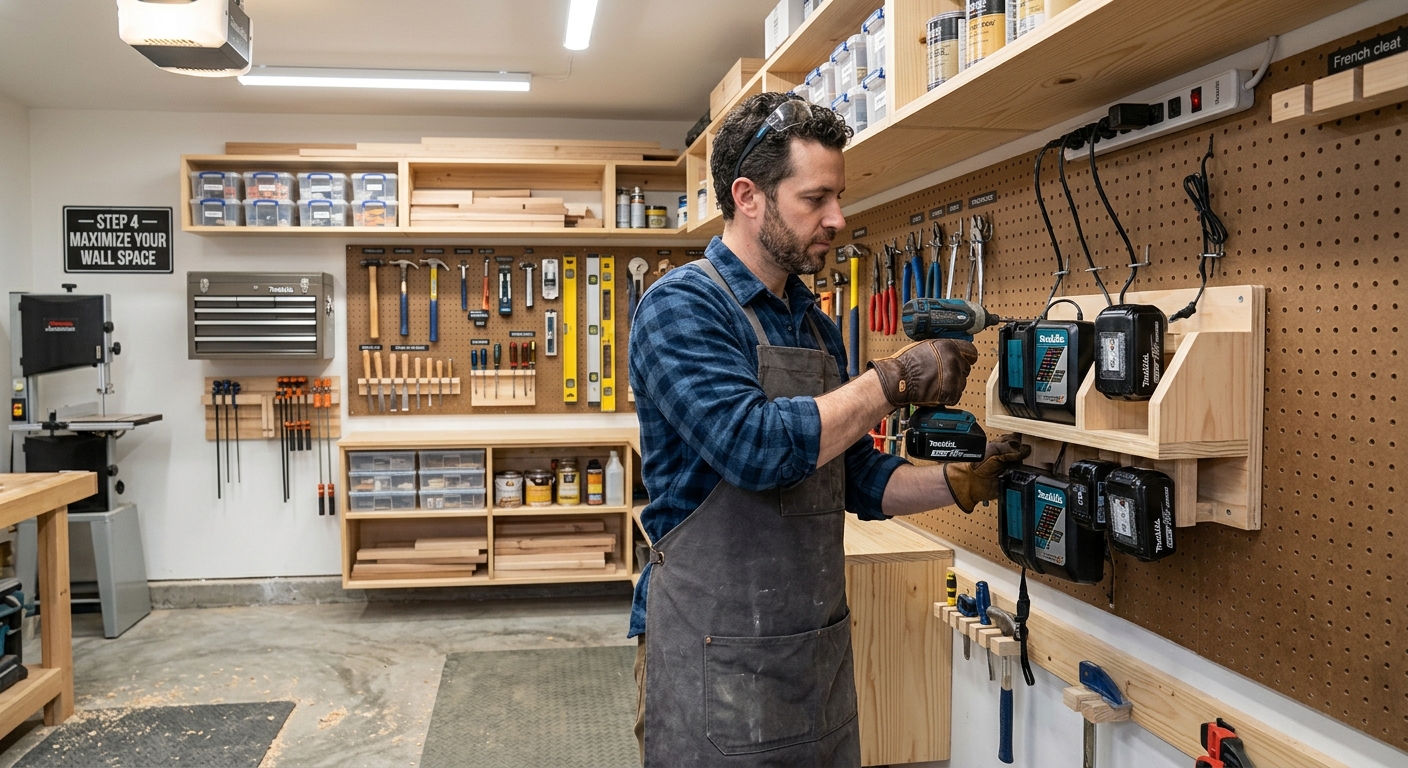
Wall space is the one-car-garage shop’s greatest asset. Install French cleats from 24 inches above the floor to as high as you can reach on every available wall. Hang hand tools, clamps, jigs, and accessories on the cleats. Build a shallow wall-mounted cabinet for finishing supplies. Hang lumber on a horizontal rack above the garage door opening – that space is otherwise wasted.
Step 5 – Build a Fold-Down Workbench
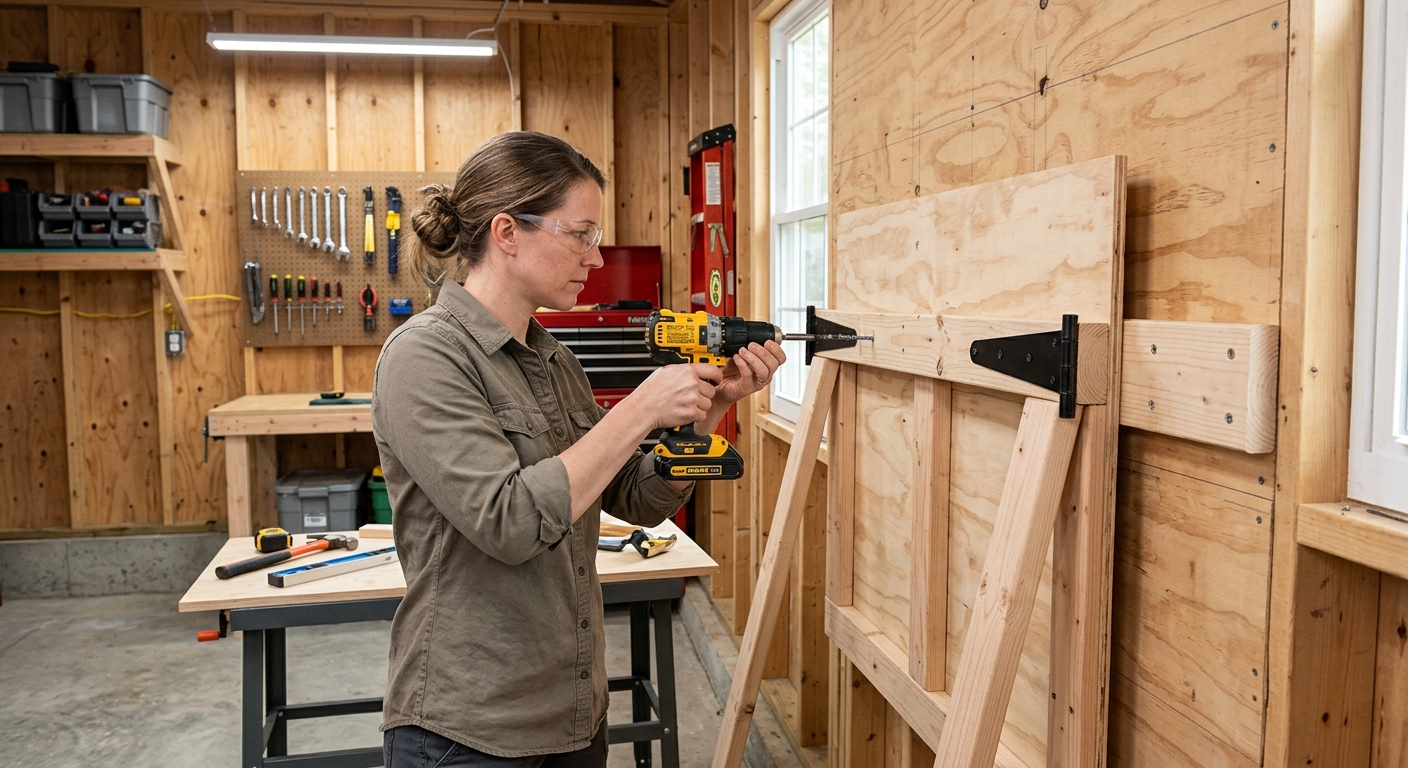
If you need to keep one parking spot usable, build a fold-down bench on the back wall. A 24-inch deep bench that folds flat to the wall reclaims 24 square feet of floor – enough for a car – in seconds. Install a piano hinge at the bottom and a pair of folding legs that lock into position when the bench is down.
Step 6 – Wire for Power and Light
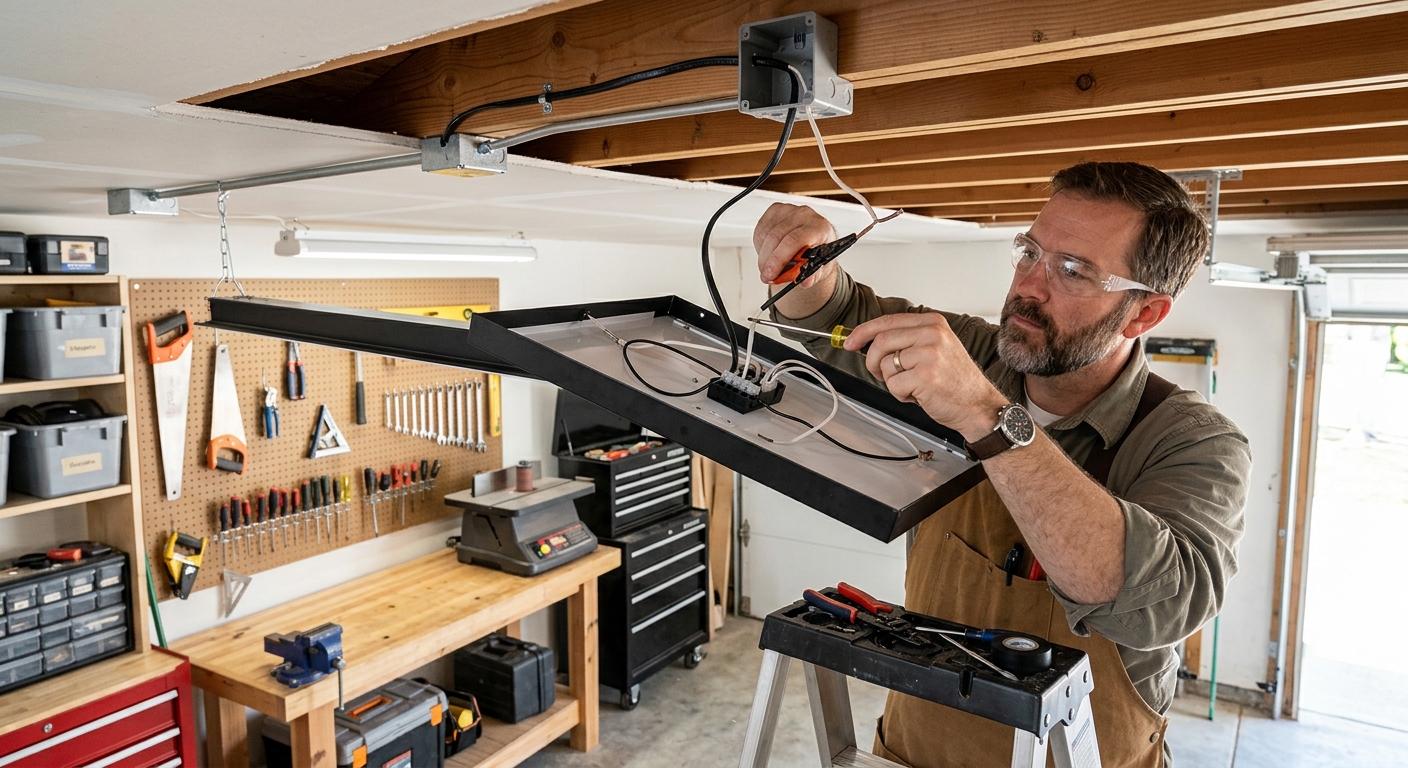
A one-car garage usually has one 15-amp circuit. That is not enough for a real shop. Hire an electrician to add at least one 20-amp circuit for machines and one 15-amp circuit for lighting. Add outlets every 6 feet along the walls so you are never hunting for a place to plug in. Good lighting is not optional – a single overhead bulb creates shadows that cause measuring errors and accidents.
Workflow in a Tight Space
The shop works when you work one operation at a time. Break down sheet goods in the driveway if necessary. Run the table saw cut, then roll the saw back and pull the workbench forward for layout and assembly. It takes 30 seconds to reconfigure. After a few months it becomes automatic.
What to Buy First
In order of priority for a one-car garage shop: a workbench (build it), a miter saw on a stand (first power tool), a drill and driver set, a random orbital sander, and then a table saw. Everything else waits until the first four are in use and you know what you actually need next.