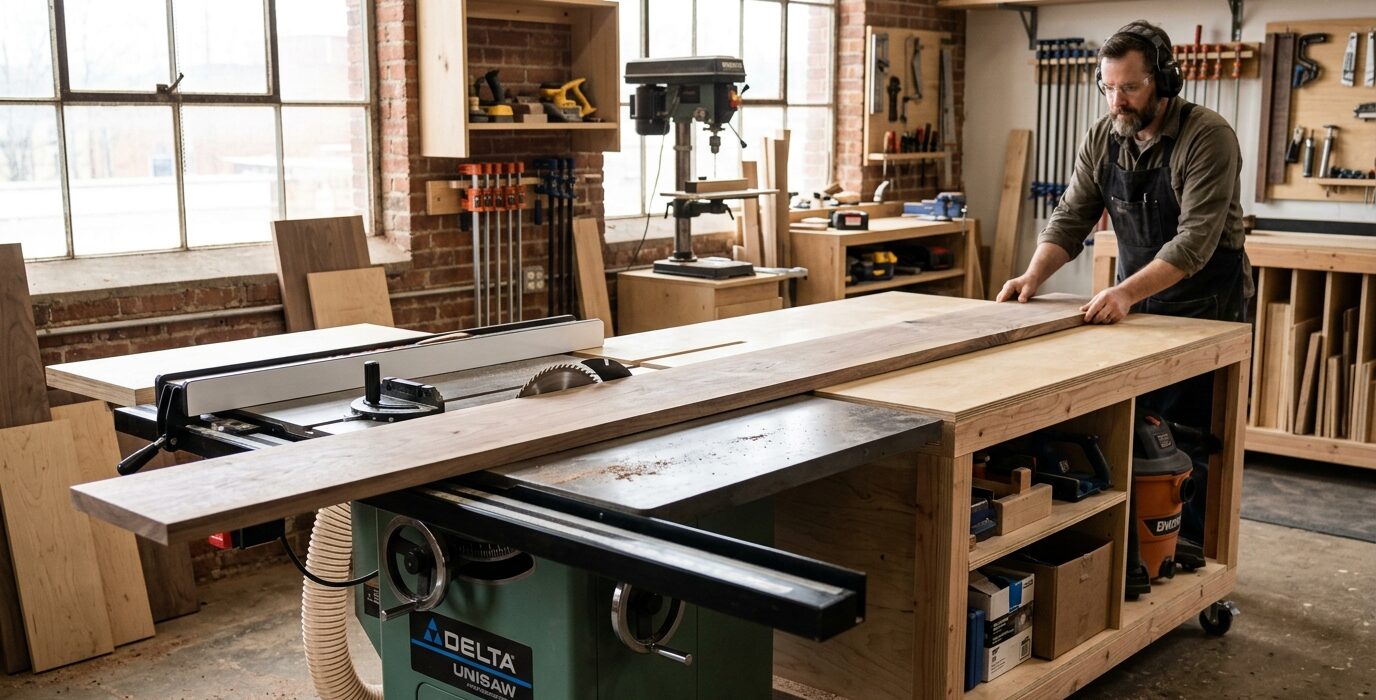
Build a Folding Outfeed Table for Small Shops
An outfeed table is not optional for safe table saw operation – a sheet of plywood that falls off the back of the table mid-cut is a hazard and a ruined board. But a full-size fixed outfeed table consumes 4 to 6 square feet of floor space that a small shop can’t spare. The folding outfeed table solves this: it’s there when you need it, folded flat against the wall when you don’t, and takes less than 30 seconds to deploy or stow. This build uses a piano hinge and a single leg for a rock-solid platform that stores in under 4 inches of wall depth.
Materials
- 3/4-inch plywood for the table top – one piece at 24 by 36 inches
- 2×4 lumber for the leg and wall cleat
- One 36-inch piano hinge
- One folding leg bracket (available at hardware stores)
- Lag screws for wall mounting
- Wood screws, glue
Step 1 – Determine the Height
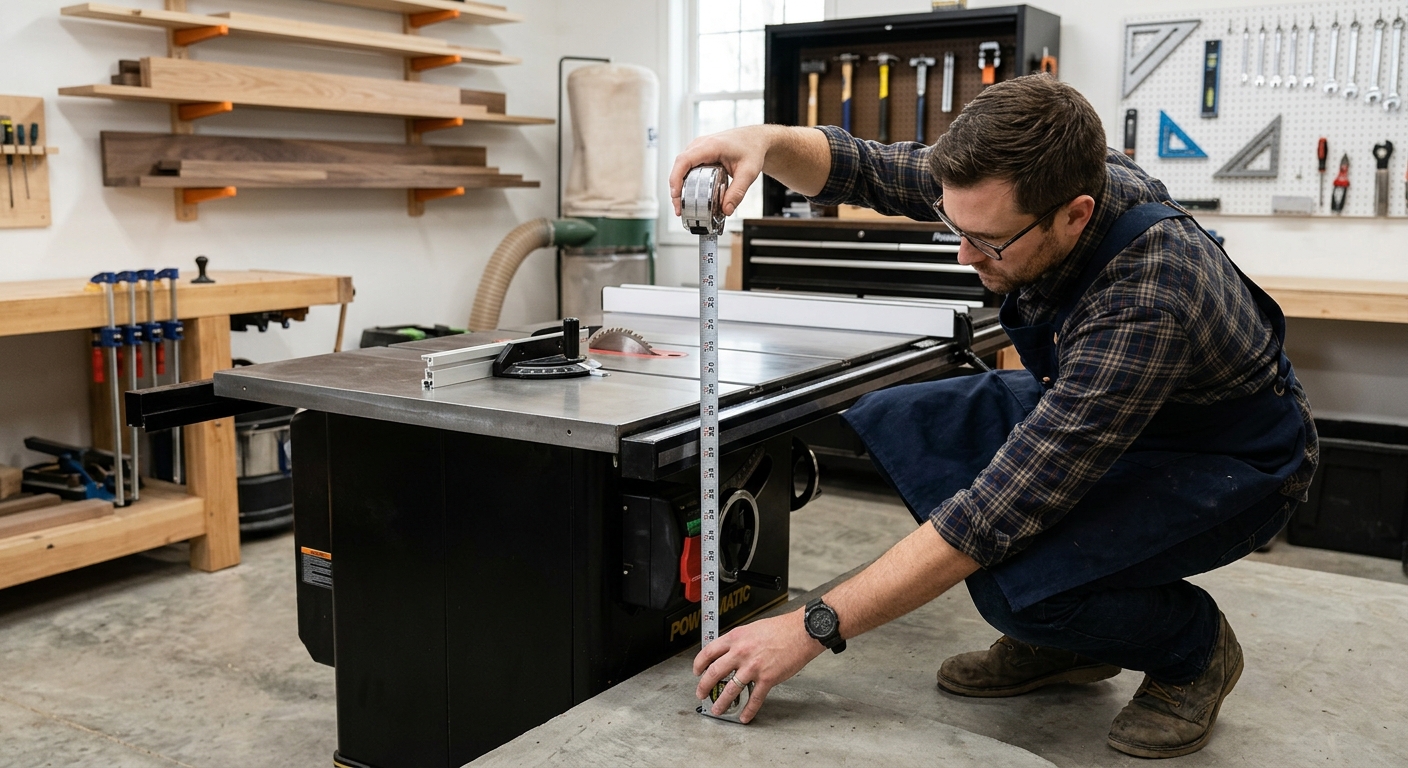
The outfeed table top must be at the same height as your table saw table or very slightly lower – within 1/16 inch. Measure from the floor to your table saw surface precisely. Subtract the thickness of the outfeed table top (3/4 inch) to get the height of the support structure. Build to this measurement.
Step 2 – Build the Wall Cleat
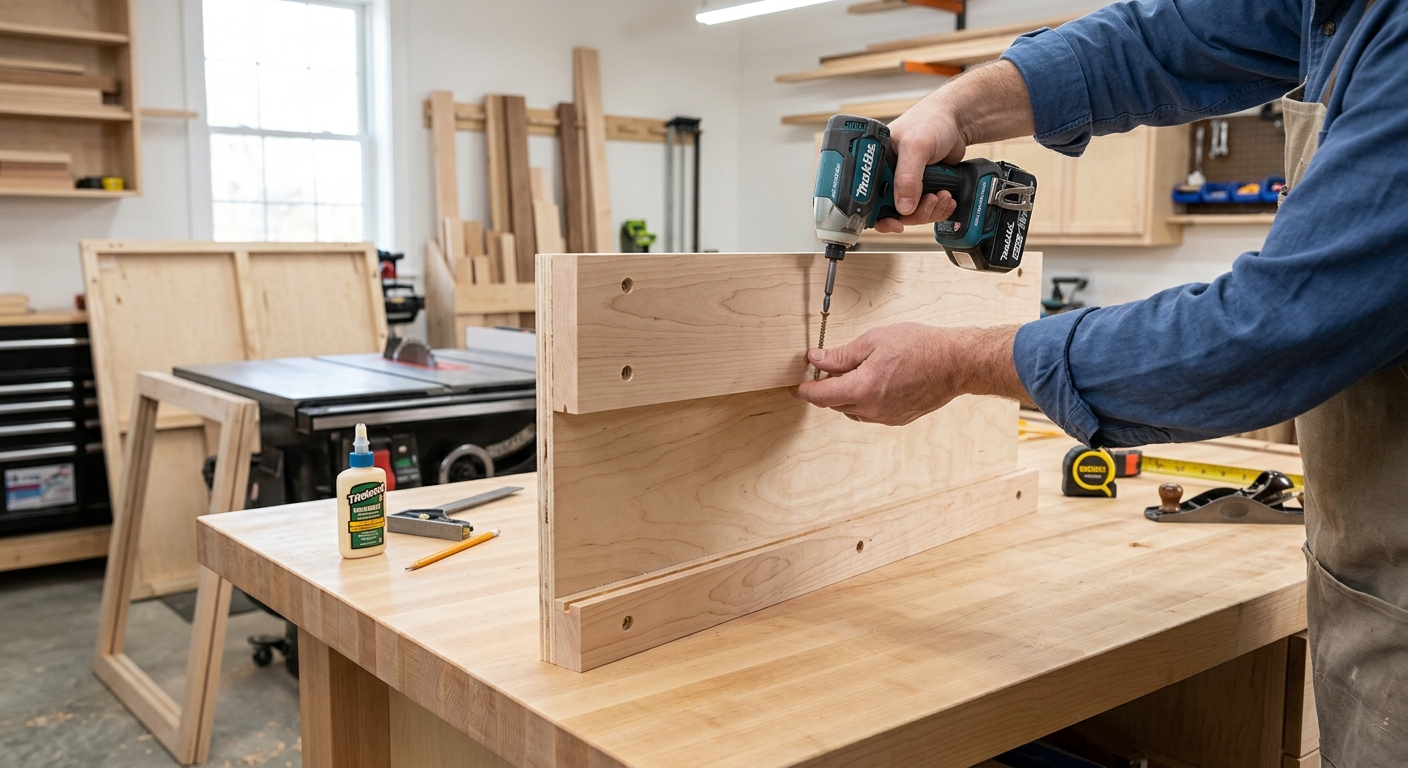
The wall cleat is a 2×4 mounted horizontally on the wall behind the saw. Mount it level at the height calculated in Step 1. Use lag screws into studs at each end – this cleat carries the full weight of the table and any material on it, so it must be solidly anchored. Level is critical: any tilt in the cleat becomes tilt in the table top.
Step 3 – Attach the Table Top
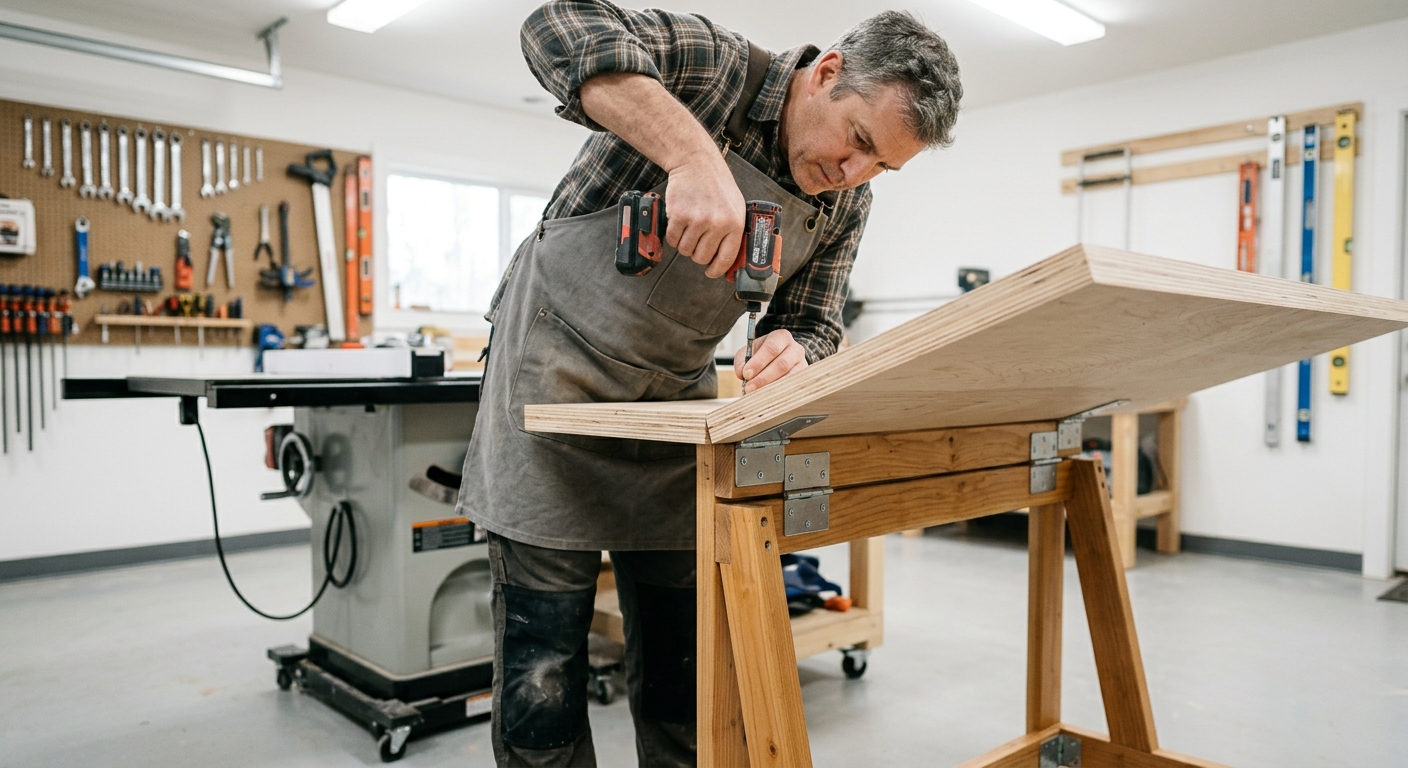
The table top attaches to the cleat with a piano hinge. The hinge runs the full length of the back edge of the table top. When deployed, the table is horizontal; when folded, it hangs flat against the wall. Attach the hinge to the wall cleat first, then to the table top. Check that the table lands level and at the correct height when deployed before securing the hinge fully.
Step 4 – Add the Folding Leg
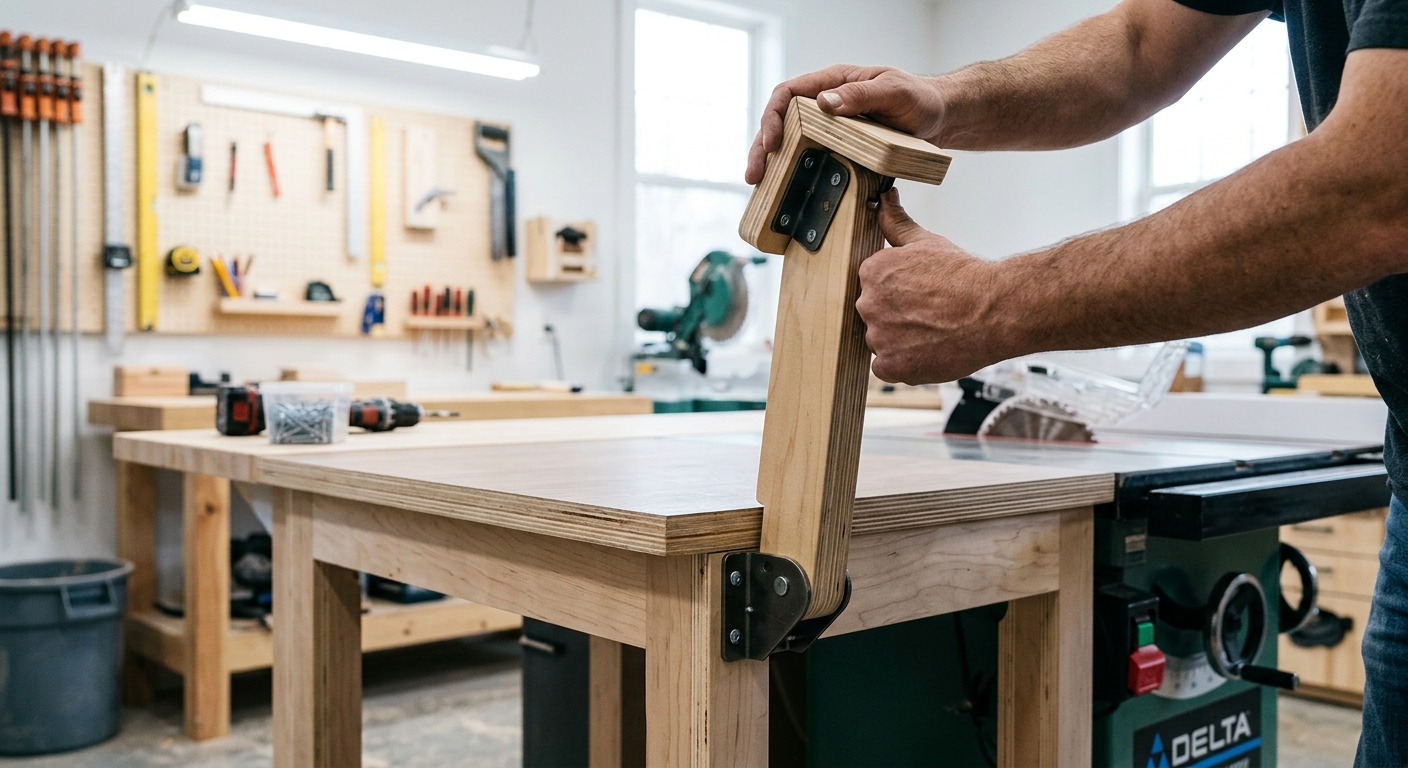
A single folding leg bracket mounted on the underside of the table provides the only support other than the hinge. Position the bracket 6 inches from the front edge, centered left to right. When the table deploys, the leg swings down and locks in place. When the table folds, the leg swings up flush against the underside. Cut a 2×4 leg to fit the bracket and reach the floor with the table at the correct height.
Step 5 – Add a Latch
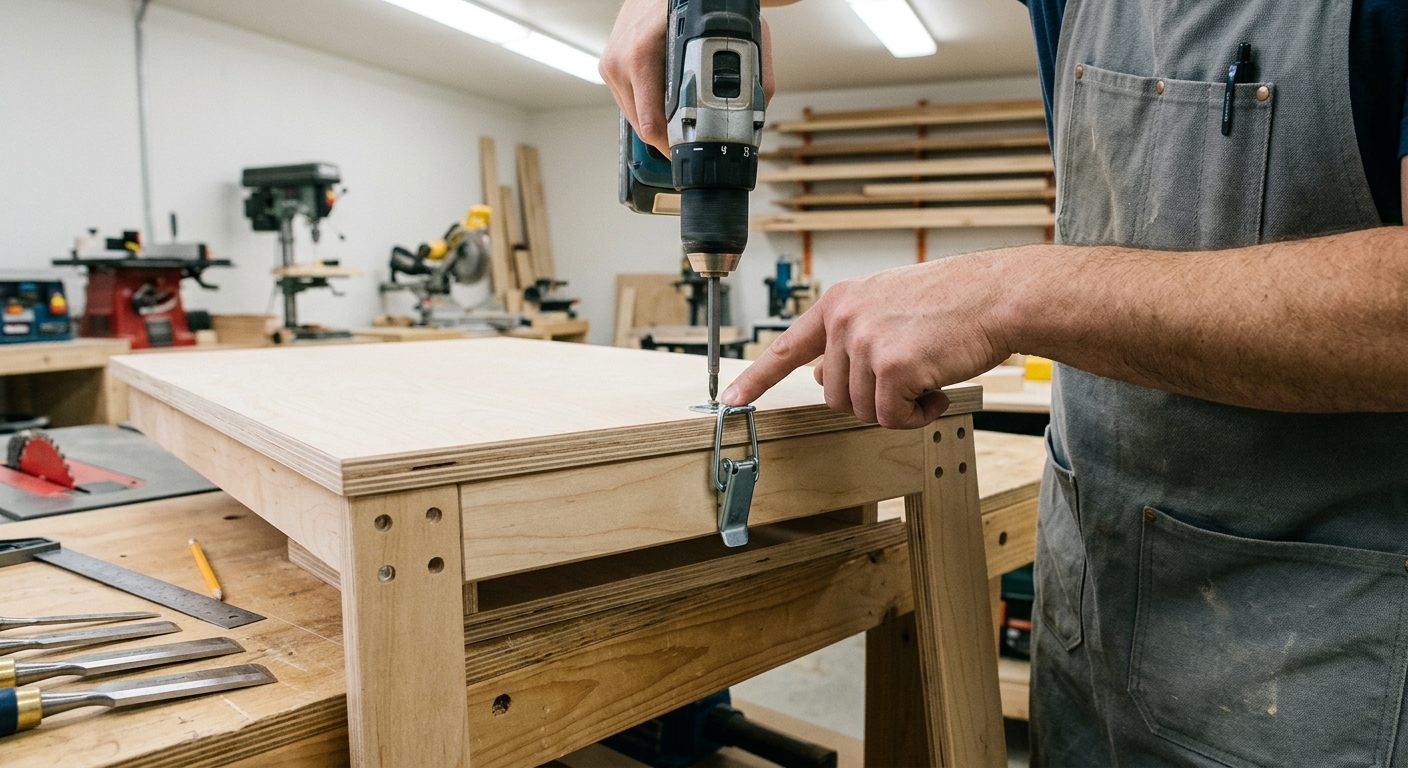
A simple hook-and-eye latch at the front of the table, mounted to a short vertical bracket on the wall, keeps the table folded when stored. Without a latch, the table slowly swings out from its own weight. A magnetic catch also works if you prefer a clean look.
Pro Tips
- Add a strip of T-track along the front edge of the outfeed table for a fence stop. When you’re making repetitive crosscuts using a miter gauge, a stop on the outfeed side of the blade can help position pieces without a fence.
- Wax the top surface lightly. A piece of paraffin rubbed across the plywood surface reduces friction, so boards slide smoothly without catching.
FAQ
Does the outfeed table need to be exactly at saw height?
Exactly at saw height or up to 1/16 inch lower. Lower is fine – the board slides down slightly onto the table. Higher is not fine – the table would catch the board and cause kickback risk or a rough cut at the trailing end.
Can I use the outfeed table for assembly?
Yes. When the saw isn’t in use, the deployed outfeed table is a useful extra surface for layout, assembly, and temporary storage. Just make sure you clear it completely before making a saw cut.