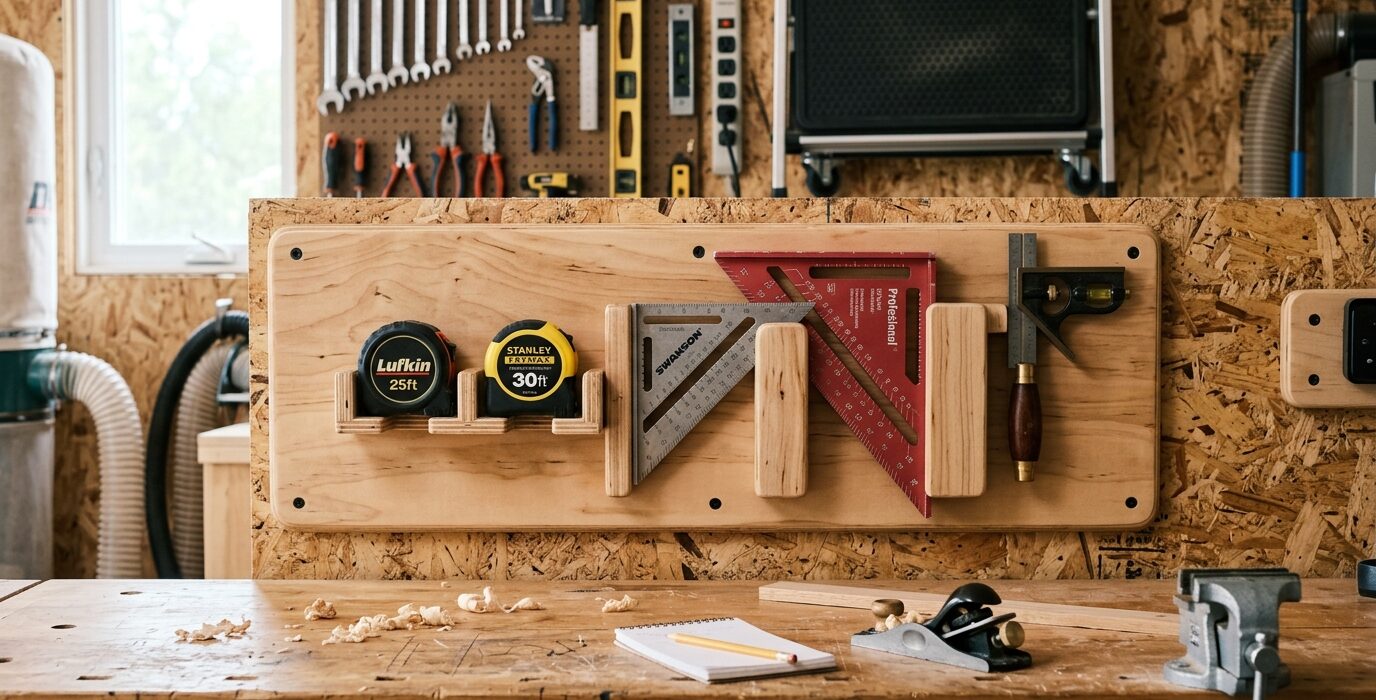
Build a Tape and Square Holder for the Workshop Wall
Measuring tape and square holders are the most basic workshop storage project – and one of the most satisfying. Getting these tools off the bench surface and onto the wall, in a fixed location, eliminates the most common frustration in any shop: “Where’s the tape measure?” When every layout tool has a home within arm’s reach of the bench, your setup time for any project drops significantly. This project covers a combined holder for measuring tapes, try squares, combination squares, and framing squares.
Materials
- 1×6 board, 36 to 48 inches long
- 3/4-inch dowel rod, cut to 4-inch lengths
- Heavy-duty hooks (2-inch bent wire or screw-in variety)
- Wood screws for wall mounting
- Wood glue
Step 1 – Plan Your Layout
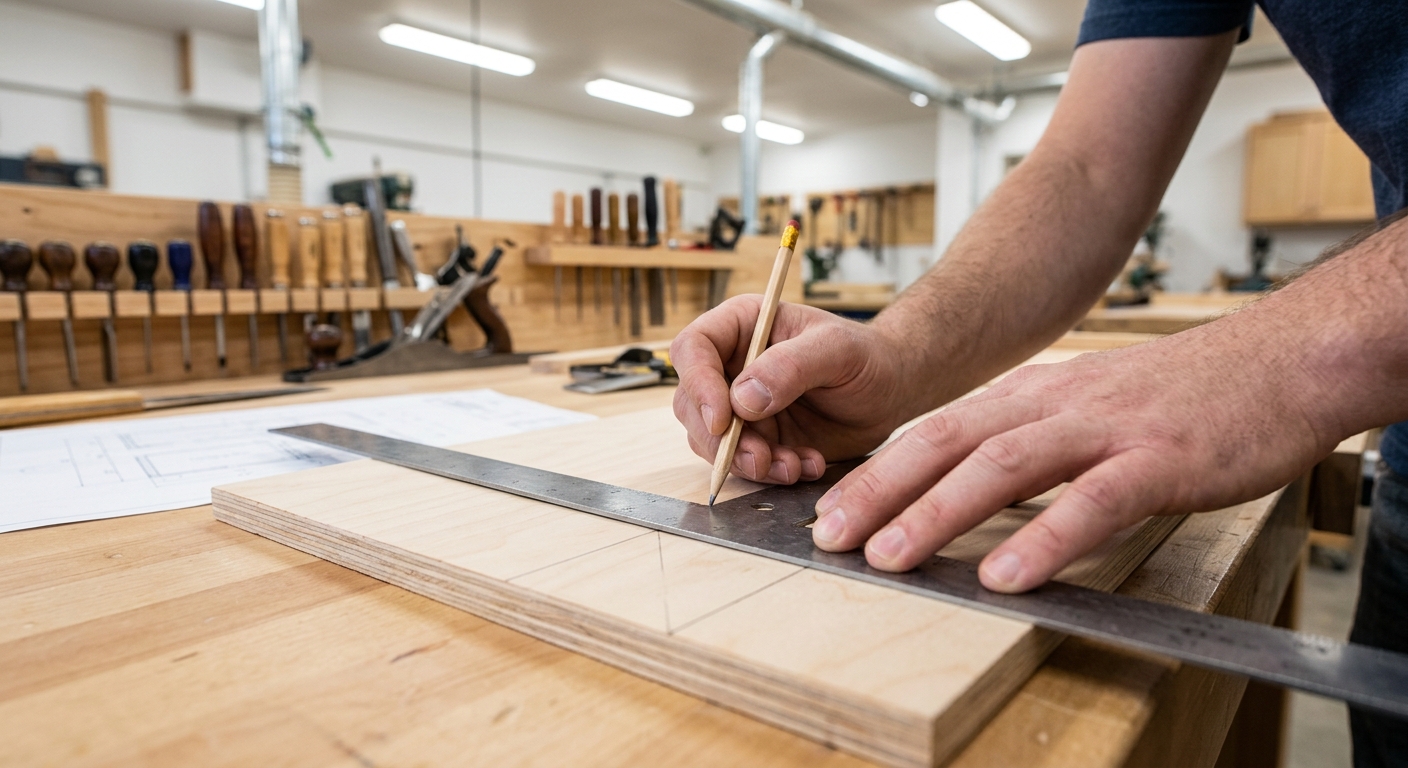
Lay all your squares and measuring tapes on a table and group them by type. Measuring tapes hang well on hooks. Try squares and combination squares can hang on hooks through their holes or sit in slots. Framing squares need a dedicated pair of horizontal pegs to hang from their handle. Plan the holder to accommodate every tool you currently own, plus room for two or three additions.
Step 2 – Build the Measuring Tape Section
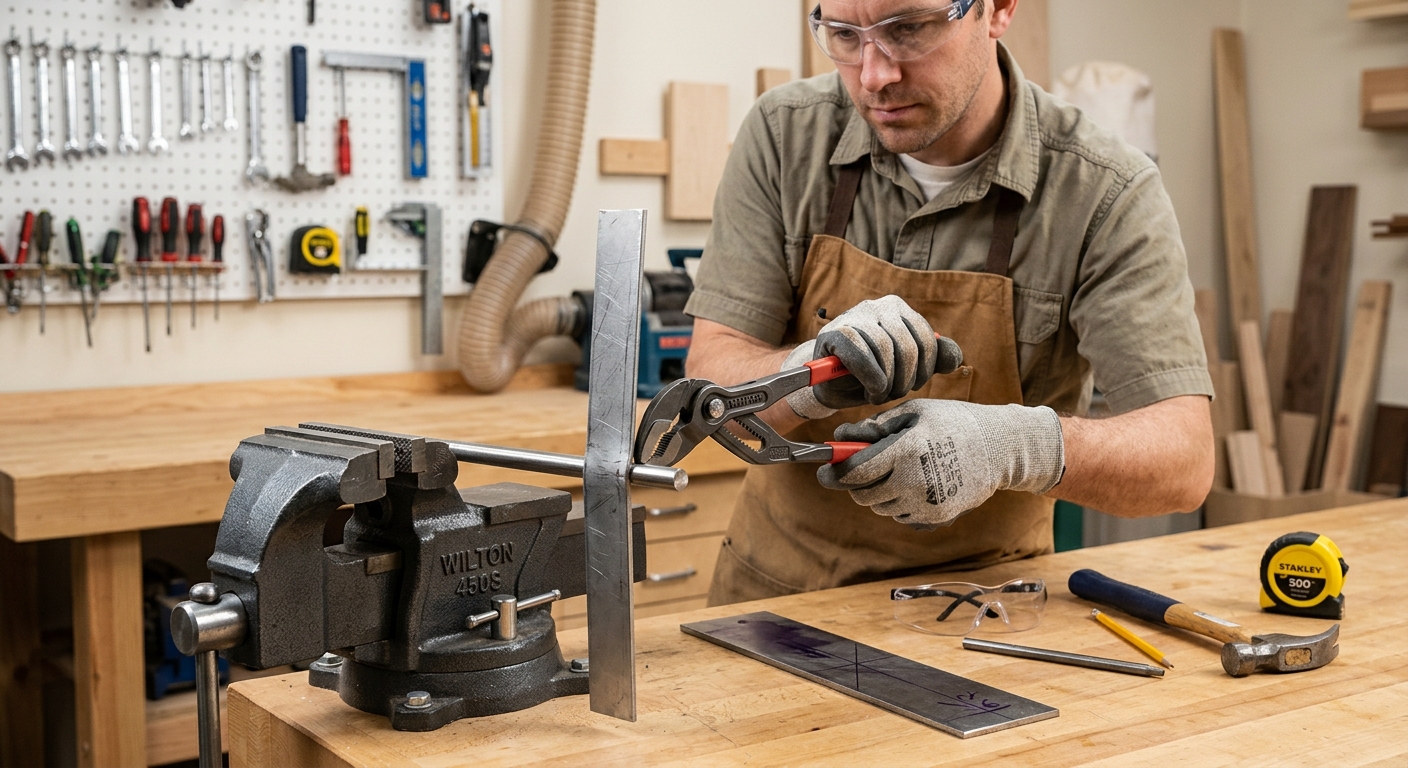
Screw heavy-duty hooks directly into the face of the 1×6 board, spaced 3 inches apart. The hook catches through the measuring tape’s belt clip or the hole in its case. Hooks at 3-inch spacing allow tapes of various sizes to hang without crowding. Label each position with the tape length (25 ft, 16 ft, 12 ft) so the right tape is always returned to the right hook.
Step 3 – Build the Square Section
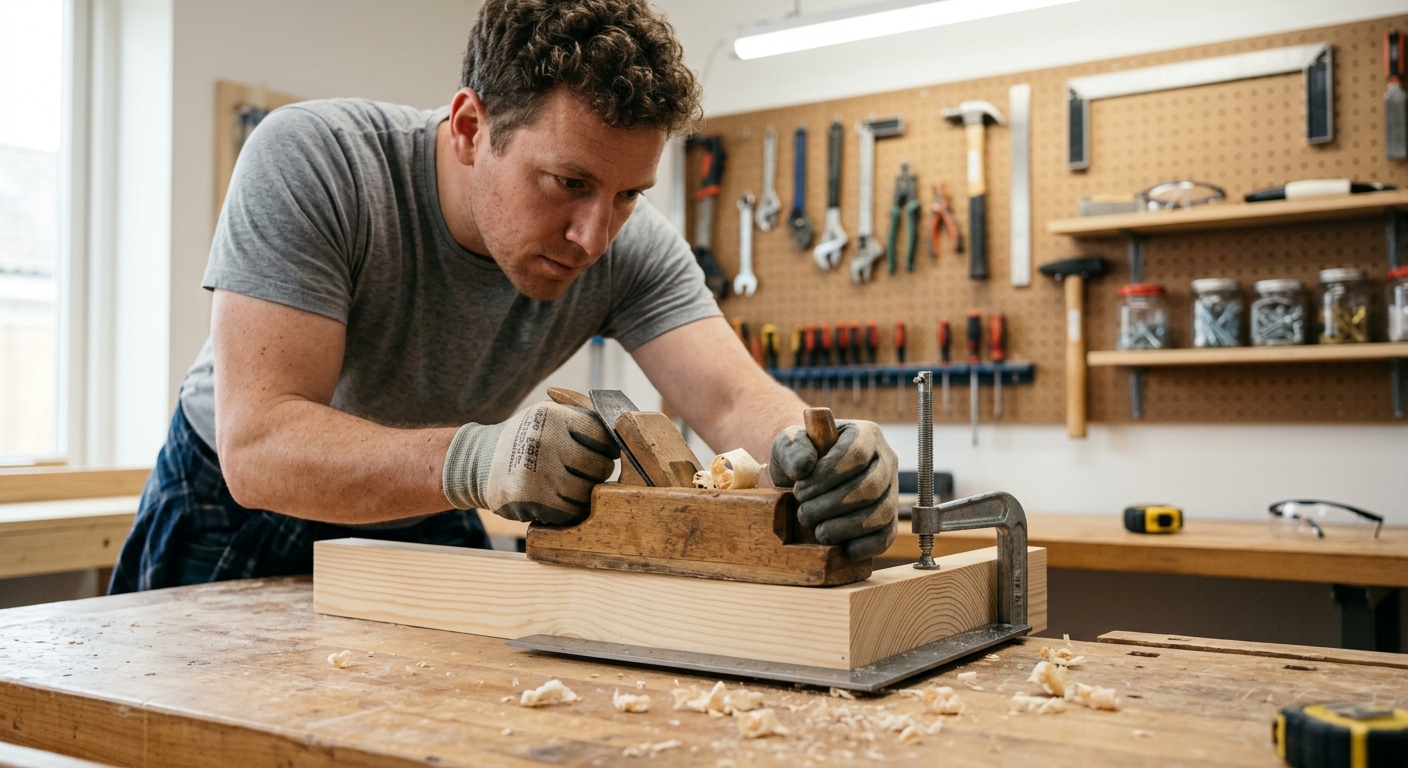
For try squares and combination squares: drill 1-inch holes through the board and insert dowels at a 15-degree forward angle. The blade of the square drops onto the dowel, and the handle rests against the board face. Space dowels 4 inches apart. For a framing square: install two horizontal 3/4-inch dowels projecting 4 inches from the board, 14 inches apart vertically. The framing square’s handle hangs between them.
Step 4 – Mount to the Wall
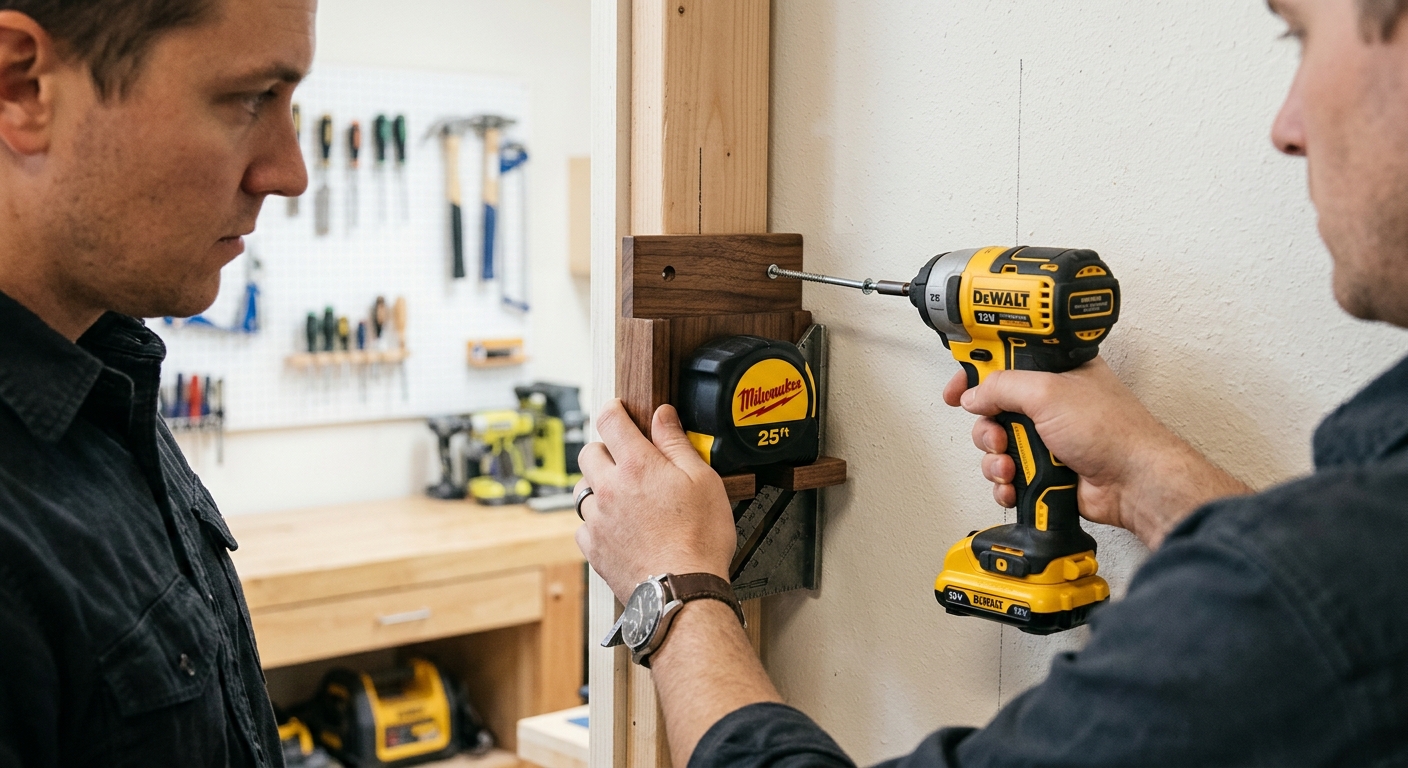
Mount the board at eye level on the wall beside the workbench – the position where you’ll be standing when you reach for a square or tape. Use two screws at stud locations. If the stud spacing doesn’t align with your ideal location, use a French cleat to mount the holder anywhere on an existing cleat wall.
Pro Tips
- Add a small pencil holder at one end – a short section of PVC pipe or a drilled hole holds 4 to 6 pencils. Pencils and layout tools belong together on the wall.
- Mount a small mirror or marker board next to the holder to write measurements during layout. A white-board panel cut to 6 by 12 inches and mounted beside the holder gives you a place to write measurements without paper scraps that disappear.
FAQ
Can I store digital calipers on this holder?
Digital calipers need protection from impact and dust. A small padded case or a dedicated drawer is better than an open holder. If you must hang them on the wall, a felt-lined wooden case with a magnetic catch protects the measuring surfaces.
How do I keep combination squares from sliding off the holder?
A short stop block glued below each dowel prevents the square from sliding off the end. Alternatively, add a slight forward angle to the dowel (5 to 10 degrees downward toward the board) so gravity keeps the square seated.