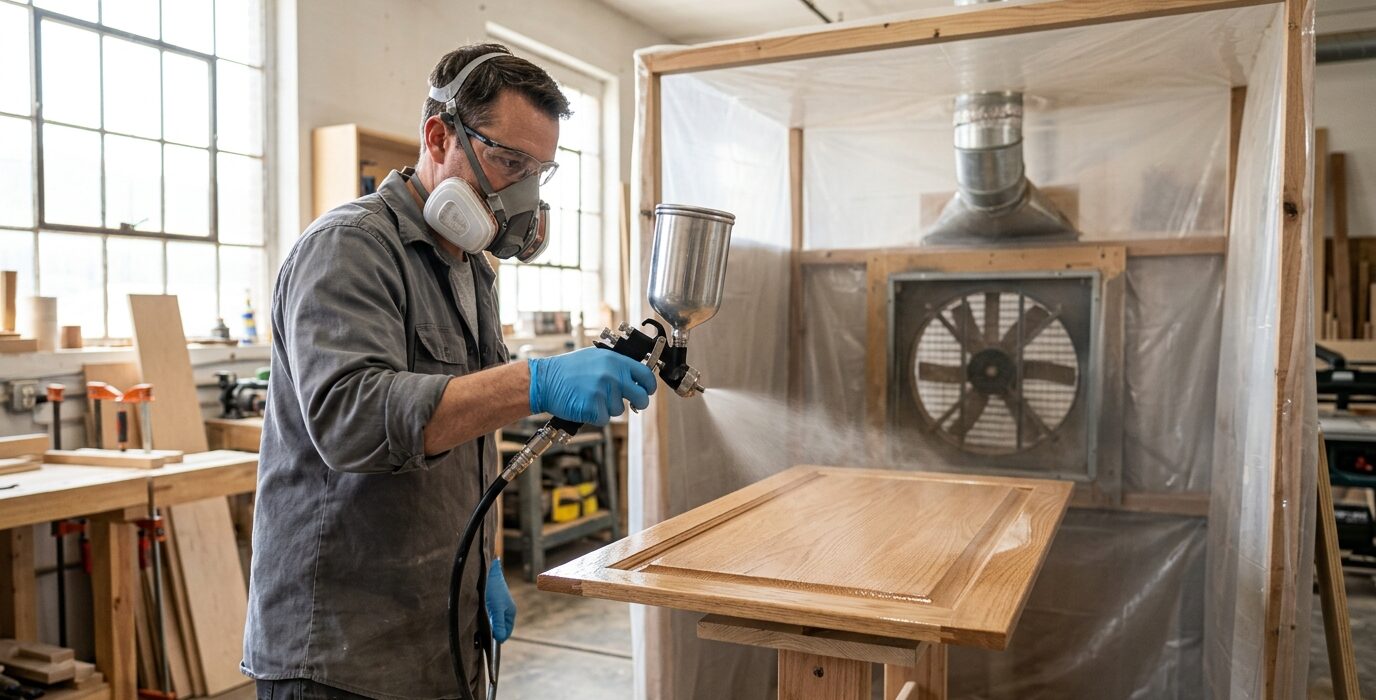
How to Apply Danish Oil for a Natural Hand-Rubbed Finish
Danish oil is one of the most forgiving and beautiful natural finishes for wood. It penetrates into the wood fiber rather than building a film on top, bringing out the natural color and chatoyance (depth) of the grain without the plastic look of heavy polyurethane. It’s forgiving to apply – drips don’t cause runs, laps don’t cause ridges – and the result is a warm, natural look that showcases the wood rather than encasing it. Here’s how to get perfect results every time.
What Danish Oil Is
Danish oil is typically a blend of tung oil, linseed oil, and alkyd resin, sometimes with mineral spirits for penetration and driers for faster cure. The exact formulation varies by brand (Watco, Hope’s, and others have slightly different blends). The result is a penetrating oil finish that dries by oxidative polymerization – it cures (hardens) rather than just drying by evaporation. This makes it durable as a penetrating finish, though not as durable as a film finish like polyurethane.
Surface Preparation
Danish oil is not forgiving of surface preparation shortcuts. Any sanding scratches, plane tracks, glue spots, or surface irregularities will show under Danish oil – in fact, the finish often emphasizes defects by making the wood darker and more transparent at the same time. Sand to at least 220-grit. Wipe off all dust with a tack cloth or compressed air. Any residual oil from handling will cause blotching – wear gloves and keep the surface clean.
Application – First Coat
Apply Danish oil generously with a cloth or a natural bristle brush. Let it penetrate for 15 to 30 minutes – the wood should look wet throughout. Then wipe off all excess oil with a clean cloth. “Wipe on, wipe off” – the oil that stays in the surface is the finish; the oil on the surface is excess that must be removed or it will become tacky.
Subsequent Coats
After 24 hours (longer in cold or humid conditions), apply a second coat the same way. Three to four coats builds good protection. After the final coat, wipe to remove all excess and buff the surface lightly with a clean cloth. The surface should feel smooth and not tacky at all – if it feels tacky, more wiping is needed or the cure time was insufficient.
Safety – Oily Rag Warning
Rags soaked in Danish oil are a significant spontaneous combustion risk. As the oil oxidizes (cures), it generates heat. A pile of oil-soaked rags in a confined space can reach ignition temperature without any external heat source. Spread used rags flat to dry outdoors, or submerge them in a bucket of water. Never pile them in a trash can.
FAQ
How durable is Danish oil? More durable than raw oil, less durable than a film finish. For furniture that sees regular use (table tops, drawer faces), Danish oil needs refreshing every year or two with a light recoat. For decorative pieces, shelves, and wall art, a one-time Danish oil application lasts for decades.
Can I put polyurethane over Danish oil? Yes – once the Danish oil has fully cured (72 hours minimum), oil-based polyurethane can be applied over it. Wait longer if the shop is cold. Never apply water-based polyurethane over uncured oil-based finishes.