How to Spray Finish with an HVLP Gun
An HVLP (High Volume, Low Pressure) spray gun delivers finish in a fine, controlled atomized mist with less overspray than conventional spray guns. For woodworkers ready to step up from brush application, an HVLP turbine system opens up a whole class of finishes – lacquers, conversion varnishes, thinned oils, and fast-drying waterborne finishes – that are impractical to apply by brush. The learning curve is real but manageable, and the results are substantially better than most brushed finishes.
HVLP System Types
- Turbine HVLP: Uses a dedicated turbine to supply high-volume air. Self-contained, no compressor required. Better for large areas. Apollo, Fuji, and Earlex make quality systems at $200 to $600.
- Compressor-driven HVLP gun: Uses a standard shop compressor with an HVLP gun and pressure regulator. More flexible but requires a compressor that can keep up. Entry-level guns from Devilbiss or Apollo start at $50 to $100.
Step 1 – Prepare the Finish
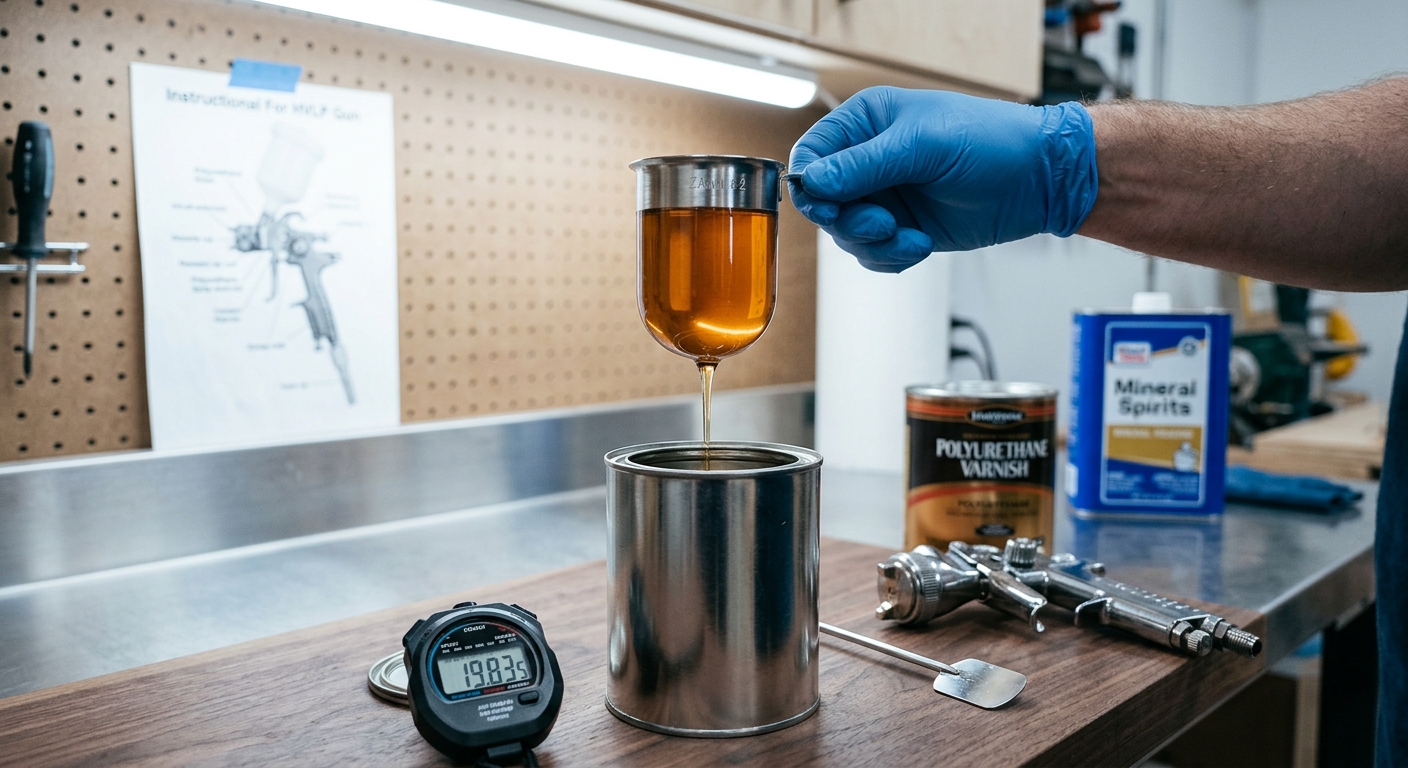
Most finishes need thinning for spray application. Test-spray an unmixed finish – if it produces a “orange peel” texture (dimpled like an orange), thin by 5 to 10 percent with the appropriate solvent (mineral spirits for oil-based, water for water-based). Test in a steady, even wet coat on cardboard. Correct viscosity is achieved when the sprayed surface looks “wet and level” rather than textured.
Step 2 – Set Up the Spray Area
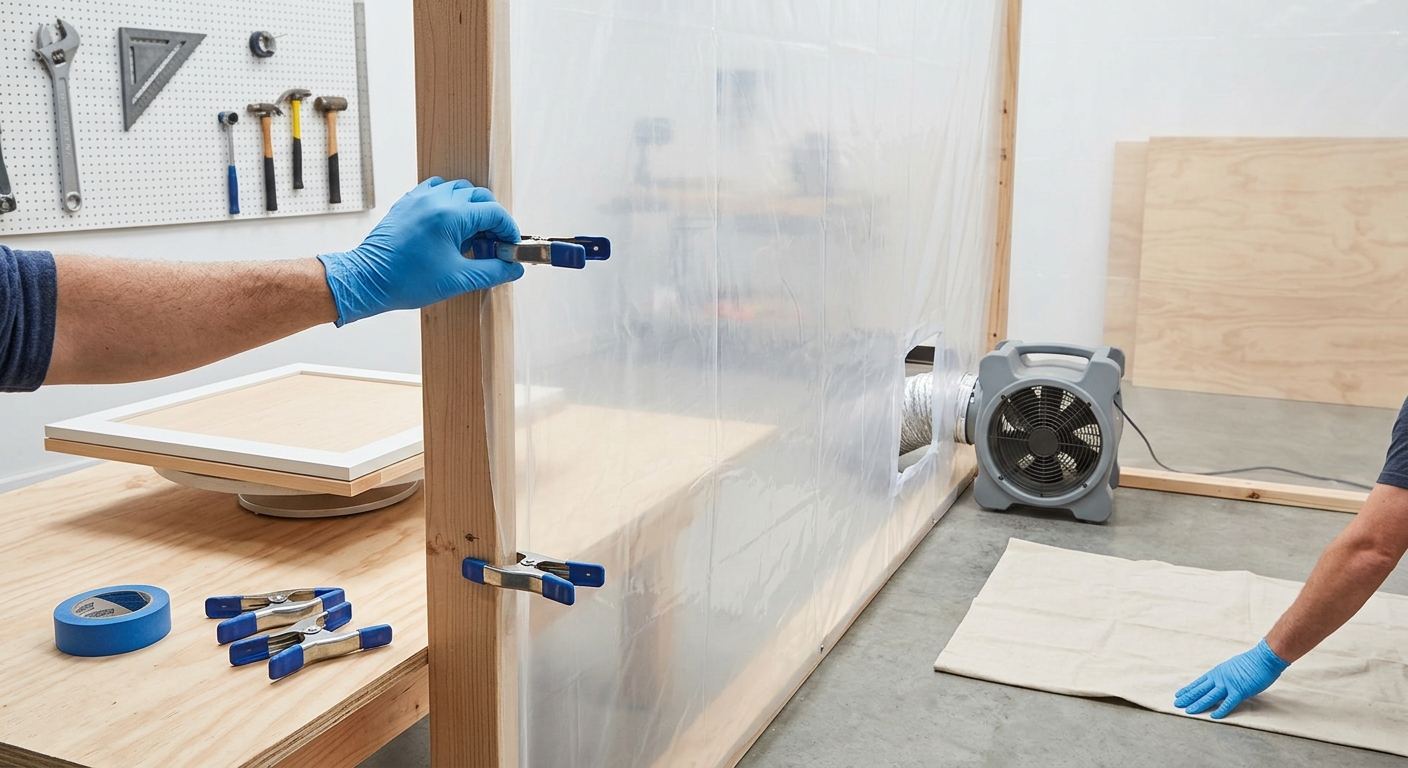
Ventilate the spray area before starting (see the spray finishing area guide). Position the workpiece vertically when possible – a vertical piece catches less overspray on the top surface and gives you access to all faces. Set up lighting from two sides for even coverage assessment. Hang the piece from a wire through a screw hole or use a lazy Susan turntable.
Step 3 – Set the Gun Controls
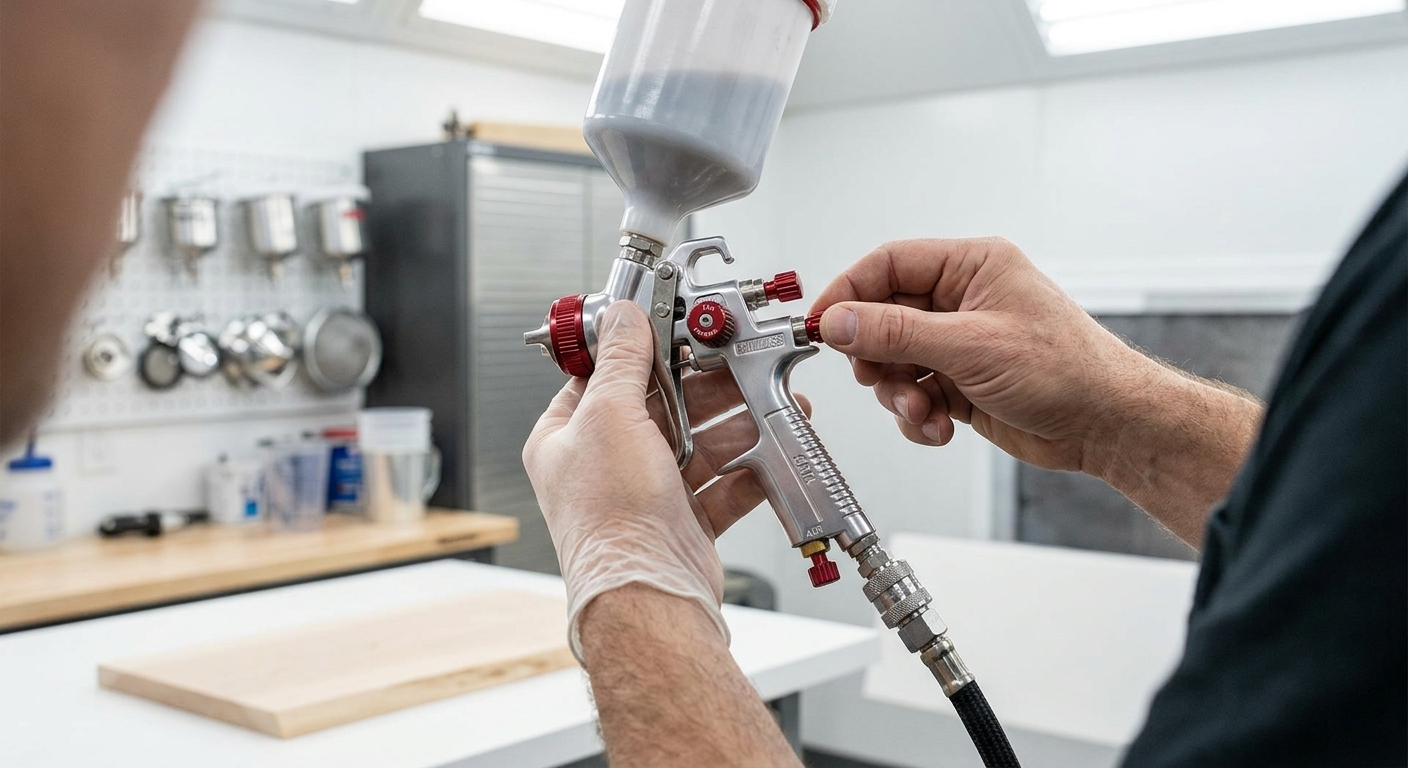
HVLP guns have three control knobs: fluid needle (controls finish flow), fan pattern (controls spray width), and air adjustment. Start with: fan at medium-wide, needle at medium, air at recommended PSI for the gun. Spray a test pattern on cardboard and look for a consistent, teardrop or oval pattern with no heavy spots at the ends (which indicates too-narrow fan or too much fluid flow).
Step 4 – Spray Technique
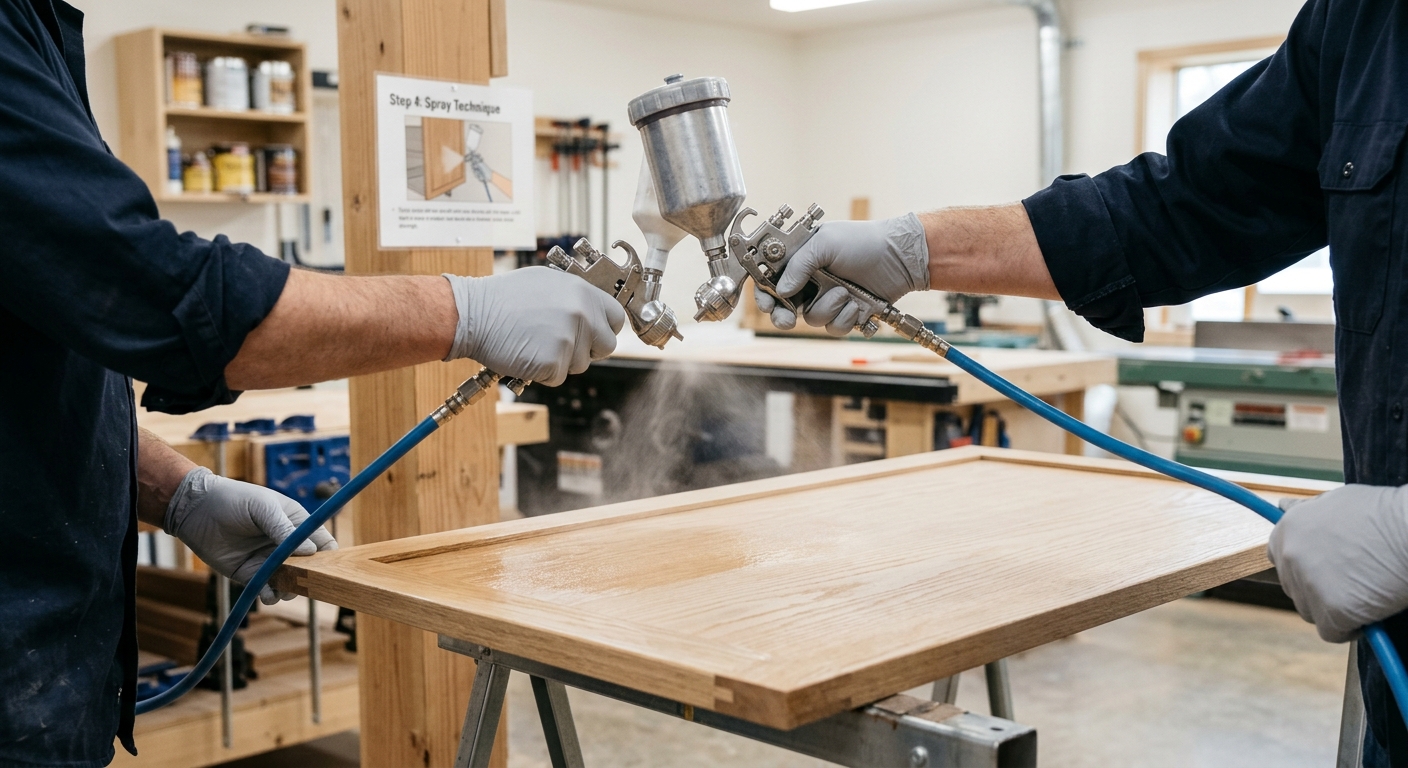
Hold the gun 6 to 8 inches from the surface. Trigger the gun before the edge of the panel and release after the edge – don’t start or stop mid-surface. Move the gun at a consistent speed parallel to the surface, overlapping each pass by 50 percent. Never arc your wrist – keep the gun perpendicular to the surface throughout the pass.
Step 5 – Multiple Light Coats
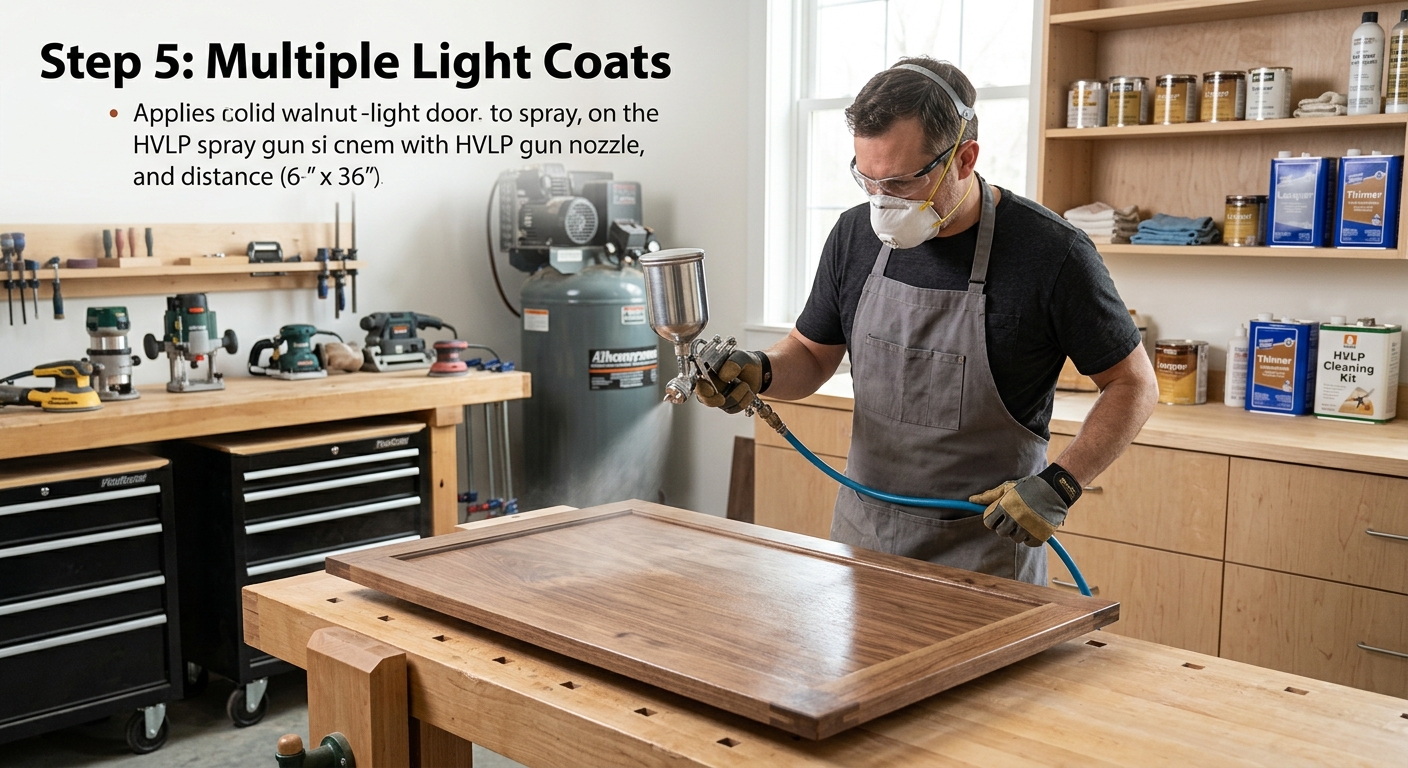
Two to three light coats build better than one heavy coat. Heavy coats sag and run. Light coats flash off quickly (especially lacquer) and can be recoated in 15 to 30 minutes. Sand between coats with 320-grit to knock down any raised grain or nibs. The final coat needs no sanding if the spray technique is correct.
Gun Cleaning
Clean the gun immediately after every use – never leave finish in the gun. Run solvent through the gun until it comes out clear. Disassemble the needle and tip and clean with a brush. A gun cleaned after every use lasts decades; one left with dried finish inside becomes unusable quickly.
FAQ
Is HVLP messy? Less messy than conventional spray guns, but still messy. Wear a respirator, protect the surrounding shop with plastic sheeting, and clean up overspray from surrounding surfaces before it dries. A well-designed spray area (plastic curtain walls, floor paper) contains most of the mess.
Can I spray lacquer with an HVLP gun? Yes – HVLP is widely used for lacquer in professional shops. Use a dedicated solvent-resistant turbine system and ensure proper ventilation. Lacquer spraying requires explosion-proof fans in the spray area.