How to Cut Perfect Circles with a Router and Circle Jig
A router circle jig cuts perfect circles from any radius from a few inches to several feet – smooth, accurate, and repeatable. A shop-made circle jig costs almost nothing and takes 30 minutes to build. The result is a circle quality that no jigsaw, bandsaw, or scroll saw can match: perfectly smooth, perfectly round, with an edge ready for finishing without additional work.
How the Jig Works
The jig is a straight bar attached to the router base. One end connects to the router (replacing the standard base, or attaching to an accessory hole). The other end has a pivot pin that sticks into the center of the circle. As the router spins and you rotate it around the pivot pin, the bit cuts the circle at a fixed radius. Changing the distance from the pivot to the bit changes the radius.
Materials
- One strip of 1/2-inch MDF or plywood, 2 x 30 inches (the jig bar)
- A pivot pin – a short bolt or a round nail works
- Your router’s base plate mounting holes or accessory holes
- A spiral upcut bit for plunge cutting the starting point
Step 1 – Build the Jig Bar
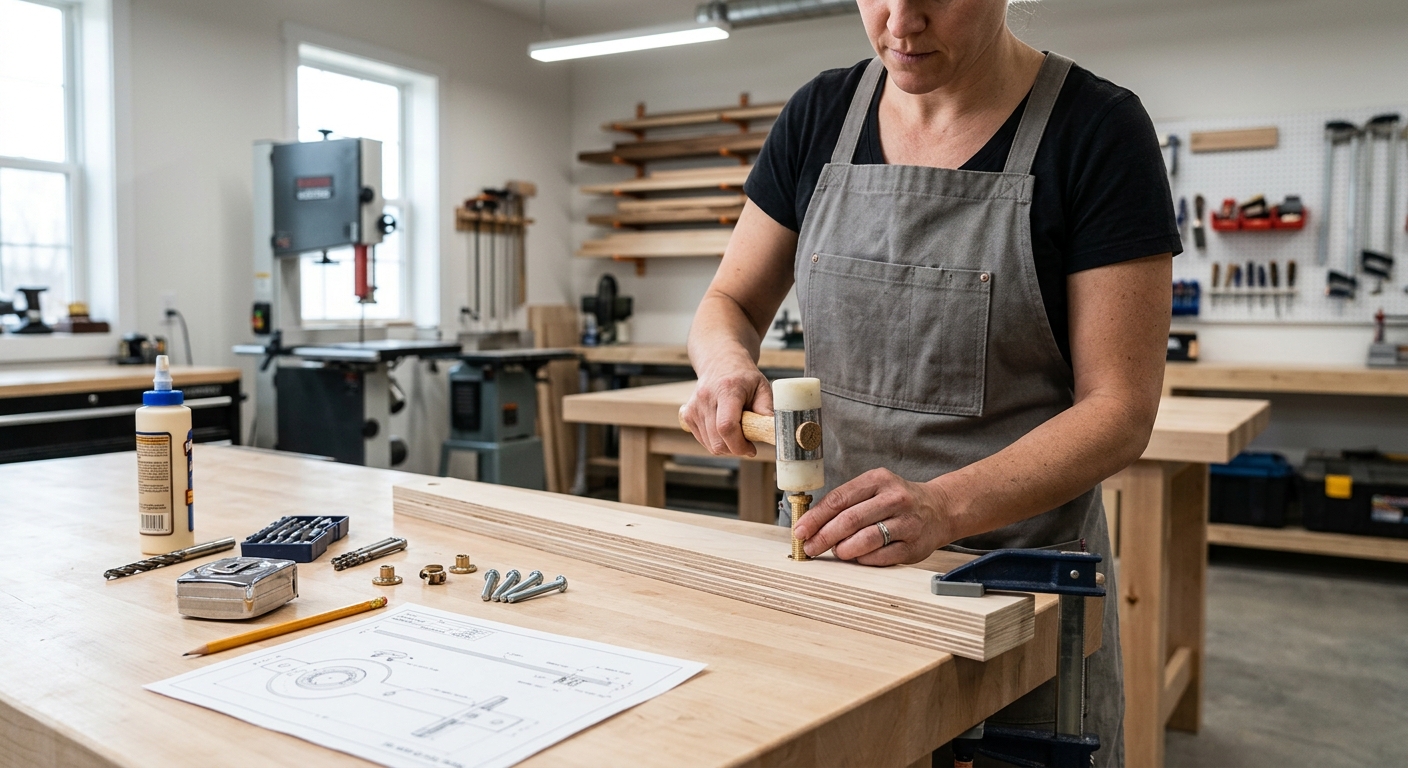
Cut the bar from 1/2-inch MDF or plywood to 2 x 30 inches. Drill holes along the centerline at 1-inch intervals – these allow you to set the pivot at any radius from 4 inches to 28 inches. At one end, drill mounting holes that match your router’s base plate holes. The router attaches to the bar using these mounting holes.
Step 2 – Find the Bit Center on the Bar
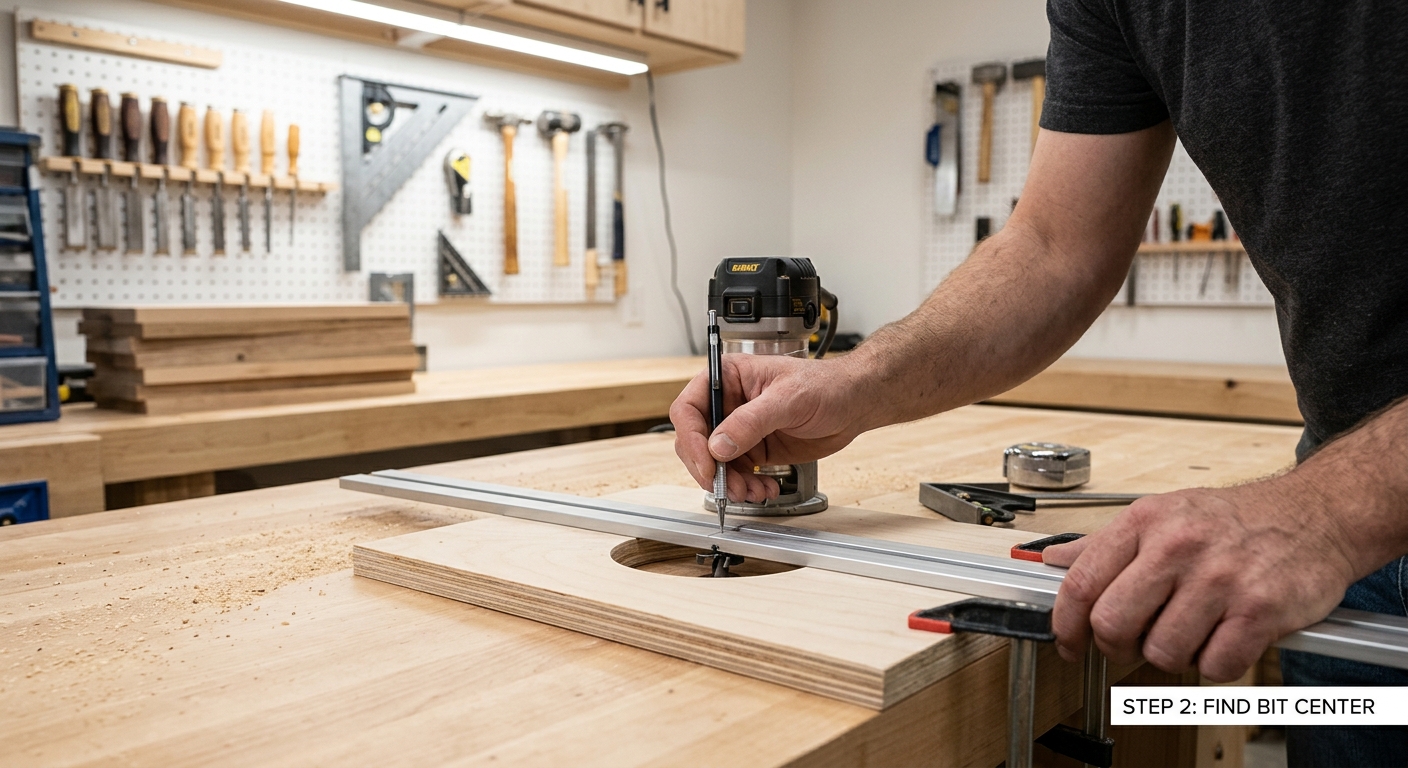
With the router attached, look down through the router base to find exactly where the bit will be. Mark this point on the bar as “bit center.” All radius measurements are taken from the bit center to the pivot hole you’ll use.
Step 3 – Set the Radius
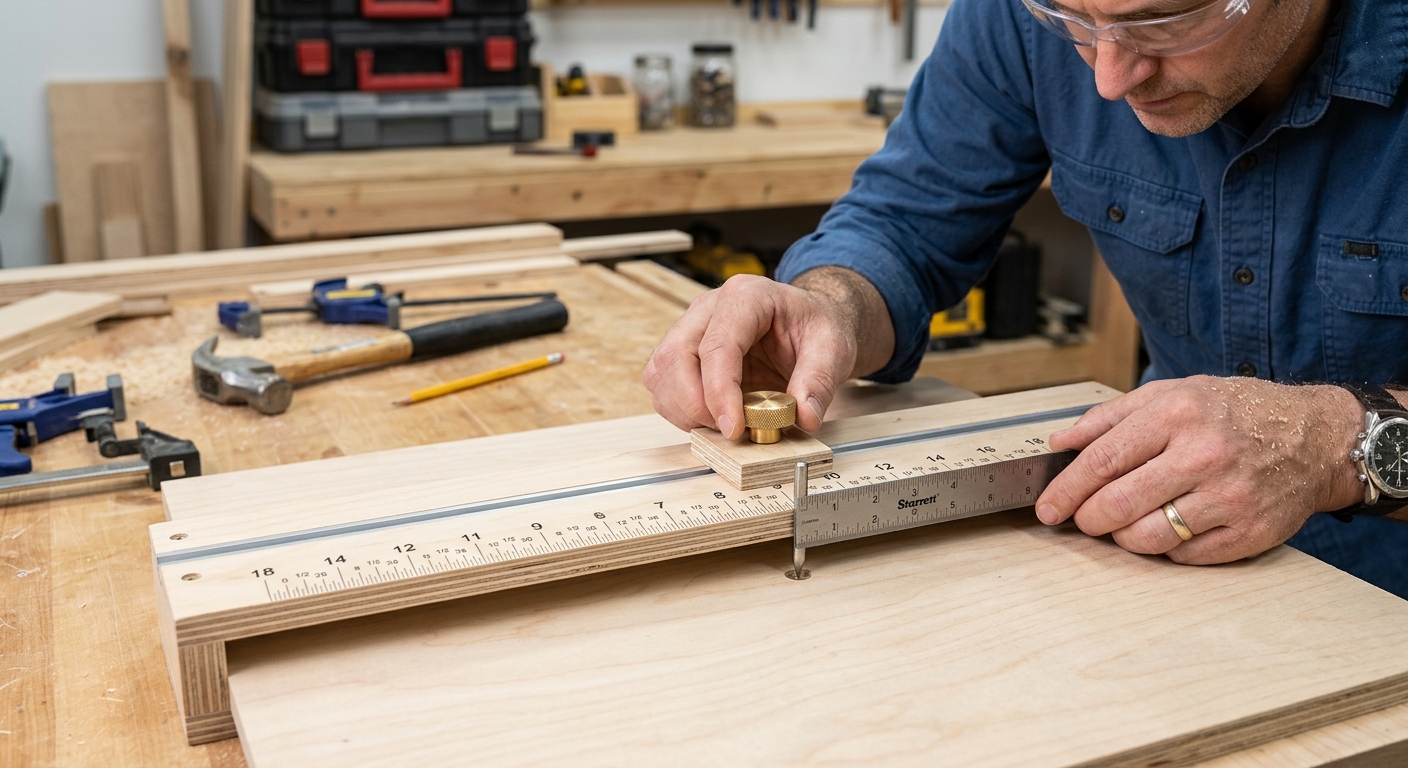
Measure from the bit center along the bar to the pivot hole that gives your desired radius. For a 12-inch radius circle (24-inch diameter), the pivot hole should be exactly 12 inches from the bit center. Insert the pivot pin into that hole.
Step 4 – Locate the Center Point and Plunge
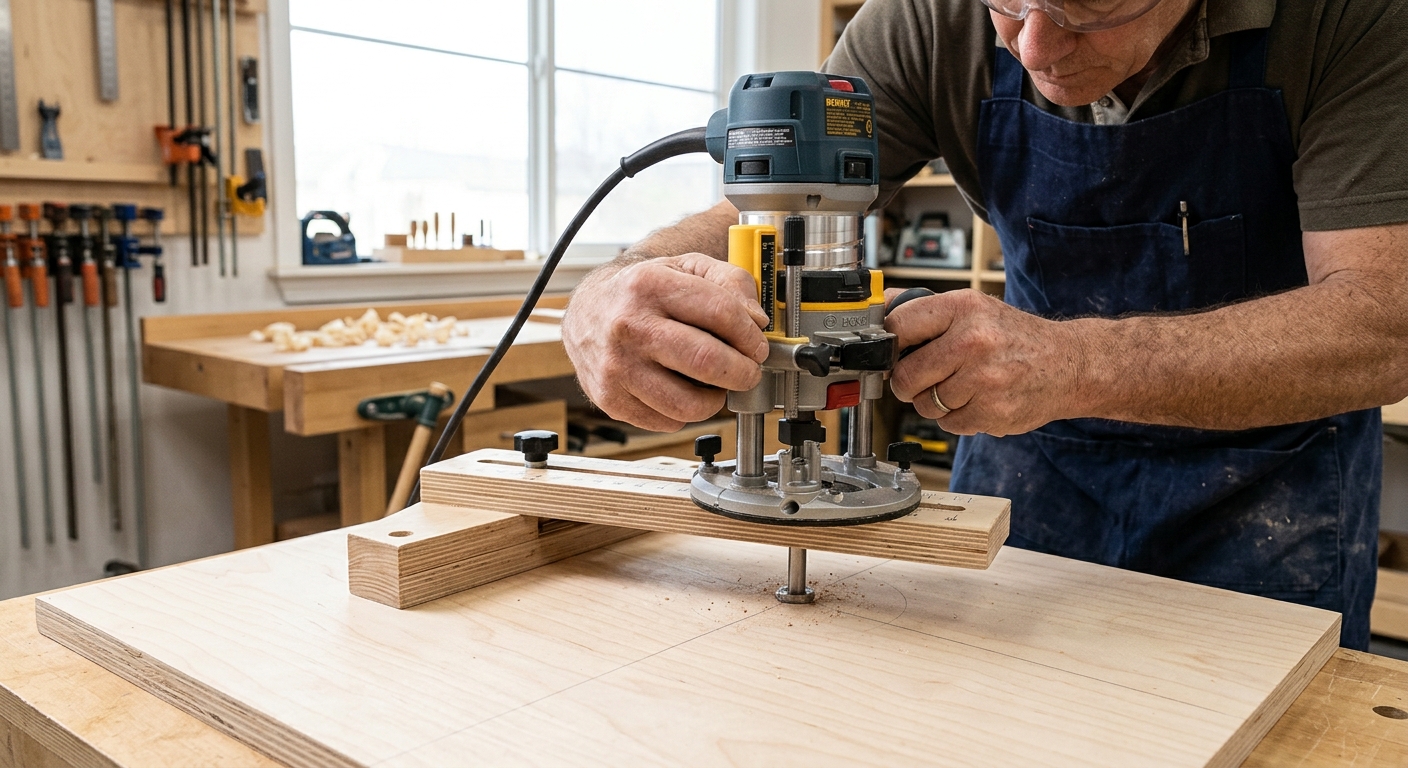
Mark the center of the circle on the workpiece. Drive the pivot pin into the center mark just enough to hold firmly. Plunge the router bit into the workpiece at the starting point. Set the depth for the full workpiece thickness if cutting a circle out, or shallower for decorative circles. Rout in a counterclockwise direction (conventional cutting direction for a downcut bit).
Step 5 – Multiple Passes for Thick Material
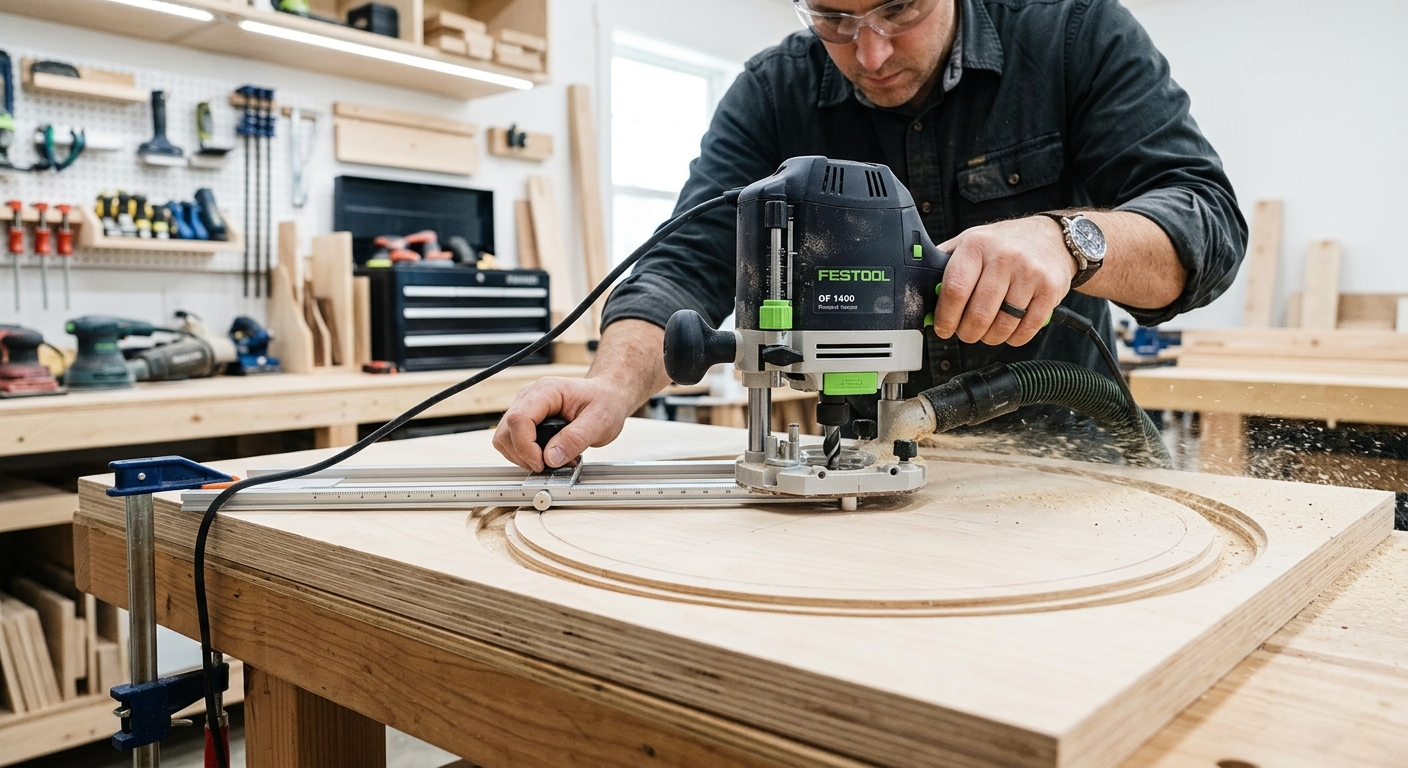
For material thicker than 1/2 inch, make multiple passes increasing the depth by 1/4 inch per pass. This reduces cutting force, extends bit life, and produces a cleaner edge. On the final pass, take a light finishing pass – just 1/16 inch deeper than the previous – for the smoothest possible circle edge.
FAQ
What bit produces the cleanest circle edge? A 1/2-inch diameter upcut spiral bit produces a clean edge on most materials. A compression spiral (with both upcut and downcut flutes) is ideal for plywood – it leaves a clean edge on both the top and bottom face simultaneously.
How do I handle the pivot hole in the finished workpiece? The pivot hole is a small hole in the center of the circle – often acceptable or invisible in the finished piece. If the center must be clean, glue a scrap backer piece below the workpiece, put the pivot in the backer only, and rout through the top layer. The top layer center remains pristine.