Build a Sandpaper Dispenser for Quick Grit Changes
Sandpaper organization is an unglamorous problem that affects shop productivity every day. Loose sheets stack up in disarray. You can never find the right grit without sorting through the pile. Partial sheets get mixed with full sheets. Sanding discs go everywhere. A simple wall-mounted sandpaper dispenser organizes full sheets by grit, keeps partial sheets accessible, and puts discs in a separate labeled holder – all in a 12-by-24-inch footprint on the wall.
Materials
- 1/4-inch plywood for the back panel – 12 by 24 inches
- 1×4 lumber for the horizontal dividers
- 1/2-inch dowel for the front retaining rails
- Wood screws and glue
- Optional: a small plastic bin for sanding discs
Step 1 – Plan the Grit Sections
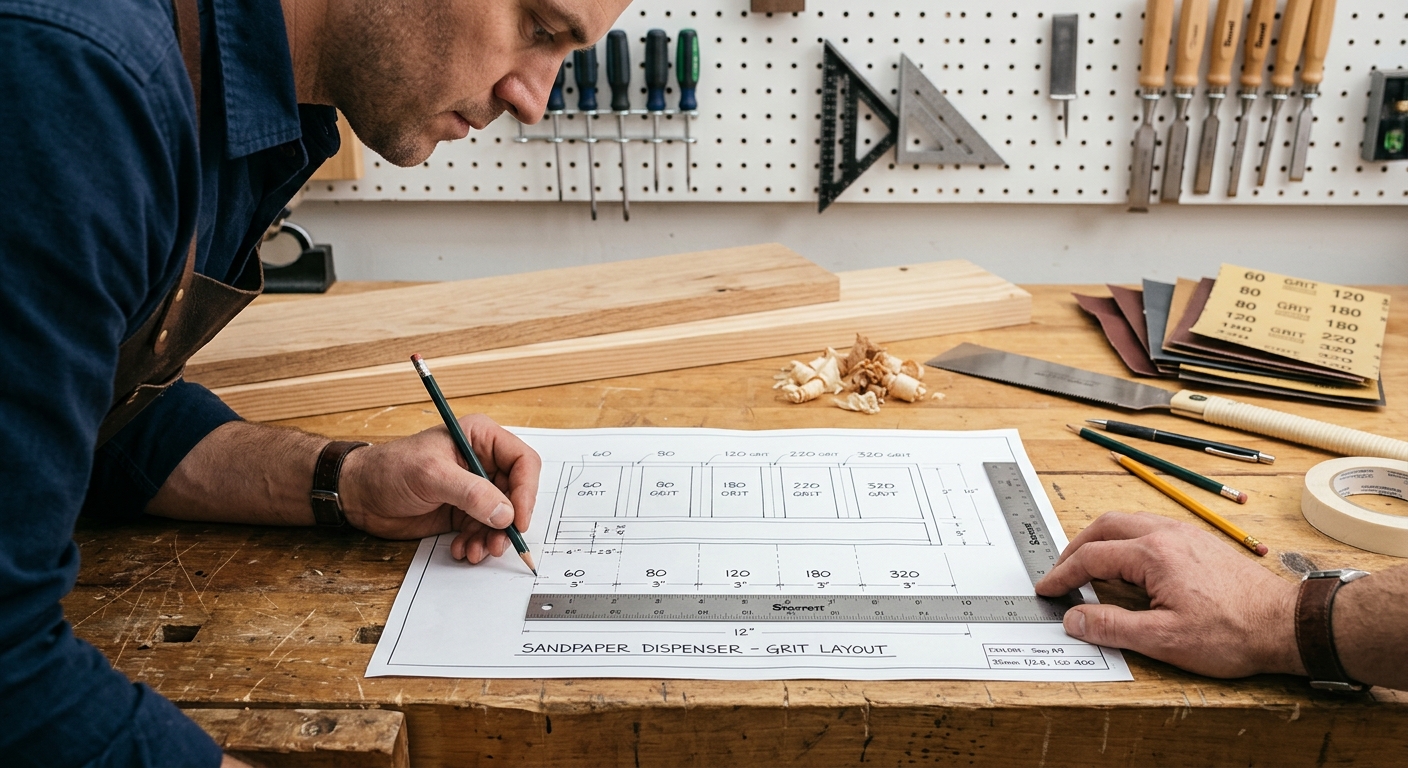
Count the grits you stock. Typical: 60, 80, 100, 120, 150, 180, 220, 320, and 400. That’s 9 grits. Each section needs to hold 5 to 10 full sheets plus partial sheets. At 3 inches per section, a 27-inch tall dispenser covers 9 grits. Fewer grits, or sections you double up, can reduce this height.
Step 2 – Build the Divider System
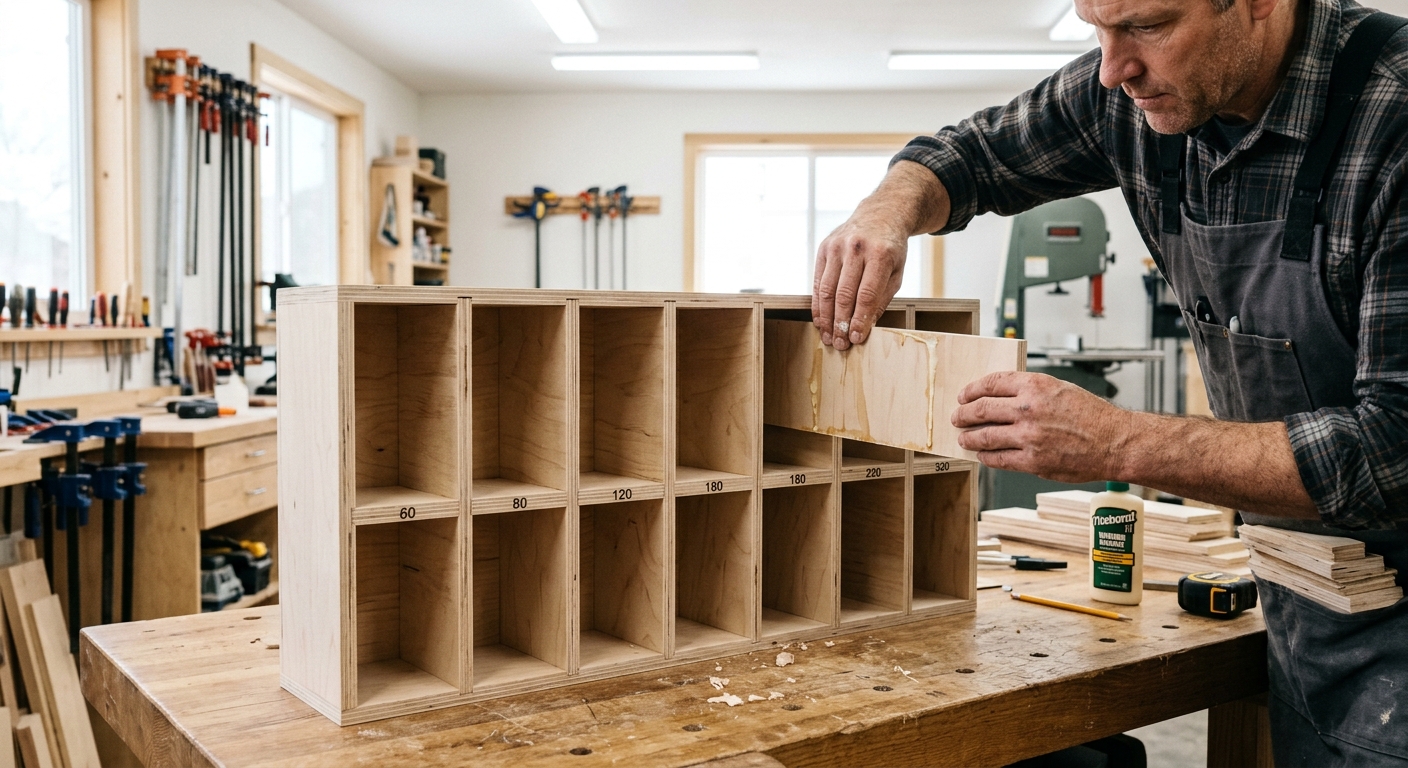
Cut the 1×4 lumber into horizontal shelf pieces the width of the plywood back panel. Space them every 3 inches vertically. Attach with glue and screws through the back panel. Each shelf creates the bottom of one grit section. The back panel holds the sheets in place; the shelf is the floor of each slot.
Step 3 – Add Front Retaining Rails
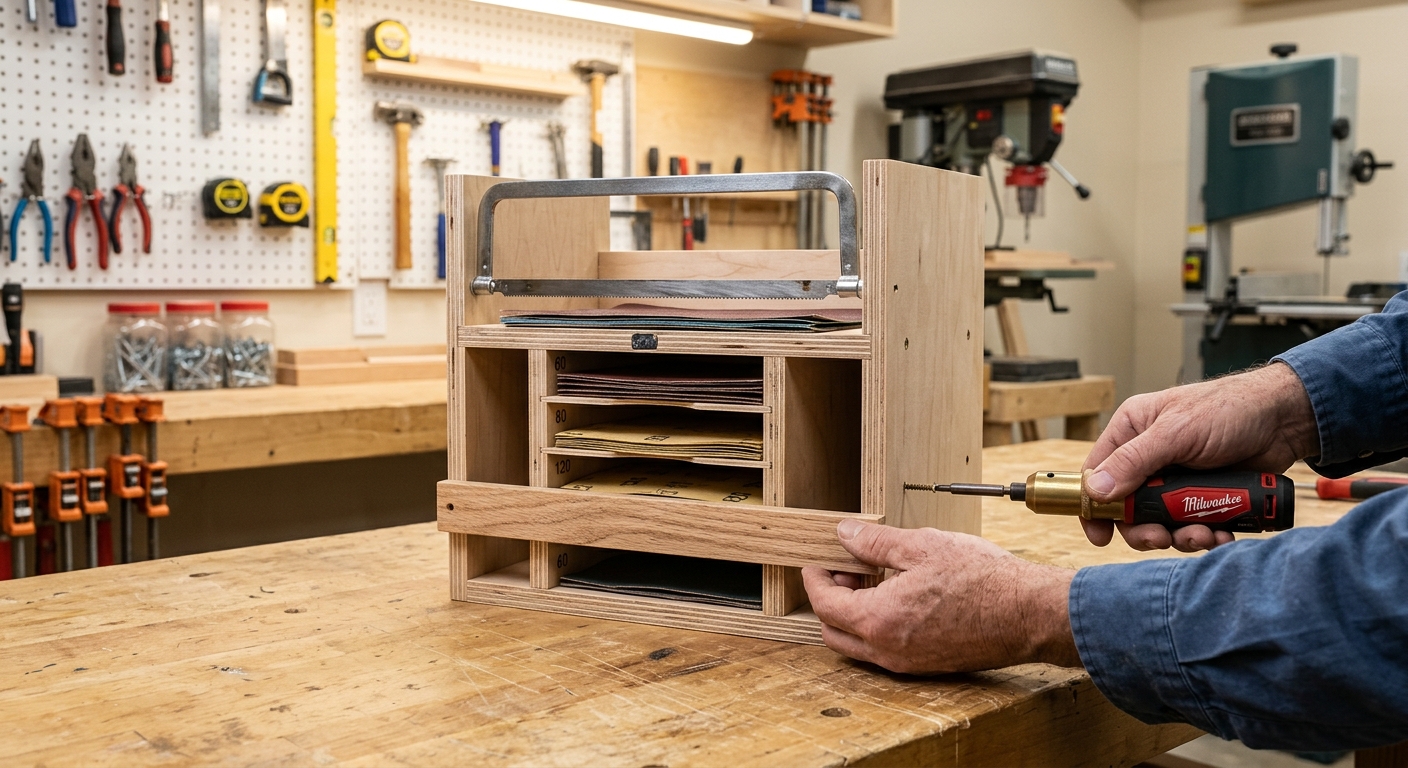
Cut the 1/2-inch dowel into sections the width of the panel. Attach one dowel to the front of each shelf using small U-brackets or by drilling holes and gluing. The dowel is the front lip that keeps sheets from falling out of each slot. Position the dowel 1 inch below the shelf above – this creates a slot opening that’s easy to insert and remove sheets from, while holding them securely.
Step 4 – Label Everything
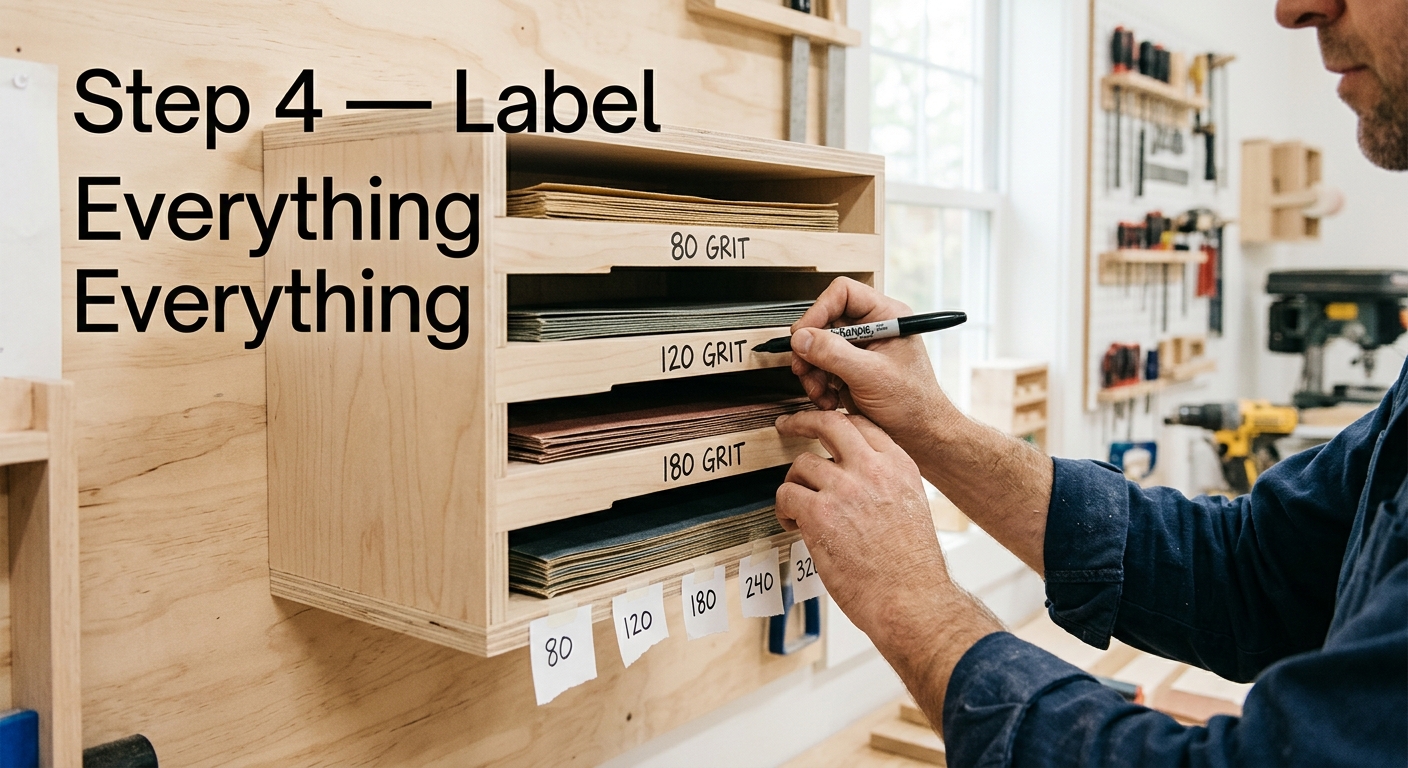
Write the grit number on the front face of each shelf section. Use a paint marker for permanence. Label in large, clear numerals – you need to read the label quickly when your hands are dusty and you’re in the middle of sanding a project. Consider color-coding: red for coarse (60-80), orange for medium (100-150), green for fine (180-220), blue for finishing (320+).
Step 5 – Mount and Add Disc Storage
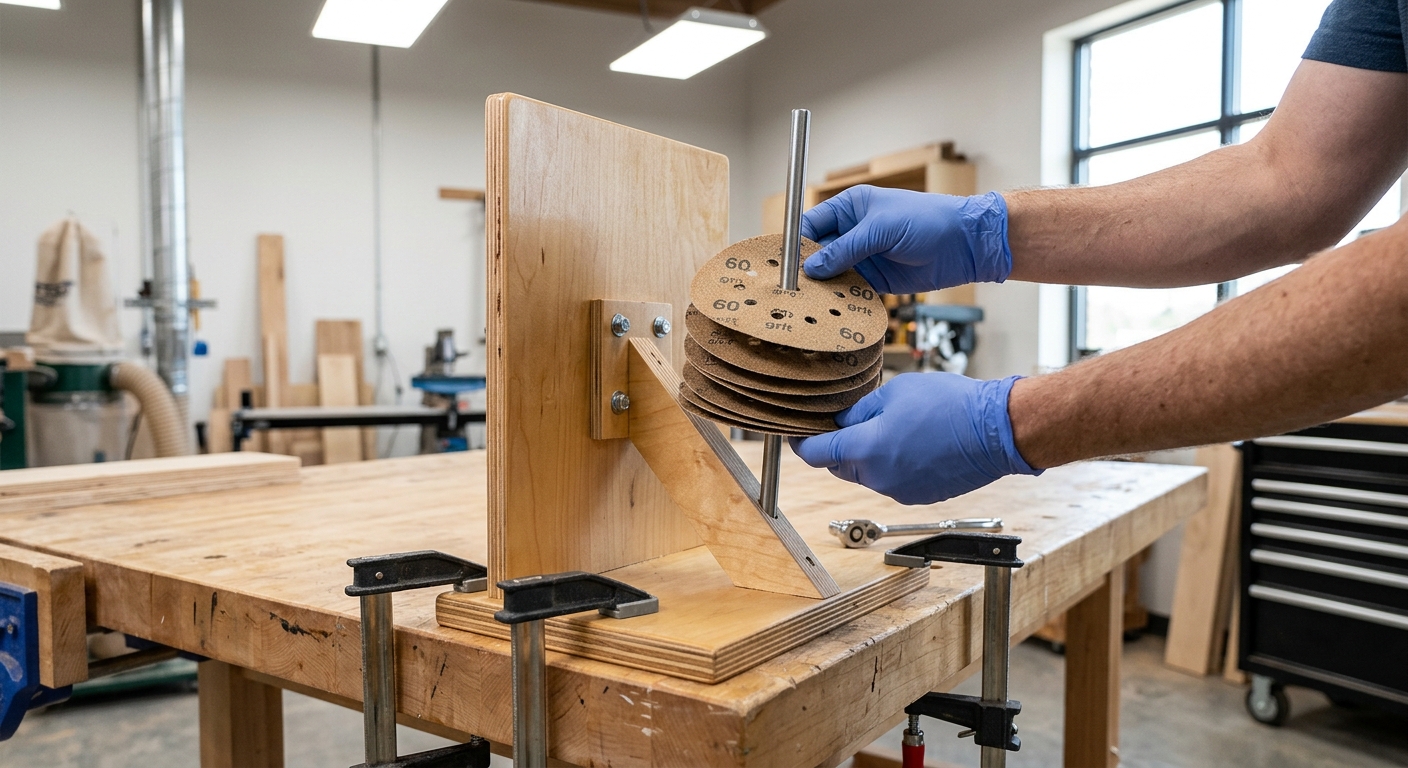
Mount the dispenser at eye height on the wall nearest your sanding area. Add a small plastic bin below the dispenser for sanding discs – 5-inch and 6-inch discs stand on edge in a bin so you can see all grits at once. Label the bin by grit or use dividers within the bin.
FAQ
What’s the minimum set of sandpaper grits I should stock?
For most furniture work: 80, 120, 150, 180, and 220. This covers rough material removal, intermediate sanding, and final prep before finishing. Add 320 and 400 for between-coat sanding of finishes. Add 60 for very rough material removal or stripping.
How do I store specialty sandpaper like wet/dry paper?
Wet/dry paper needs to be stored flat to prevent curling at the edges. A flat drawer or a separate flat file holder works better than the slot system for wet/dry paper. Label it clearly – wet/dry paper looks similar to regular sandpaper and the wrong abrasive on the wrong application causes problems.