How to Build a Folding Outfeed Table for the Table Saw
An outfeed table prevents long boards from tipping off the back of your table saw as you push them through. Without one, you need a helper or you risk kickback. A folding version stores flat against the wall in seconds and deploys to table-saw height in one motion. This is one of the most practical shop builds that pays for itself on the very first sheet of plywood you cut alone.
Materials and Tools
- 3/4-inch plywood – one half-sheet for the table surface
- 1×4 lumber – 12 linear feet for the apron frame
- Two heavy-duty 3-inch hinges for the wall mount
- Two folding table legs with auto-lock mechanism
- Two 3/8-inch carriage bolts, washers, and wing nuts for the support legs
- One piano hinge – 18 inches long for the fold joint if building a split-top version
- Wall anchors rated for 150 pounds minimum
Step 1 – Measure Your Table Saw Height
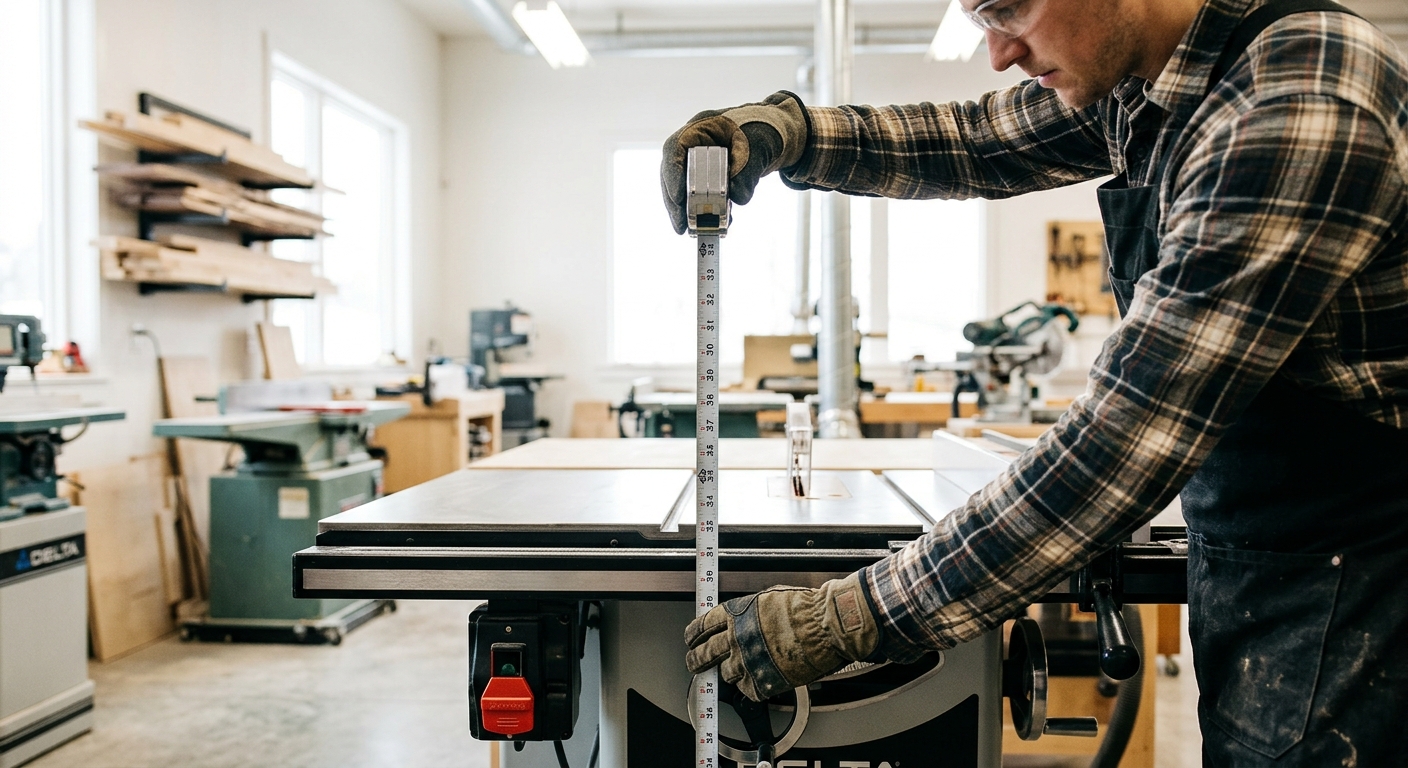
Set a reliable straightedge across your saw table and measure from the floor to the bottom edge. Most table saws land between 33 and 35 inches. Your outfeed table surface must match this height exactly – even 1/16 inch high will cause boards to catch and not feed smoothly. Write down your exact measurement.
Step 2 – Cut the Tabletop
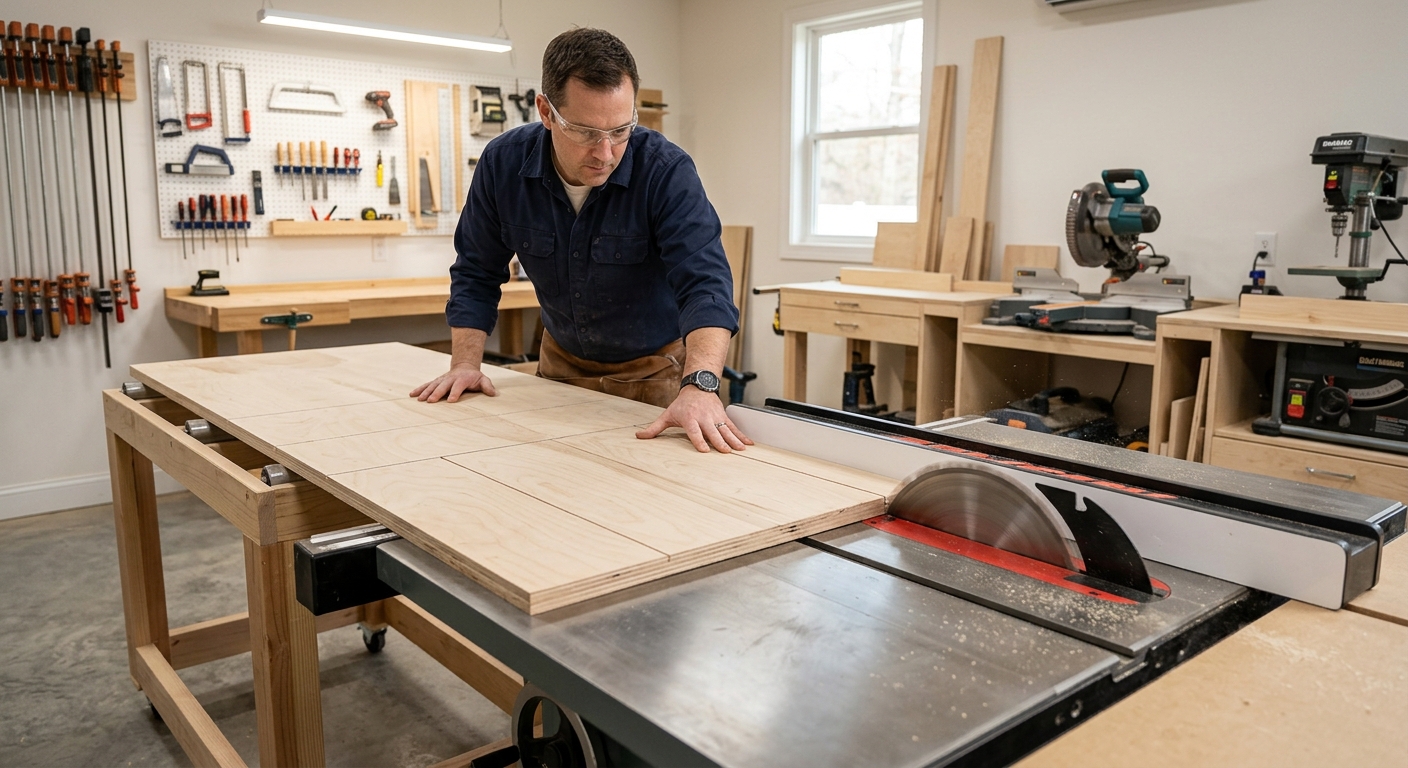
Cut the plywood to 24 by 48 inches minimum. Wider is better for large panels. Apply iron-on edge banding to all exposed edges. Sand the surface to 150 grit and apply three coats of wipe-on polyurethane, sanding between coats – a smooth, hard surface lets boards glide without friction.
Step 3 – Build the Apron Frame
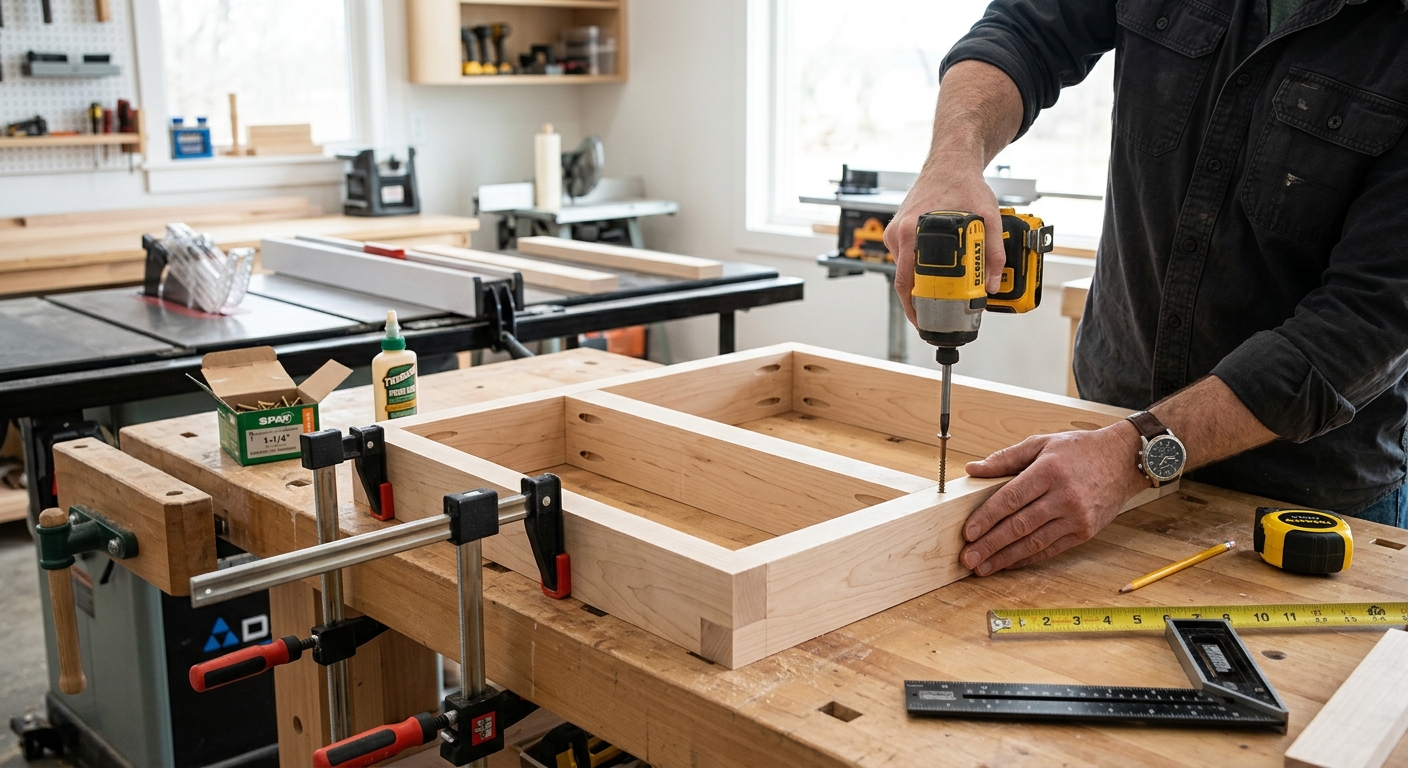
Attach 1×4 apron boards to three sides of the tabletop with glue and screws. The apron adds rigidity and gives you something to attach the folding legs to. Leave the side facing the saw open – you want the table surface to pass as close to the saw as possible without gap.
Step 4 – Install Folding Legs
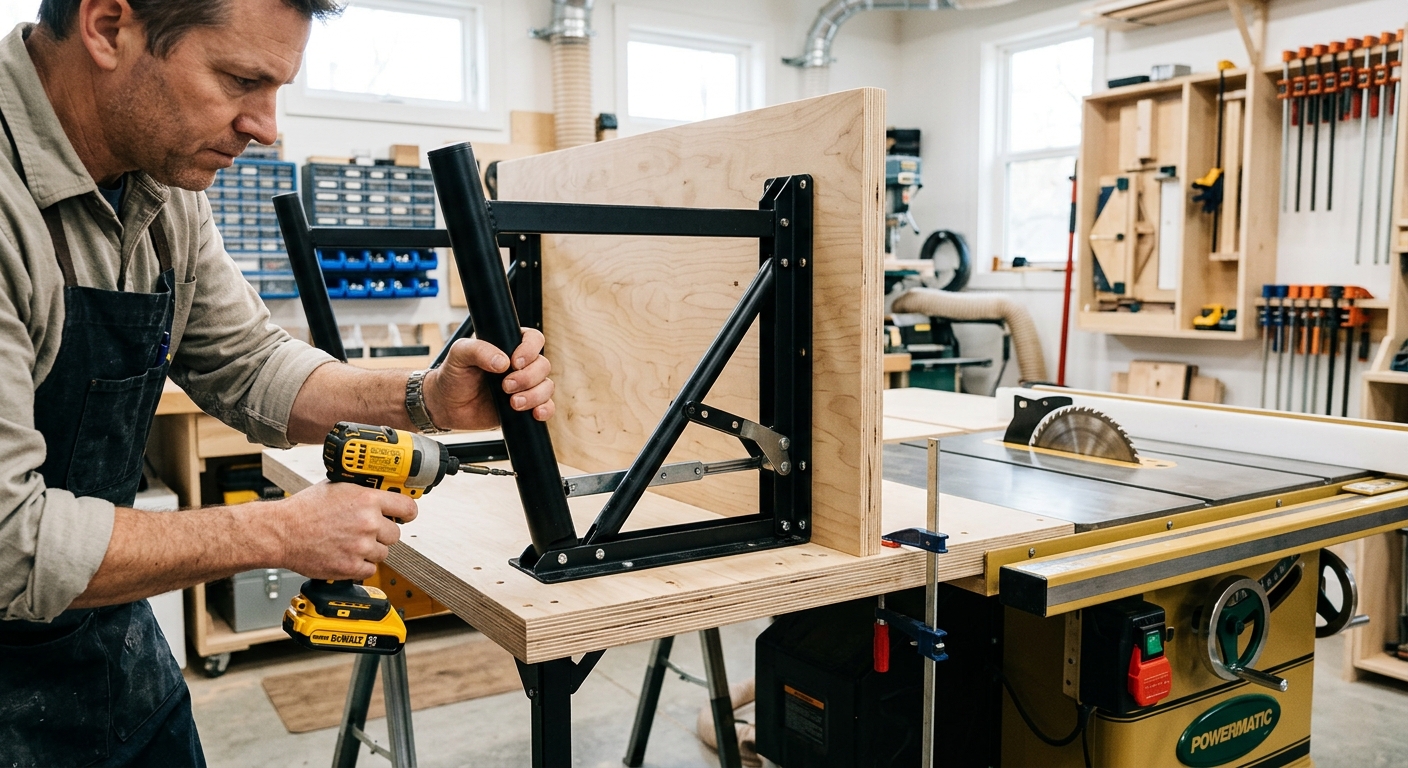
Mount two auto-locking folding legs to the underside of the apron at the front corners. The legs fold flat against the table bottom when stored. Set them to the exact height needed so the table surface is level with your saw. Most folding leg hardware is adjustable by 1 to 2 inches for fine-tuning.
Step 5 – Mount to the Wall
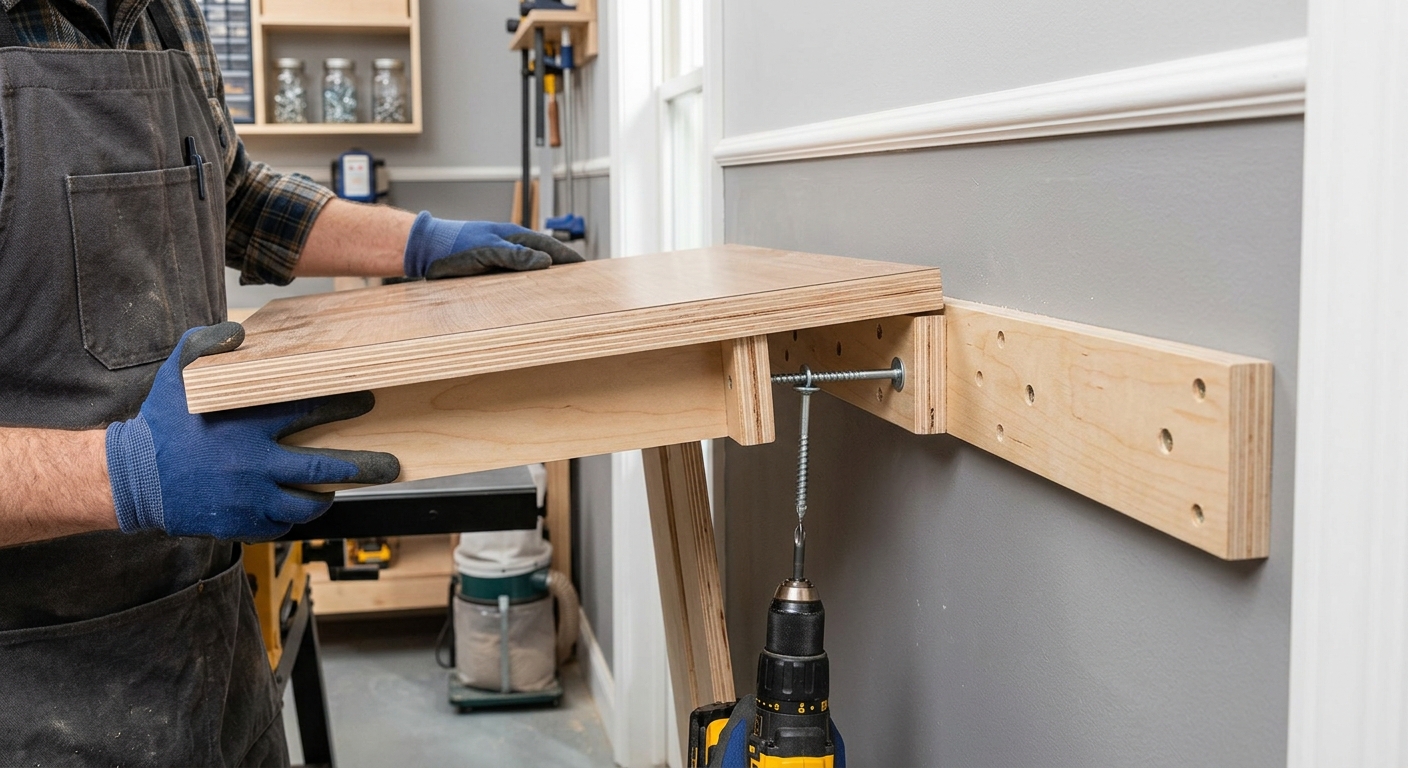
Locate the wall studs behind the table saw position. Mount two heavy-duty hinges to a 2×4 ledger board that spans two studs. The ledger transfers the load to the structure, not just the drywall. Attach the back edge of the outfeed table to the ledger with the hinges – the table folds up against the wall and down to position in one motion.
Step 6 – Set Final Height and Test
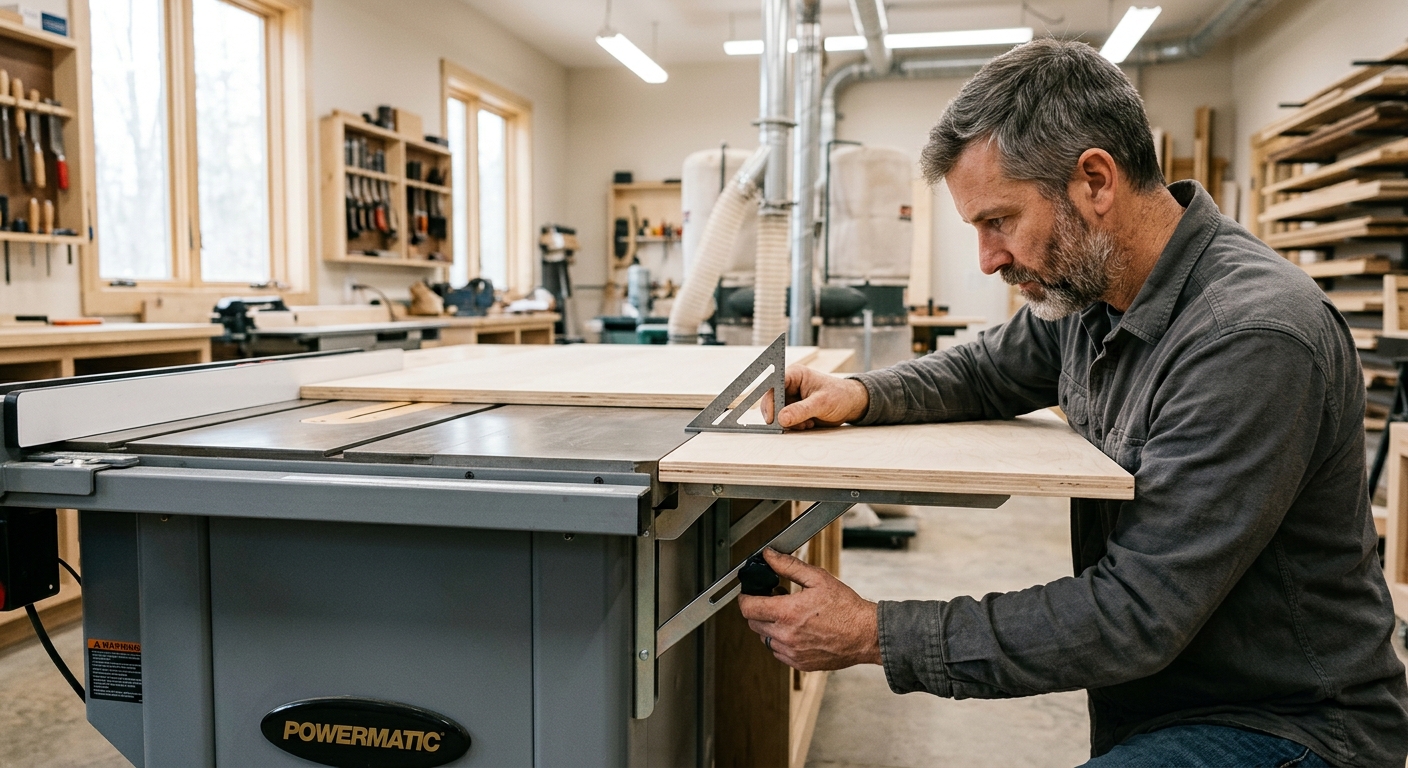
Unfold the table, drop the legs, and check height with a straightedge bridging from saw to outfeed. Adjust legs until the surface is perfectly level with the saw. Run a long board through a crosscut and over the outfeed surface – it should glide smoothly without bumping up or dropping down at the joint.
FAQ
Can I build this for a contractor saw on a stand? Yes – mount the wall ledger at the exact height for your saw. The approach is identical regardless of saw type.
What if I don’t have the wall behind the saw? Build a freestanding version with a box frame base on locking casters. Roll it into position, lock the casters, and adjust legs to height. Less convenient than a wall-mount but equally functional.