Mini Spray Booth for the Home Shop
Finishing is dangerous without proper ventilation. Solvent-based finishes release flammable vapors that ignite from a spark or static discharge. Even waterbased finishes create a fine aerosol mist that you don’t want to breathe over time. A purpose-built spray booth in your shop – even a simple one – provides filtered exhaust, captures overspray, and keeps fumes out of your lungs and away from ignition sources. This is a shop safety build that also produces better finish results.
Materials
- 3/4-inch plywood – two full sheets for the booth walls, ceiling, and floor
- One 20-inch box fan for exhaust
- Two 20-inch furnace filters (MERV 8 or higher) for the exhaust port
- Two 20-inch fiberglass intake filters for the front opening
- Sheet metal for the fan housing (or a pre-made fan enclosure)
- Explosion-proof light fixture rated for flammable vapor environments
- Turnbuckles and chain for hanging small parts
Step 1 – Size the Booth for Your Work

A booth for small parts can be 4 feet wide by 3 feet deep by 5 feet tall. A booth for chair-sized furniture needs 6 feet wide by 4 feet deep by 7 feet tall. Size based on the largest piece you’ll regularly spray, with 12 inches of clearance on each side for the spray gun to reach edges and backs. Larger is not always better – a smaller booth is easier to keep clean and filter changes are cheaper.
Step 2 – Build the Plywood Shell
Assemble the back wall, two side walls, ceiling, and floor from 3/4-inch plywood with pocket screws and glue. Leave the front fully open for work access. Caulk every interior joint to prevent finish from collecting in seams. Paint the interior white with a bright, washable paint – this makes seeing your finish application much easier and the paint wipes clean.
Step 3 – Install the Exhaust System
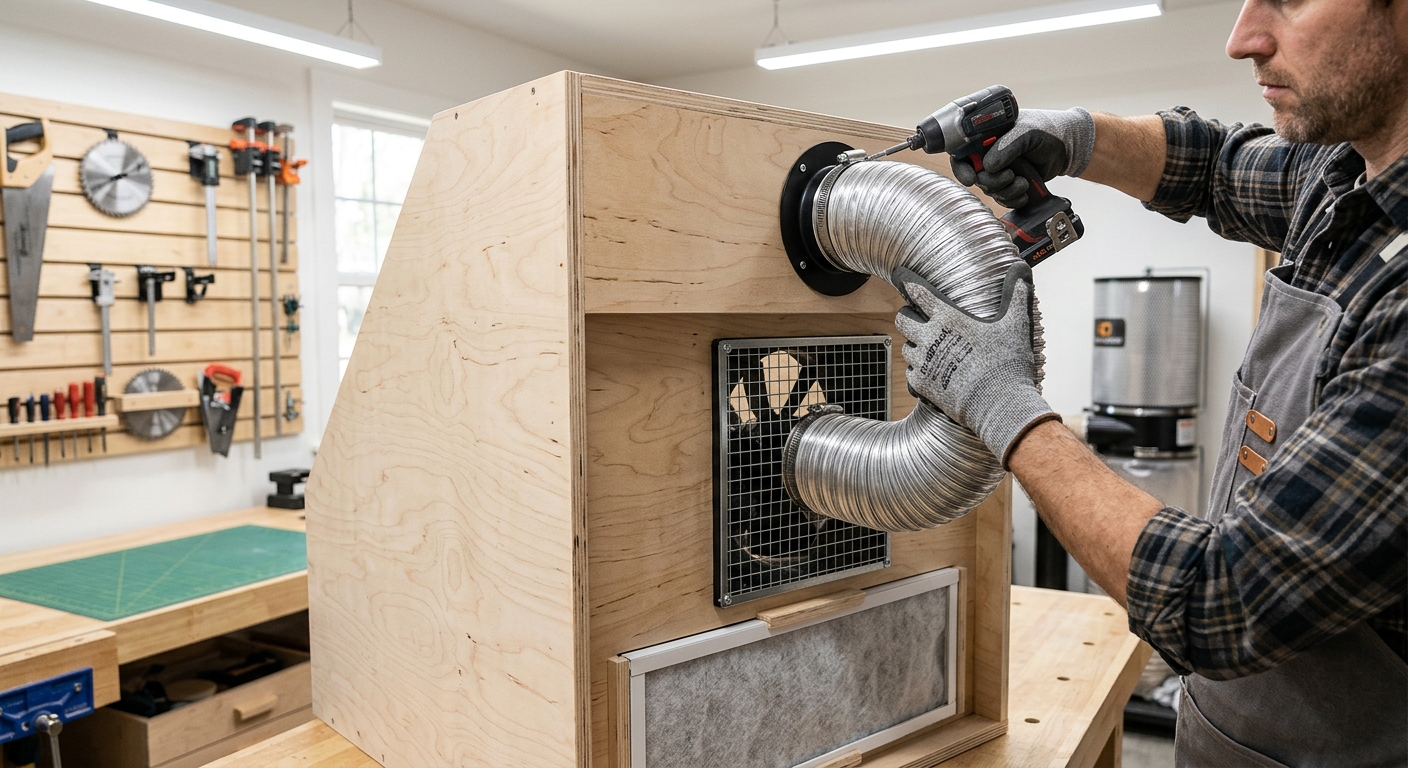
Cut a 20-inch square opening in the back wall. Frame it with 2×4 so the fan mounts solidly. Mount the box fan in the opening with the airflow moving from front to back. Cover the fan housing with a layered filter stack – fiberglass overspray filter first (captures most particulate), then a furnace filter (captures finer particles). Replace filters after every 3 to 5 finishing sessions.
Step 4 – Add Intake Filters
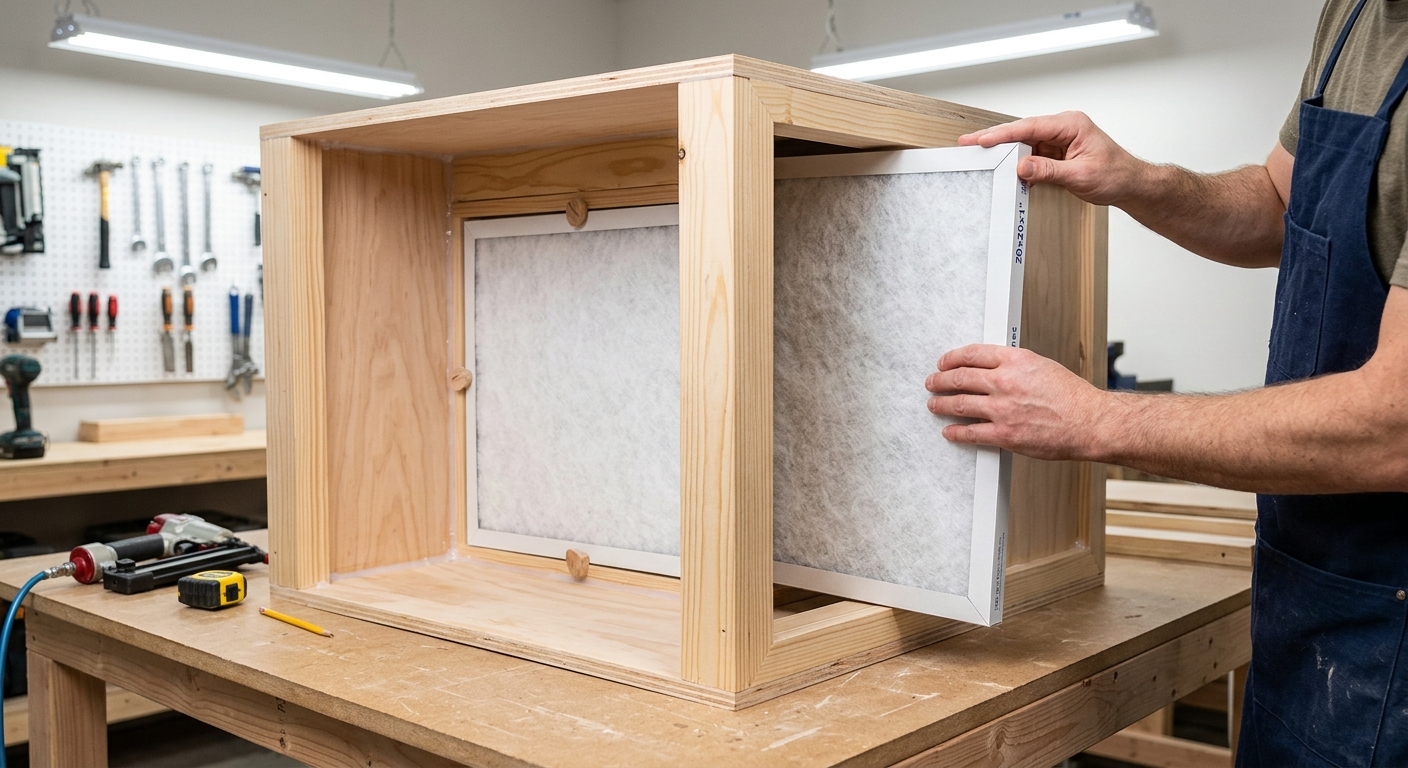
The front opening gets a filter frame too. Without intake filters, the fan pulls unfiltered shop air from everywhere – including sawdust. A loose intake filter in the front opening keeps debris out of your finish and protects the fan. These are lower duty than the exhaust filters but still need regular replacement.
Step 5 – Explosion-Proof Lighting
Standard shop lights have exposed electrical contacts that can spark inside a flammable vapor environment. Use only explosion-proof or vapor-tight fixtures inside the spray booth. LED strip lights in explosion-proof housings are inexpensive and provide excellent even illumination. Wire the light outside the booth and run it through conduit – no open electrical connections inside the spray zone.
FAQ
Can I use this with lacquer or solvent-based finishes? Only if you use an explosion-proof fan rated for flammable environments. A standard box fan is NOT safe with solvent-based finishes – the motor produces sparks. For solvent finishes, buy a dedicated explosion-proof exhaust fan.
How do I control overspray settling on wet parts? Keep the fan running at low speed after spraying to pull fresh air through. The airflow prevents overspray from drifting back onto the wet surface. Hang parts on the chain system so air circulates around all sides.