Build a Jig Storage Cabinet for Your Crosscut Sled and Router Jigs
Jigs are the tools you build to use other tools – and they tend to be awkward in size, fragile at certain spots, and hard to store without damage. A crosscut sled for the table saw is 24 by 36 inches of plywood with a fence attached. A box joint jig is a similar size with a precision registration pin. These pieces can’t go in a drawer, won’t fit on a standard shelf, and often end up leaning against a wall where they get knocked over and damaged. A dedicated jig storage cabinet solves this permanently.
Materials
- 3/4-inch plywood for the cabinet carcase
- 1/4-inch plywood for the cabinet back
- 1×4 hardwood for dividers
- Dowels or cleats for hanging jig storage
- Piano hinge and door pull for an optional door
Step 1 – Inventory Your Jigs
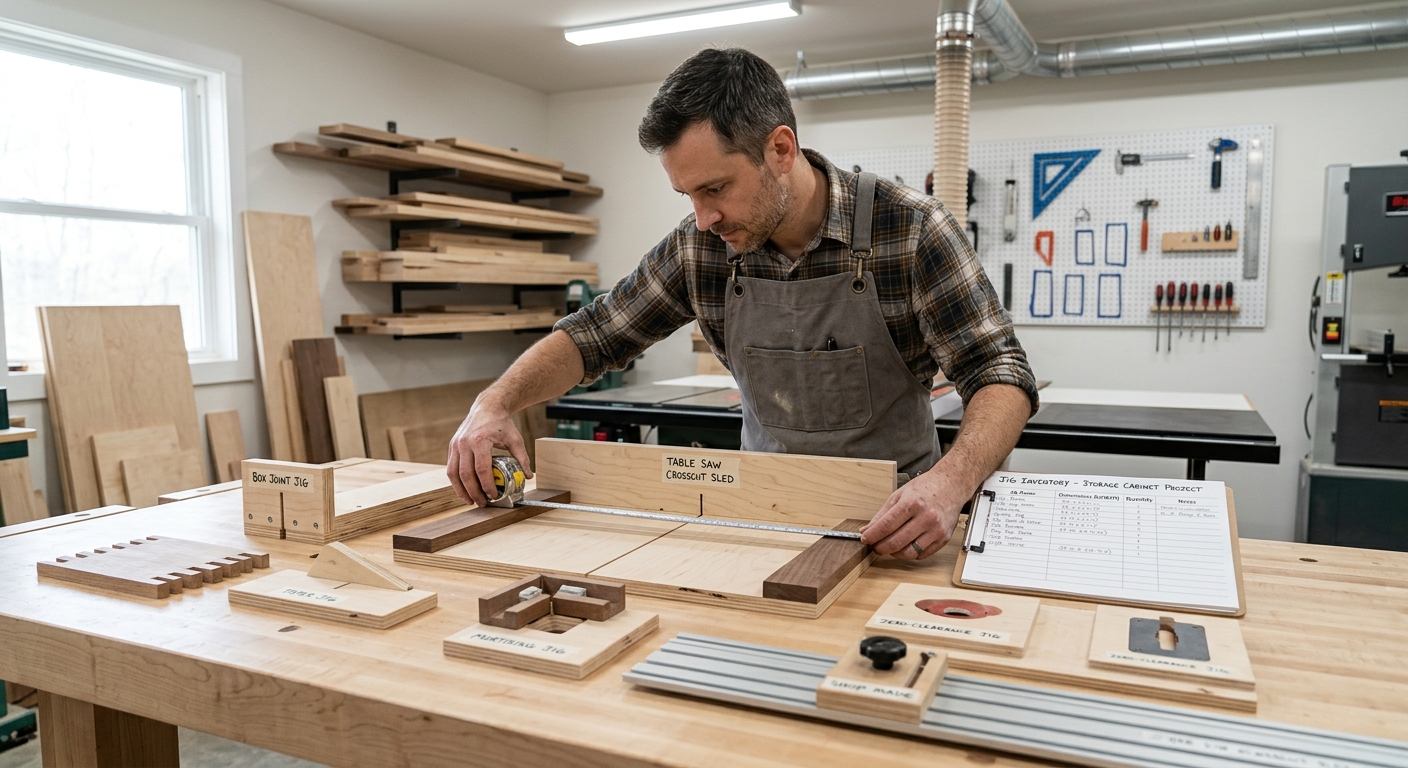
Before building, measure every jig you own. Common shop jigs: crosscut sled (typically 24 by 36 inches), box joint jig (similar size), tenoning jig, router sled, taper jig, circle-cutting jig, pocket hole jig, and various pattern templates. The largest jig sets the cabinet’s minimum interior dimensions. Leave room for at least four additional jigs you haven’t built yet.
Step 2 – Choose Vertical vs. Horizontal Storage
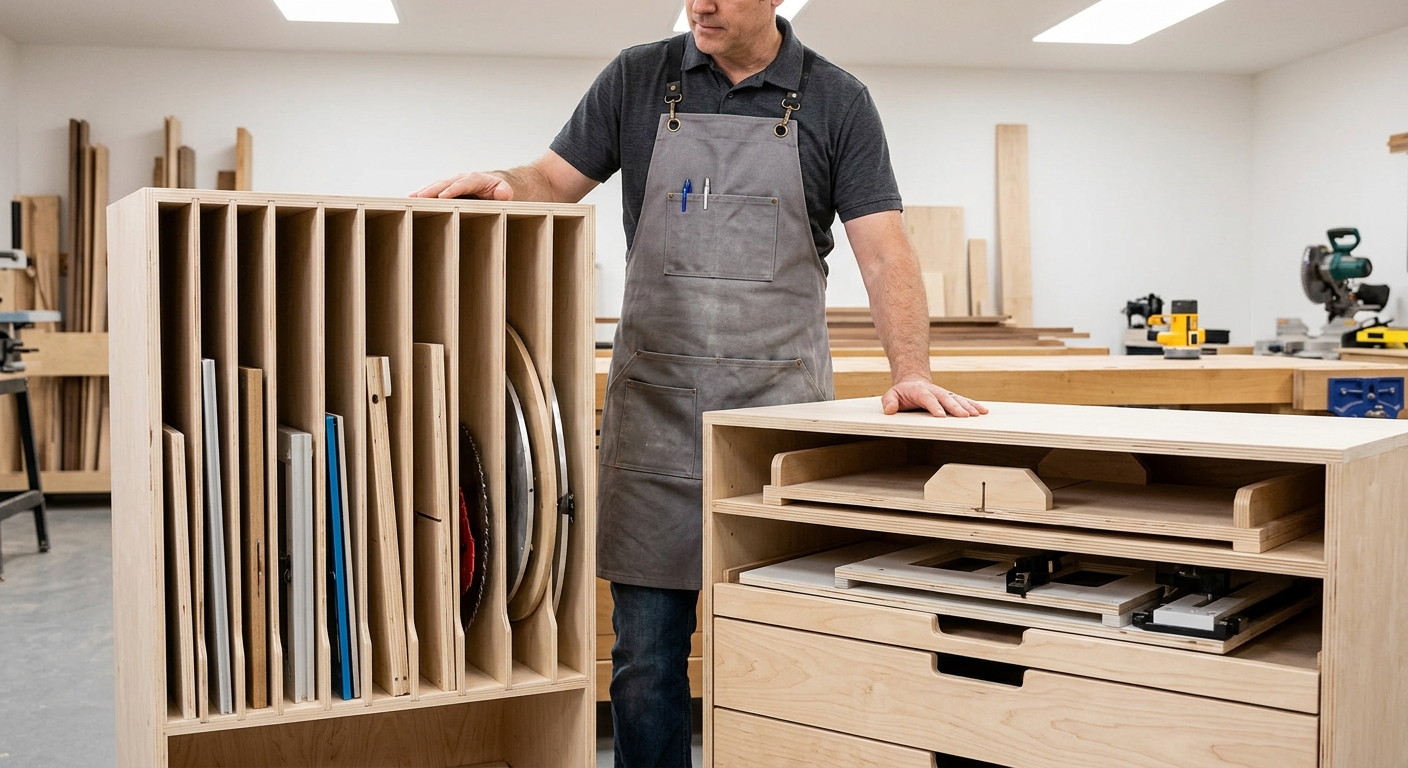
Large flat jigs like sleds store best vertically – on edge, not flat. A flat jig stacked horizontally is hard to retrieve from the middle of the stack. A vertical slot for each major jig lets you pull any jig without disturbing the others. Vertical storage also takes less floor-to-ceiling height for the same number of jigs. Small jigs and accessories can store in flat drawers or on small shelves at the cabinet bottom.
Step 3 – Build the Vertical Slots
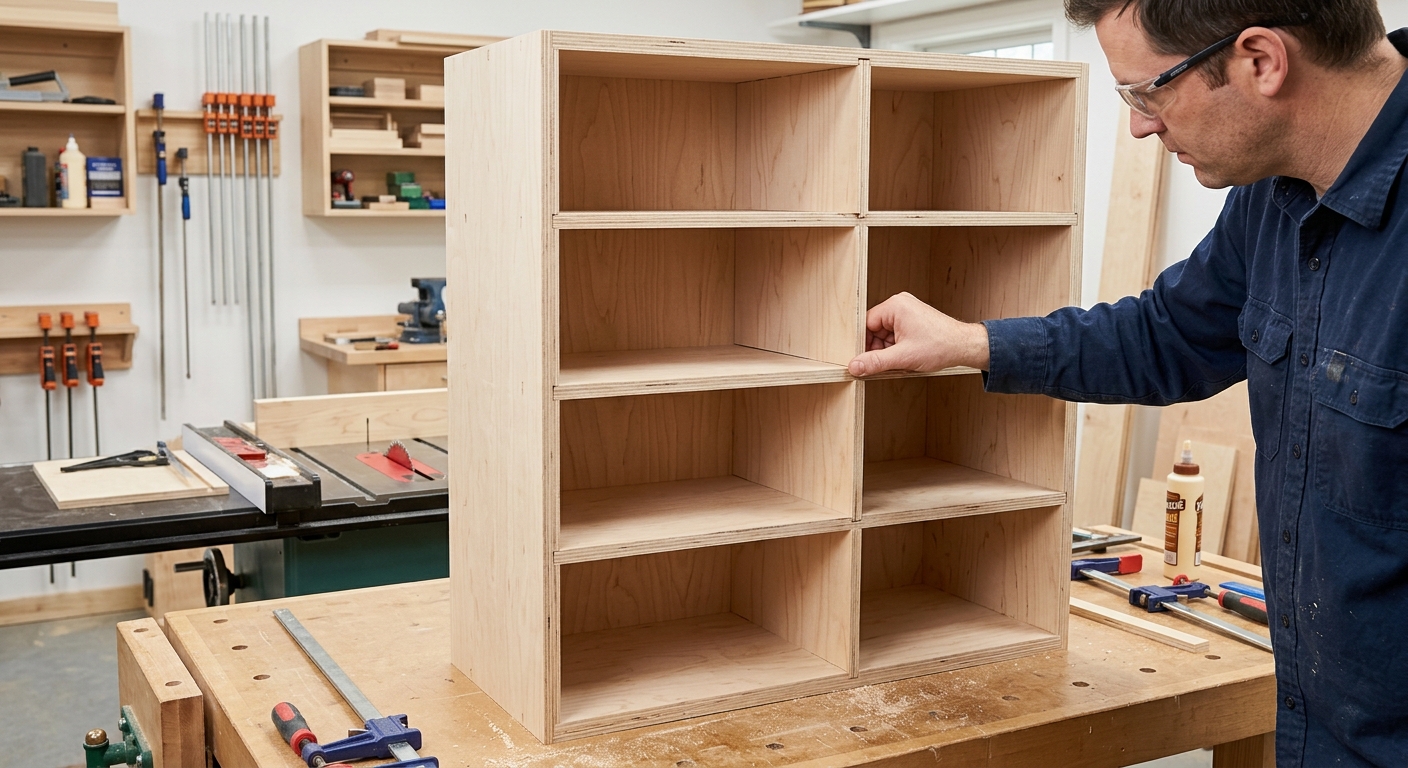
Install vertical hardwood dividers inside the cabinet, spaced 2 to 3 inches apart (wide enough for the jig plus clearance on both sides). The dividers run from front to back, parallel to the cabinet sides. Each slot holds one sled or flat jig vertically. The dividers need to be tall enough that the tallest jig stands fully below the cabinet top so it can be inserted and removed without tipping.
Step 4 – Add Hanging Storage for Smaller Jigs
Inside the cabinet door (or on the cabinet side), add horizontal dowels or French cleat sections for smaller jigs that don’t need a vertical slot: tenon jigs, circle jigs, featherboards, and accessories. These items hang quickly and are easy to see at a glance when the door is open.
Pro Tips
- Label each slot with the jig name and machine it belongs with. When you pull out a sled, you should instantly know which saw it’s calibrated for.
- Store a copy of the setup instructions for each jig with the jig – either taped inside the cabinet near its slot, or in a plastic sleeve attached to the jig itself. Jigs you use infrequently need setup notes or you’ll waste time remembering how to configure them each time.
FAQ
Should I build the jig cabinet before or after I have jigs to fill it?
After. Build it when your existing jigs have become a storage problem. A jig cabinet sized for today’s jig collection plus 50 percent more capacity is the right size. An oversized cabinet for jigs you don’t have yet is just a large empty box consuming wall space.
How do I prevent jigs from warping in storage?
Store sleds and flat jigs vertically so both faces are exposed to the same air and humidity. A flat jig stored on a shelf with one face down and one face up in a changing environment will cup toward the exposed face. Vertical storage eliminates this differential exposure.