Build a Sharpening Station That Folds Away
A dedicated sharpening station improves the consistency of sharpening and makes the routine more likely to happen – when everything is set up and waiting, the friction of getting out stones and setting up a guide is eliminated. But most small shops can’t dedicate 4 square feet of permanent bench space to sharpening. A fold-away sharpening station – mounted on the wall, folding down for use, folding up flat when done – provides all the benefits of a permanent station in a footprint that’s essentially zero when not in use.
Materials
- 3/4-inch plywood for the shelf and the stone trough
- Piano hinge for the fold-down mechanism
- Folding leg bracket with lock pin
- Waterproof sealant or epoxy for the stone trough
- Lag screws and wall mounting hardware
Step 1 – Plan the Station
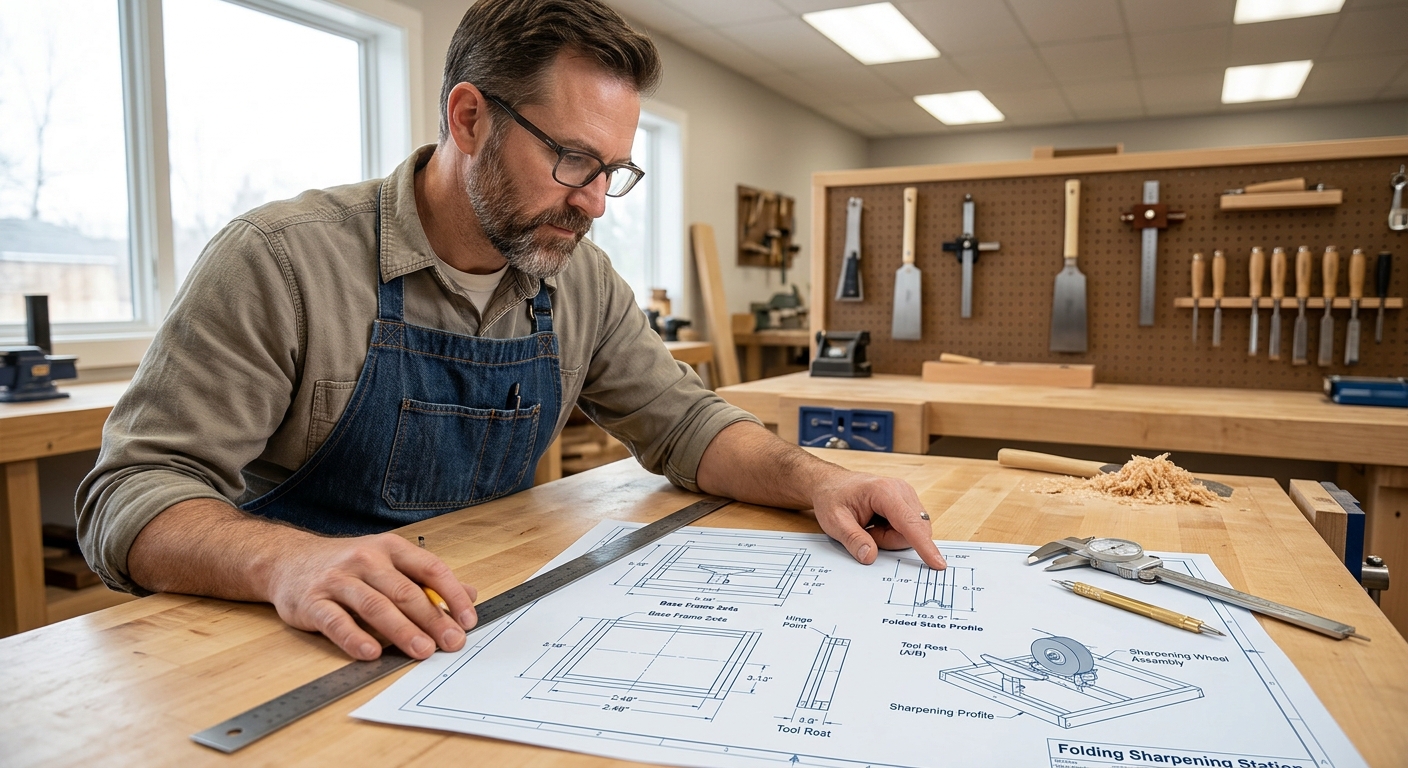
The station needs to hold: waterstones in a water trough (three stones minimum – coarse, medium, fine), a strop loaded with stropping compound, a honing guide if you use one, and small accessories like a flatness plate and a towel. Plan the shelf size to accommodate all of this with some clearance – typically 24 to 30 inches wide and 12 to 16 inches deep.
Step 2 – Build the Trough
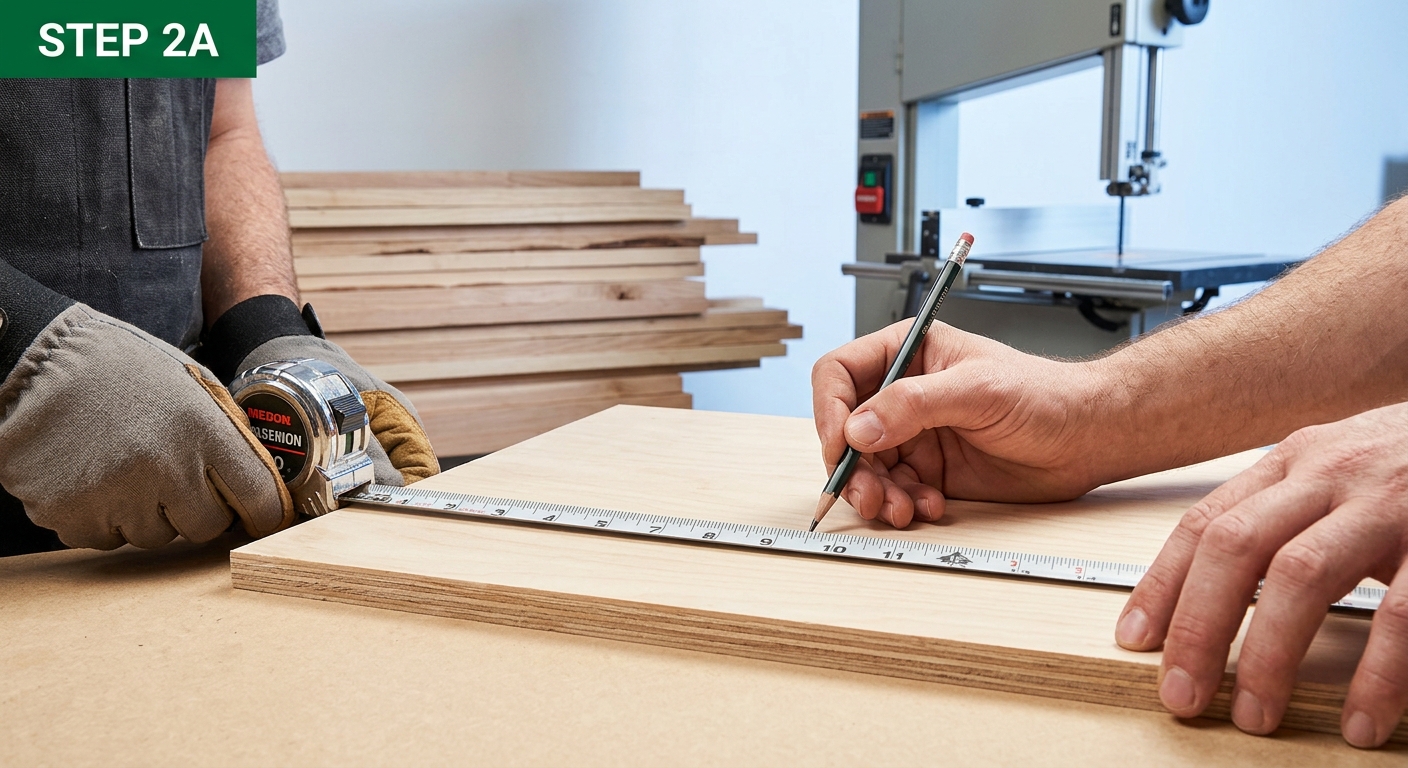
The stone trough is a low-sided box sized to hold your largest stone with about 1/2 inch of clearance on each side. Build from 3/4-inch plywood, approximately 3 inches deep. Coat the inside with multiple coats of waterproof epoxy – waterstones need to be soaked, and the trough will be wet every time the station is in use. The trough should drain from one corner when tilted; a small drain hole with a rubber stopper works well.
Step 3 – Build the Shelf
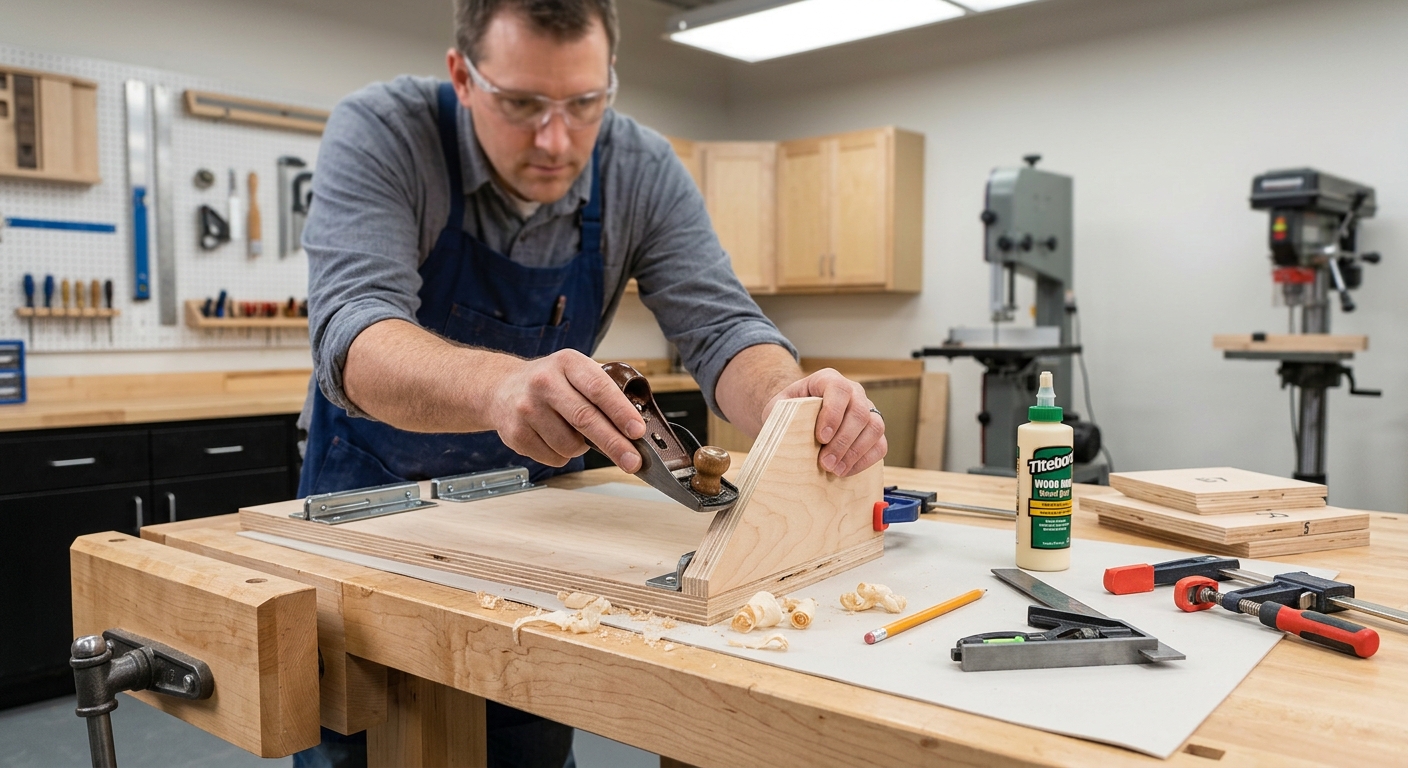
The shelf is the main platform. Build it from 3/4-inch plywood with a lip around three sides (front and two ends) to prevent tools and stones from sliding off. The trough sits in a recess cut into the back half of the shelf. The strop lies on the front half. Small holders for a pencil, a marker, and sharpening accessories (Japanese nagura stone, diamond lapping plate) mount on the back rail of the shelf.
Step 4 – The Fold-Down Mechanism
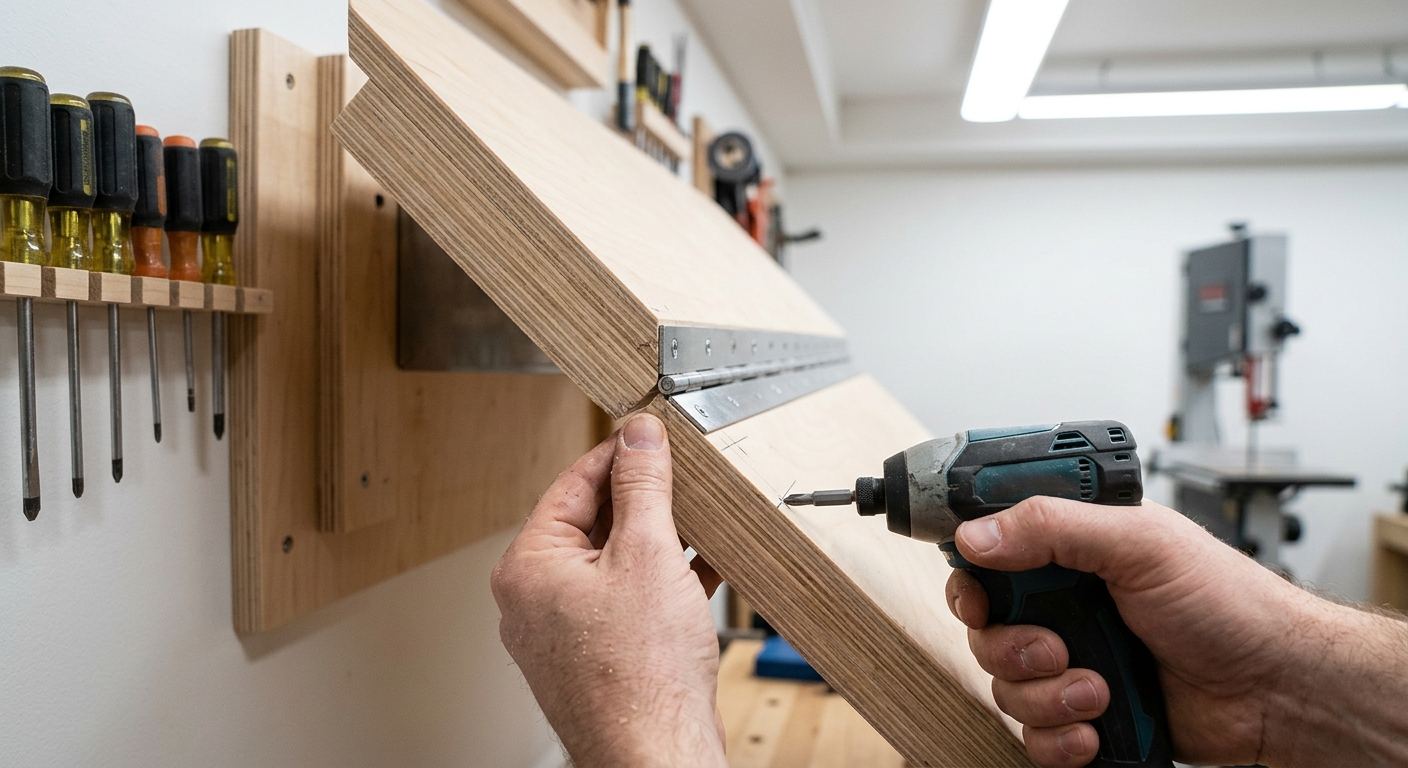
Mount a piano hinge along the back edge of the shelf and attach the other half to a wall cleat at the correct height. The folding leg bracket mounts on the shelf underside with the leg cut to bring the shelf to working height when deployed (approximately 34 to 36 inches from the floor for most people). A latch or hook holds the shelf in the folded-up position against the wall.
Pro Tips
- Mount the station near the bench – within 6 feet is ideal. If sharpening requires walking across the shop, it happens less often than it should. Proximity matters for habits.
- Keep a small container of water or a spray bottle on the station to keep waterstones wet during use. Dry waterstones cut very slowly and can glaze.
FAQ
What stones do I need for a sharpening station?
Three stones cover all situations: a coarse stone (120 to 220 grit) for reshaping damaged edges, a medium stone (1000 grit) for routine sharpening, and a fine stone (4000 to 6000 grit) for final sharpening. A strop with green honing compound for the final edge is optional but highly recommended – it takes an edge from sharp to razor sharp in 10 strokes.
Should I use waterstones or oil stones?
Waterstones cut faster than oil stones and produce sharper edges in less time. The tradeoff is that they wear faster and require more frequent flattening. Oil stones are more durable and lower maintenance. For most home shop use, waterstones at 1000 and 4000 grit deliver the best balance of sharpening speed and edge quality.