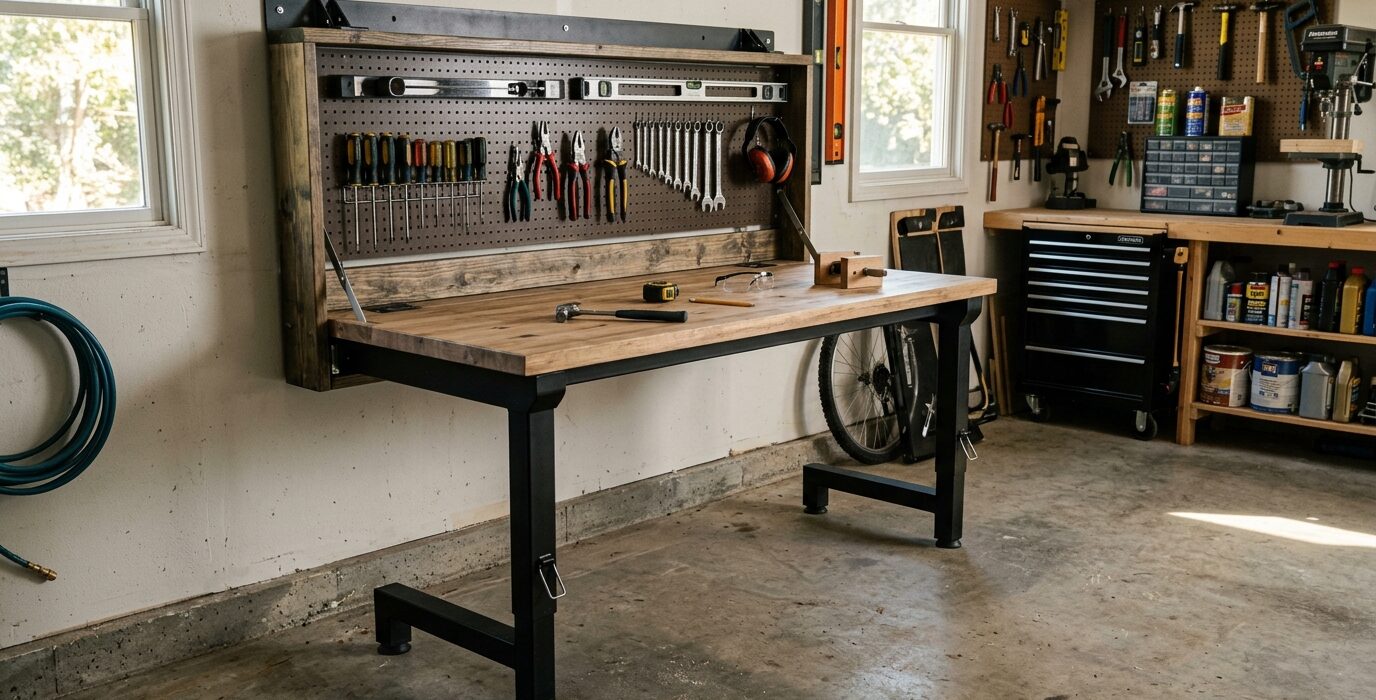
Why a Folding Wall-Mounted Workbench Belongs in Every Small Shop
Floor space is the most valuable commodity in any home workshop. A folding wall-mounted workbench gives you a full-size work surface when you need it and disappears against the wall when you don’t. This build uses standard lumber, basic hardware, and a single afternoon of work to transform dead wall space into a functional bench.
Materials and Tools
- One sheet of 3/4-inch plywood (for the bench top)
- 2×4 lumber – approximately 20 linear feet
- Two heavy-duty folding shelf brackets rated for 500+ lbs (or build wooden folding legs)
- Lag screws – 3/8-inch x 3-inch, 8 pieces
- Wood screws – 2-inch and 3-inch
- Stud finder, drill, circular saw, level, square
- Optional: piano hinge if building integral folding legs
Step 1 – Plan Your Height and Width
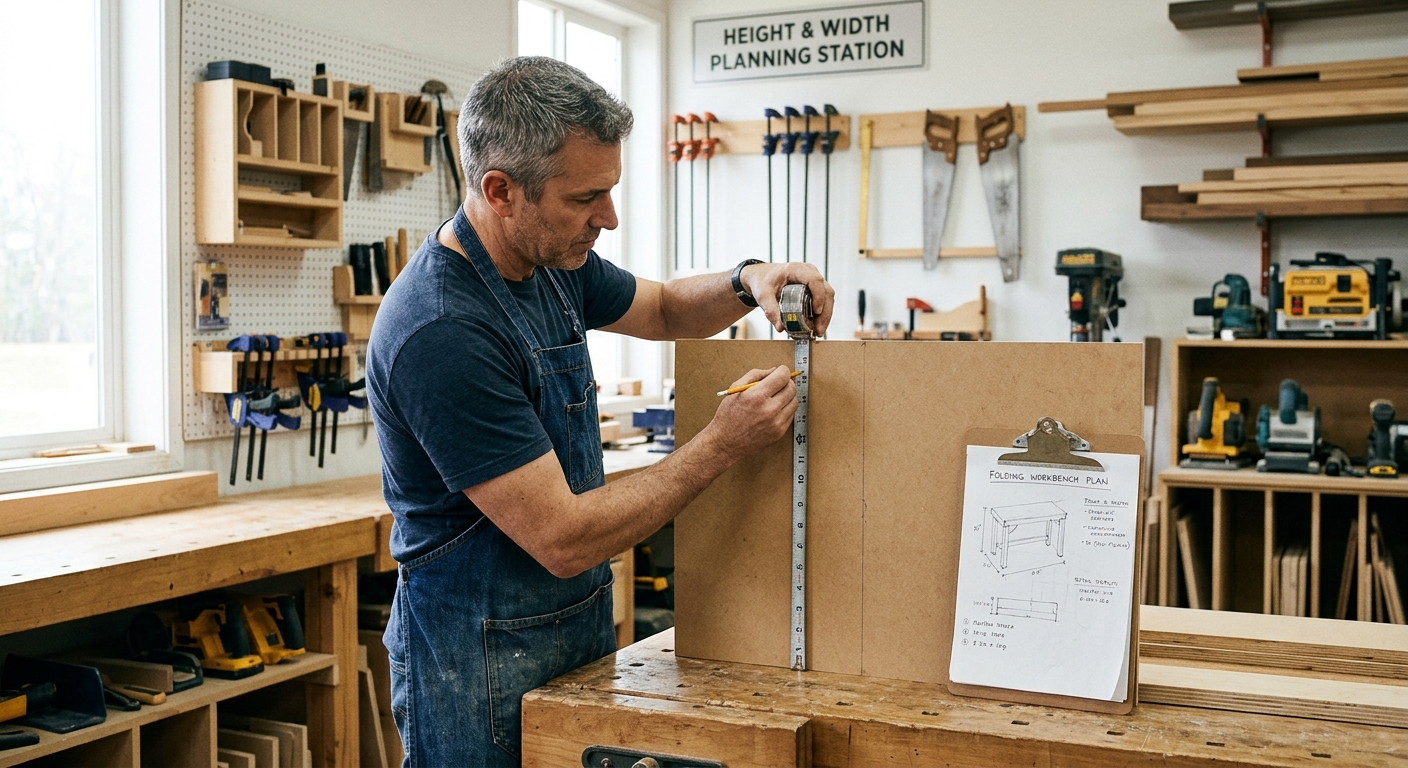
Standard workbench height is 34 to 36 inches for most people. If you’re taller, go up to 38 inches. Measure from the floor to find your comfortable working height, then mark the wall. For width, most wall-mounted benches run 48 to 72 inches – size yours to fit the available wall run between studs, doors, or obstacles.
Step 2 – Find and Mark the Studs
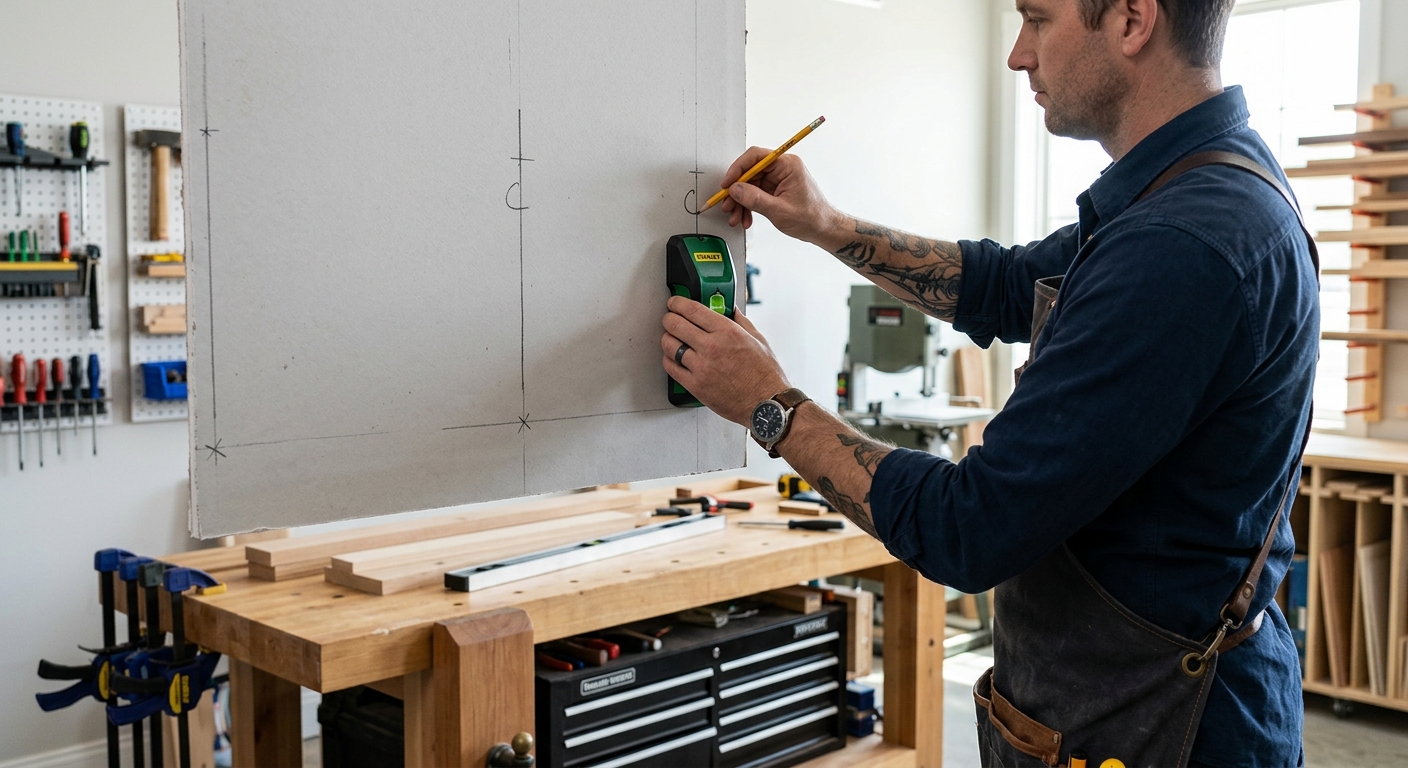
This bench will bear real loads, so it must hit studs – not just drywall. Use a stud finder to locate every stud along your planned bench run. Mark the centerline of each stud clearly with a pencil. You need at least two studs for a 48-inch bench, three for anything longer.
Step 3 – Build the Wall Ledger
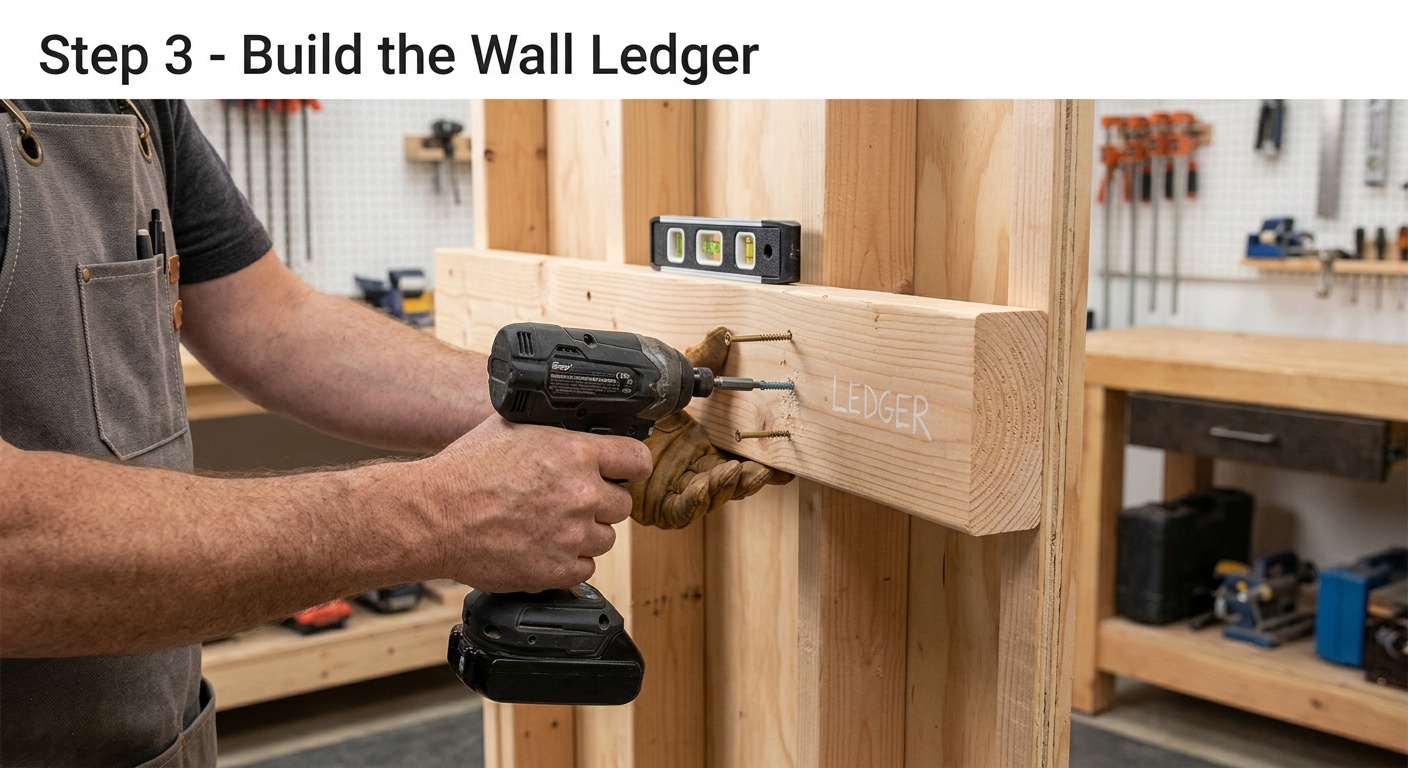
Cut a 2×4 ledger board to the full length of the bench. This is the backbone – it attaches to the wall studs and carries half the load. Pre-drill holes through the ledger at each stud location. Hold the ledger at bench height (remember this is the underside of your bench top, so drop it by 1.5 inches to account for the plywood), level it carefully, and drive 3/8-inch lag screws into every stud. Do not skip a stud.