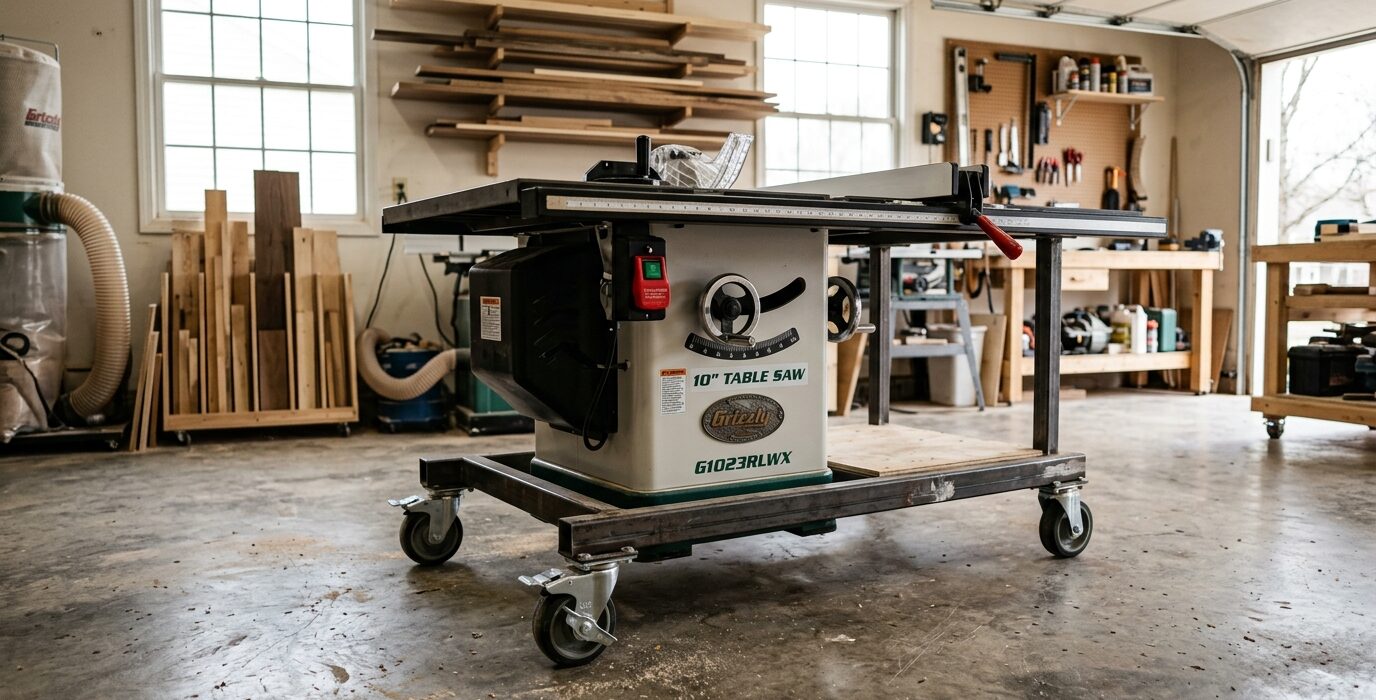
Stop Muscling Your Table Saw Around the Shop
A table saw without a mobile base is a shop anchor – it sits wherever it was placed and stays there. A mobile base changes everything. You can push the saw out of the way for other work, position it for long rips, and roll it to the door for dust management. This build uses heavy-duty casters and a simple steel or wood frame that costs far less than commercial mobile bases while being stronger.
Materials
- Four heavy-duty locking swivel casters – rated for at least 200 lbs each (choose 3-inch or 4-inch diameter for easy rolling over floor gaps)
- Steel angle iron – 1.5 x 1.5 x 1/8-inch, approximately 16 linear feet (or use 2×6 hardwood for a wood frame)
- Carriage bolts, nuts, and washers – 3/8-inch
- Welder (if using steel) or drill and screws (if using wood)
- Paint or primer for steel frame
Step 1 – Measure Your Saw’s Base
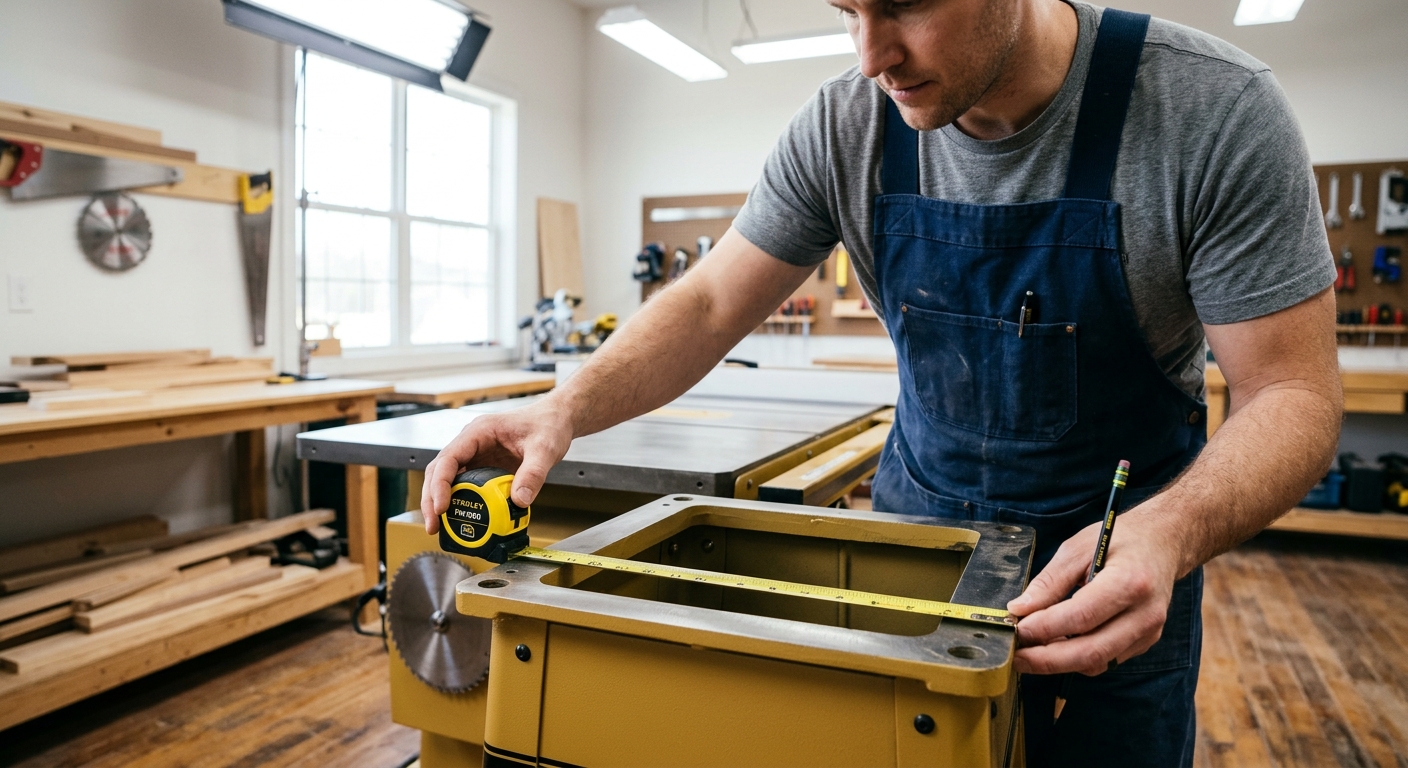
Measure the length and width of your table saw’s base at the feet. The mobile base frame must be sized so the saw feet sit securely on the frame without any overhang that would cause tipping. Typically you add 1 to 2 inches to each dimension to give yourself a margin, but not so much that the saw can shift on the base.
Step 2 – Build the Frame
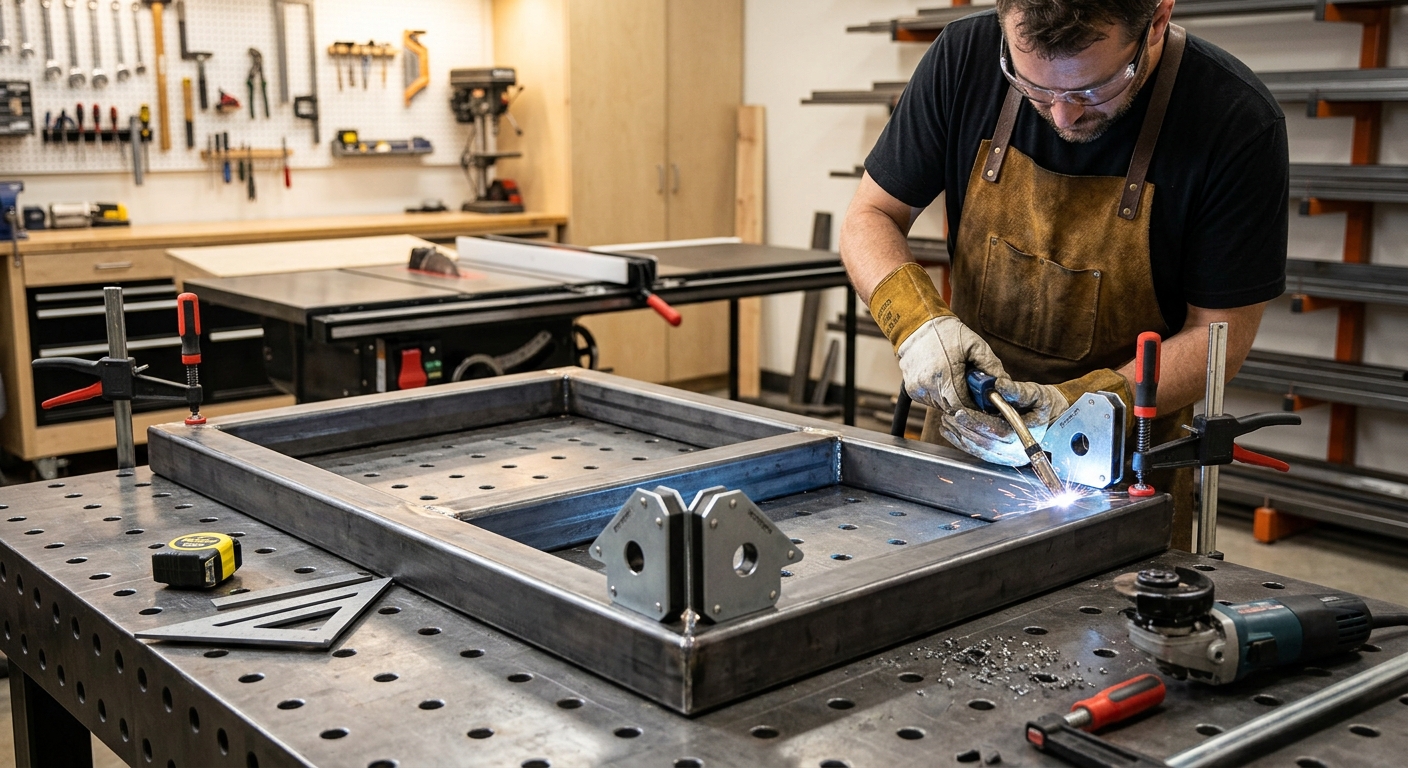
For a steel frame, cut angle iron to form a rectangle matching your saw’s footprint plus margin. Drill holes at the corners for the caster bolts. Weld or bolt the corners together – welding is stronger, but a properly bolted corner with gussets is plenty strong for a saw base. For a wood frame, use 2×6 hardwood in the same rectangle, joined with lag bolts and corner gussets cut from 3/4-inch plywood.
Step 3 – Mount the Casters
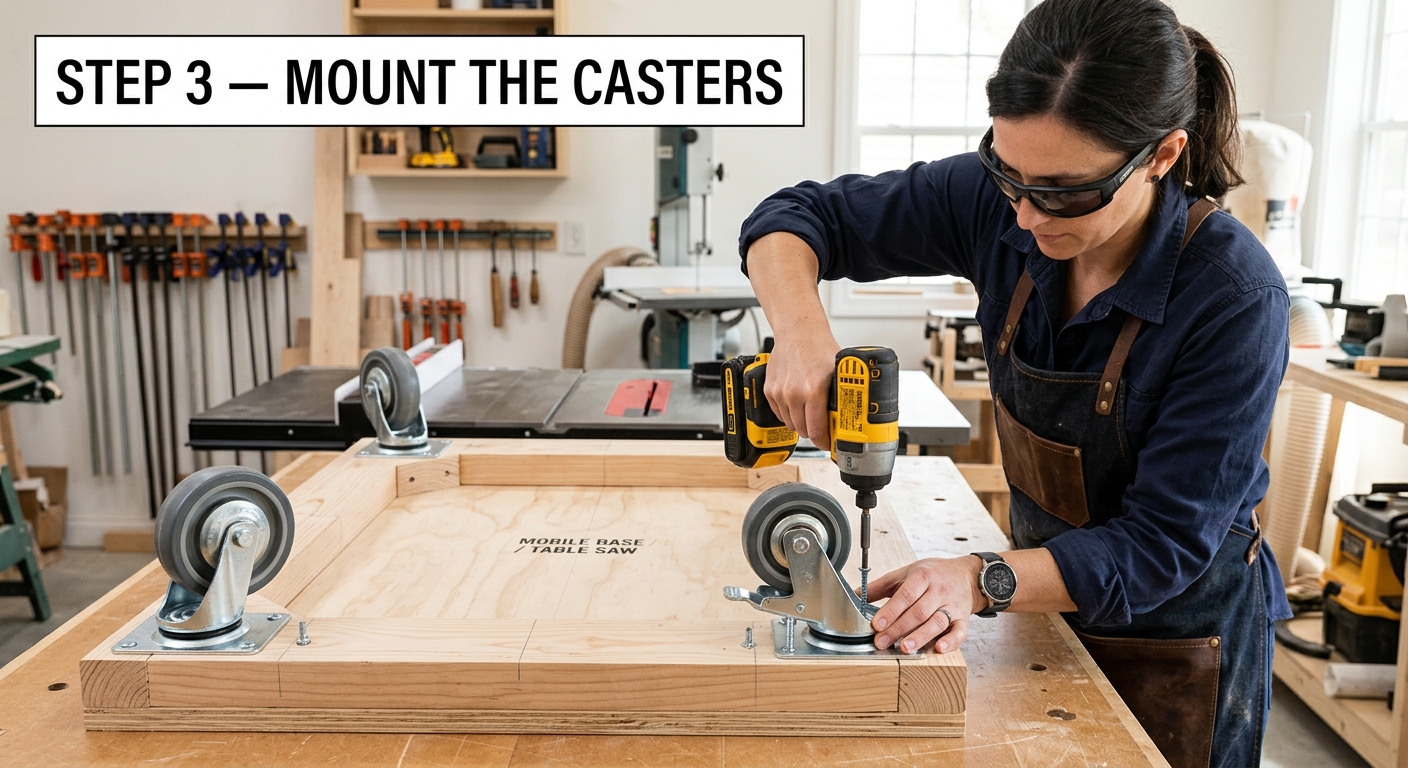
Bolt casters to the underside of the frame at each corner. Use large fender washers on the top side to spread the load across the frame material. Tighten all bolts thoroughly – loose casters are dangerous. Make sure all four casters swivel freely and lock positively.
Step 4 – Add Anti-Tip Supports for Heavy Saws
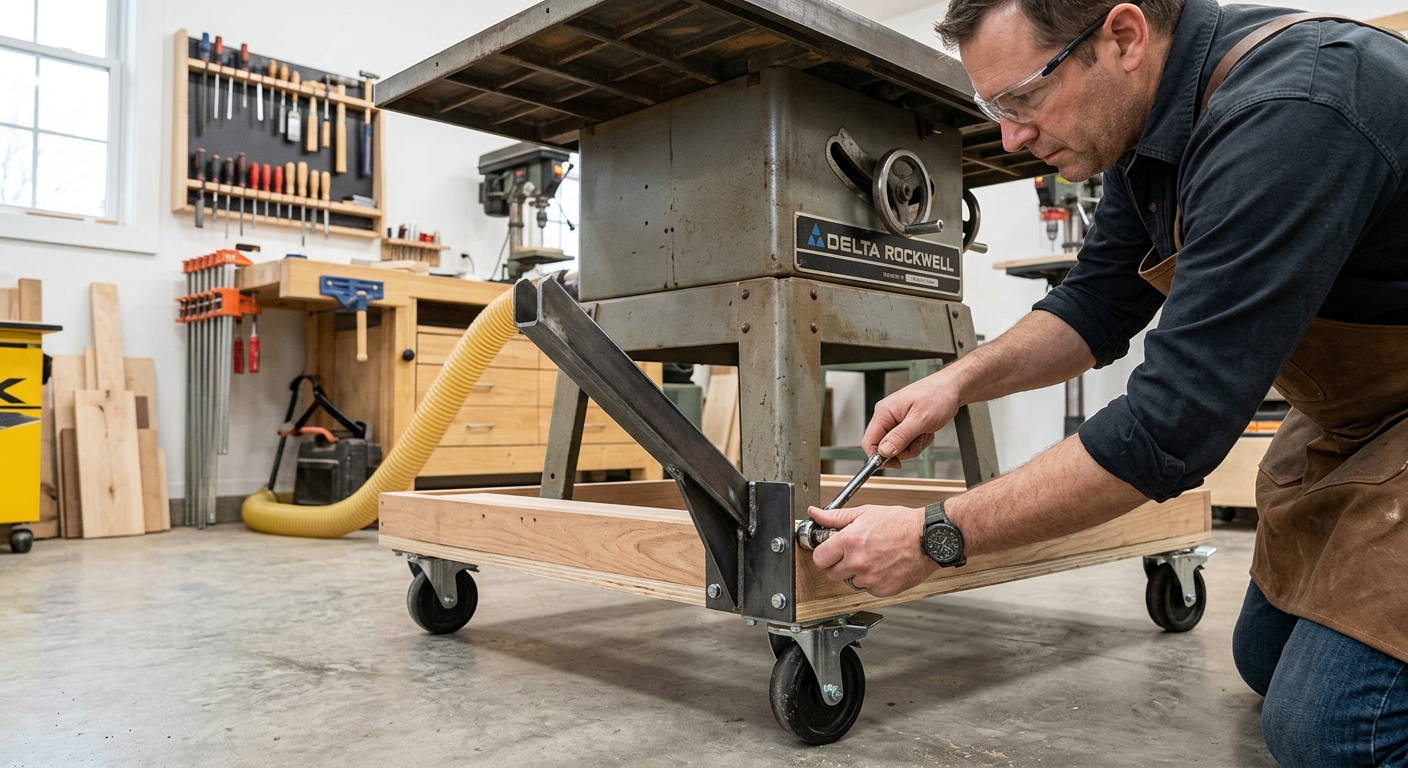
Cabinet saws are very heavy and have a high center of gravity. Add outrigger supports – extend the frame slightly beyond the saw footprint on each side, or add a second cross rail in the center of the frame. This prevents the saw from tipping sideways when rolling over a floor bump.
Step 5 – Attach the Saw to the Base
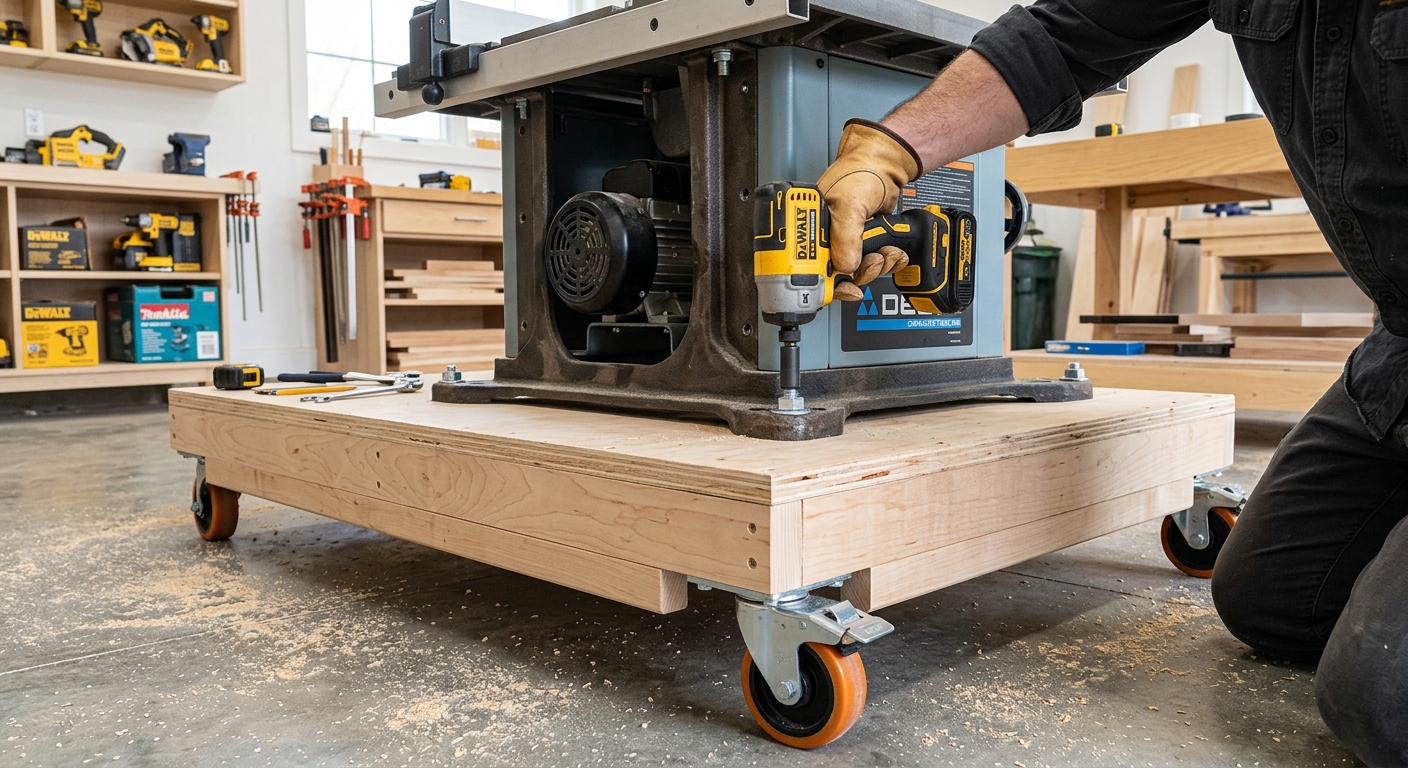
Lower the saw onto the mobile base. Some saws have threaded holes in the feet for bolting down. Others just sit on the frame. If your saw’s feet don’t naturally align with the frame rails, add hardwood shims or blocking to fill gaps and prevent rocking. For safety, the saw must be completely stable on the base – no rocking in any direction.
Step 6 – Level the Saw
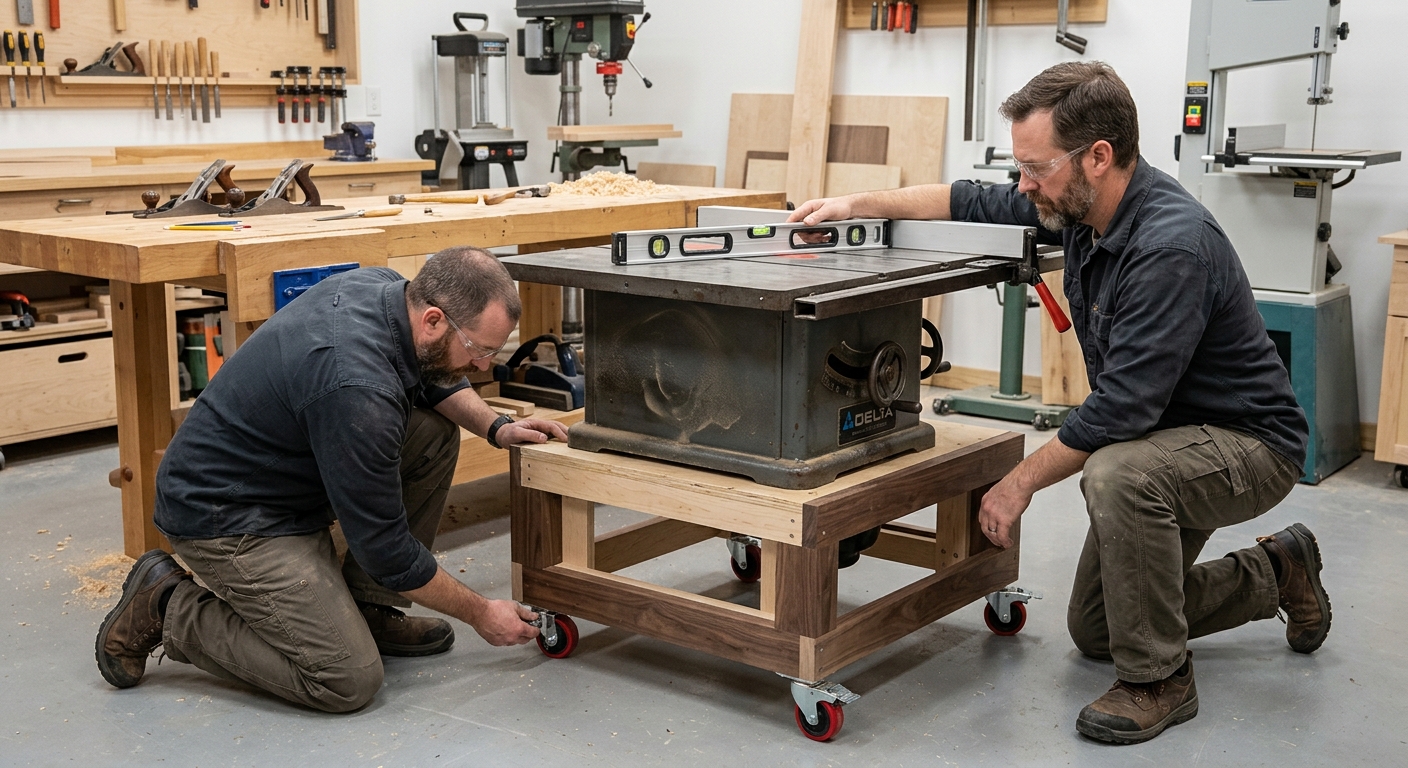
With the saw on the mobile base and positioned where you’ll use it, lock all four casters and check the saw table for level. Most good shop floors are not perfectly flat. Add leveling shims under the frame or casters as needed. A level saw table is essential for accurate work and safe blade alignment.
Tips for Safe Use
- Always lock all four casters before starting the saw
- Never move the saw while the blade is spinning
- Check caster lock engagement before every use – casters can vibrate loose over time
- Keep the caster wheels clean of sawdust – packed wheels don’t roll or lock reliably
FAQ
Can I use this approach for other heavy tools? Yes – bandsaw, jointer, planer, and drill press all benefit from mobile bases built the same way. Scale the frame size and caster rating to match each tool’s weight.
What caster brand do you recommend? Shepherd and Albion make quality industrial casters. For a table saw base, use at least 500-lb rated casters even if your saw weighs only 200 lbs – the safety margin matters when rolling over uneven floors.