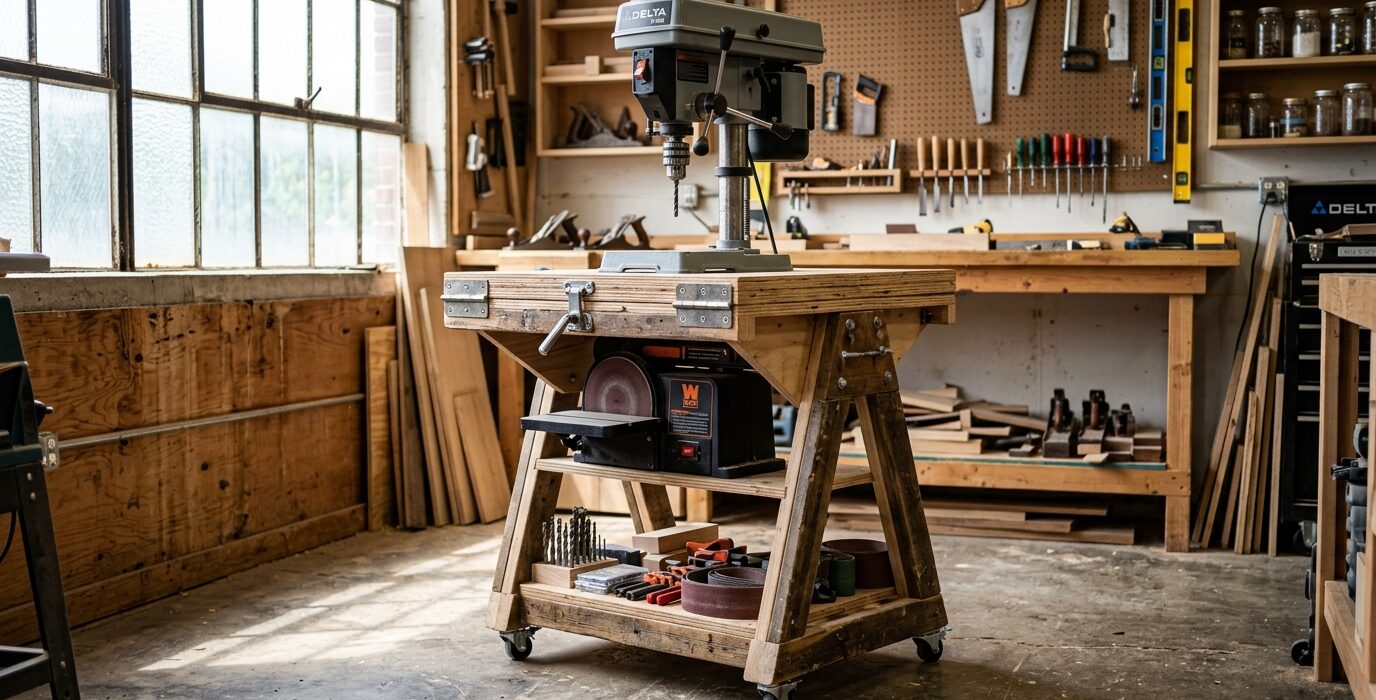
Why a Height-Adjustable Bench Changes How You Work
Different tasks demand different working heights. Hand planing a board requires a lower surface so your body weight goes into the stroke. Fine detail work with chisels or marking tools is easier at a higher surface. Routing and power tool work sits somewhere in the middle. A height-adjustable workbench lets you set the right height for each task rather than compromising on all of them.
Design Options
There are three practical approaches to height-adjustable workbench design for home shops:
- Crank-adjustable leg system – uses commercial adjustable desk leg mechanisms with hand cranks or electric motors
- Bolted height positions – bolt holes at several heights in the leg, allowing adjustment at specific increments
- Scissor-lift base – a shop-built or commercial scissor mechanism, typically found on heavy-duty industrial stands
This build uses commercial electric standing desk leg frames – the same ones used for office standing desks – under a custom hardwood top. Cost is competitive, adjustment is effortless, and the result is a bench that moves from 28 to 48 inches with the push of a button.
Materials
- One commercial electric standing desk frame (two-leg or three-leg) rated for 200+ lbs
- One piece of 8/4 hardwood for the top (maple or ash), or laminated 2x4s
- Lag screws for attaching top to the frame
- Optional: dog holes, vise, tool-tray apron
Step 1 – Choose the Right Frame
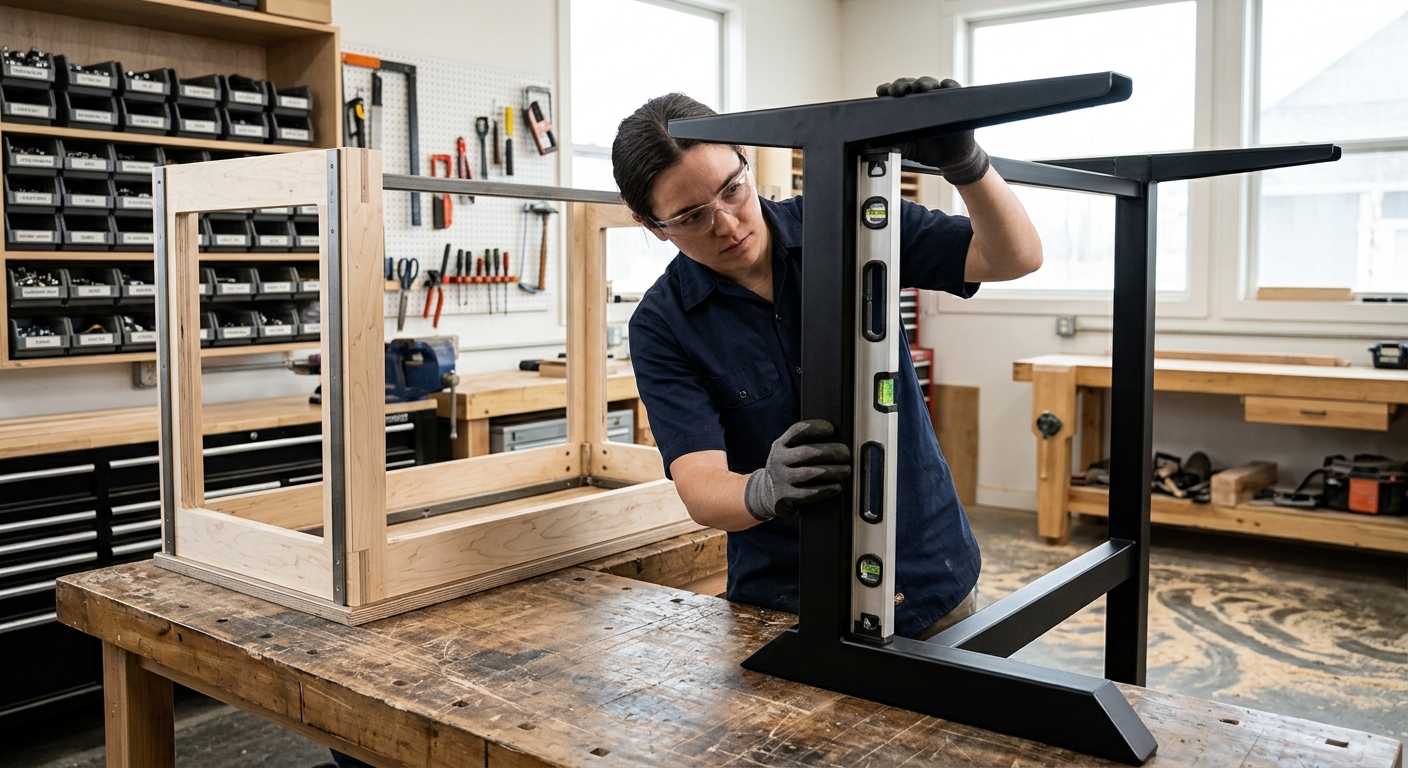
Look for a commercial standing desk frame with a minimum weight capacity of 150 pounds (200 or higher is better for a hardwood top), a height range of at least 28 to 46 inches, and a solid, stable base. Flexispot, Uplift, and Fully all make frames suitable for this application. The controller with memory presets is a useful feature – save positions for hand planing, power tool use, and fine detail work.
Step 2 – Build the Top
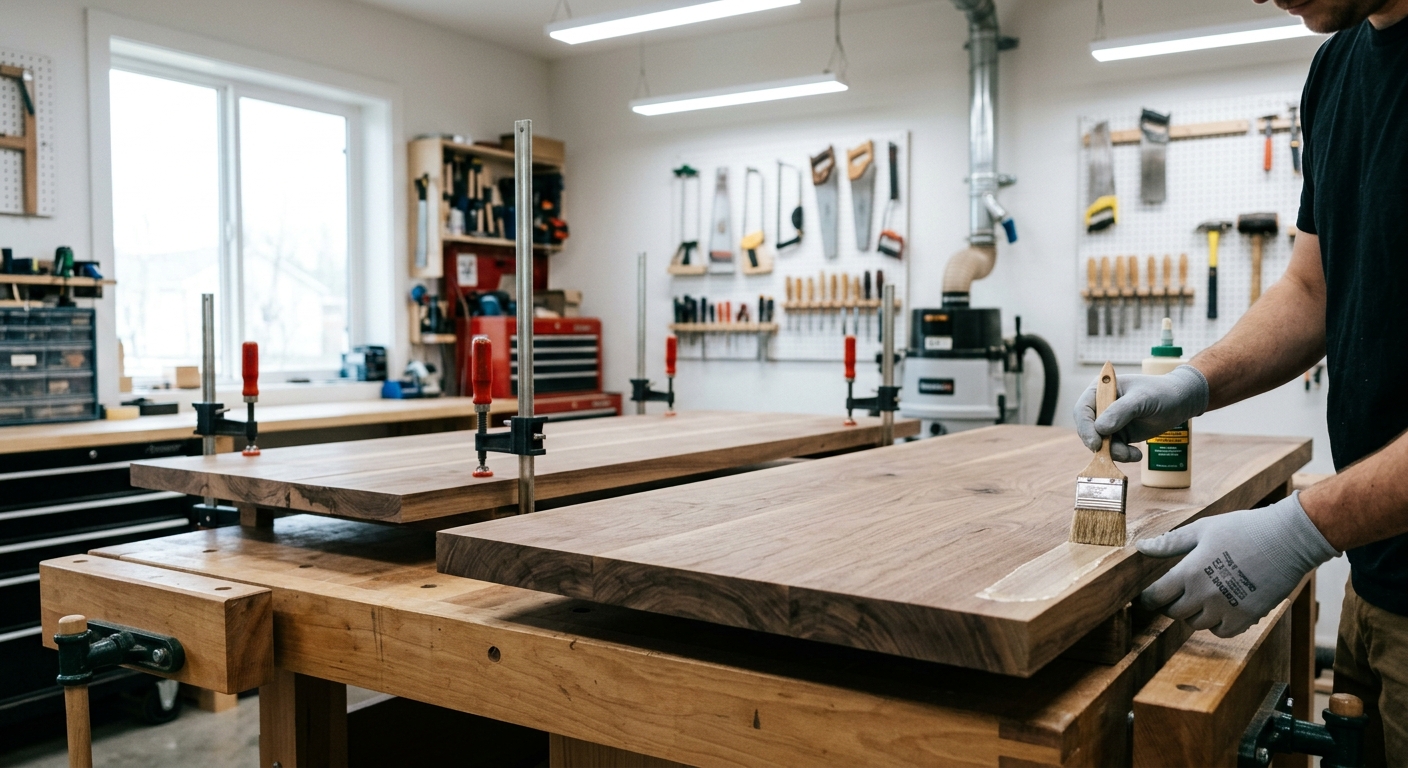
A hardwood top can be as simple as three or four 2×4 construction boards face-glued together and flattened, or as refined as a glued-up maple top from 8/4 stock. Aim for a top at least 1.5 inches thick – thinner tops flex under clamping loads. Size it to your available space: 24 x 60 inches is versatile for most small shops.
Step 3 – Attach the Top
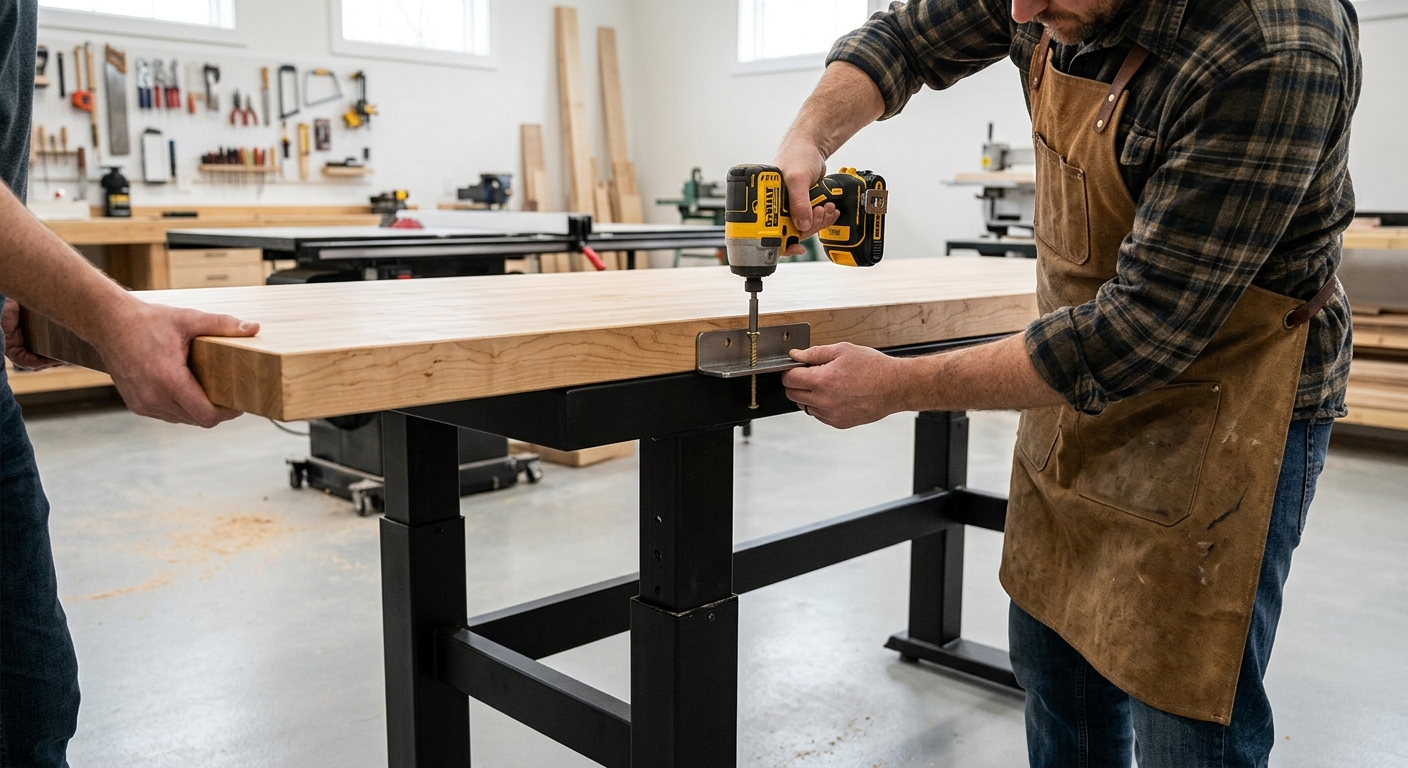
Most standing desk frames include holes in the top rail for bolting the top from below. Mark these hole positions on the underside of your top, drill, and drive lag screws or bolts through the frame into the wood. Use large fender washers to spread the load. The top must be attached firmly – it should not slide or shift when you push against it.
Step 4 – Add Bench Features
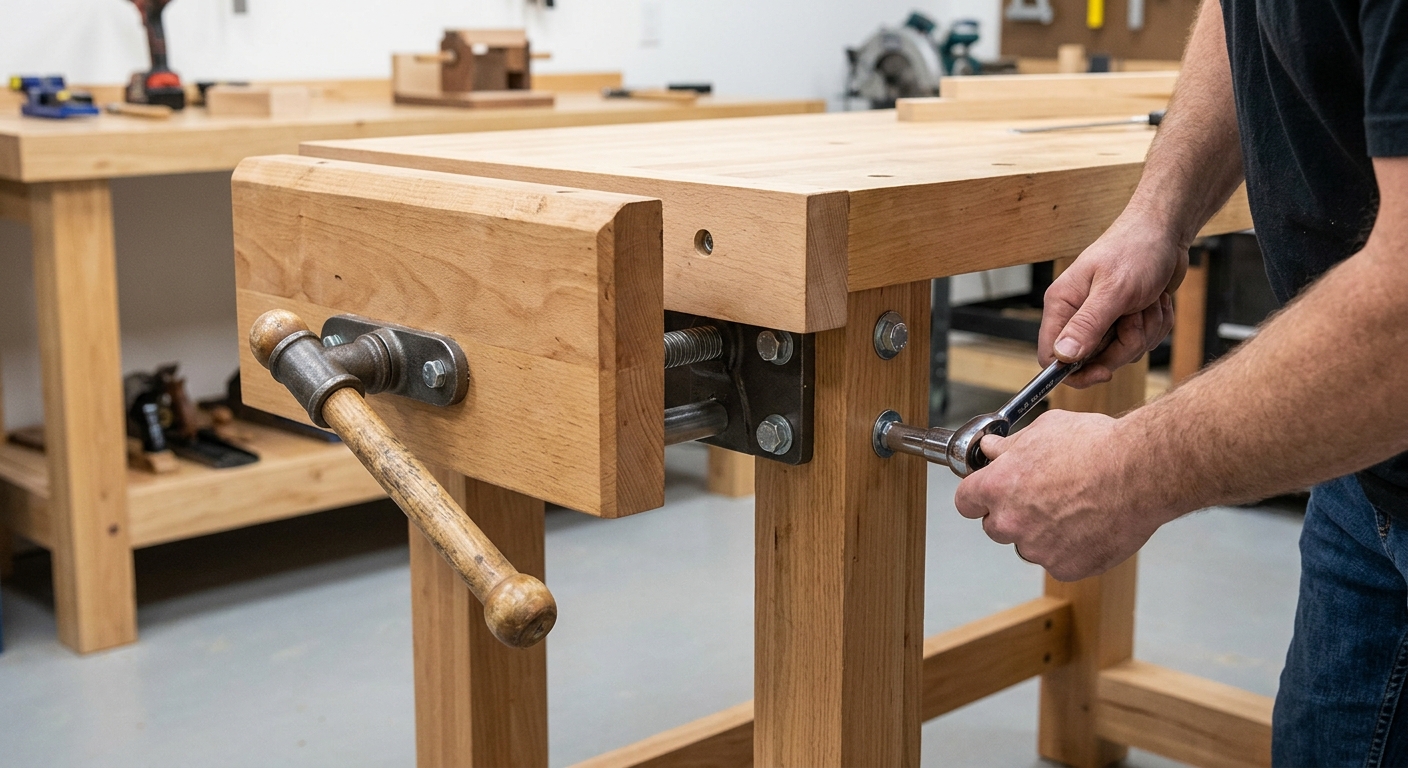
This is where a standing desk frame becomes a real workbench. Drill a row of 3/4-inch dog holes for holdfasts and bench dogs. Add a face vise to one end – nearly any face vise can be adapted to a height-adjustable bench. Consider an apron around the perimeter that holds commonly used hand tools.
Height Settings for Different Tasks
- 28–30 inches – hand planing, heavy sanding, panel glue-ups
- 34–36 inches – general assembly, drilling, sawing
- 38–42 inches – fine layout work, marking, detail carving
- 44–48 inches – standing at max extension for work you want above waist level
FAQ
Is the electric frame stable enough for bench work? Modern commercial frames with anti-collision and locking mechanisms are quite stable. They won’t match a 200-pound timber-frame bench for rigidity under impact, but for most shop tasks they’re more than adequate.
Can I add a vise to one end? Yes. Bolt the vise to one end of the top normally – the frame supports the load. Choose a vise that mounts to the bench top rather than the leg for cleanest installation.