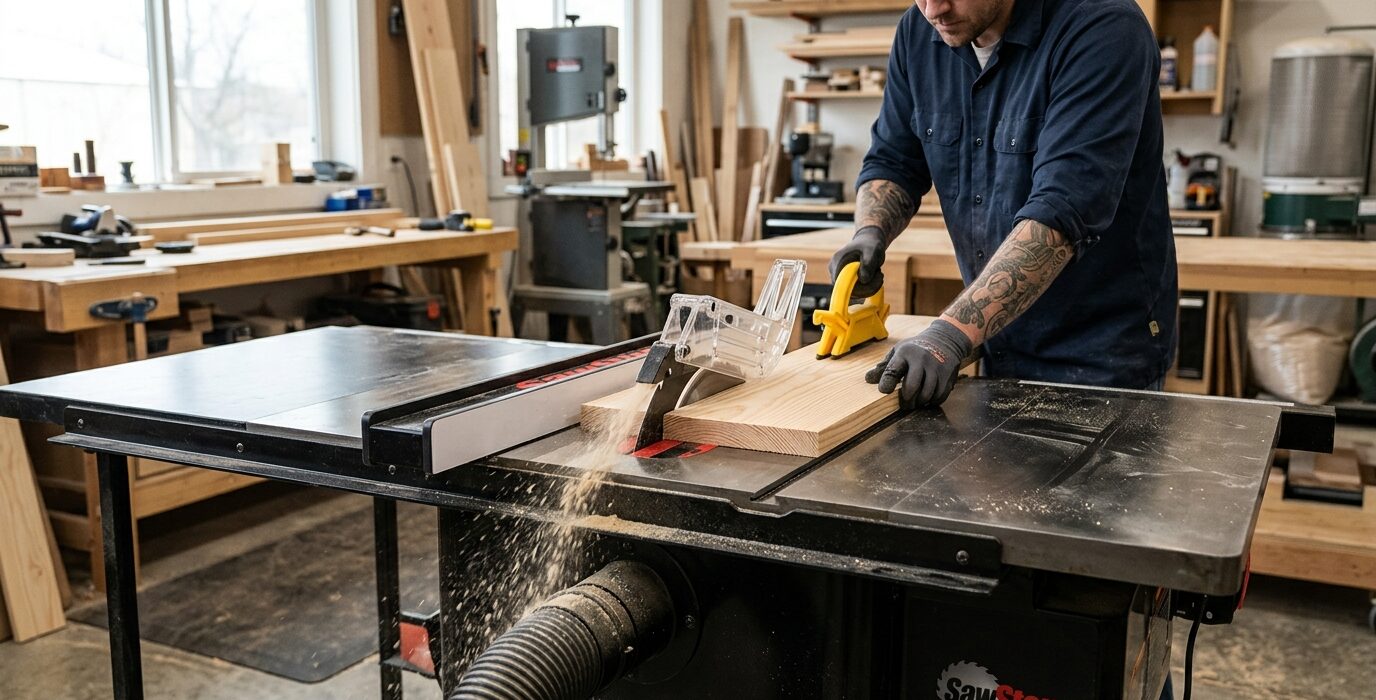
Integrating the Table Saw into Your Workbench
One of the best shop space solutions for small shops is a workbench built at the same height as the table saw table, positioned to the left of the saw, functioning as a built-in extension wing and work surface simultaneously. You get a full-length infeed and outfeed table, a clamping surface, and assembly area – all without any extra floor space. This is how professional small shops maximize their table saw setup.
Planning the Layout
Before building, position your table saw in its permanent location. Then measure carefully:
- Height of the saw table surface – this is the exact height your bench must match
- Available width to the left and right for extension
- Depth of the area – you want at least 30 inches behind the blade for outfeed, and 24 inches to the left for infeed support
Sketch the layout on paper before cutting a single board.
Materials
- 3/4-inch plywood or MDF for the bench top
- 2×4 lumber for the base frame
- Adjustable leveling feet for precise height matching
- Optional: drawer slides and drawer boxes for the bench base
Step 1 – Build the Bench Frame to Exact Height
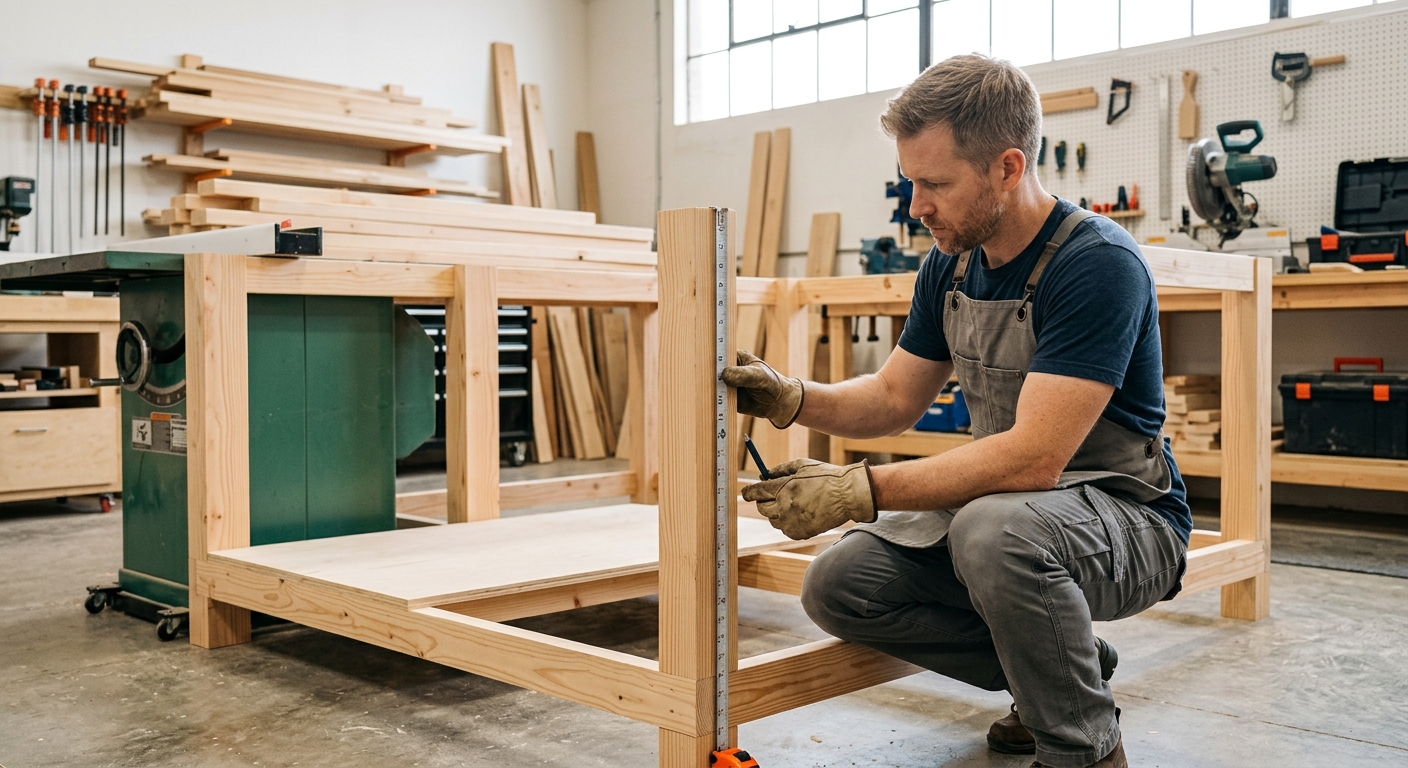
Build a standard 2×4 base frame, but instead of standard bench height, size it to match your saw table exactly. Include adjustable leveling feet – these let you fine-tune the height to within 1/16 inch after assembly. You cannot glue in the final height; you need adjustment range.
Step 2 – Attach and Level the Top
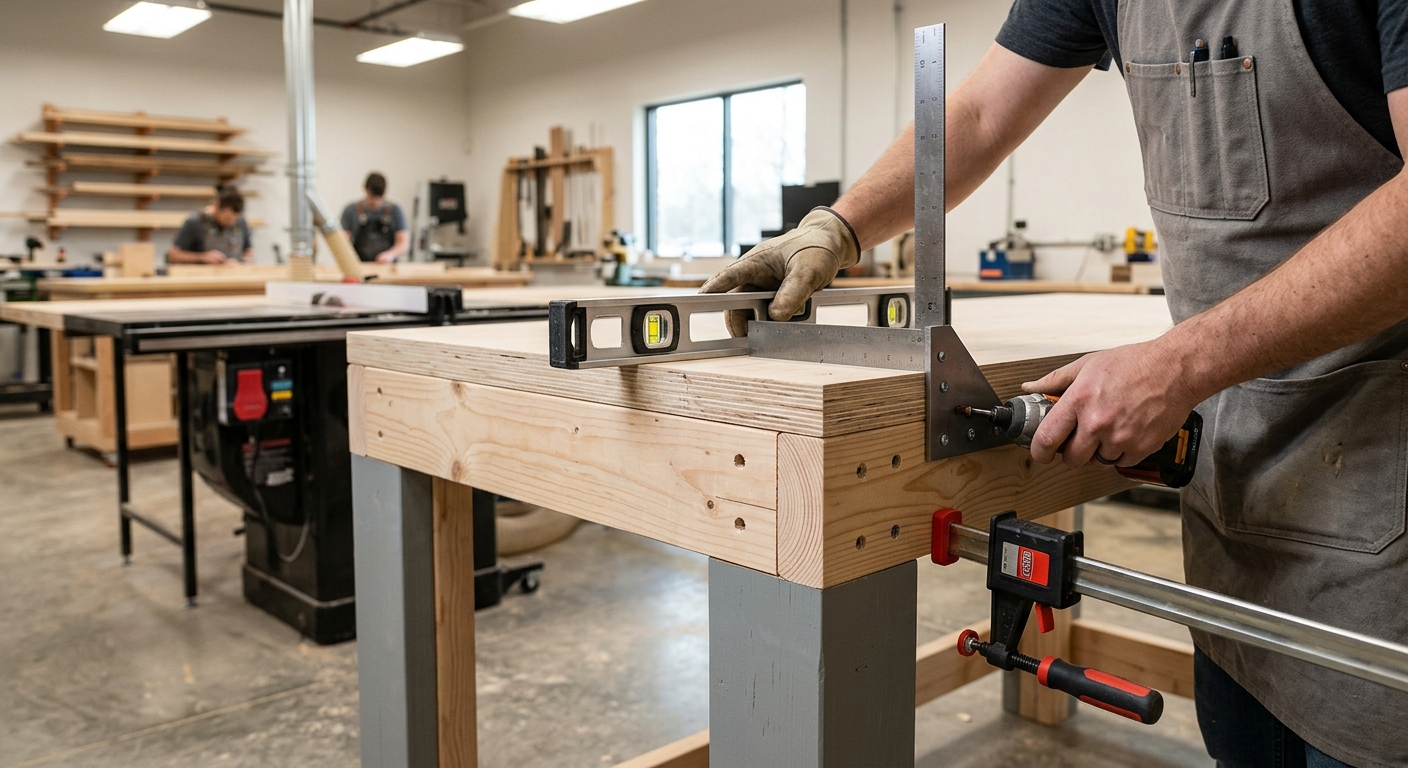
Attach the 3/4-inch plywood top to the frame. Then use a long straightedge across the saw table and the bench top to check the height match. Adjust the leveling feet until the straightedge lies flat across both surfaces with no rocking, gap, or step. This may take 20 to 30 minutes of careful adjustment – invest the time.
Step 3 – Connect the Bench to the Saw Cabinet (Optional)
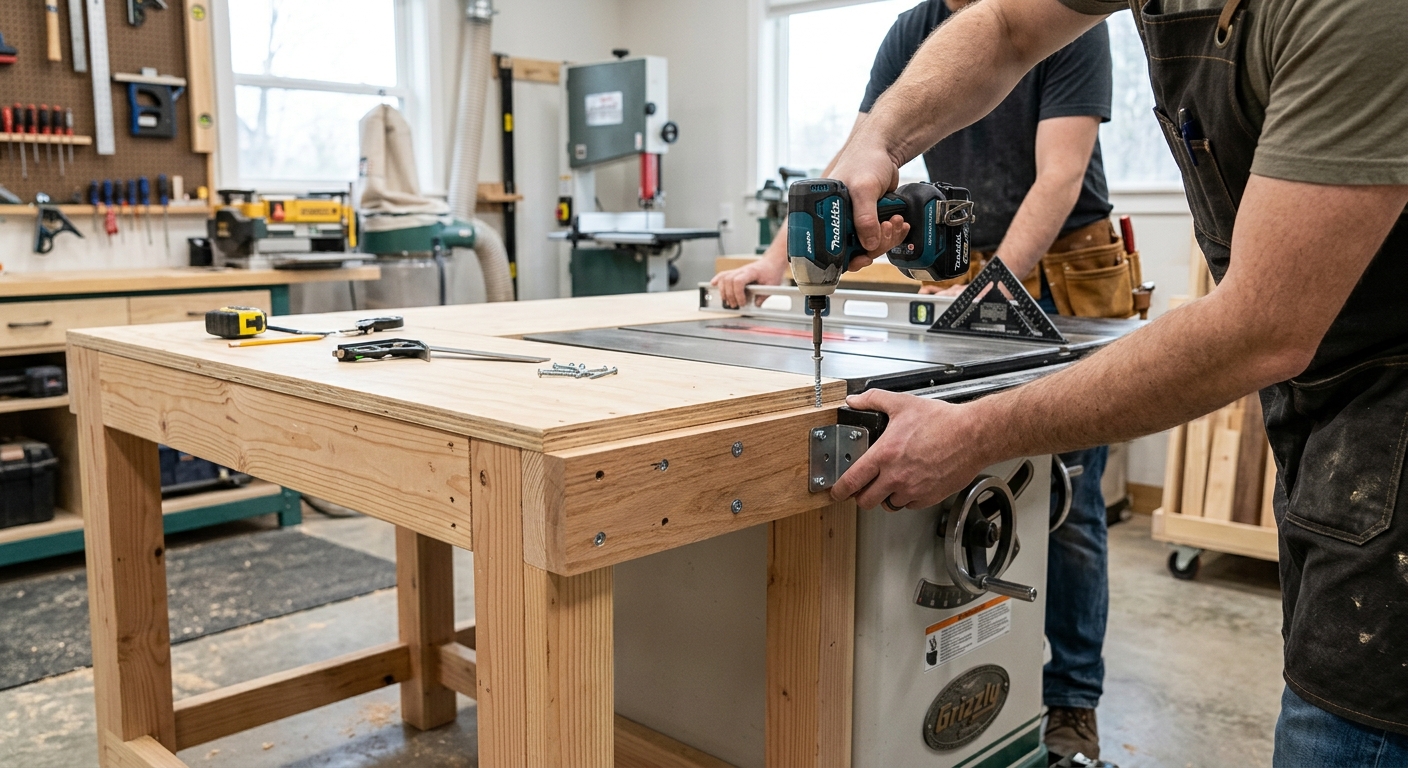
If your table saw is a cabinet saw, you can bolt a wooden bracket to the saw’s wing mounting holes on the left side, connecting the bench to the saw structure. This eliminates any gap between the two surfaces and prevents the bench from moving independently. For contractor saws or hybrid saws without wing bolts, rely on casters or leveling feet alone.
Step 4 – Add the Extension Wing Feature
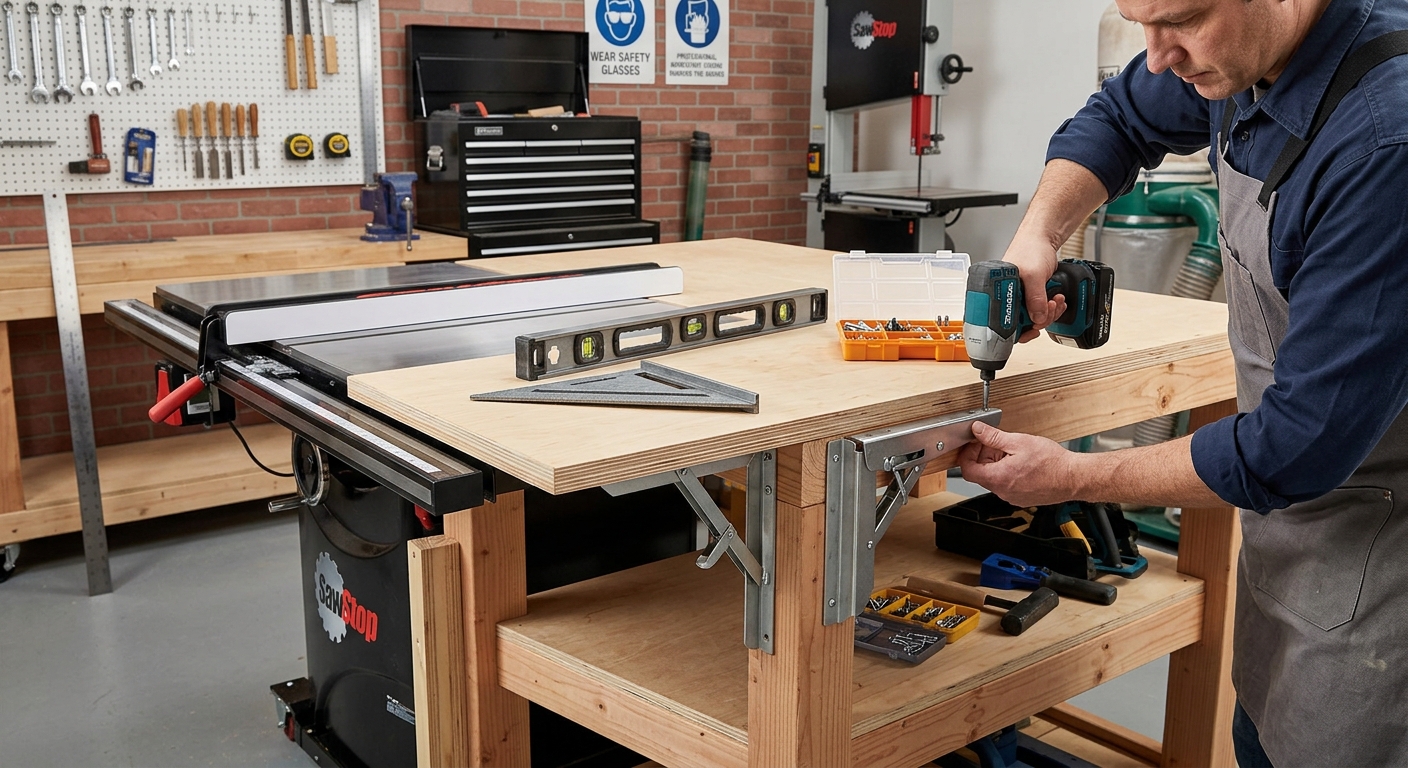
Cut a notch or a clear opening at the right corner of the bench top where it meets the saw. This allows the saw’s fence rail to extend fully without hitting the bench structure. The fence should be able to run from the saw all the way across the bench top if needed for extra-wide rips or panel work.
Step 5 – Build Storage in the Base
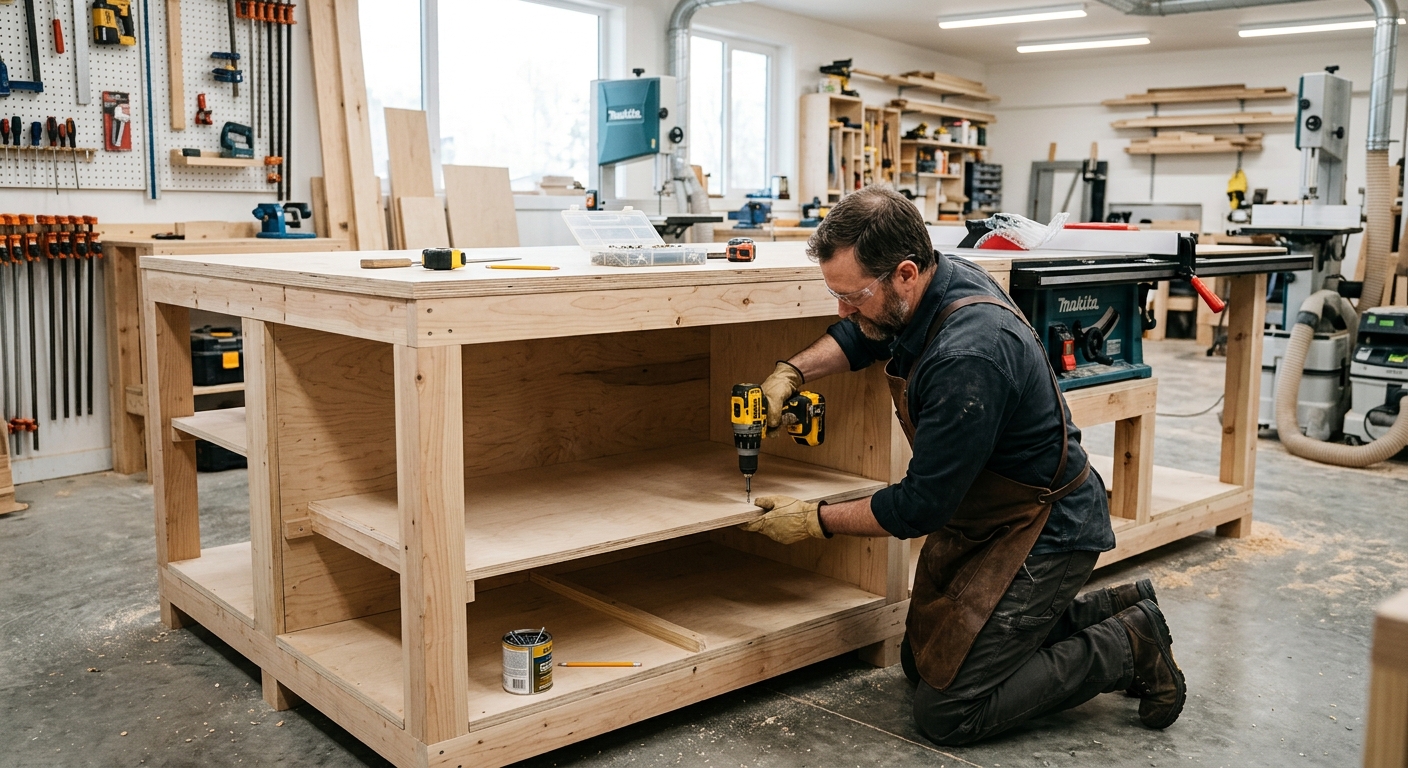
The base of this bench lives in prime real estate. Add drawers or a cabinet for saw accessories – blades, inserts, dado stacks, push sticks, and the fence hardware. Everything for the table saw lives directly beneath the integrated bench, within arm’s reach while at the saw.
FAQ
What if my saw table isn’t level with the bench top after all adjustments? The bench top surface being slightly lower than the saw (by 1/32 to 1/16 inch) is acceptable – workpieces will slide onto the bench without catching. Never build the bench higher than the saw table, as a high spot causes workpieces to catch mid-cut.
Can I add a router table into this build? Yes – many builders cut a router table opening in the bench top to the right of the saw, making a true trifecta of the saw, router table, and work surface at the same height.