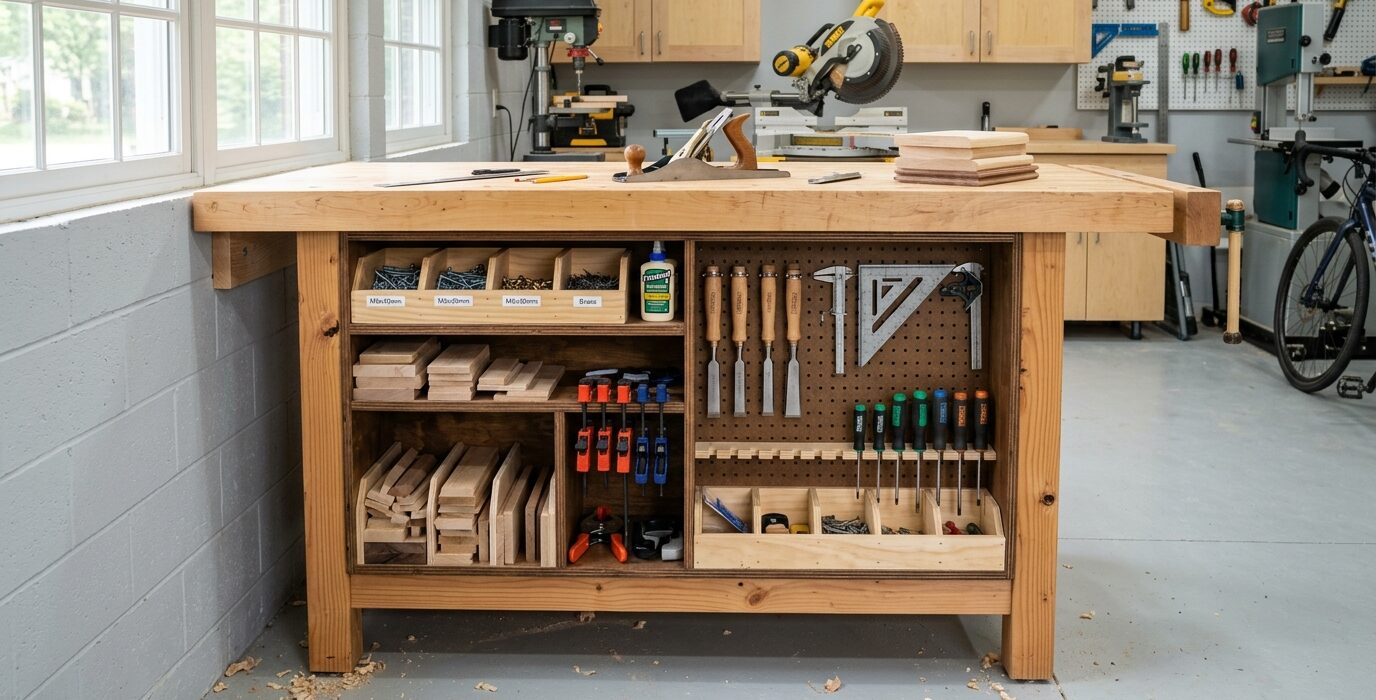
Turn Wasted Space Into Organized Lumber Storage
The space under a workbench is some of the most underused square footage in the shop. Most benches have either a lower shelf piled with random items, or nothing at all – an empty cave that collects sawdust. A proper wood storage shelf built under the workbench puts that space to work: organized short stock and offcuts at a height where you can easily see and pull them, without bending to the floor or stacking lumber in a pile.
Design Overview
The storage system is a divided shelf with angled front dividers that prevent lumber from sliding out the front. Short bins hold offcuts organized by width. Long sections hold dimensional lumber by species or size. The whole system is removable for cleaning and can be reconfigured as your wood inventory changes.
Materials List
- 3/4-inch plywood, one sheet (shelf panels and dividers)
- 1×4 common board, 8 linear feet (front bin rails)
- Construction screws and wood glue
- Optional: casters for rolling storage units
Step 1: Measure the Available Space
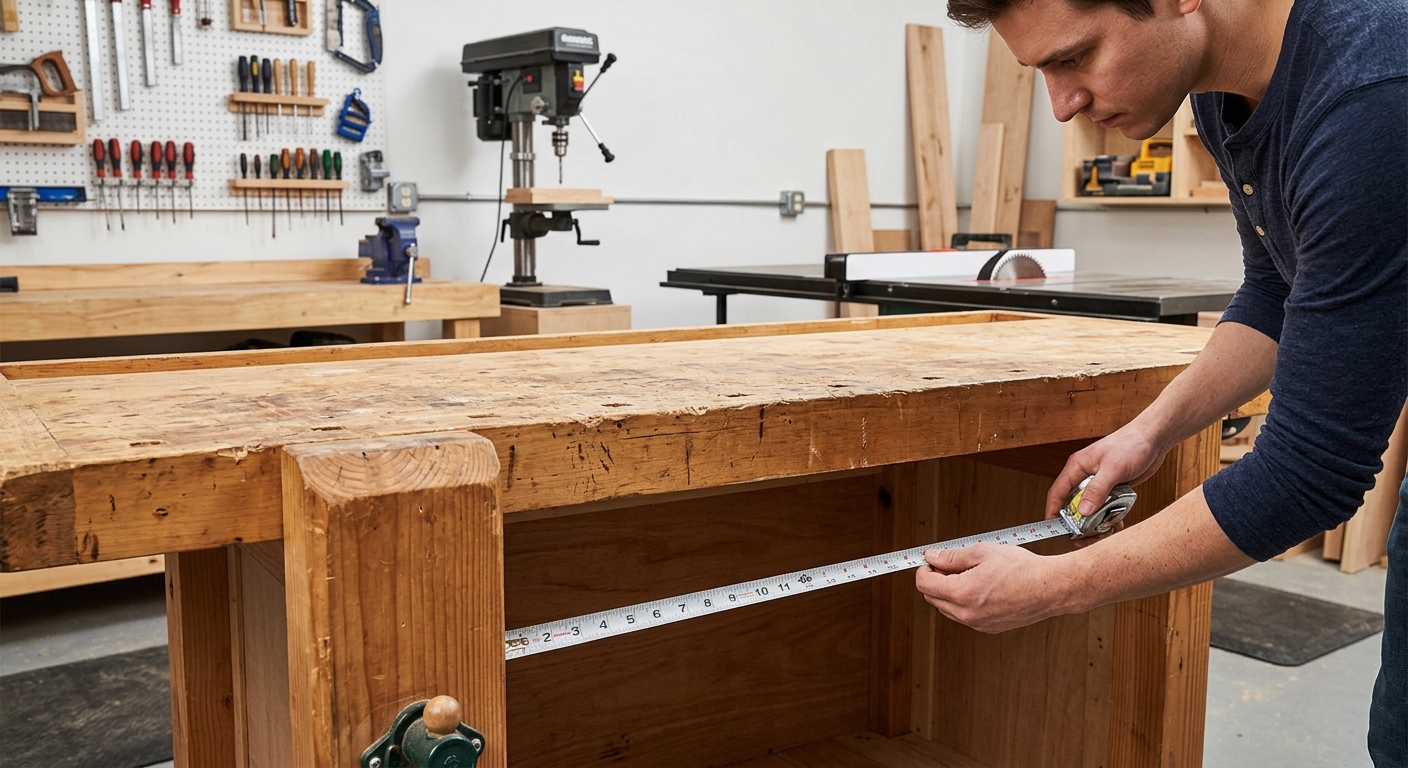
Measure the opening under your bench in all three dimensions: width, depth, and height. Account for lower stretchers or aprons that reduce the usable opening. The shelf should fill the available height from the floor to the bottom of the bench top, with a small gap for clearance.
Step 2: Build the Shelf Unit
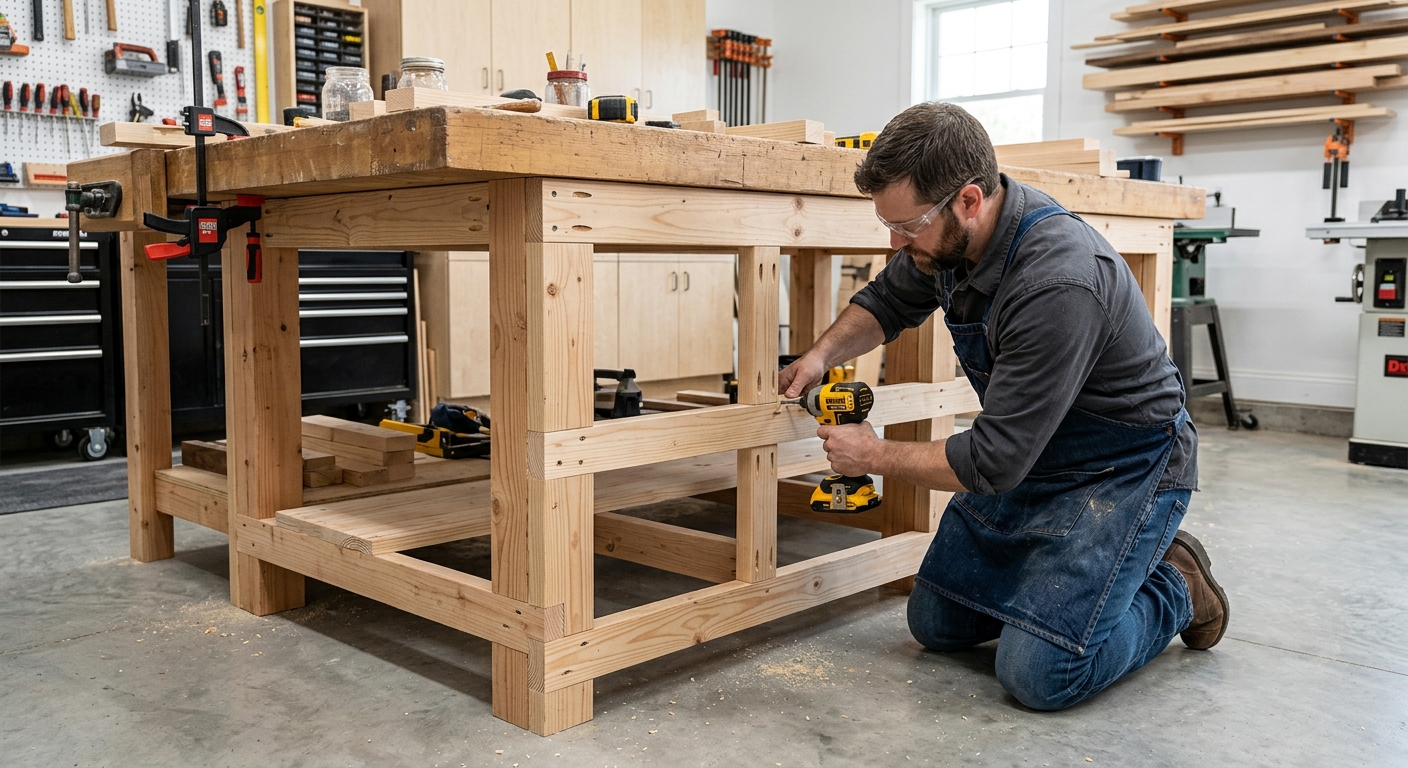
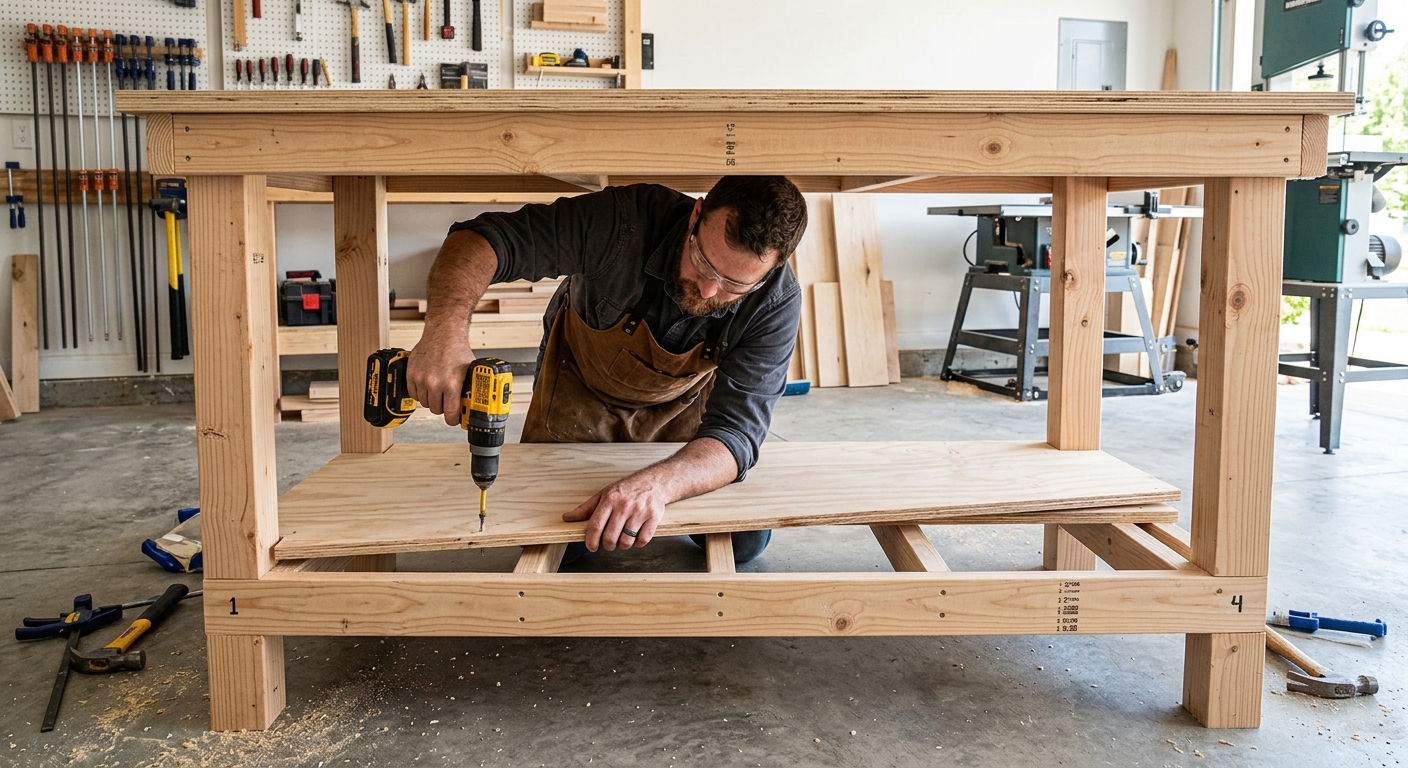
Cut a base panel that fits the full footprint under the bench. Add vertical dividers to create bins of different widths – narrower bins for short offcuts, wider sections for 8-foot or longer boards stored on their edges. The dividers are simply plywood strips screwed to the base panel and to the underside of the bench aprons.
Step 3: Add the Front Rails
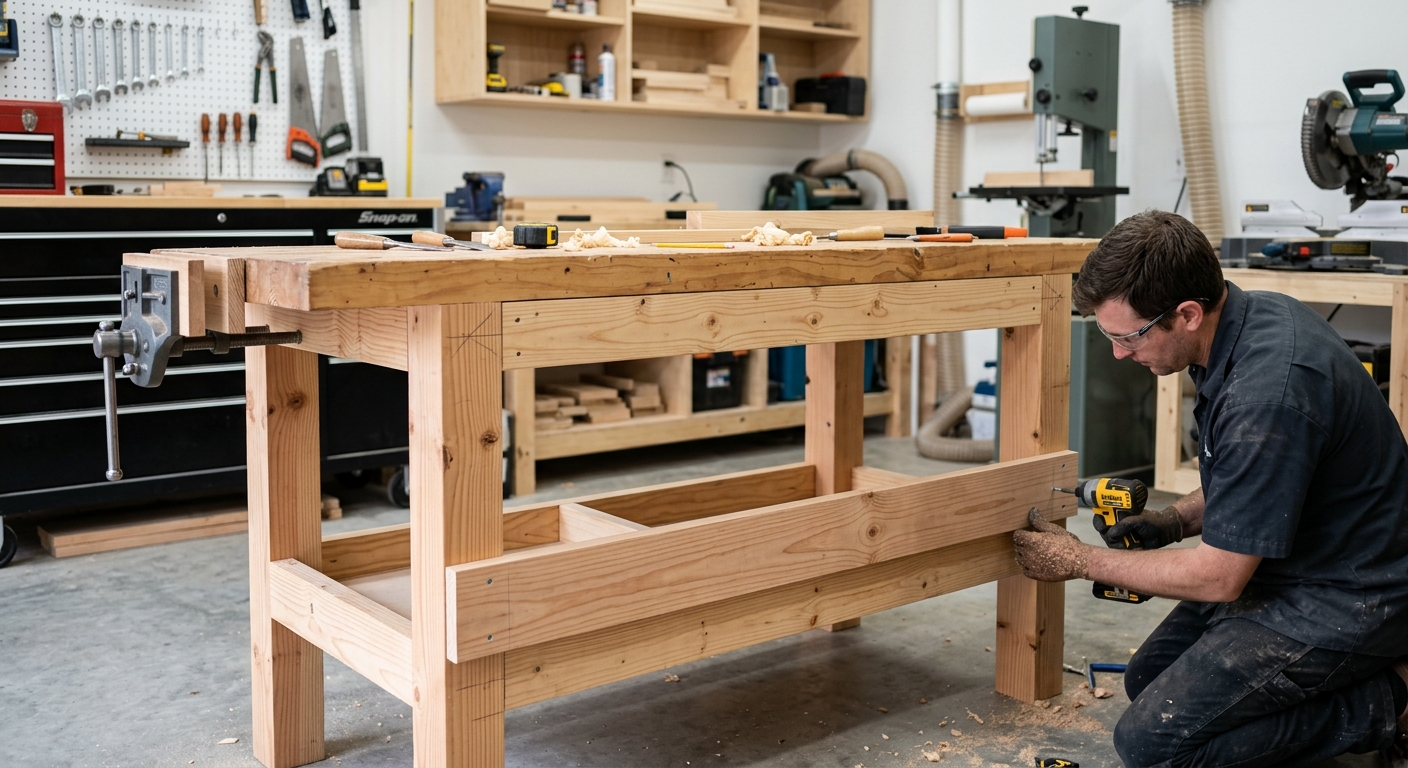
The front rails are angled pieces that keep lumber from sliding out the front of each bin. Cut 1×4 boards at a 15-degree bevel on one edge. Attach one on each bin opening – one at the front of the base (angled to catch sliding boards) and one at mid-shelf height. This creates a trap that keeps lumber organized even when you’re pulling pieces in and out.
Step 4: Add Sheet Good Storage
On one end of the bench, add a vertical slot for plywood and MDF offcuts. A vertical divider with small wooden pegs creates individual slots for sheets to stand on edge, separated and easily accessible.
Pro Tips
- Organize by length, not species. In a working shop, you reach for a board of a certain length first and species second. Keep the longest boards in the back, shortest in the front.
- Add casters to a roll-out version. If the bench is against the wall, build the shelf unit on casters that roll out from under the bench on tracks – this gives access to the back of the storage without moving the bench.
- Label the bins. Stick a chalk label or write on masking tape on each bin front: “Hardwood shorts,” “Softwood 12-24 in,” “Plywood scraps,” etc.
FAQ
How do I handle lumber that’s longer than the bench?
Long stock (6 feet or more) typically stores better on a wall-mounted lumber rack above the bench or on a dedicated floor rack. The under-bench storage is best suited for lumber up to 4 feet long. Anything longer gets awkward to extract from a confined space under a bench.