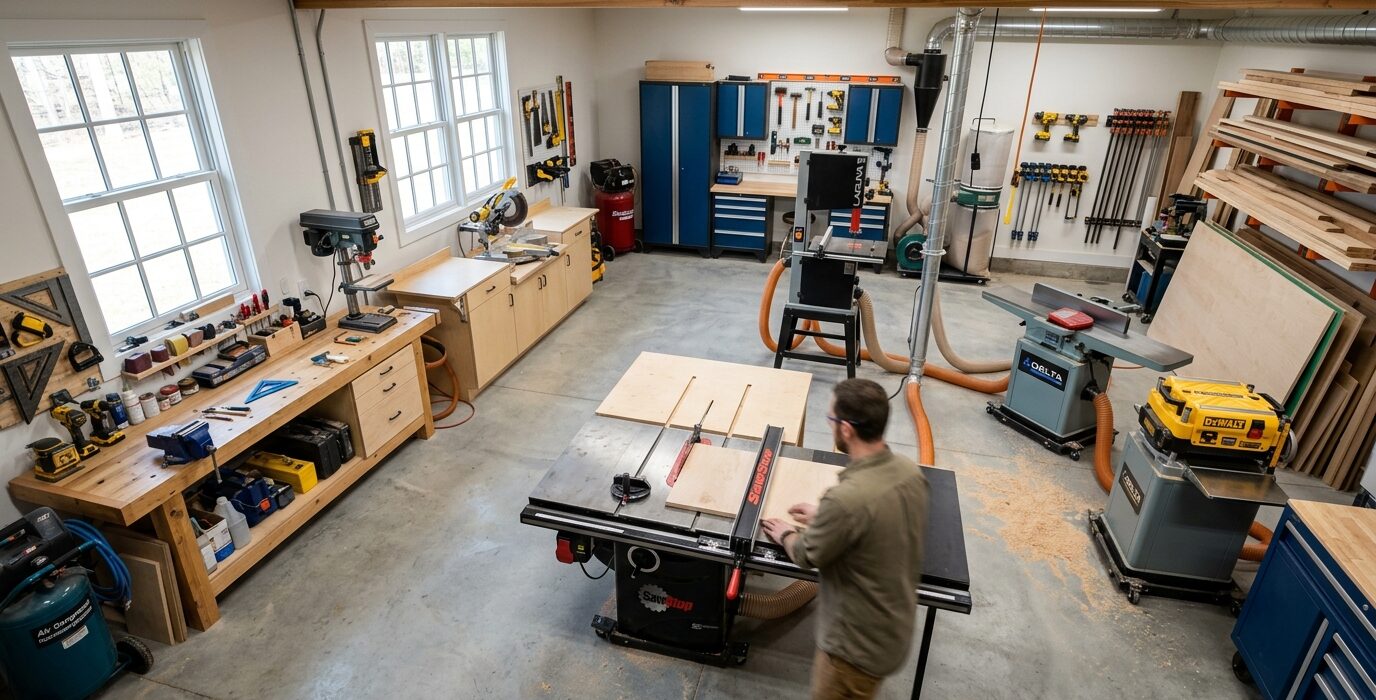
Plan Before You Build: The Garage Workshop Layout Process
A garage workshop layout planned on paper costs nothing. One built incorrectly costs you months of fighting an inefficient space and potentially thousands of dollars to redo. Before you buy a single tool stand or install a single shelf, spend an afternoon with graph paper, a tape measure, and the layout process described here. The result is a shop that flows naturally from rough lumber to finished project without backtracking or fighting for floor space.
Step 1: Measure Everything
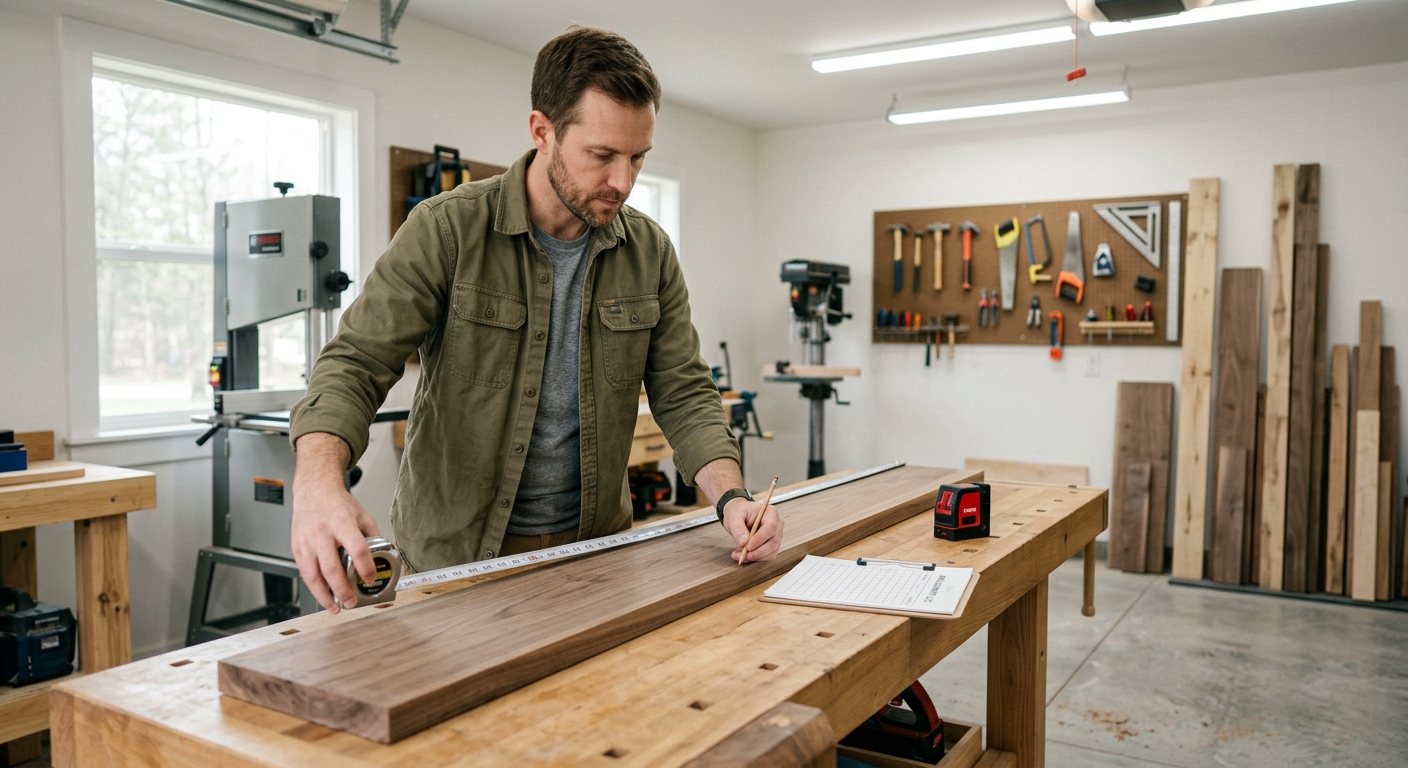
Measure your garage floor precisely: total length, total width, ceiling height at the lowest point. Note the locations of: the garage door (and its swing or roll clearance), windows (height from floor, width), the electrical panel, existing outlets, any floor drains, and any fixed obstacles like support posts or water heaters. Draw all of this to scale on graph paper – 1/4 inch per foot is a common scale for a two-car garage.
Step 2: Identify Fixed Constraints
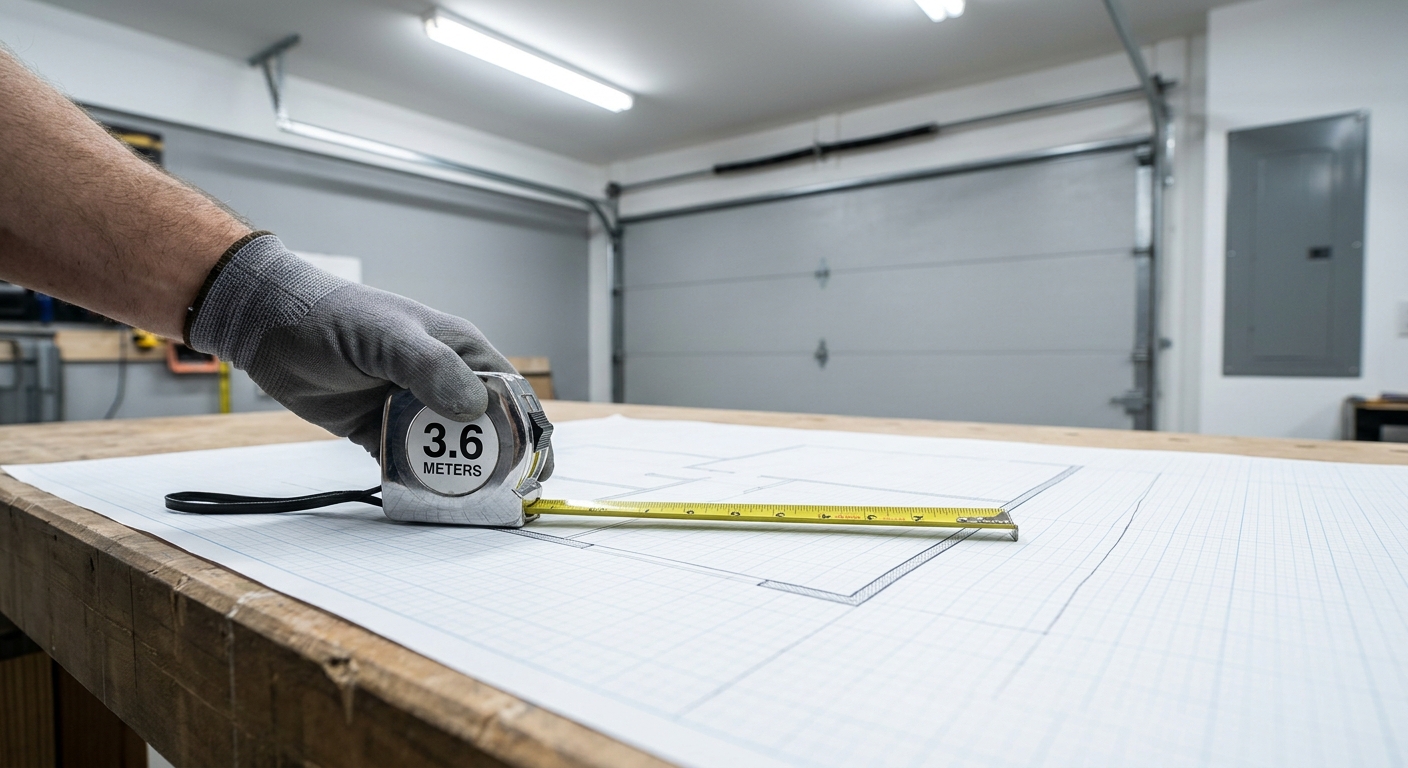
Some things in your garage cannot be moved: the garage door, the electrical panel, load-bearing posts, and windows. Mark these on your plan as immovable. Everything else – including existing shelving, racks, and even workbenches – is subject to redesign.
Step 3: Define Your Workflow Zones
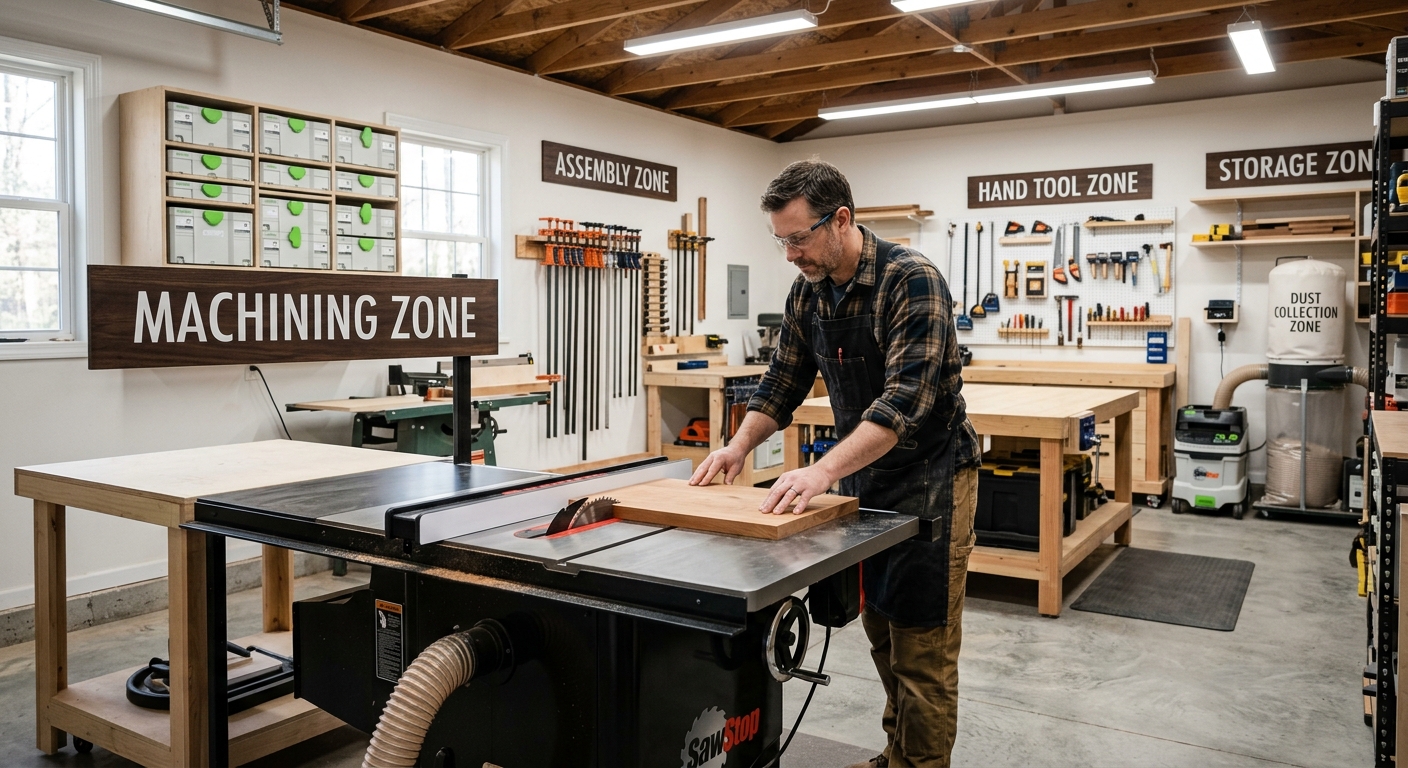
Every workshop has three fundamental workflow zones. The milling zone handles rough lumber processing: the table saw, jointer, planer, and band saw live here. These machines need infeed and outfeed space – a table saw needs 8 feet behind the blade and 4 feet in front. The assembly zone is your workbench area – a large open floor space around the bench. The finishing zone should be near a window or exhaust fan and away from major dust sources. Map out where each zone fits naturally in your space.
Step 4: Create Cut-Out Templates

On a separate piece of paper, draw cut-out templates for each major tool at the same 1/4-inch scale. Include not just the machine footprint but its operational clearance – the space needed for infeed and outfeed of maximum-length stock. Move these templates around on your floor plan to find configurations that let each machine operate without interfering with others.
Step 5: Plan Electrical and Dust Collection First
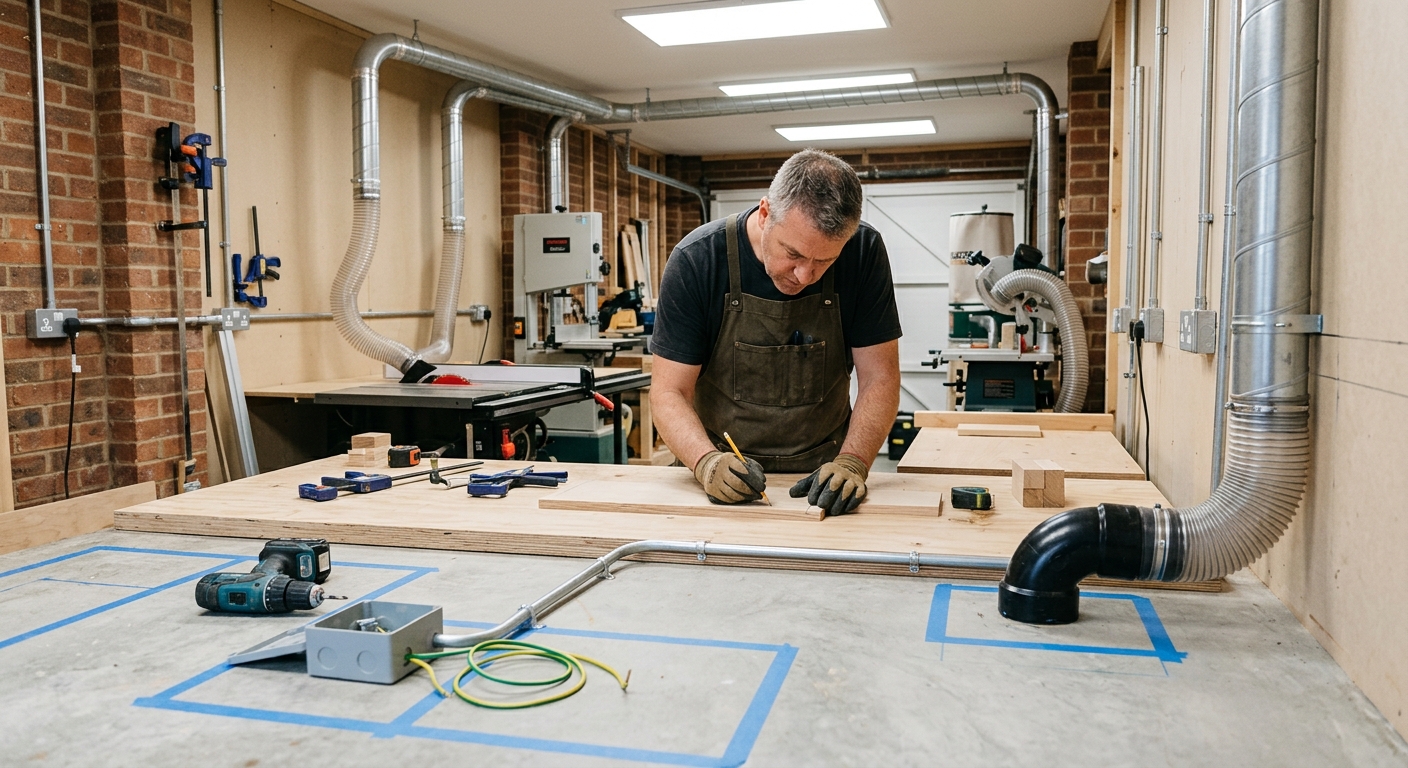
Once the tool positions are set, plan the electrical runs and dust collection drops before finalizing anything. Electrical outlets should be within 6 feet of every major machine. Dust collection drops should be at each major dust producer. If the electrical panel is on the wrong wall for your planned layout, you may need to reconsider the layout – fighting electrical routing is expensive.
Step 6: Walk Through the Work
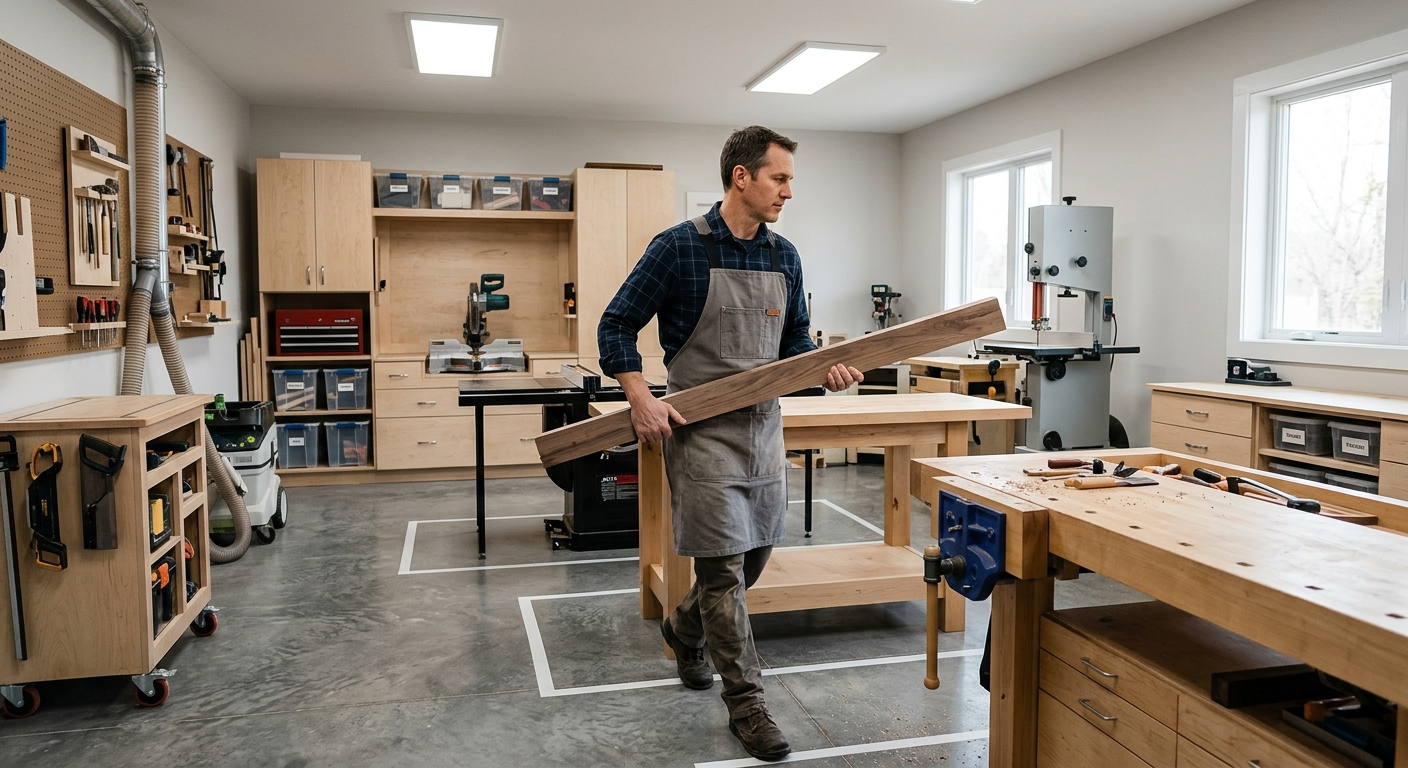
Before you start building or moving anything, walk through your planned shop physically. Stand at each machine and pantomime the full range of motions: loading a full 4×8 sheet on the table saw, running a 10-foot board through the planer, reaching for tools at the bench. Any layout problem will reveal itself in this walkthrough better than on paper.
Common Layout Mistakes
- Placing the table saw in the center of the room with insufficient outfeed space
- Putting the workbench against the back wall with no side access
- Ignoring the garage door clearance area – that dead zone is actually useful floor space when the door is closed
- Forgetting to plan for material storage – where does sheet goods and lumber live?
FAQ
What’s the minimum space needed for a functional workshop?
A single-car garage (12×20 feet) can support a functional shop with a table saw, workbench, and several hand-held power tools. A two-car garage (20×20 feet) opens up to a full complement of stationary tools. The key is mobile bases on every tool so the layout can flex for each project.