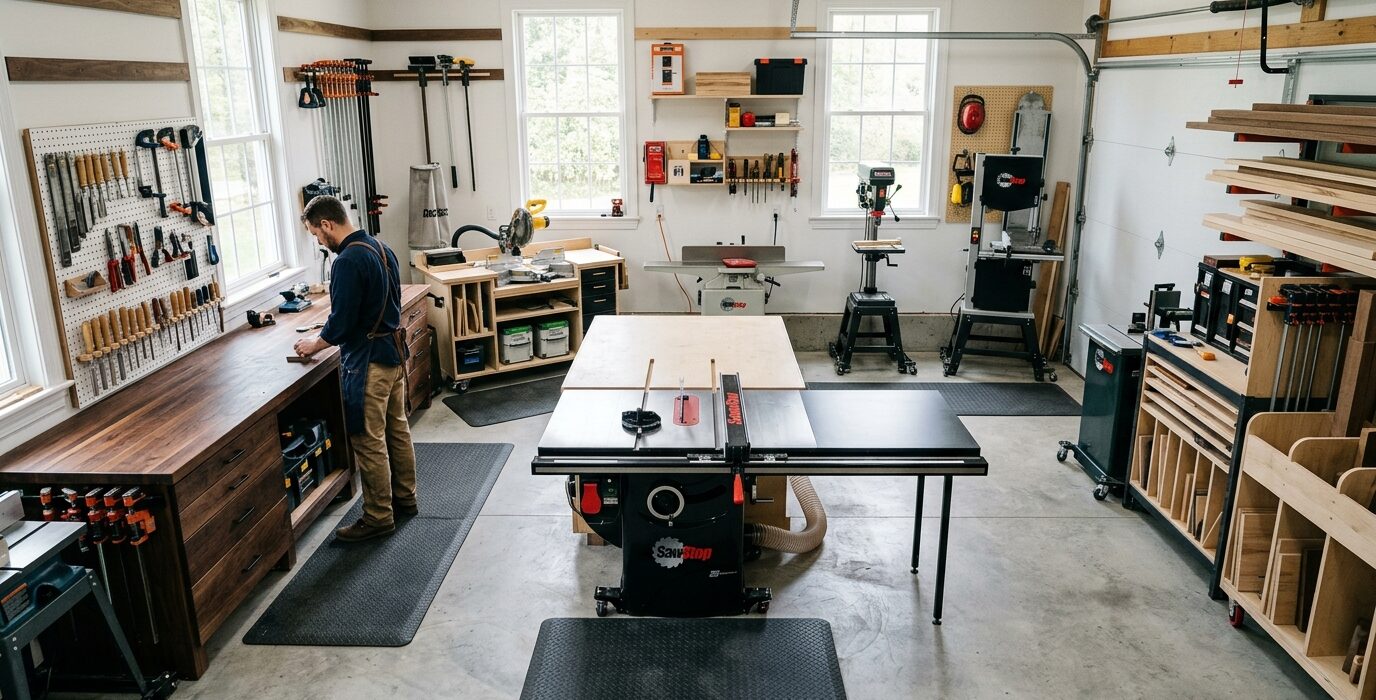
Pegboard Done Right: Layout, Hooks, and the System That Actually Stays Organized
Pegboard is the most misused storage system in home shops. Installed wrong, it’s a cluttered mess where nothing is where you expect it and hooks fall off every time you remove a tool. Installed right, it’s the fastest, most accessible hand tool storage system available – every tool visible, every tool within arm’s reach, nothing buried under anything else.
The difference between useful pegboard and chaos is layout: knowing which tools to put on pegboard, which hooks to use, and how to set up the board so it stays organized.
What Belongs on Pegboard (and What Doesn’t)
Pegboard excels for: hand tools you reach for every session (hammers, mallets, screwdrivers, wrenches, chisels), items that don’t need extra protection (tape measures, pencils, speed squares), and small items that get lost on shelves (marking gauges, awls, scribes). It’s poor for: heavy tools that can fall off hooks (router bodies, heavy planes), dusty environments without covers, or tools with handles too large for standard hooks.
Step 1: Choose the Right Pegboard
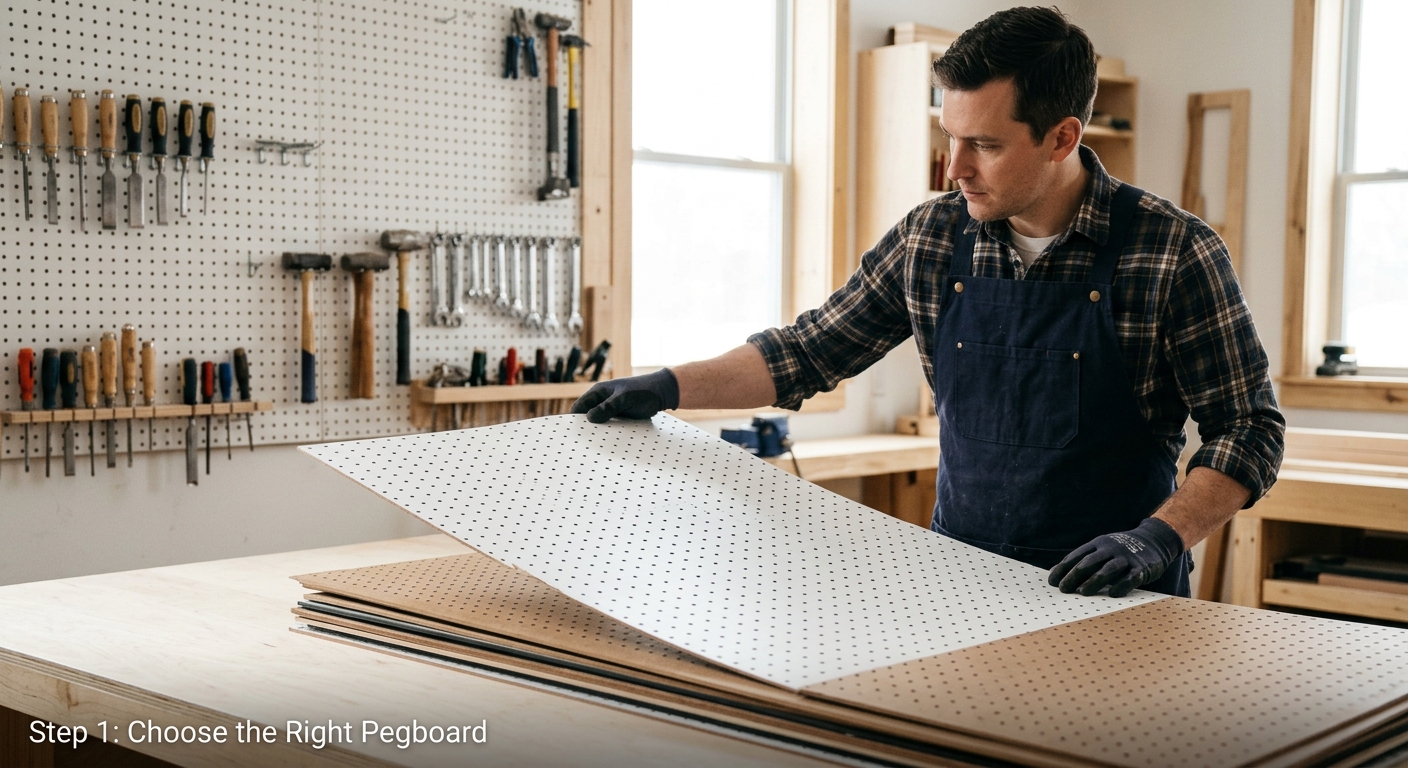
Standard 1/4-inch tempered hardboard pegboard is adequate for light tools. For a serious shop, use 1/2-inch pegboard – the thicker board accepts larger hook shanks that hold more weight and don’t flex. Industrial 1/2-inch pegboard in 4×8 sheets is available at lumber yards and online.
Step 2: Mount It Properly
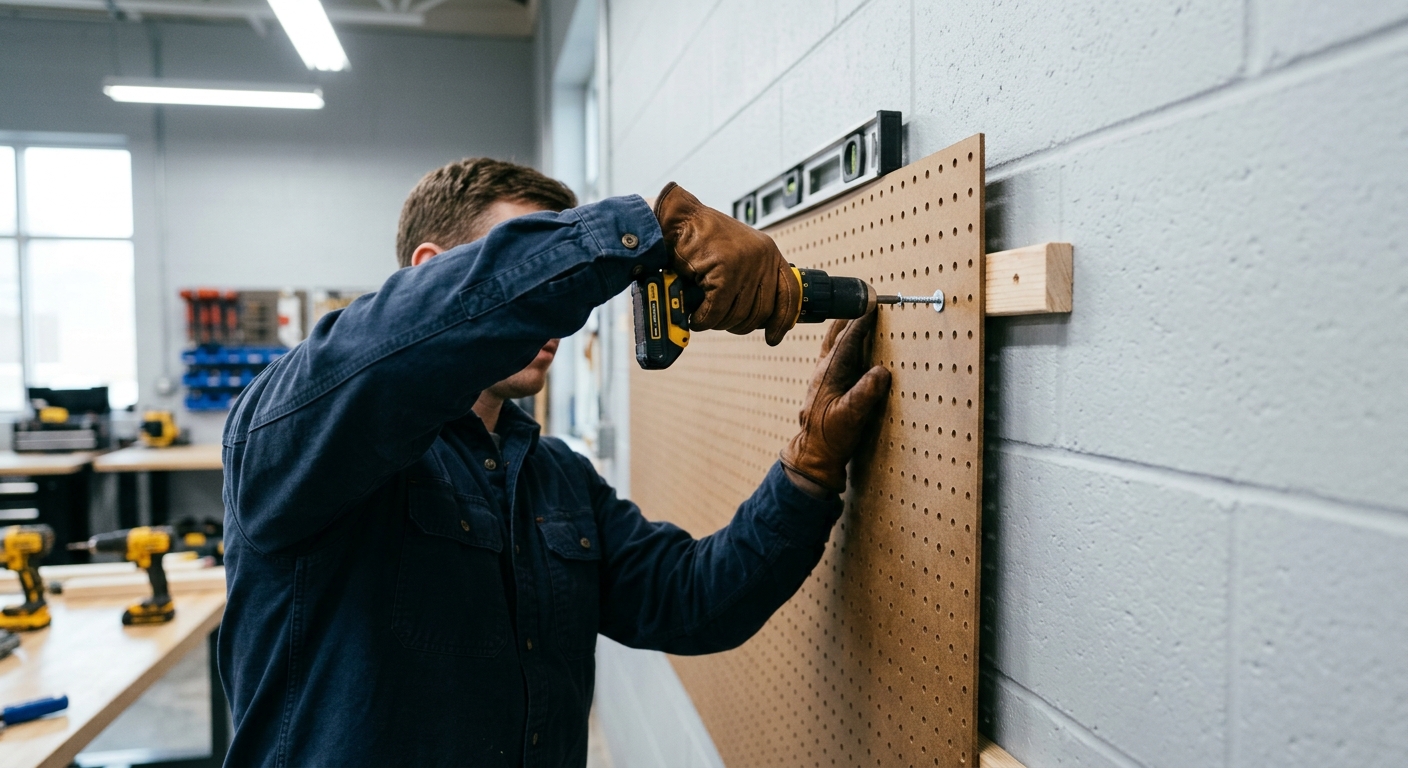
Pegboard must have a standoff gap of at least 1 inch behind it for hook installation. Mount horizontal furring strips (1×2 or 1×3) to the studs at top and bottom of the pegboard area, then screw the pegboard to the furring strips. This creates the necessary hook clearance. Screw into at least 3 studs for a 4-foot wide panel.
Step 3: Plan the Layout Before You Hang Anything
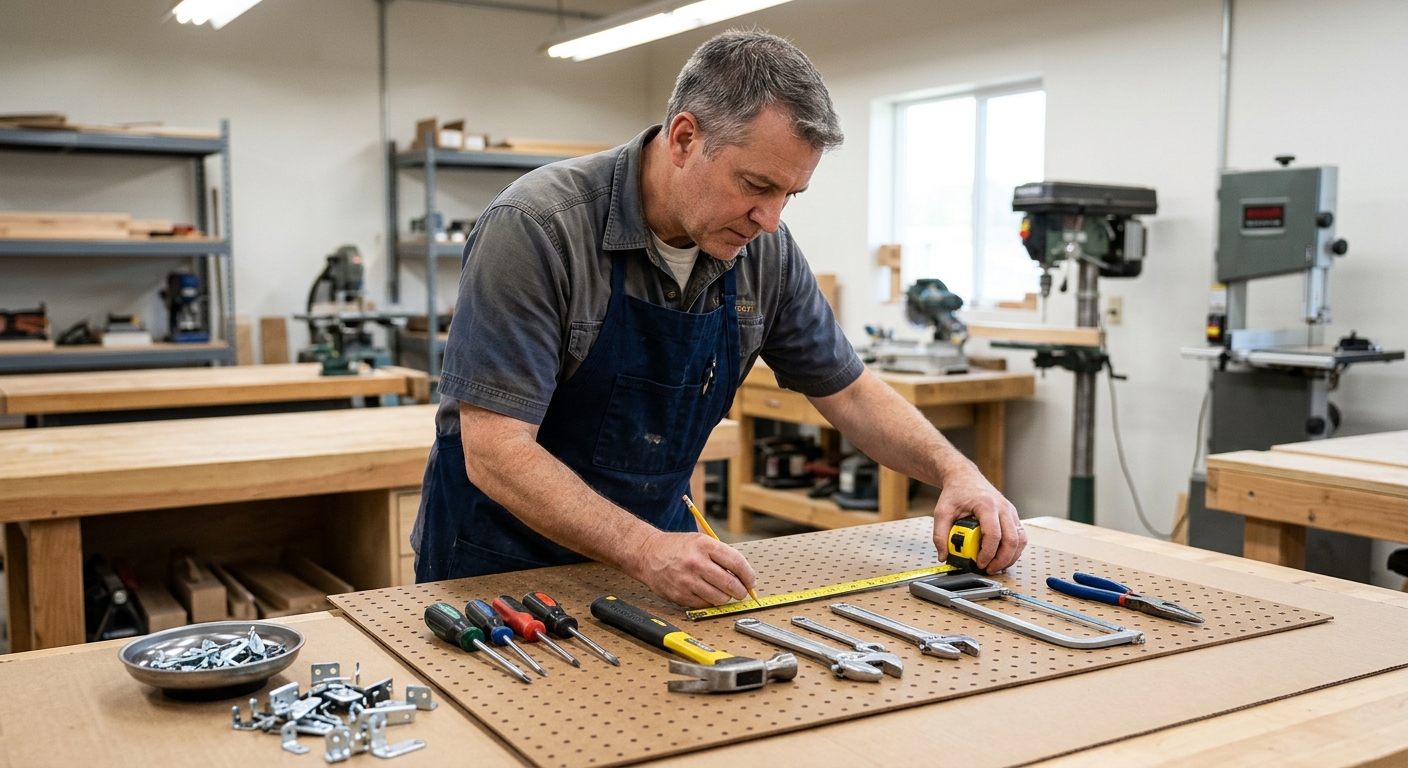
Lay the pegboard flat and arrange tools on it before mounting. Group by function: all measuring and layout tools together, all striking tools together, all screwdrivers together. The tools you use most should be at eye level and arm’s reach. Rarely-used tools go to the edges or upper rows.
Step 4: Use Locking Hooks
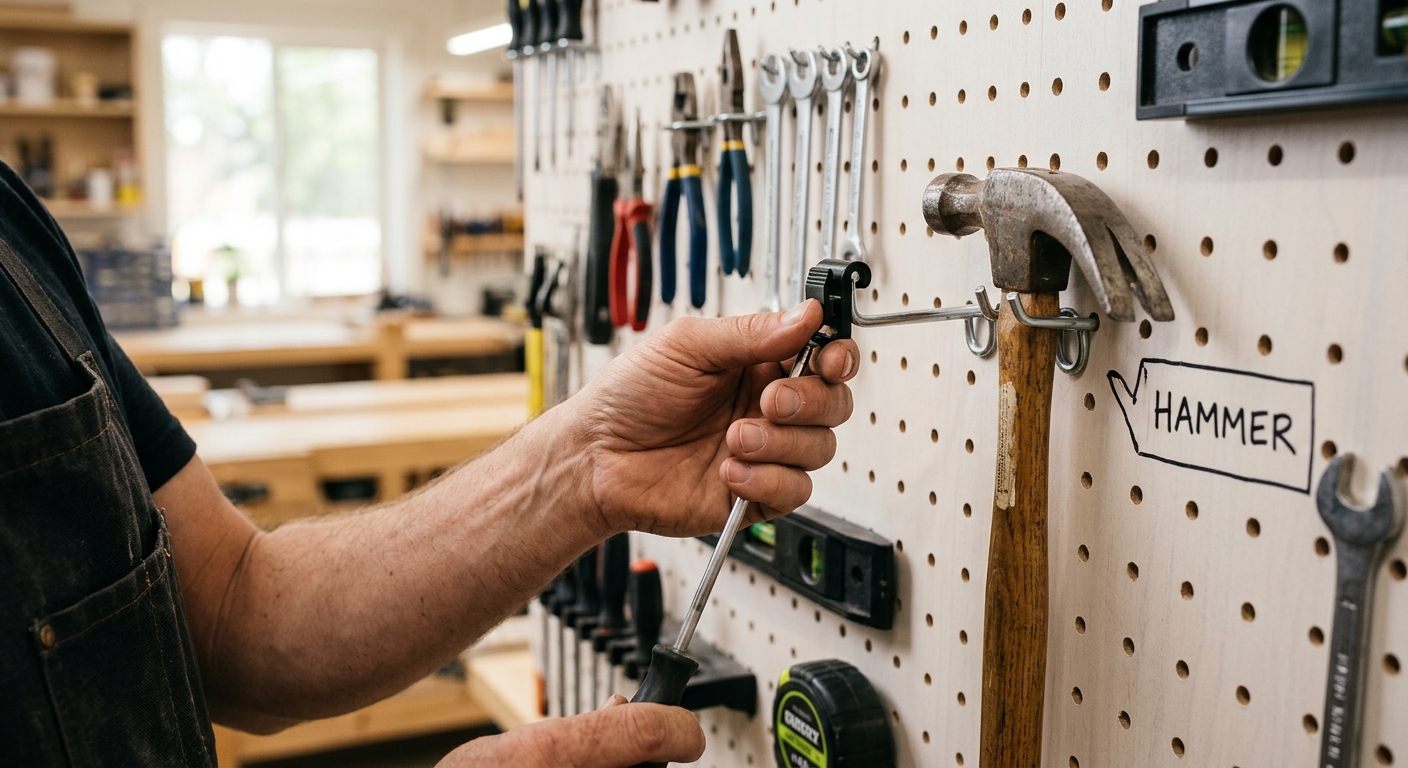
Standard single-prong hooks fall out when you remove a tool quickly. Buy locking pegboard hooks – they have a small spring mechanism or secondary pin that locks the hook in the hole. Once installed, they stay put until you deliberately remove them. The cost difference over standard hooks is minimal; the aggravation savings are significant.
Step 5: Outline Each Tool
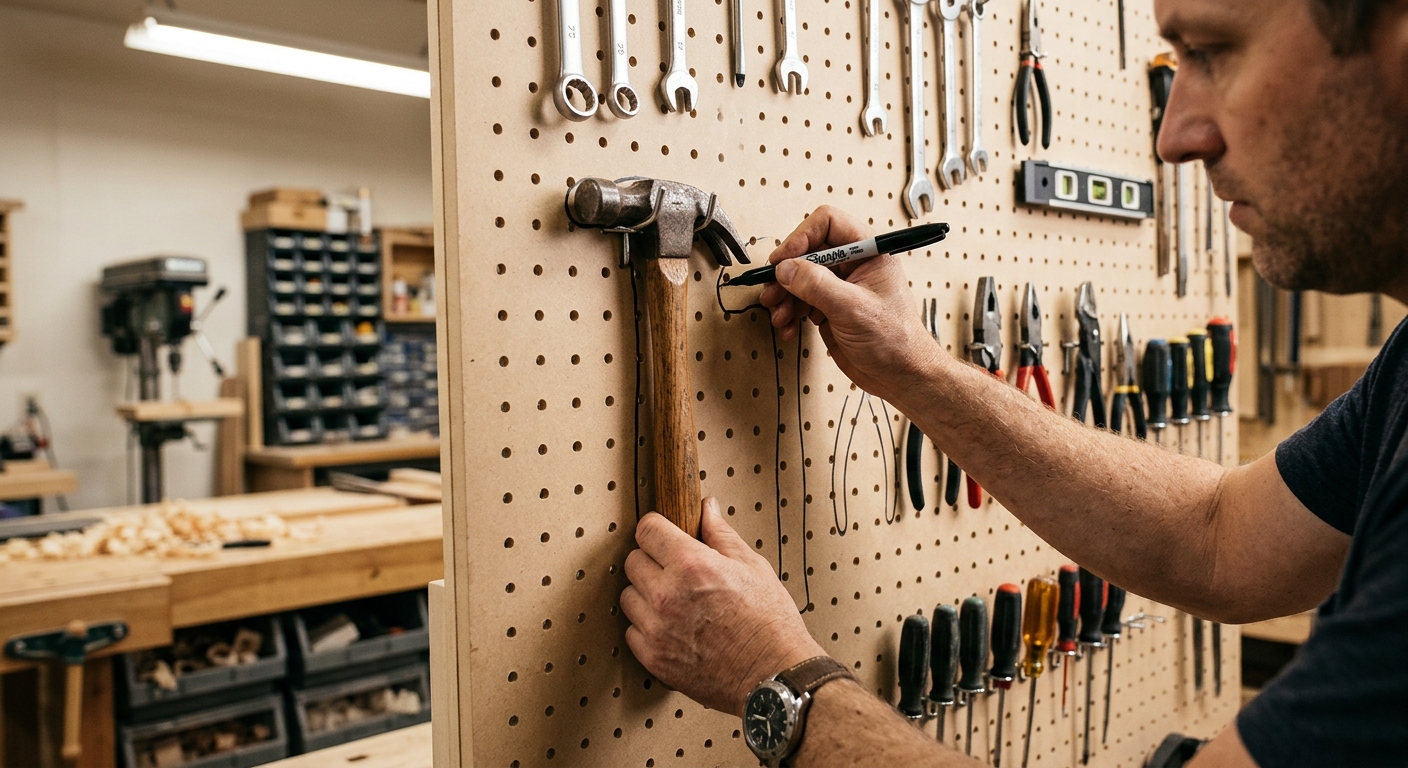
The classic organizational trick: use a paint pen or marker to outline each tool’s silhouette on the pegboard. When the tool is removed, the outline shows where it goes back. When a tool is missing, the empty outline is immediately visible. This simple step dramatically improves how well pegboard stays organized over time.
Pro Tips
- Use bins and shelves in the pegboard system. Pegboard bins (small plastic trays that hook in like tools) hold loose items – sandpaper, drill bits, pencils – in the same wall space.
- Paint the wall behind the pegboard white. White background makes tools visible from across the shop. Gray or dark walls make everything harder to see.
FAQ
How heavy can pegboard hold?
1/4-inch pegboard with standard hooks: 5-10 lbs per hook maximum. 1/2-inch pegboard with heavy-duty hooks into studs: 25+ lbs per hook. For heavy items like a socket set, mount a hook directly into a stud through the pegboard rather than relying on the board itself.