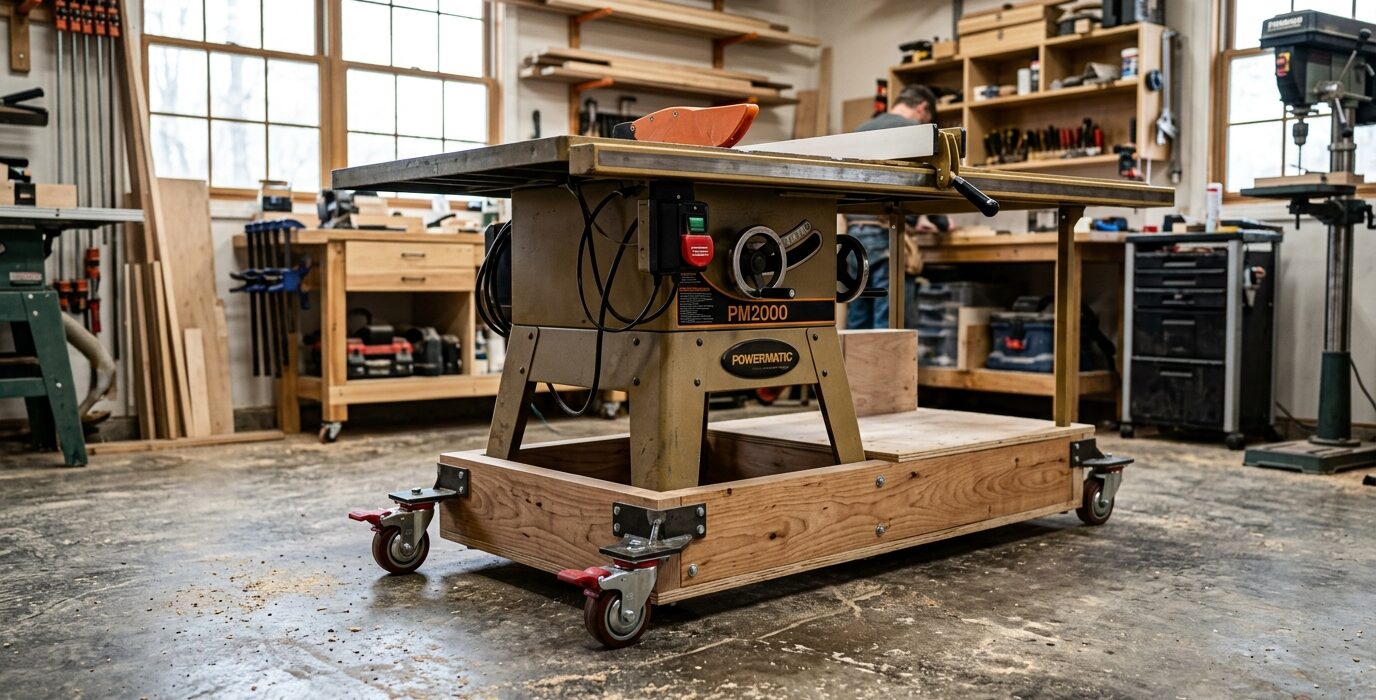
Build a Rolling Tool Cabinet from Plywood
A shop-made rolling tool cabinet gives you the flexibility of a commercial roller cab at half the cost and exactly the right dimensions for your tools. Commercial cabinets are sized for mechanics’ tools – shallow drawers, fixed heights, one-size-fits-all depth. A shop-built cabinet can have deep drawers for router bits, shallow drawers for chisels, and a full-width drawer for sandpaper – sized exactly to what you own.
Design Overview
The cabinet is a plywood box on locking casters with a series of full-extension drawers. The top surface is a work surface (laminate or hardboard for durability). Drawer heights are customizable based on contents. A full-overlay face frame gives the cabinet a clean appearance. Total height is 34 inches (workbench height) so it can serve as an additional work surface when needed.
Materials List
- Three sheets 3/4-inch plywood (cabinet box and drawers)
- One sheet 1/4-inch plywood (drawer bottoms)
- Full-extension drawer slides (5-6 pairs), 18-22 inches
- Four heavy-duty casters (two locking)
- Wood screws and pocket screws
- Drawer pulls (5-6)
- 1×2 hardwood for face frame (optional)
Step 1: Build the Cabinet Box
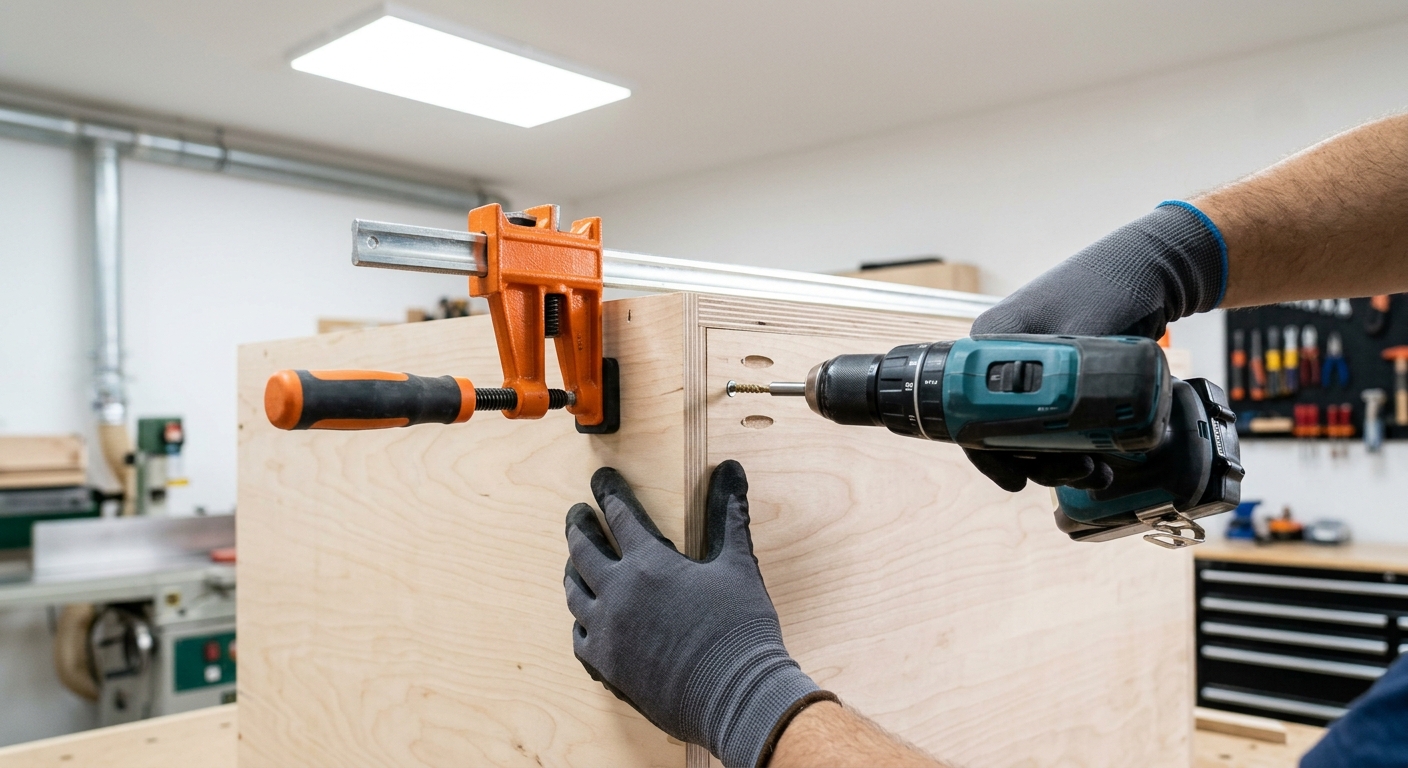
Cut sides, top, and bottom from 3/4-inch plywood. The interior height determines how many drawers you can fit – for a 34-inch cabinet with a 3/4-inch top and 3-inch caster height, interior height is approximately 30 inches. Mark drawer heights on the sides before assembly. Assemble with glue and screws, checking for square.
Step 2: Install Drawer Slides
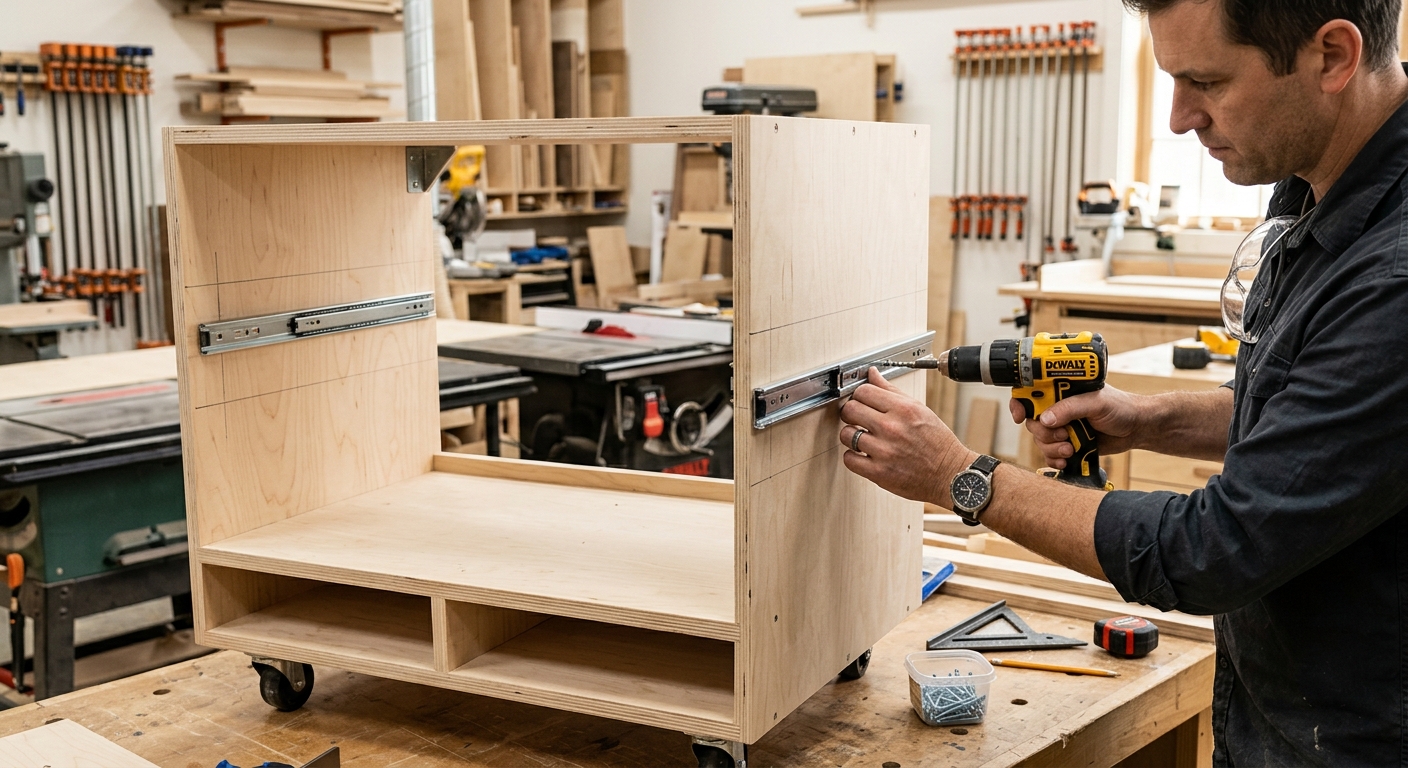
Mount drawer slide cabinet members to the cabinet sides at the correct heights. Use a spacer block to keep slides parallel and at the correct height interval. The slides must be perfectly level and parallel or drawers will bind. Check each slide with a level before driving the final screws.
Step 3: Build the Drawers
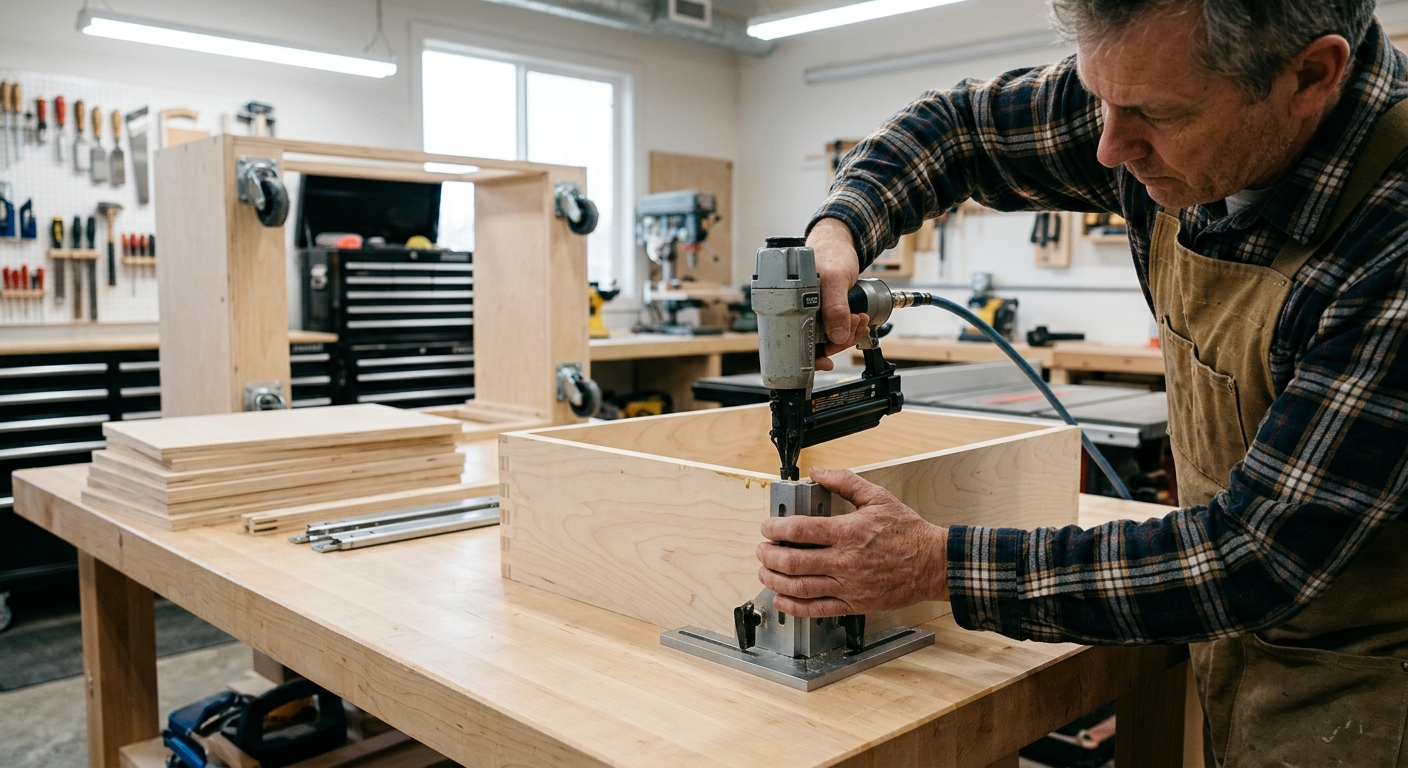
Cut drawer boxes from 3/4-inch plywood sides and 1/4-inch plywood bottoms. The drawer box should be 1 inch narrower than the cabinet interior (for the drawer slides) and 1 inch shorter than the slide length. Assemble with glue and screws, making sure the drawer is square before the glue dries. Attach the drawer member of each slide to the drawer sides.
Step 4: Install the Face Frame
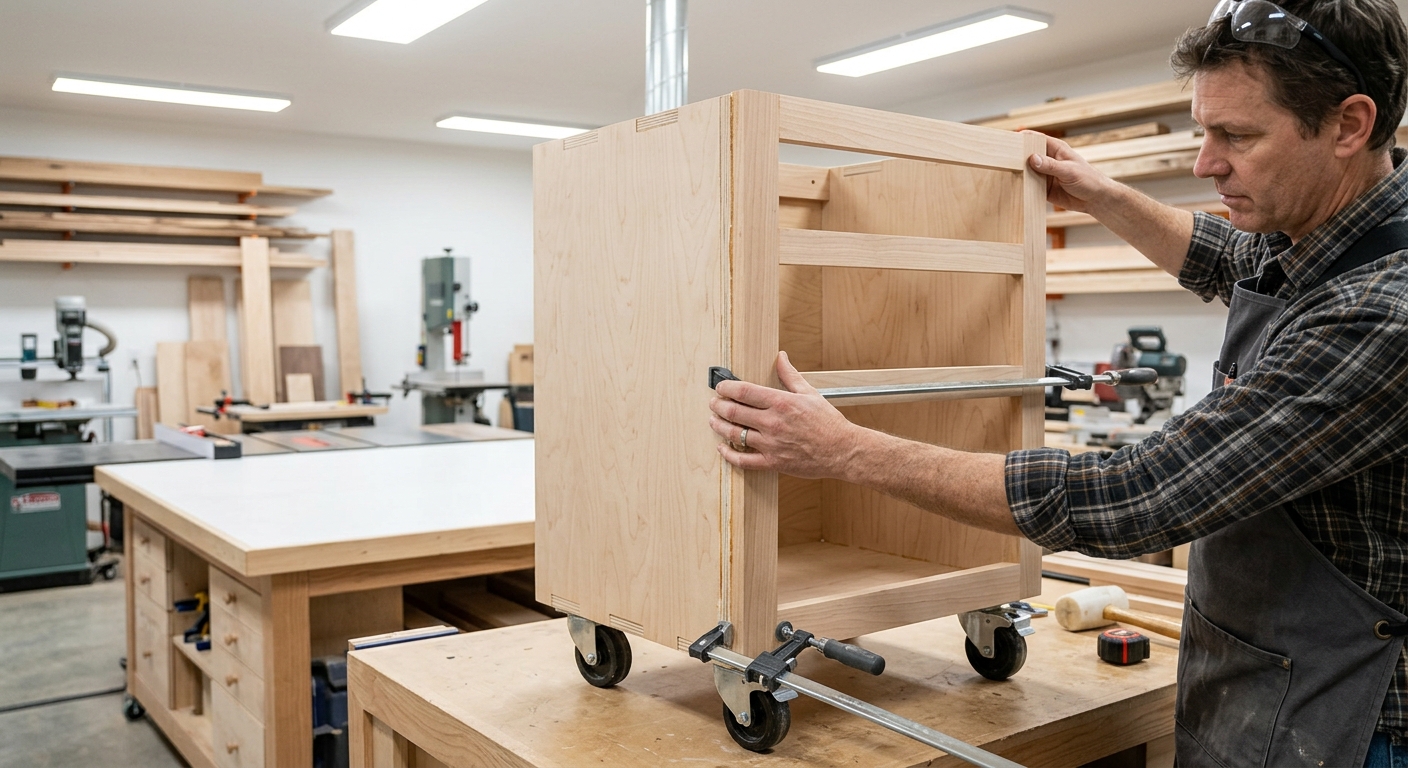
The face frame is a 1×2 hardwood frame that overlays the front of the cabinet, covering the plywood edges and the drawer slide gaps. Cut and fit the face frame pieces with pocket screws. The face frame creates the individual drawer openings and gives the cabinet a finished look.
Step 5: Install Casters and Top
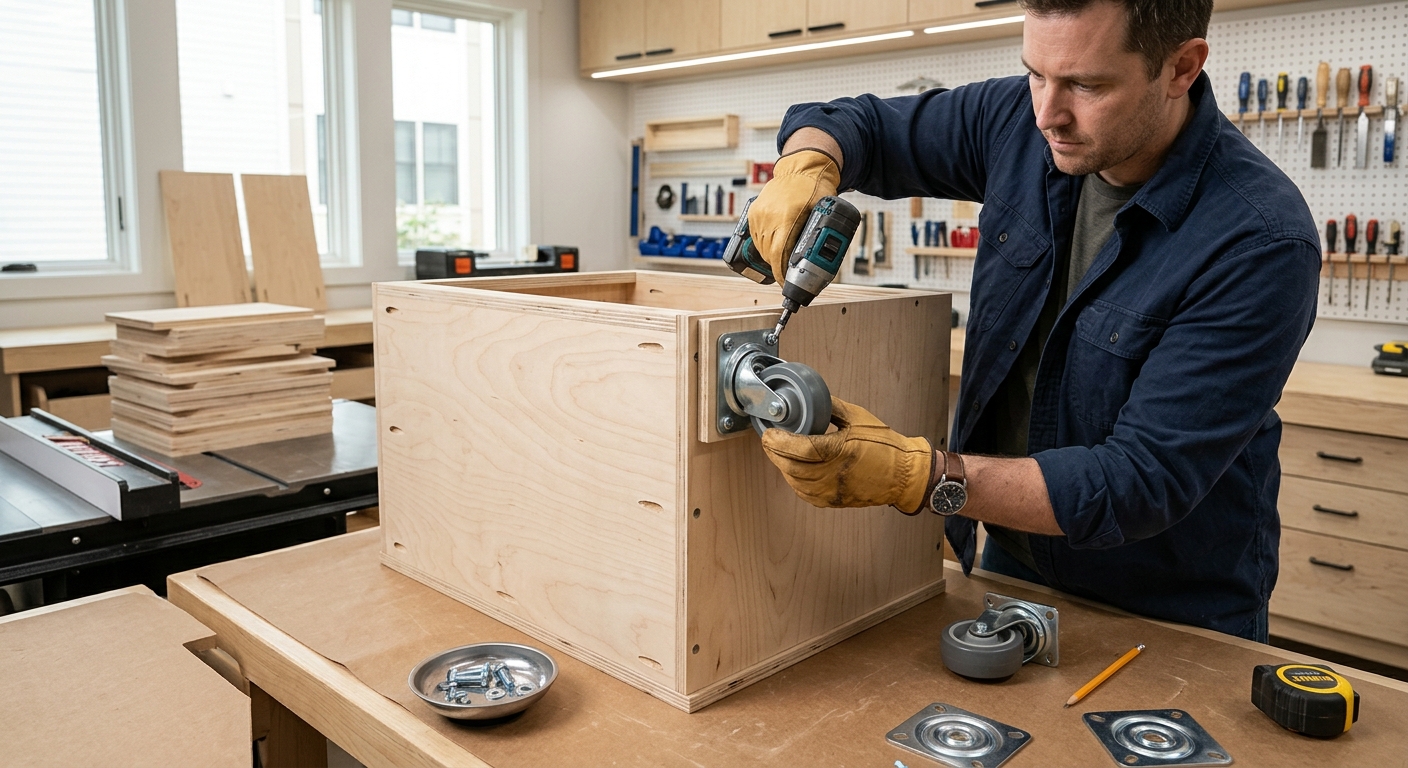
Install casters – two locking and two swivel – in the four corners of the cabinet bottom. The cabinet should roll easily but lock solidly when the locks are engaged. Apply the top surface (laminate or hardboard) and add pulls to each drawer.
Pro Tips
- Install drawer organizers immediately. Empty drawers fill with clutter. Install foam inserts, small plastic bins, or shop-built dividers when you first set up each drawer. This prevents the “junk drawer” syndrome from spreading through the entire cabinet.
- Build the tallest cabinet you can use. At workbench height, a rolling cabinet is also a work surface. Make it as tall as possible without exceeding your bench height.
FAQ
What’s the maximum drawer weight for full-extension slides?
Standard 100-lb-rated full-extension slides are adequate for most shop drawers. If you’re storing heavy items (collections of cast iron clamps, socket sets in heavy trays), upgrade to 200-lb-rated slides. The cost difference is small; a slide failure that dumps your tools is a serious problem.